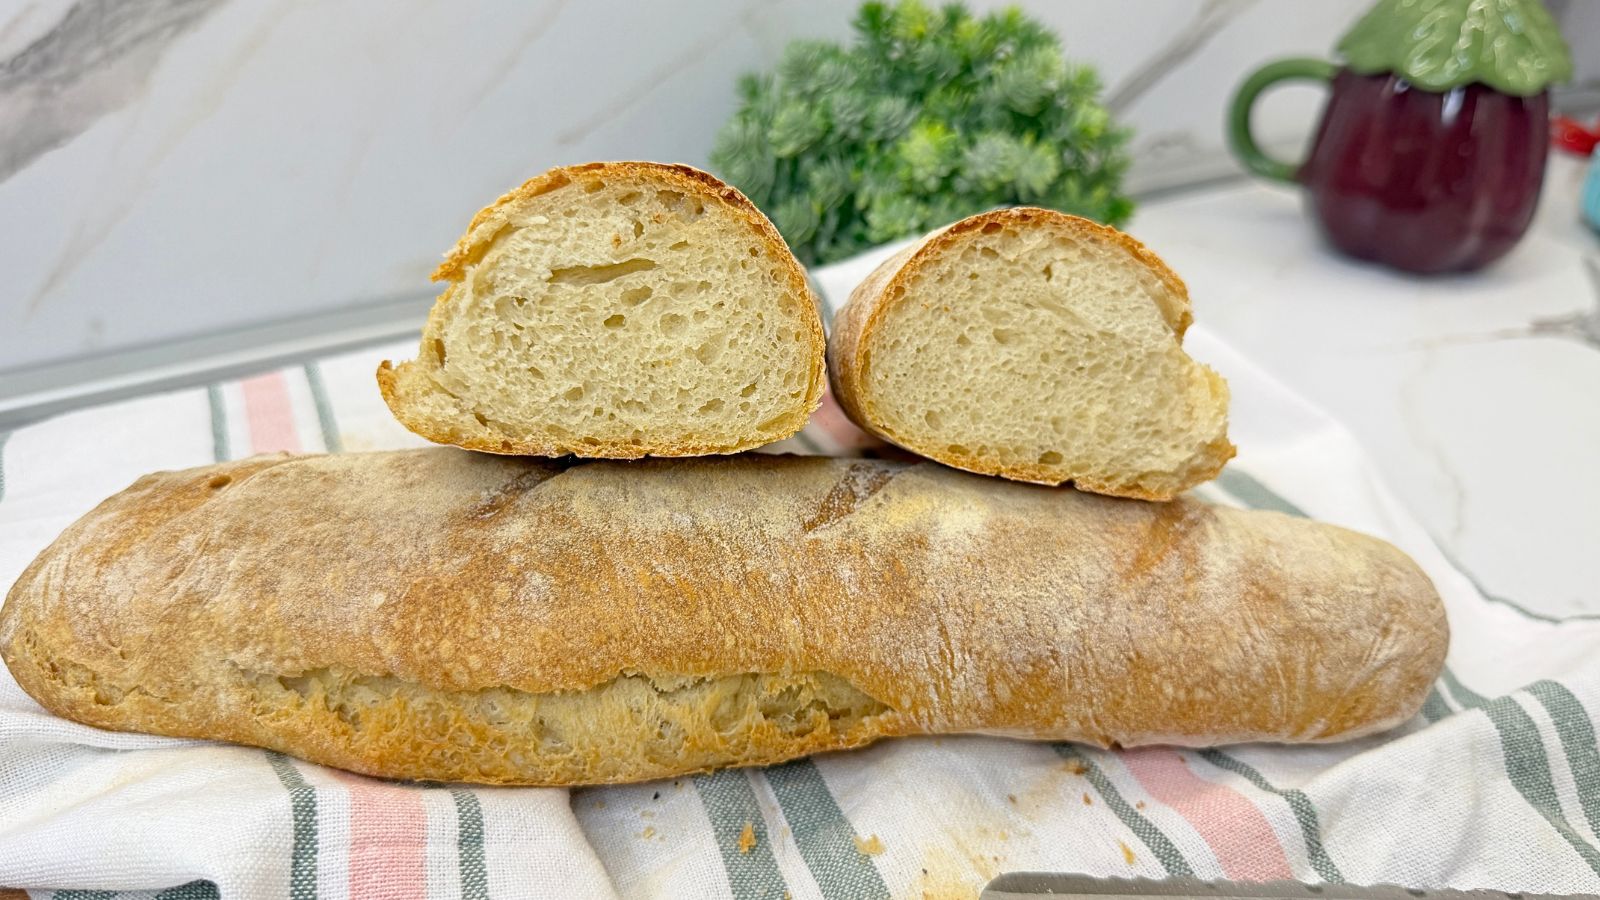
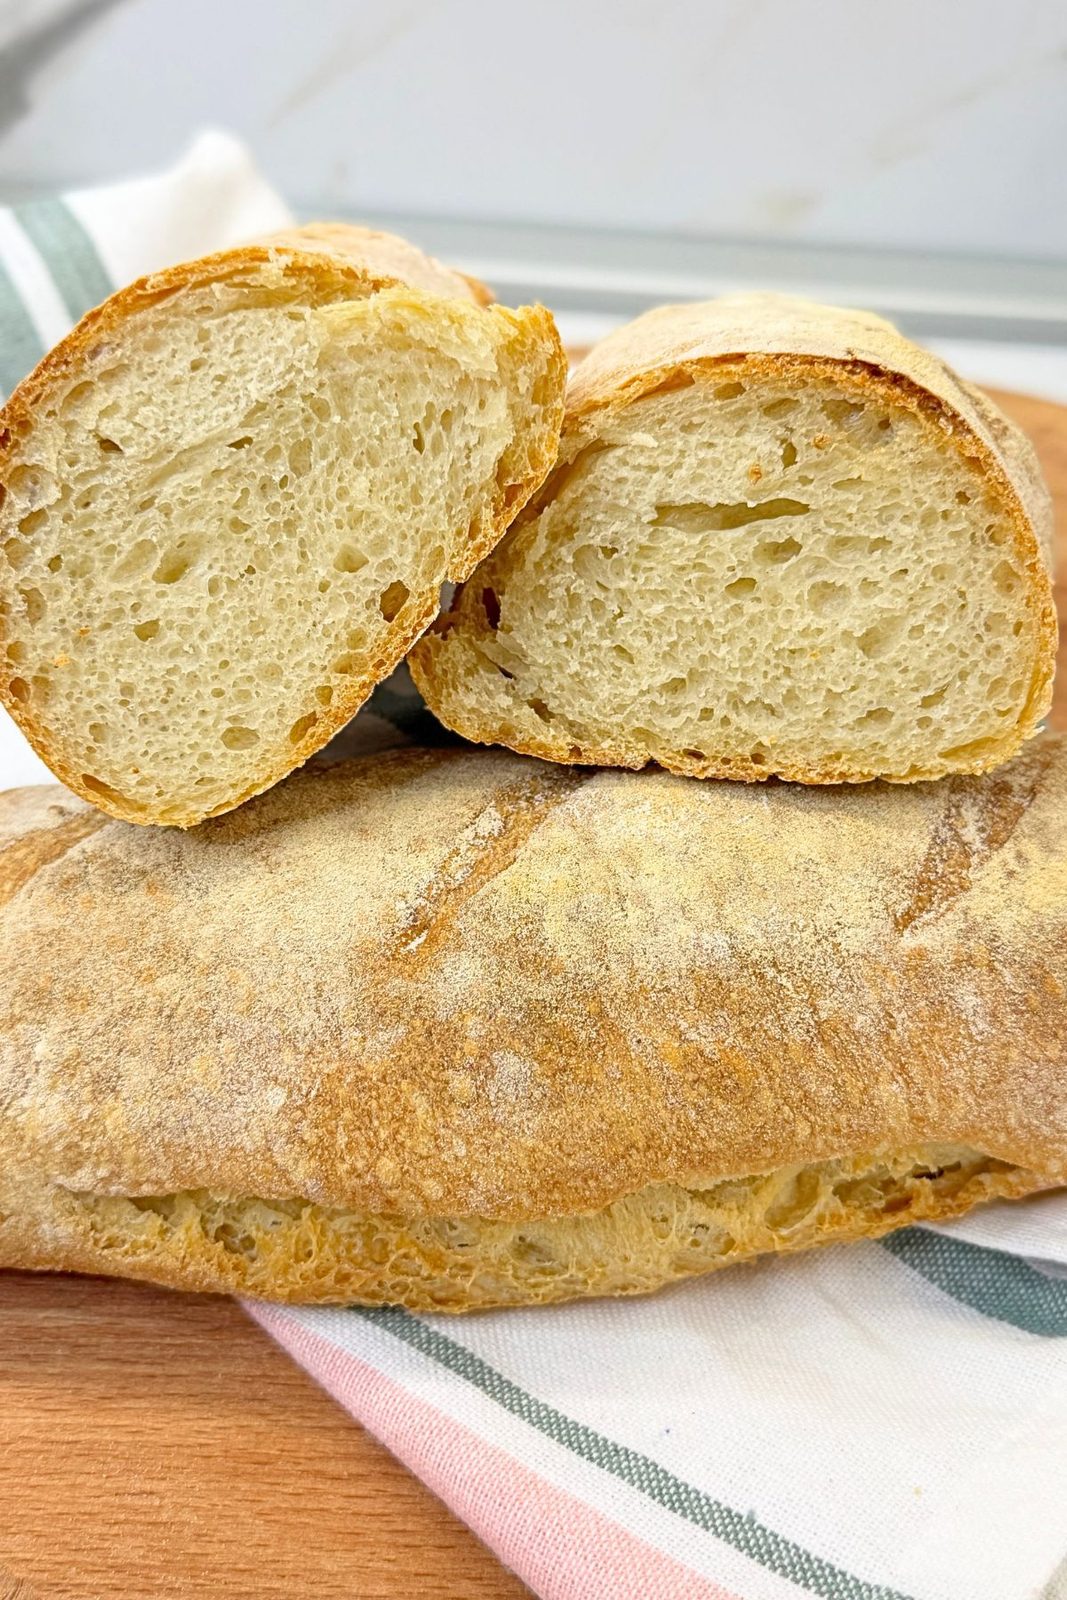
There is something special about the smell of freshly baked bread filling the kitchen. This rustic homemade bread recipe transforms five simple pantry ingredients into two beautiful loaves with a crispy golden crust and a soft, airy center.
The traditional two-rise method gives the dough time to develop its wonderful texture and homemade flavor. No special equipment is needed, and the soft dough is gently shaped into rustic loaves before baking until perfectly golden.
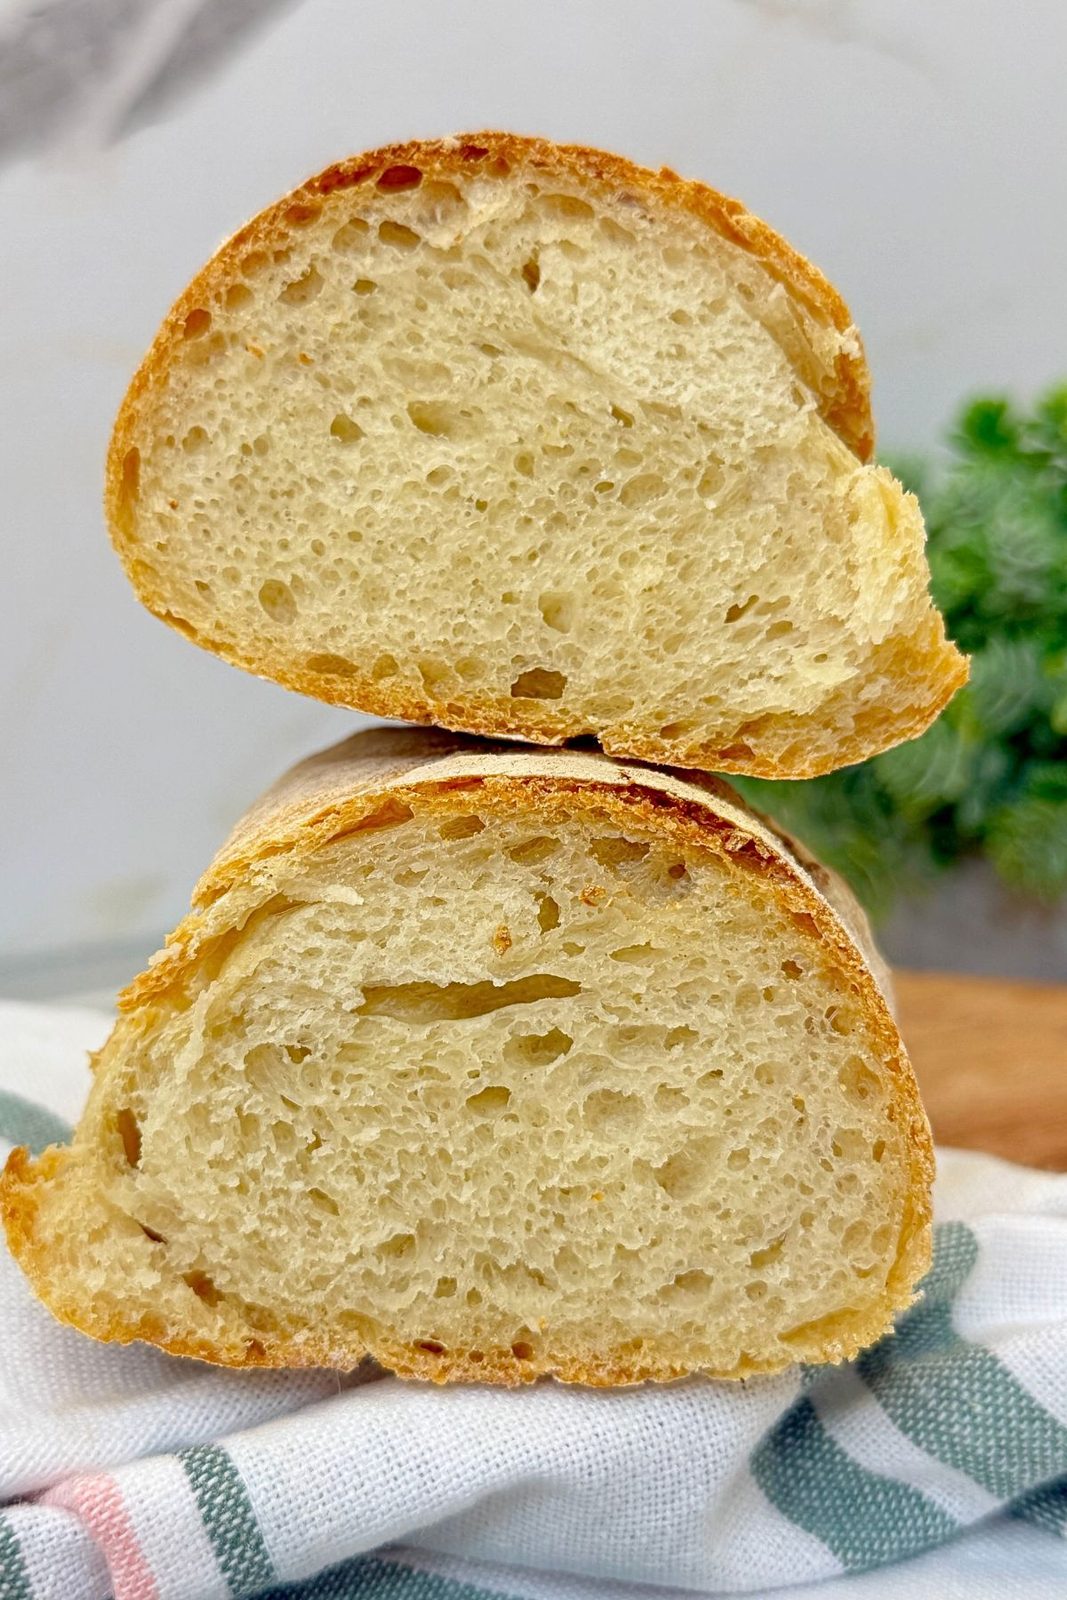
Made with only flour, water, yeast, sugar, and salt, this bread proves that the simplest recipes can be incredibly rewarding. The dough rises twice, creating a light texture and rich homemade flavor in every slice.
If you enjoy baking with yeast, try my Soft Homemade Crescent Rolls next. For more helpful information about preparing and rising yeast dough, visit the King Arthur Baking Yeast Baking Guide.
Quick Recipe Info
Prep Time: 20 minutes
Rising Time: 2 hours 10 minutes
Bake Time: 30 minutes
Total Time: 3 hours
Yield: 2 rustic loaves
Serving Size: 1 slice
Oven Temperature: 400°F (200°C)
Difficulty: Easy
Cuisine: European-inspired
Category: Homemade Bread
Why You’ll Love This Rustic Homemade Bread
- Only five ingredients: Flour, water, yeast, sugar, and salt are all you need to prepare this simple homemade bread recipe.
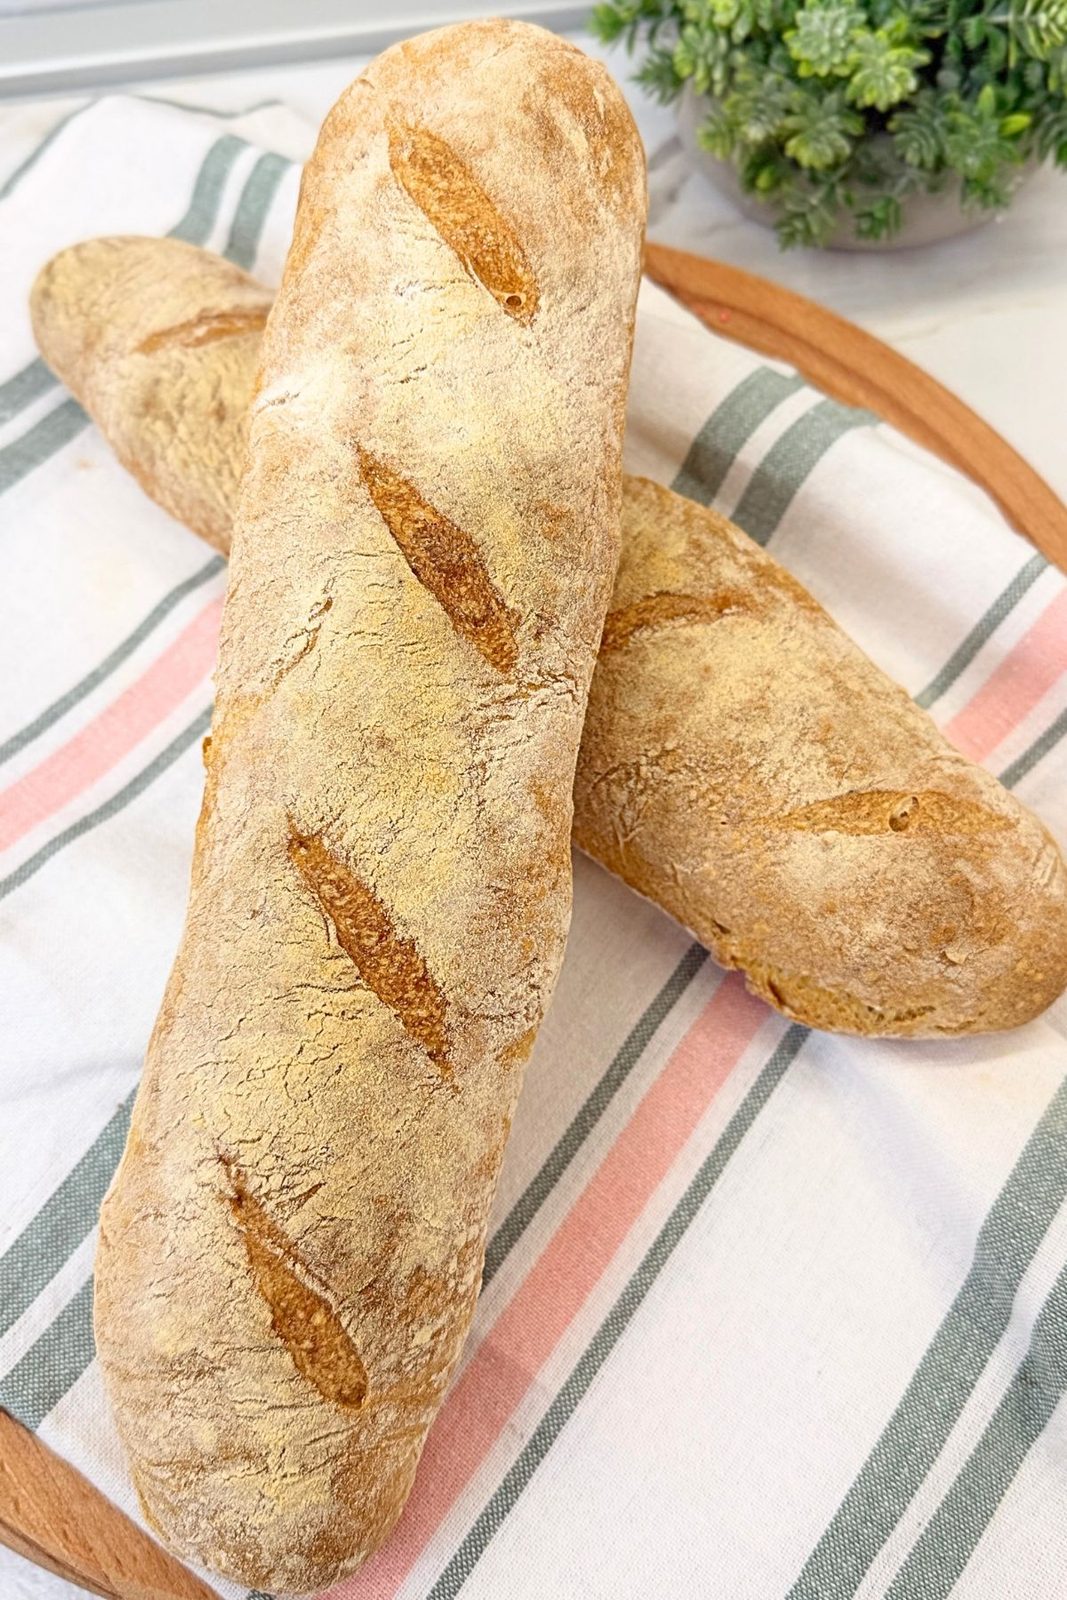
- Crispy golden crust: Each loaf bakes with a beautifully crisp exterior and rustic bakery-style appearance.
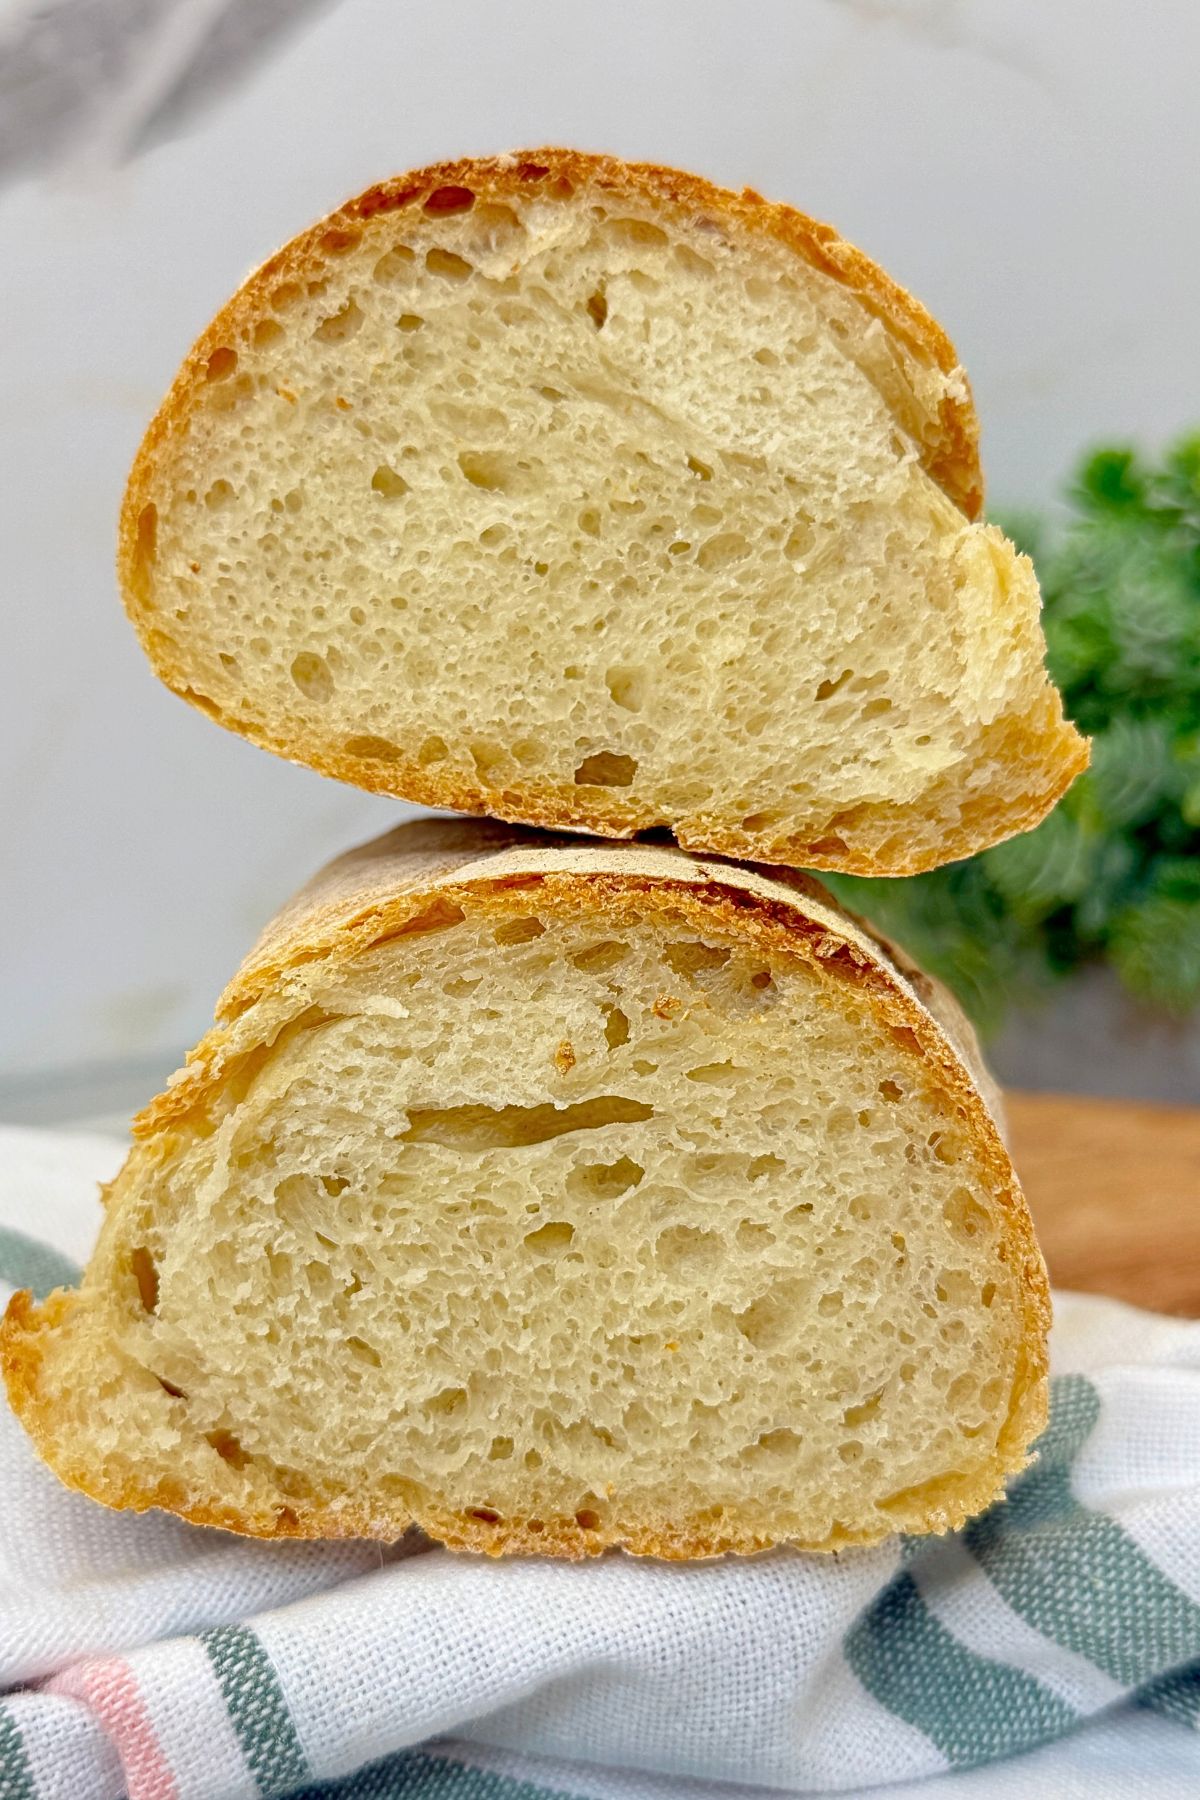
- Soft and airy center: The two rising periods help create a light, tender crumb filled with small air pockets.
- Simple traditional method: The dough is easy to prepare and does not require any special equipment.
- Makes two loaves: Enjoy one loaf fresh and save or freeze the second for another day.
- Perfect for any meal: Serve it with butter, soup, salad, pasta, sandwiches, or your favorite spread.
Ingredients You’ll Need
This rustic homemade bread recipe is made with only five simple pantry ingredients. Each one plays an important role in creating a crisp golden crust and a soft, airy center.
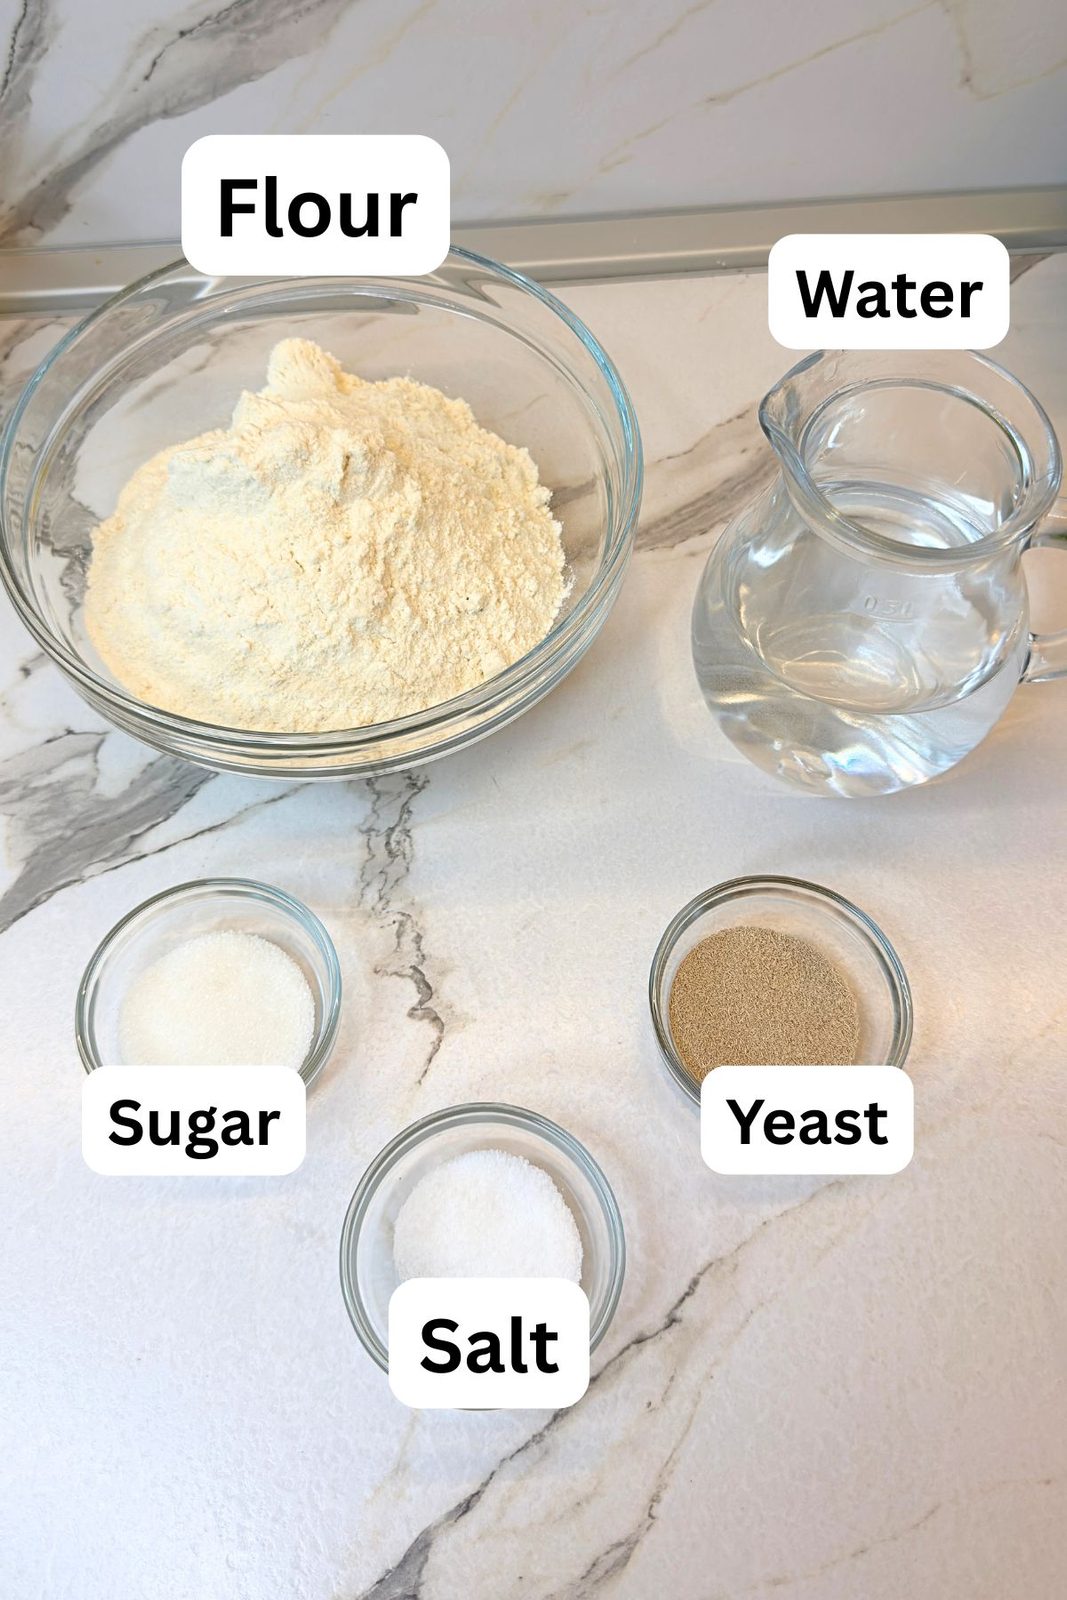
All-purpose flour: Provides the structure for the bread while keeping the inside soft and light. Keep a little extra flour nearby for dusting the work surface and shaping the loaves.
Lukewarm water: Activates the yeast and brings the dough together. The water should feel pleasantly warm, never hot.
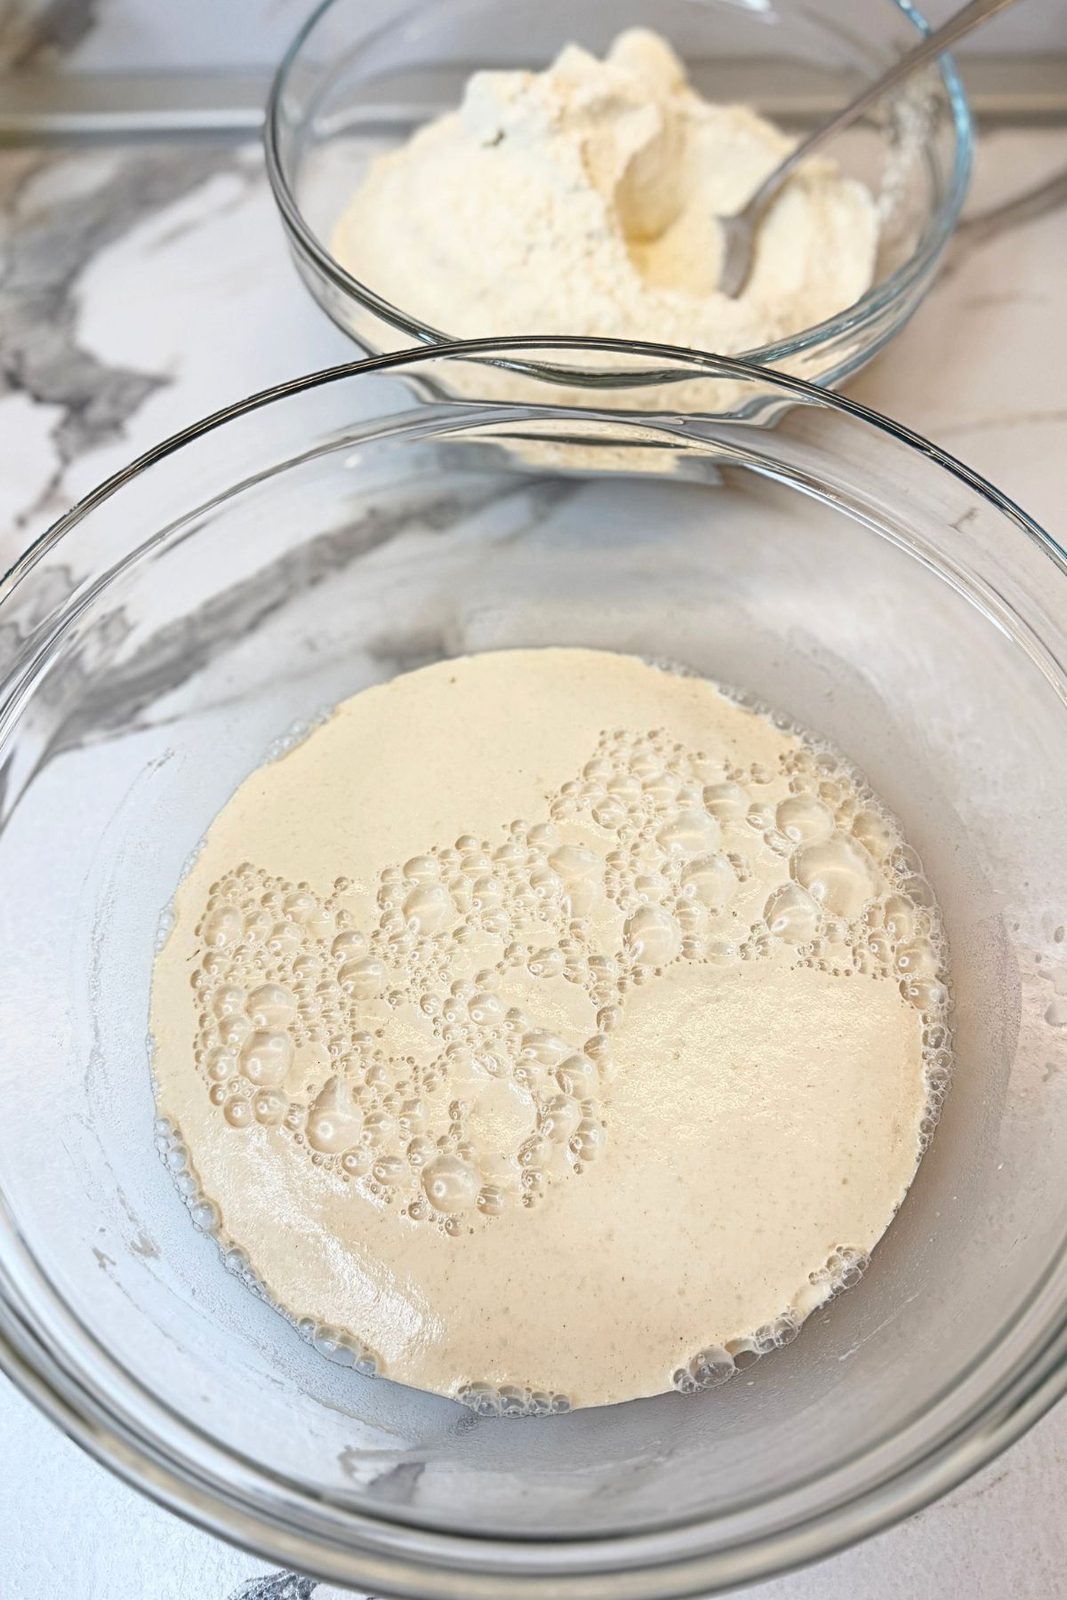
Active dry yeast: Helps the dough rise and creates a light, airy texture. Make sure the yeast becomes foamy before adding the remaining ingredients.
Sugar: Feeds the yeast and helps it activate while adding a very subtle sweetness to the bread.
Salt: Enhances the flavor and balances the mild sweetness of the dough. Add it together with the flour after the yeast has activated.
How to Make This Homemade Bread Recipe
This homemade bread recipe uses a simple two-rise method to create two rustic loaves with a crispy crust and soft, airy center.
1. Activate the Yeast
Begin this homemade bread recipe by pouring the lukewarm water into a large mixing bowl. Add the active dry yeast, sugar, and a spoonful of flour. Stir until smooth, cover the bowl with a clean kitchen towel, and let the mixture rest for about 10 minutes. The yeast is ready when the surface looks foamy and bubbly.
2. Add the Flour and Salt
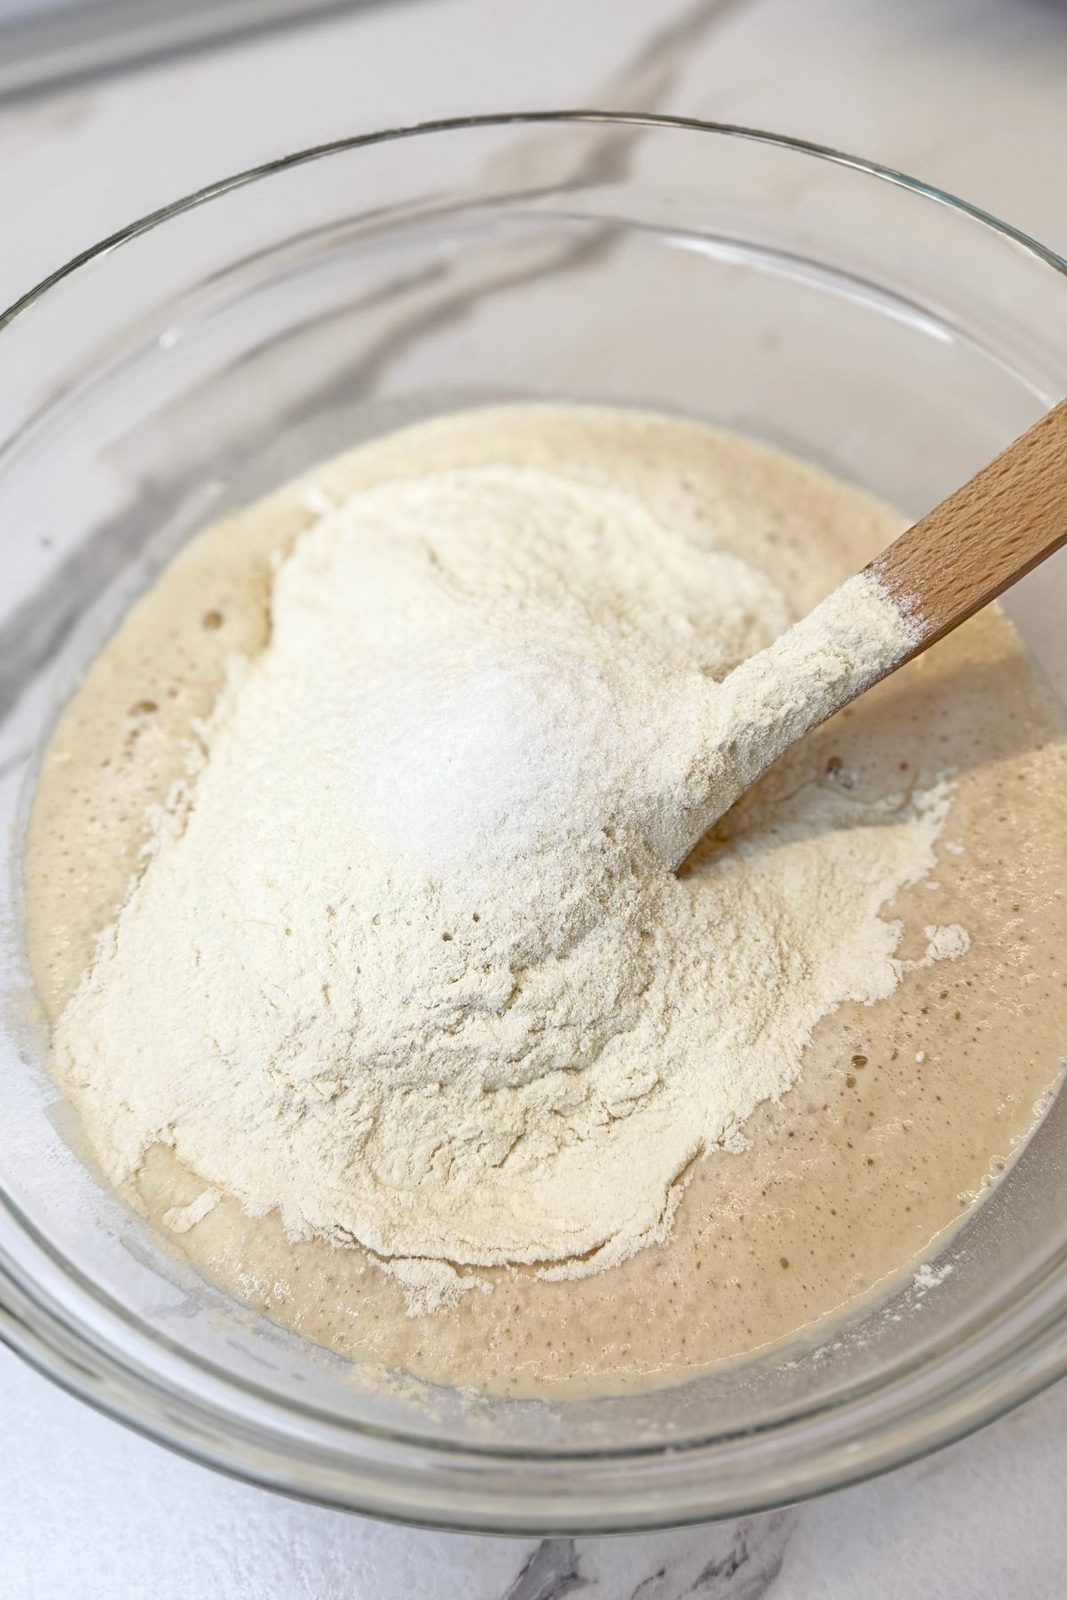
Stir the activated yeast mixture, then add the remaining flour and salt. Mix everything with a wooden spoon until a rough, sticky dough begins to form.
3. Knead the Dough
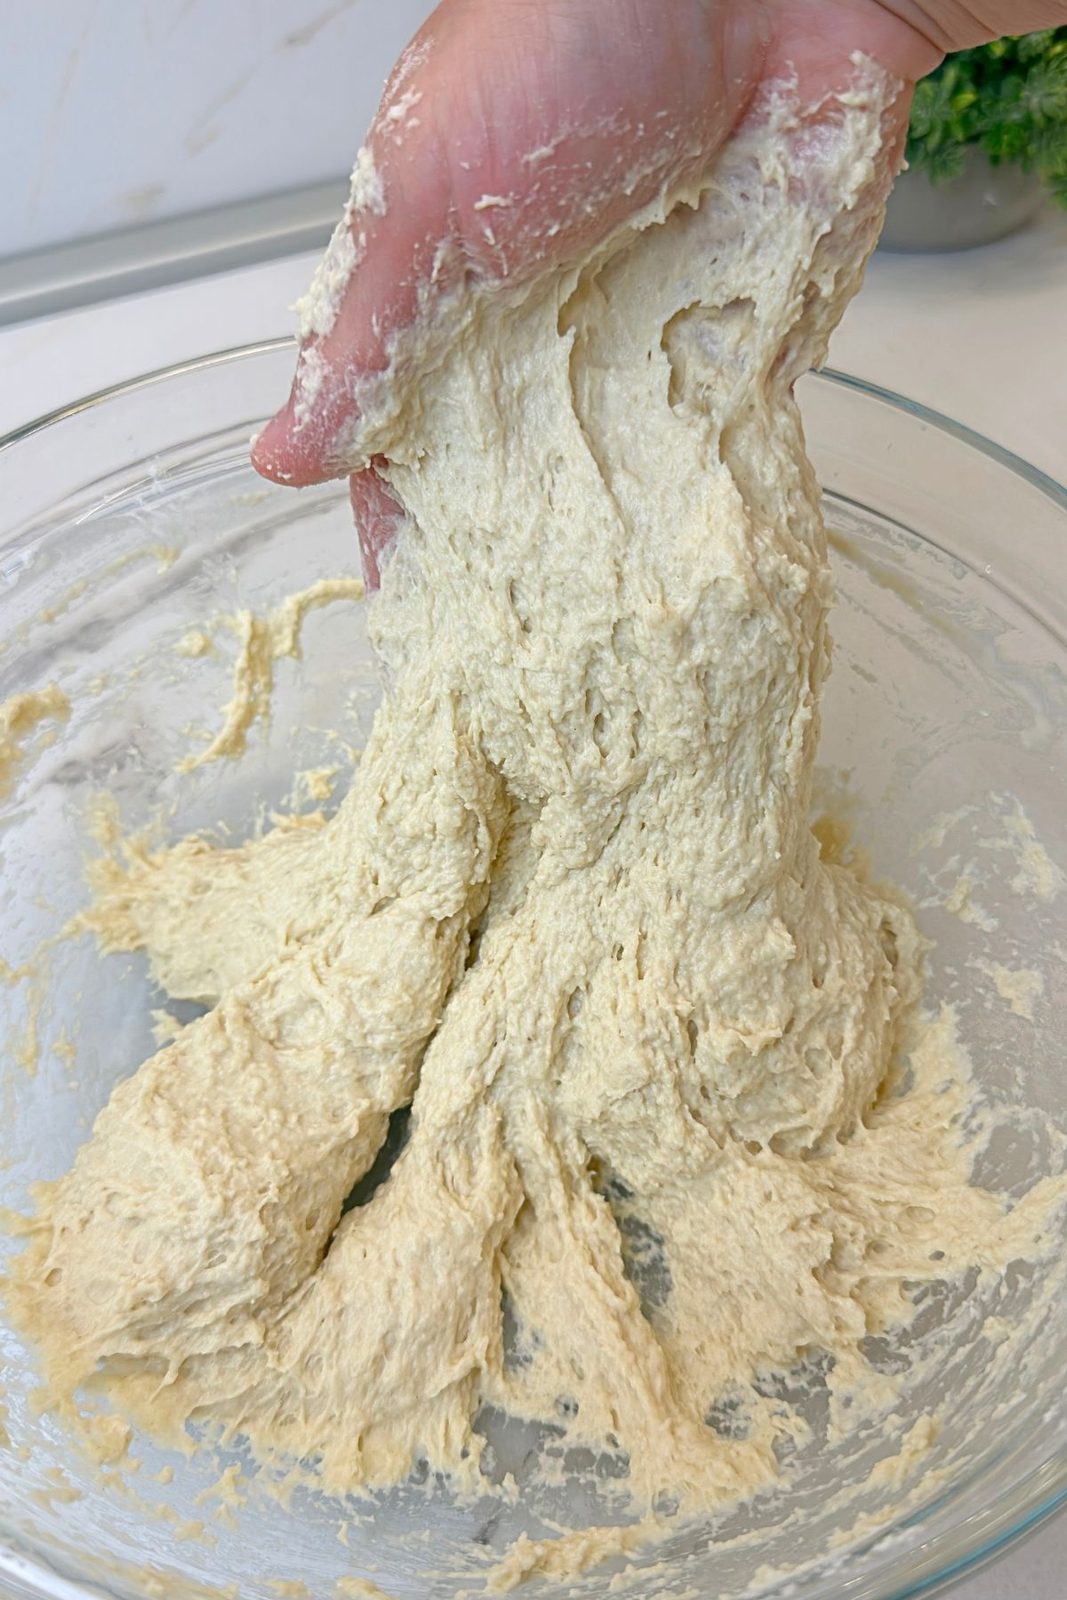
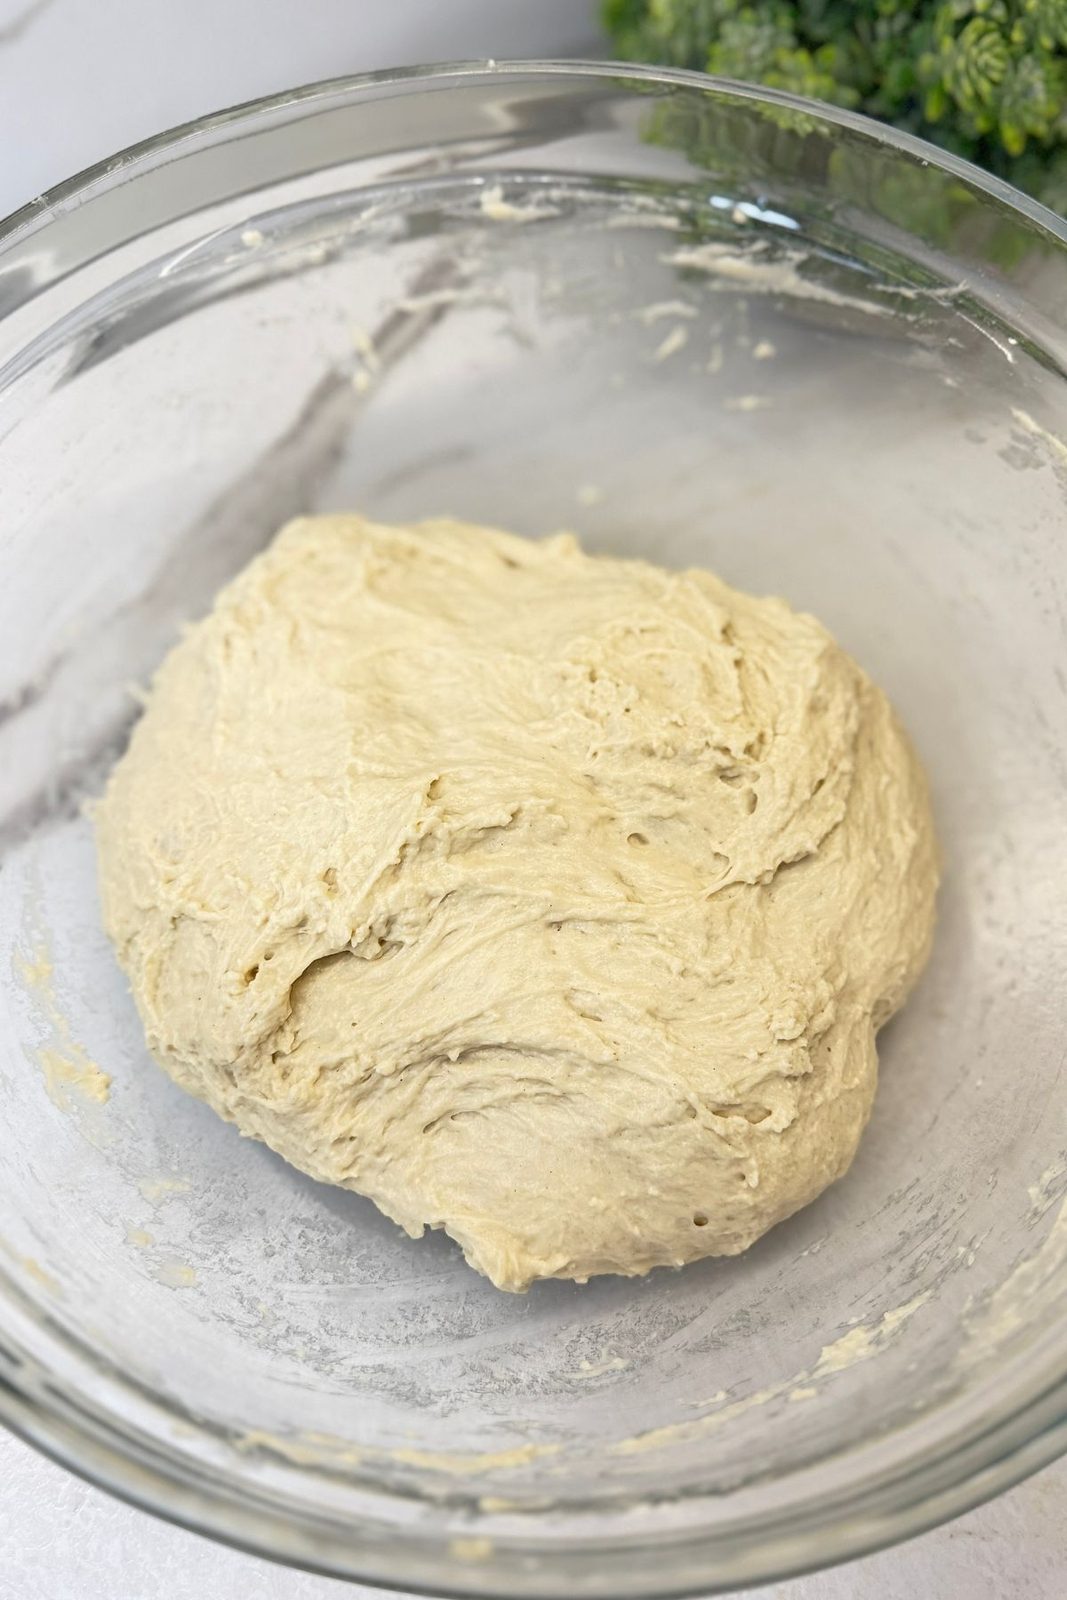
Use your hand to gently knead the dough directly in the bowl until all the flour is incorporated. The dough should remain very soft and slightly sticky. For the best results with this homemade bread recipe, do not add too much extra flour or make the dough stiff. A soft dough helps create a lighter and airier center.
4. Let the Dough Rise
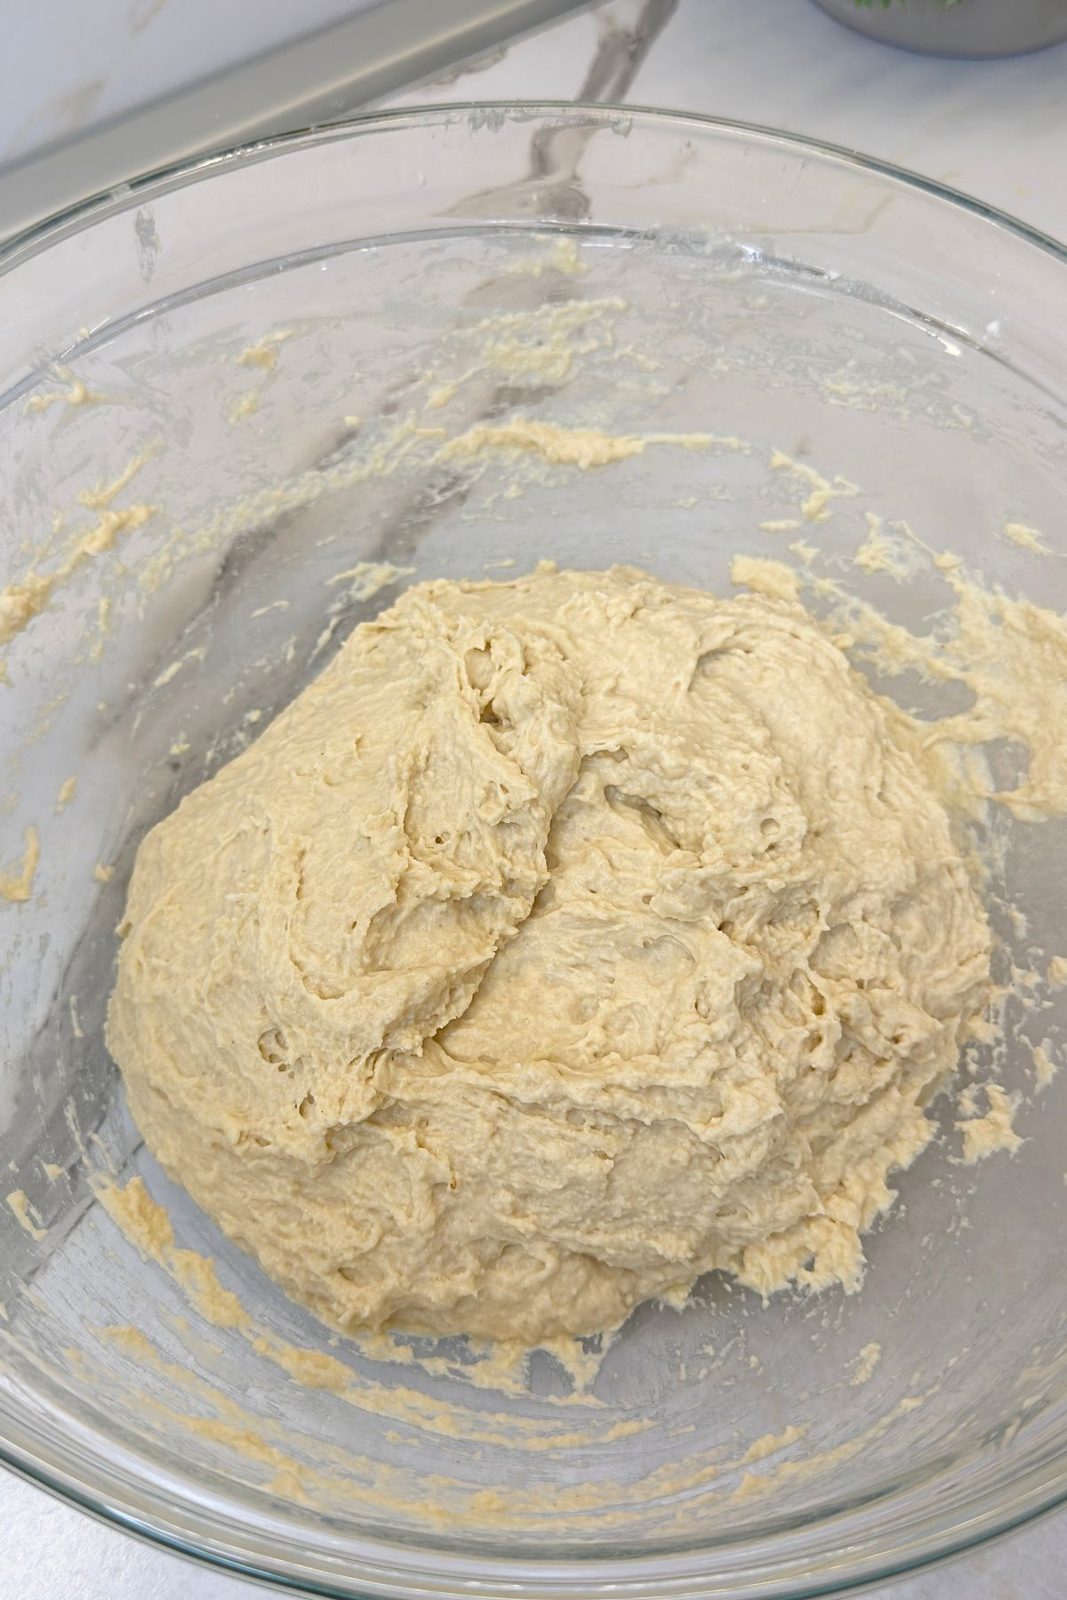
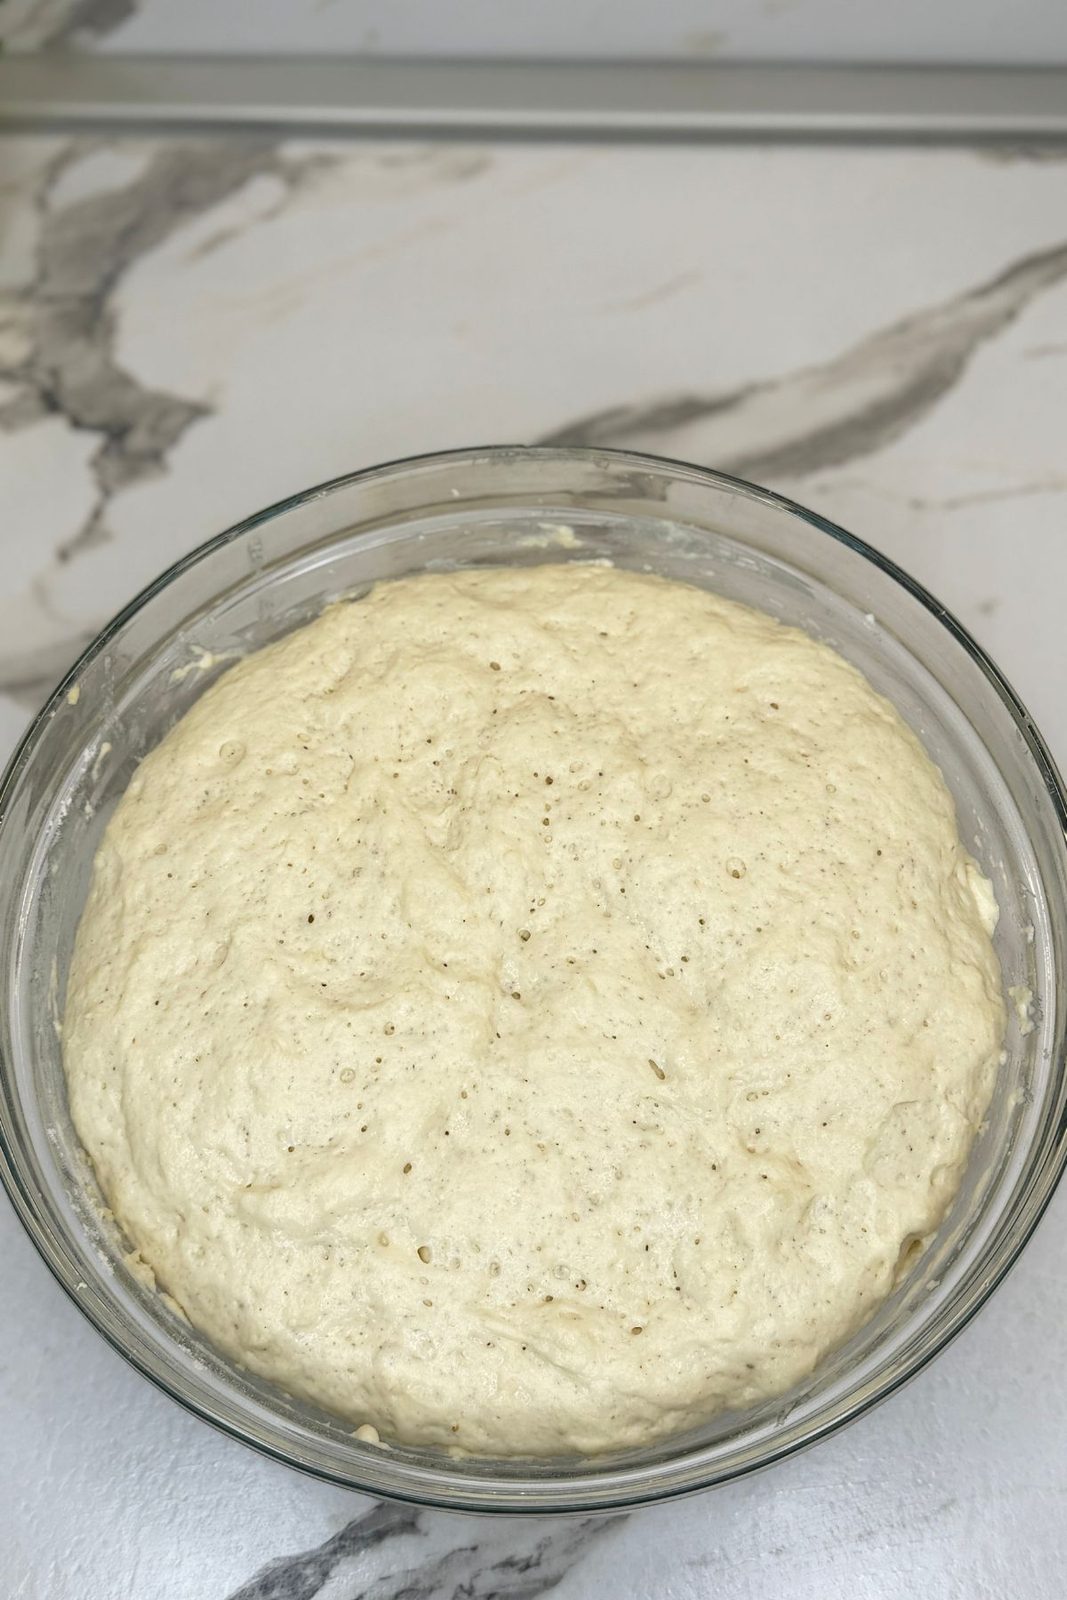
Cover the bowl with a clean kitchen towel and leave the dough in a warm place for 1 hour, or until it has noticeably increased in size.
5. Knead and Rise Again
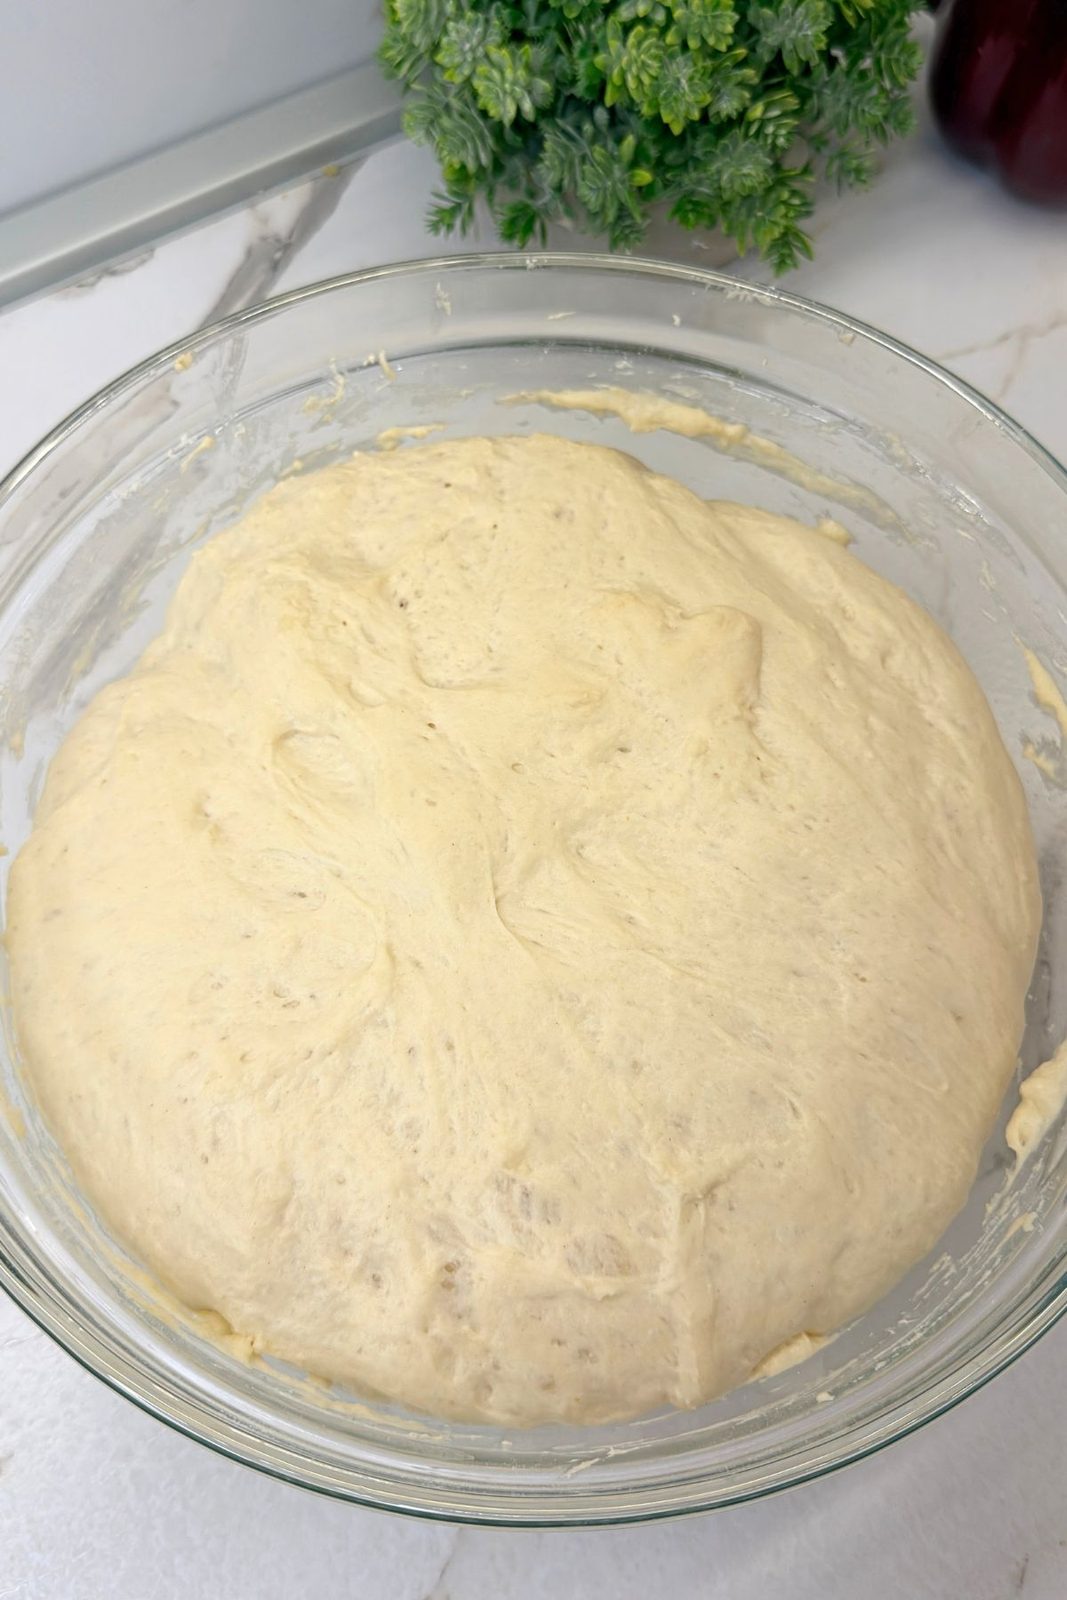
Gently knead or fold the risen dough a few times directly in the bowl to release some of the air. Cover it again and let it rise for another hour. After the second rise, the dough should look puffy, airy, and filled with small bubbles.
6. Divide the Dough
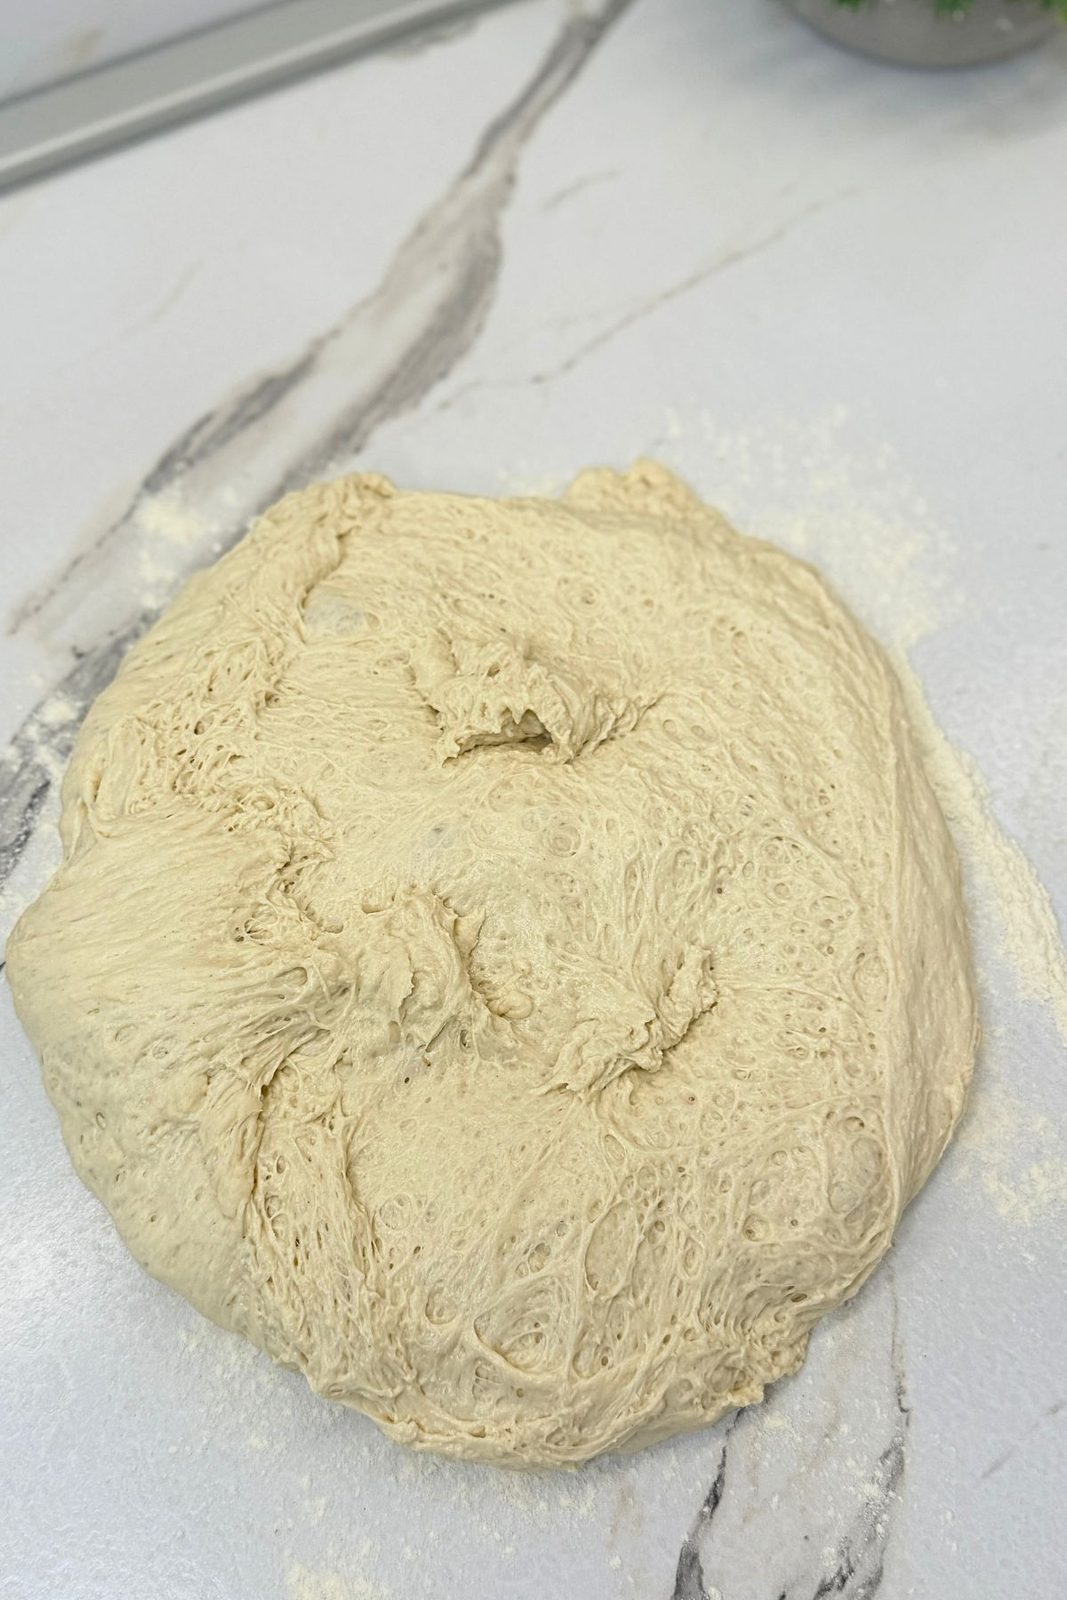
Preheat the oven to 400°F (200°C) and line a large baking sheet with parchment paper. Generously flour the work surface and carefully turn out the risen dough without kneading it again. Use a bench scraper to divide it into two equal portions.
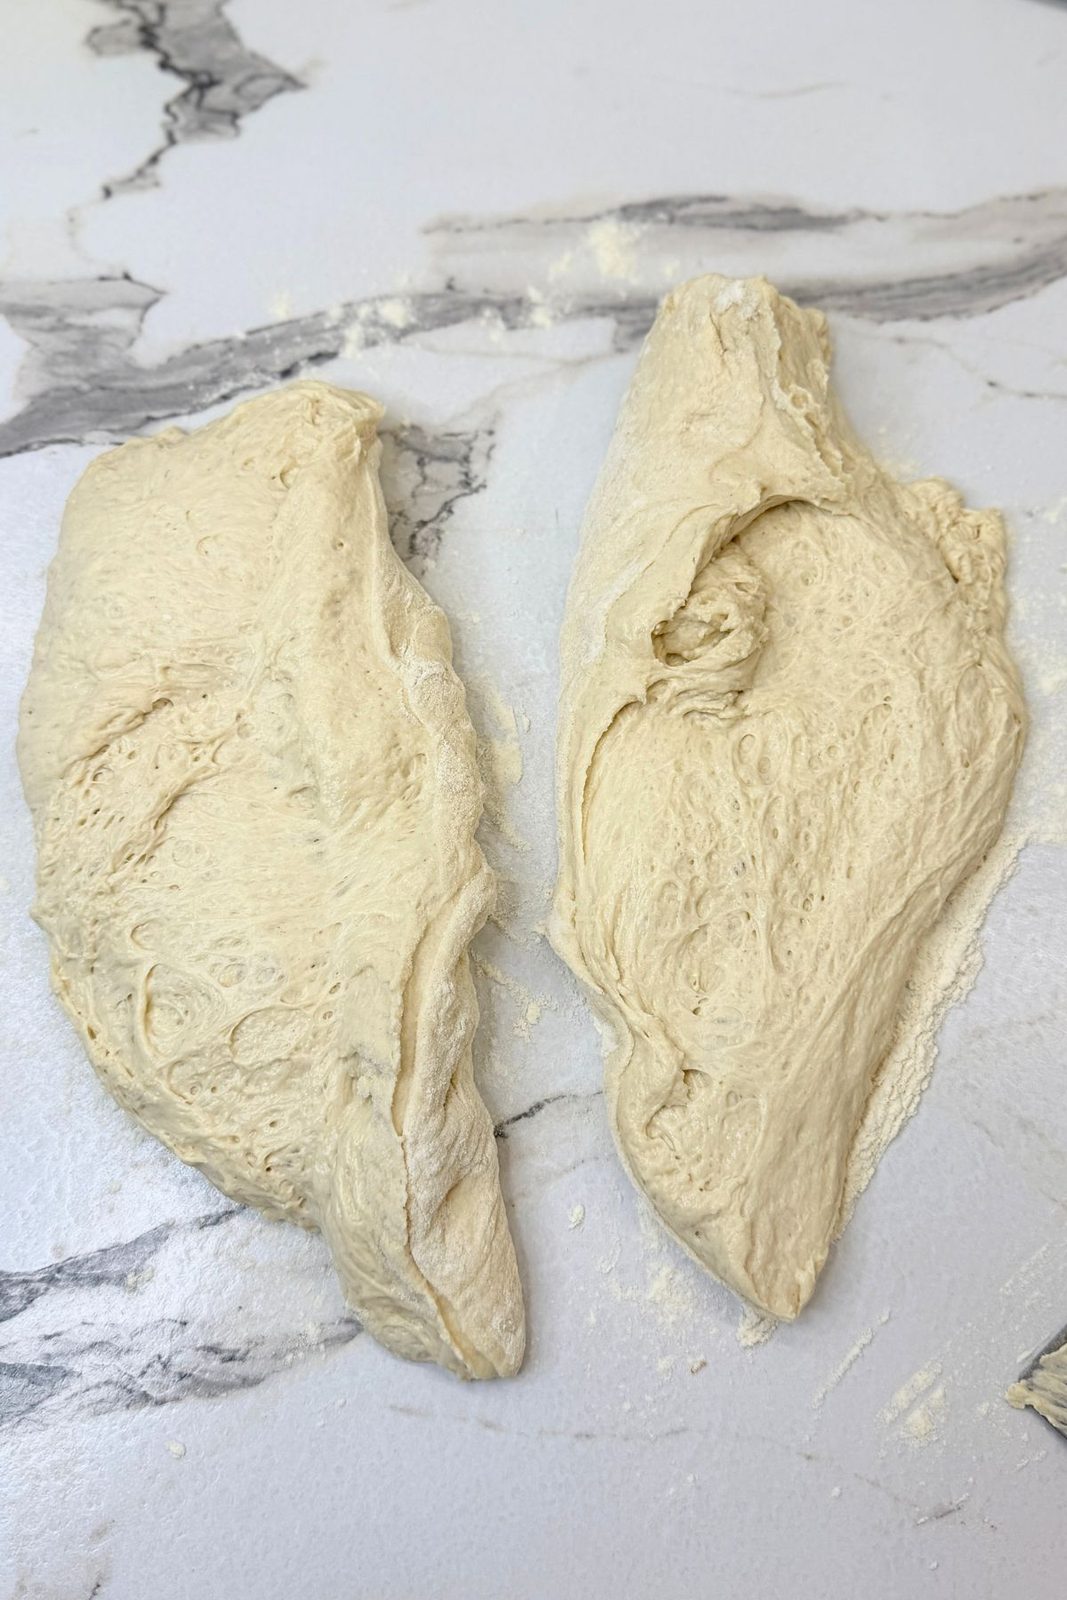
7. Shape and Score the Loaves
Using the bench scraper and lightly floured hands, gently shape each portion into a long rustic loaf. Handle the dough carefully so you do not press out all the air. Transfer both loaves to the prepared parchment paper and make several diagonal cuts across the tops with a sharp knife or bread lame.
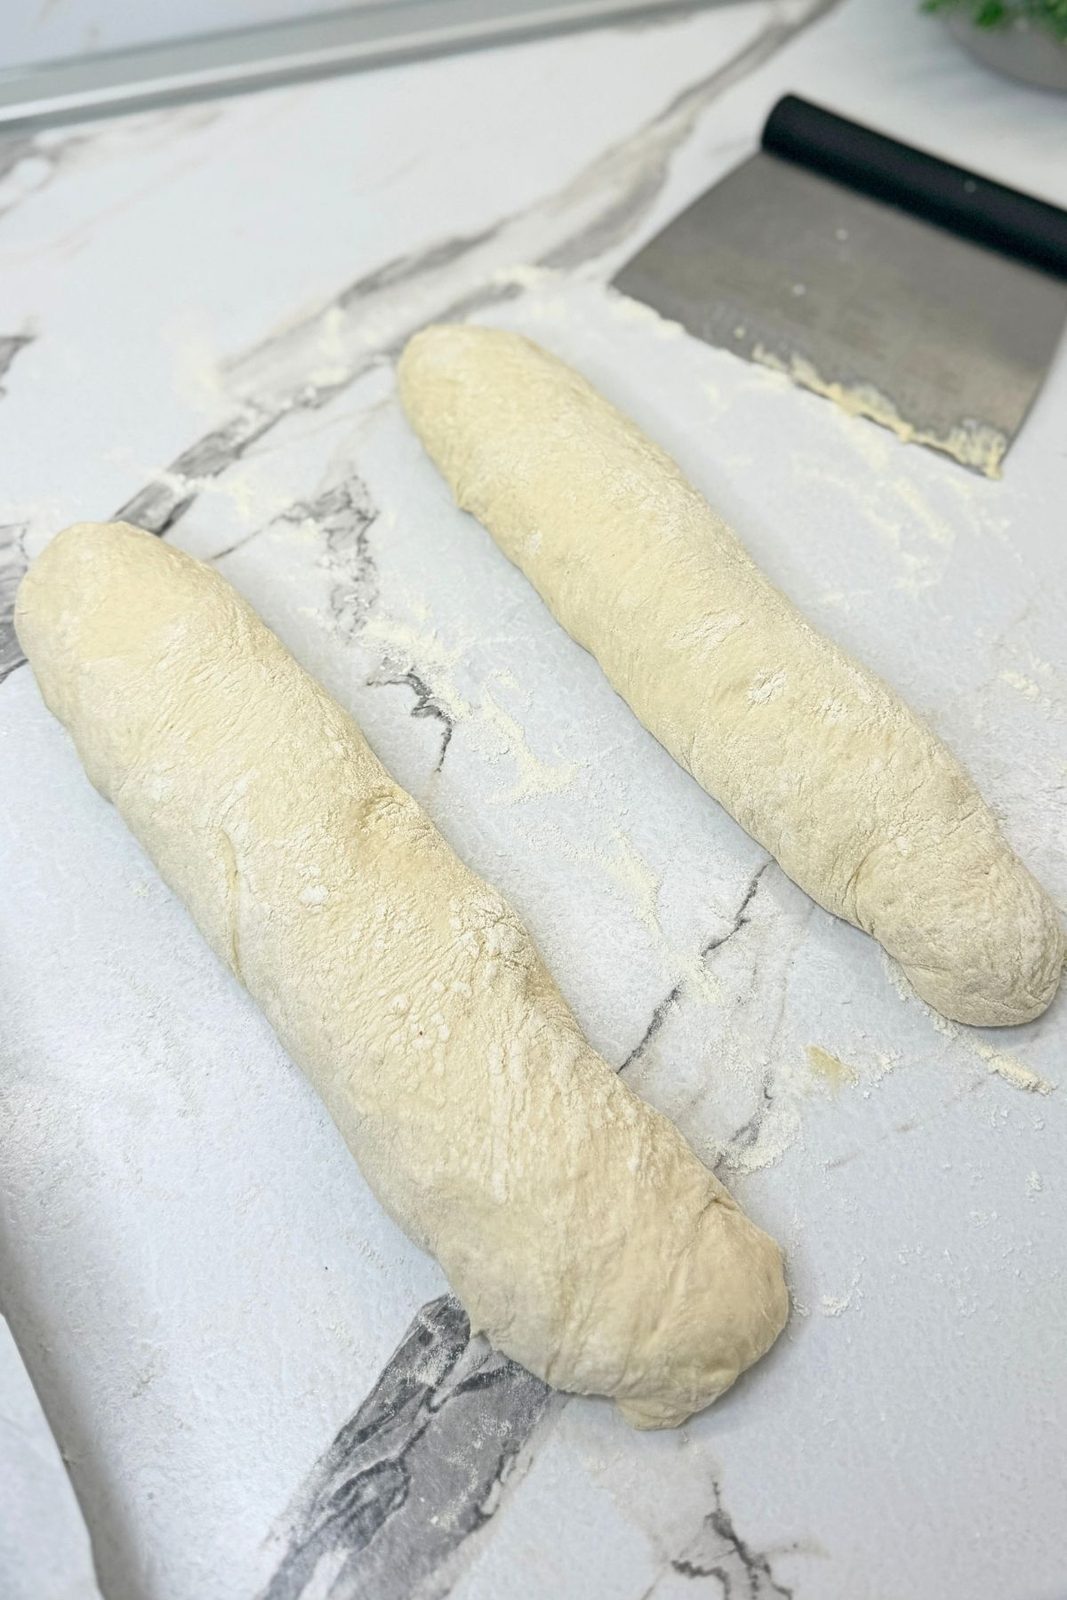
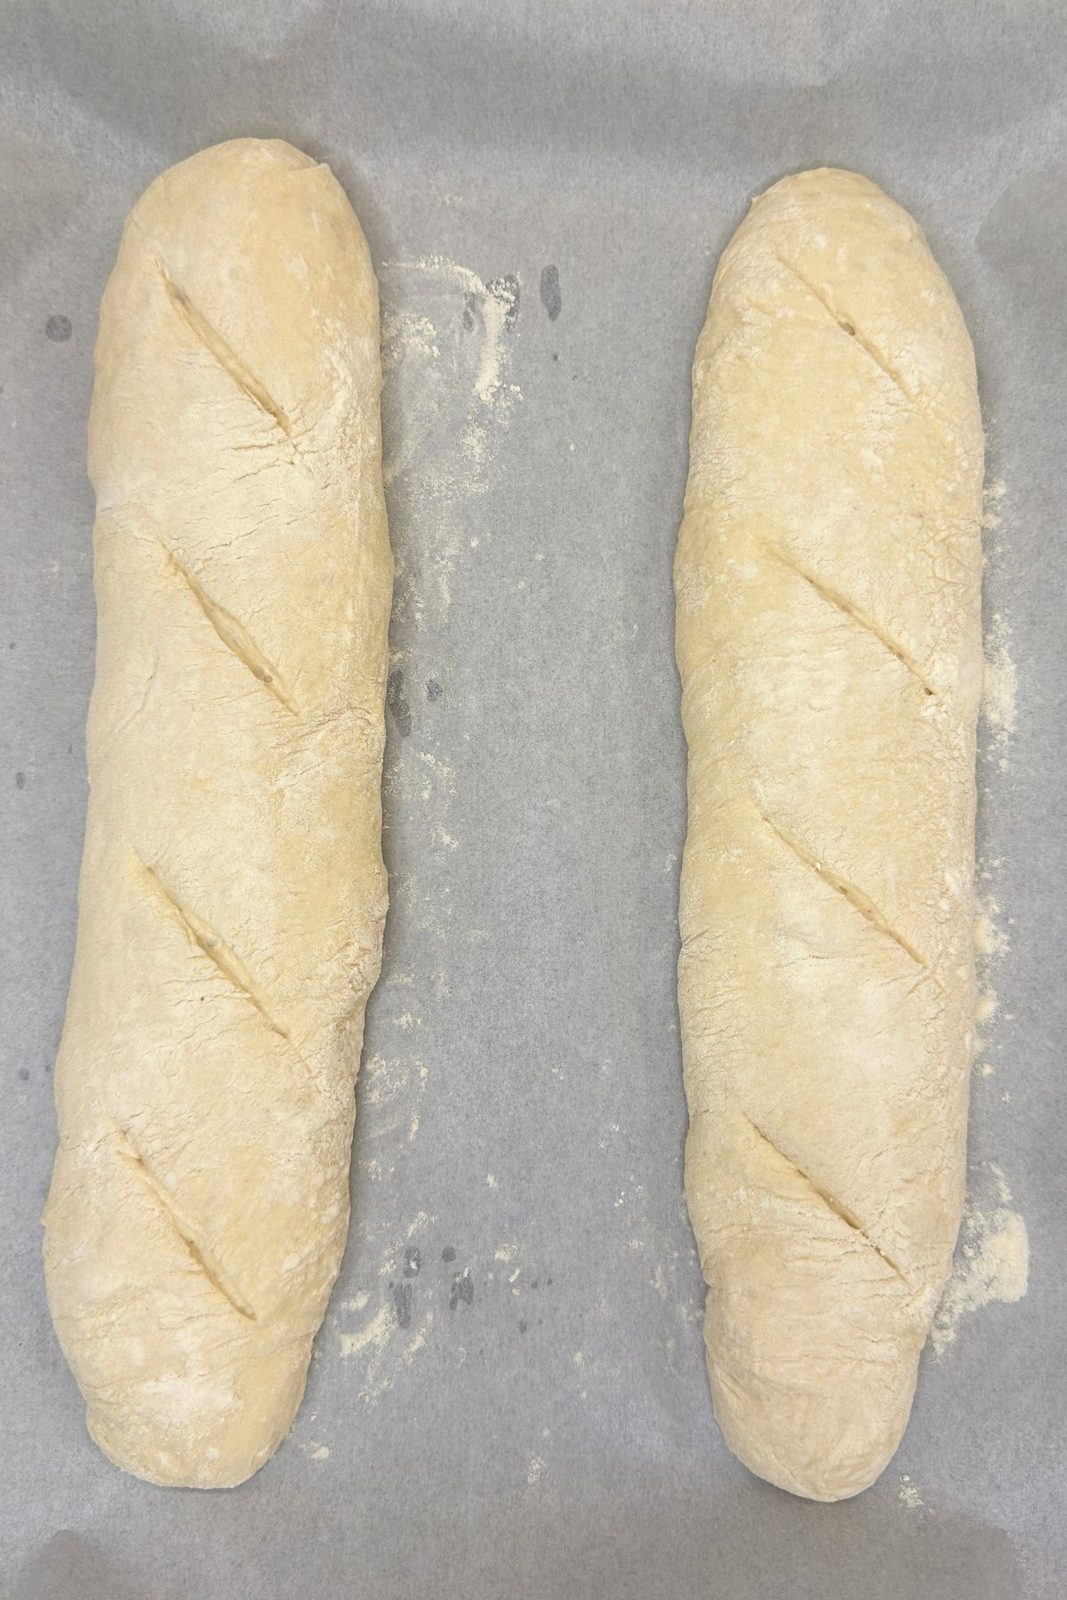
8. Bake and Cool
Bake the loaves for about 30 minutes, or until the crust is crisp and beautifully golden. Remove the bread from the oven and allow it to cool before slicing. This homemade bread recipe is especially delicious when served fresh with butter, soup, salad, or your favorite spread.
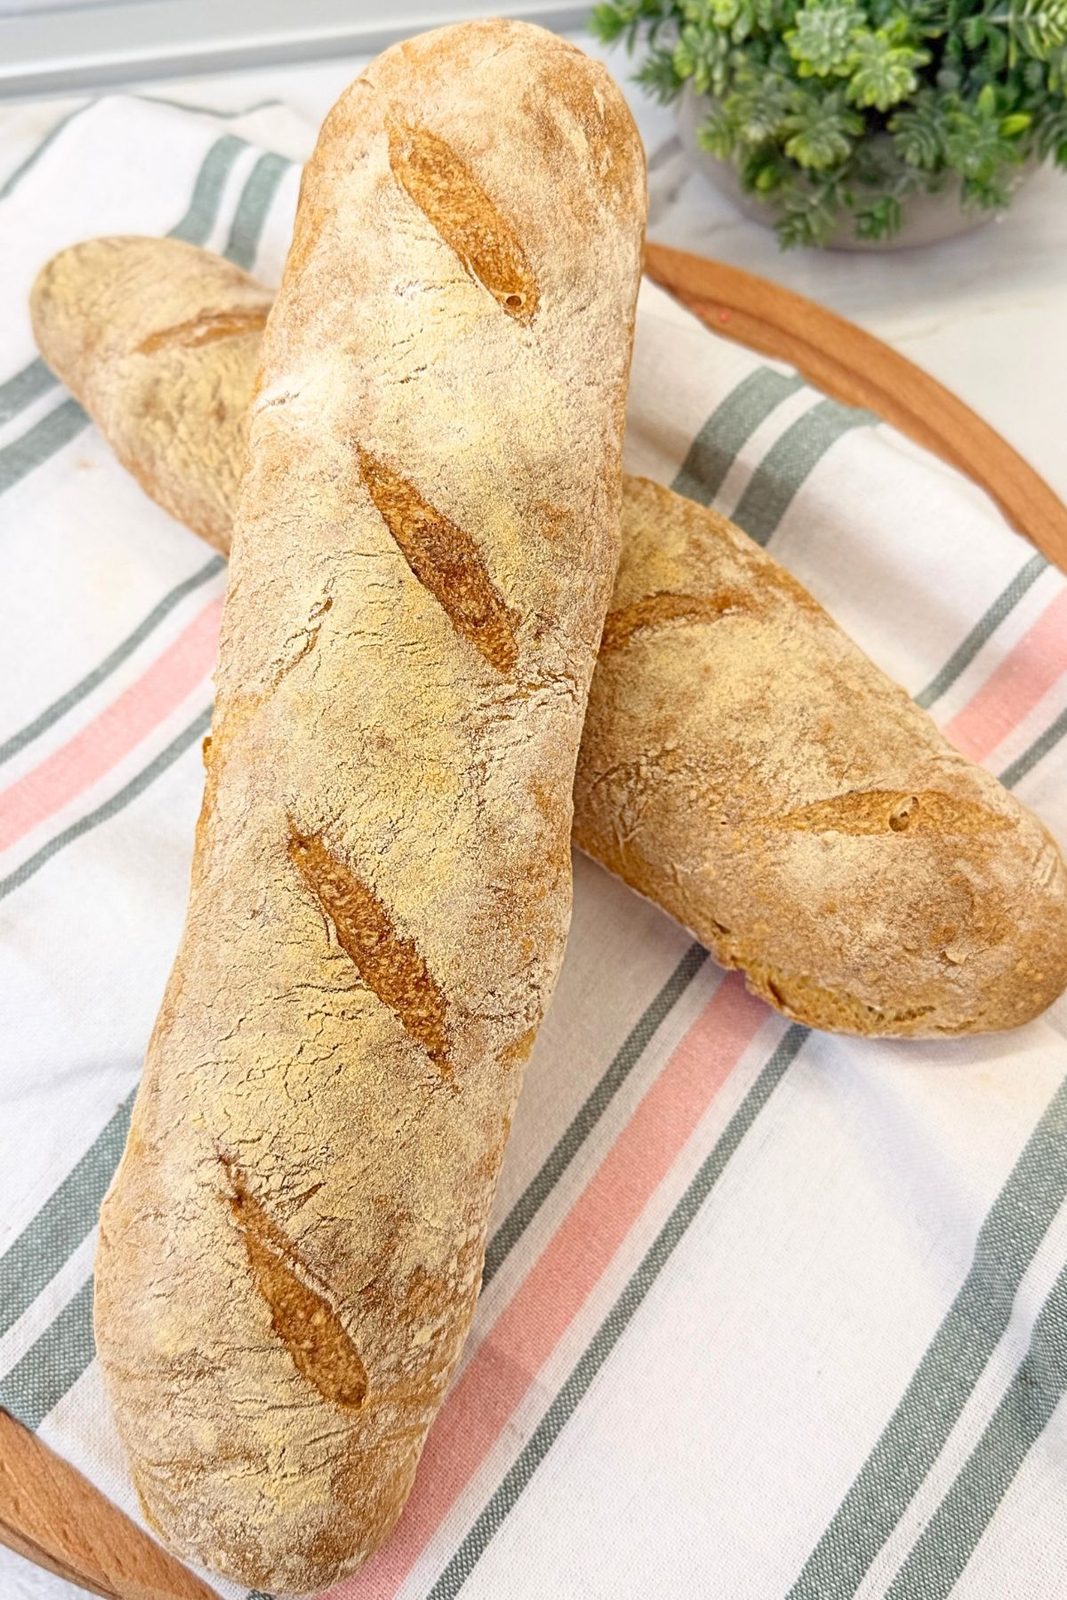
How to Store and Freeze
Allow the loaves to cool completely before storing them. Bread made from this homemade bread recipe is best enjoyed fresh, when the crust is crisp and the center is soft and airy.
Storing at Room Temperature
Keep the bread in a paper bag, bread box, or loosely wrapped clean kitchen towel for up to 2 days. For longer storage, place it in an airtight container or sealed bag for up to 3 days. The bread will remain soft, but the crust may lose some of its crispness. Avoid refrigerating it because cold temperatures can make bread dry and stale more quickly.
Freezing
Let the bread cool completely, then freeze it whole, cut into smaller portions, or sliced. Wrap it tightly in plastic wrap and place it inside a freezer-safe bag. Freeze for up to 3 months. Placing parchment paper between the slices makes it easy to remove only what you need.
Thawing and Reheating
Thaw the bread at room temperature. To restore its crispy crust, warm it in a preheated oven at 350°F (175°C) for 8 to 10 minutes. Individual frozen slices can also be reheated directly in a toaster.
Frequently Asked Questions (FAQ)
Can I use instant yeast instead of active dry yeast?
Yes. Instant yeast can be used in the same amount. You may mix it directly with the flour, but activating it in lukewarm water first also works and allows you to confirm that the yeast is active.
How warm should the water be?
The water should be lukewarm and comfortable to the touch, around 100°F to 110°F (38°C to 43°C). Water that is too hot can damage the yeast and prevent the dough from rising.
Why is my bread dough sticky?
The dough for this homemade bread recipe is supposed to be soft and slightly sticky. This higher moisture level helps create a lighter, airier center. Avoid adding too much additional flour.
Can I use bread flour instead of all-purpose flour?
Yes. Bread flour can be substituted in the same amount and may produce a slightly chewier texture. Because it absorbs more water, you may need to add a small splash of water if the dough feels too firm.
How do I know when the dough has risen enough?
The dough should noticeably increase in size and look puffy with small bubbles across the surface. Rising may take slightly longer in a cool kitchen, so watch the dough rather than relying only on the clock.
Why does this bread need to rise twice?
The first rise develops flavor and structure, while the second rise helps create a lighter and more even crumb. Both rises are important for achieving the rustic texture of this homemade bread recipe.
Why should I score the loaves before baking?
Scoring gives the expanding dough a controlled place to open in the oven. It also helps the bread keep its shape and creates the traditional rustic appearance on top.
How do I know when the bread is fully baked?
The loaves should have a crisp golden crust and sound hollow when tapped on the bottom. For additional accuracy, the center should reach approximately 190°F to 200°F (88°C to 93°C).
Nutrition per Serving
Serving Size: 1 slice, based on 20 slices from two loaves
Calories: 80 kcal
Carbohydrates: 16 g
Protein: 2 g
Fat: 0.3 g
Saturated Fat: 0 g
Cholesterol: 0 mg
Sodium: 235 mg
Fiber: 1 g
Sugar: 1 g
Nutrition values are approximate and may vary depending on the flour used and the size of each slice.
Conclusion
This rustic homemade bread recipe proves that a few simple ingredients can create something truly special. With its crispy golden crust, soft airy center, and comforting homemade flavor, this bread is perfect for serving with breakfast, dinner, soups, sandwiches, or simply a little butter.
Once you try these freshly baked loaves, this homemade bread recipe may quickly become one of your favorite ways to bake bread from scratch. Enjoy every warm and delicious slice.
Happy baking!

Rustic Homemade Bread Recipe
Ingredients
Equipment
Method
- Pour the lukewarm water into a large mixing bowl. Add the sugar, active dry yeast, and 1 tablespoon of flour taken from the measured amount. Stir until smooth, cover with a clean kitchen towel, and let the mixture rest for about 10 minutes, or until foamy and bubbly.
- Stir the activated yeast mixture. Add the remaining flour and salt, then mix with a wooden spoon until a rough dough begins to form.
- Use your hand to knead the dough directly in the bowl for several minutes, until the flour is fully incorporated. The dough should remain very soft and sticky. Do not add too much additional flour or make the dough stiff.
Complete the First Rise
- Cover the bowl with a clean kitchen towel and leave the dough in a warm place for 1 hour, or until it has noticeably increased in size.
- Gently knead or fold the risen dough several times directly in the bowl to release some of the air.
- Cover the bowl again and let the dough rise for another hour. It should become puffy, airy, and filled with small bubbles.
- Preheat the oven to 400°F (200°C). Line a large baking sheet with parchment paper and generously flour the work surface.
- Carefully turn the risen dough onto the floured surface without kneading it again. Divide it into two equal portions using a bench scraper. With lightly floured hands and the bench scraper, gently shape each portion into a long rustic loaf.
- Transfer the loaves to the prepared baking sheet. Make several diagonal cuts across the tops with a sharp knife or bread lame. Bake for about 30 minutes, or until the loaves have a crisp, golden crust and sound hollow when tapped on the bottom.
- Remove the baked loaves from the oven and transfer them to a wire rack. Let them cool before slicing and serving.
Notes
- The water should feel pleasantly warm, never hot. Water that is too hot can damage the yeast.
- The dough is meant to be very soft and sticky. Avoid adding excessive flour.
- Rising time may vary depending on the temperature of your kitchen. Look for a noticeable increase in size rather than relying only on the clock.
- Handle the dough gently after the second rise to preserve the air bubbles.
- Allow the bread to cool before slicing so the soft center can finish setting.
- Store cooled bread at room temperature for up to 3 days or freeze it for up to 3 months.