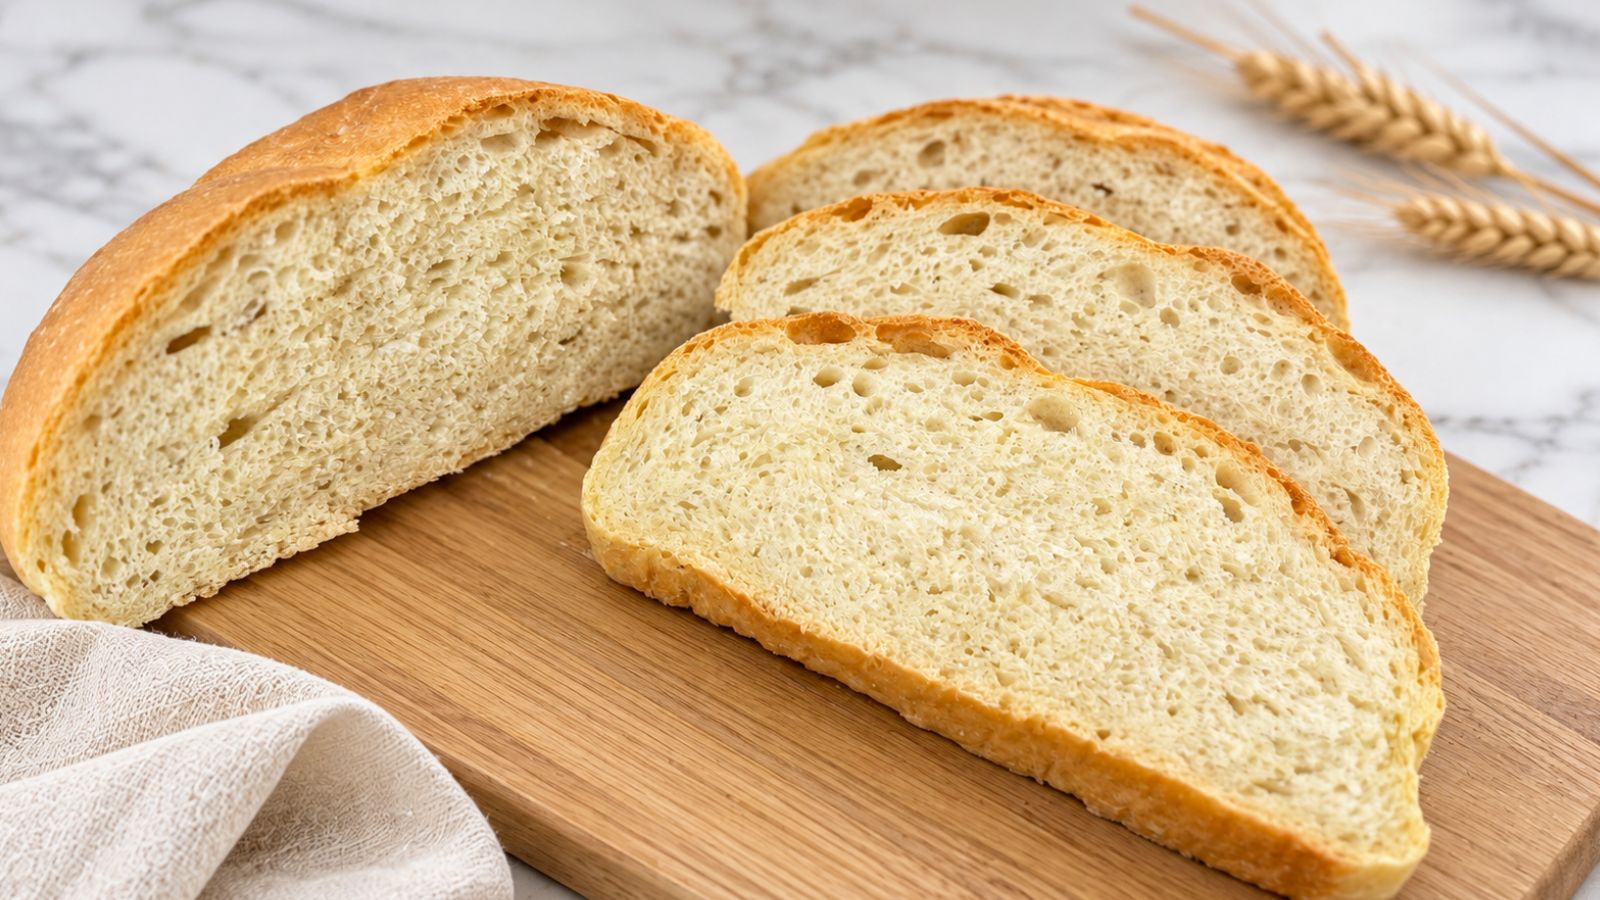
There’s something so comforting about the smell of homemade bread baking in the oven. These golden, round loaves have a soft, fluffy interior that makes even a simple slice with butter feel special. It’s the kind of bread I love having on the table for breakfast, alongside a bowl of soup, or ready for an easy sandwich.
This recipe uses everyday ingredients: flour, yeast, water, a little honey, salt, and oil. You don’t need a bread pan-just shape the dough into two round loaves and bake them on a baking sheet. With a little kneading and time to rise, you’ll have homemade bread that’s simple to make and a pleasure to share.
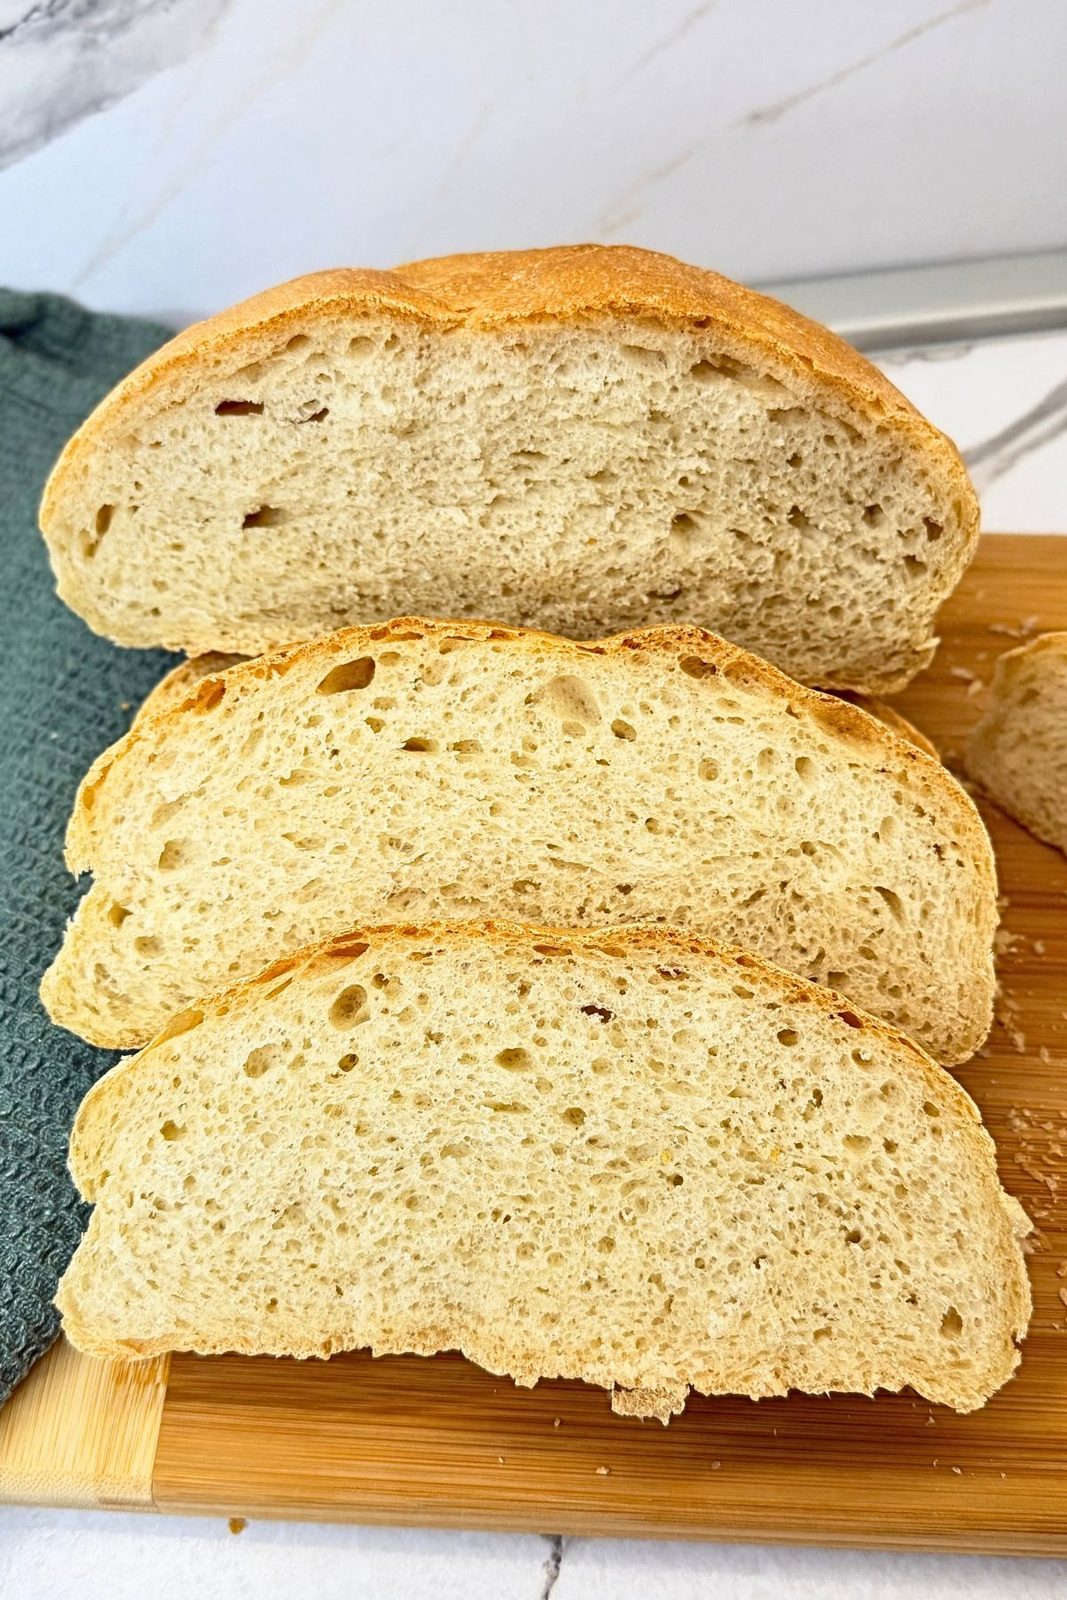
The secret to soft homemade bread is keeping the dough supple and giving it enough time to rise. Add the flour gradually, using just enough to make the dough manageable while leaving it slightly tacky. As it rests, the dough becomes puffy and airy, ready to shape into two simple loaves.
If you enjoy baking with yeast, you may also love my Pumpkin Dinner Rolls, a soft and fluffy addition to fall dinners. For extra help getting started, King Arthur Baking’s yeast baking guide is a useful resource to keep handy.
This homemade bread fits just as easily into a weekend baking routine as it does a special family meal. Serve one loaf fresh and save the second for later-having bread ready for tomorrow’s breakfast is always a lovely bonus.
Quick Recipe Info
- Prep Time: 20 minutes, including yeast activation
- Rise Time: 1 hour 45 minutes
- Bake Time: 30–35 minutes
- Total Time: About 2 hours 40 minutes, plus cooling
- Yield: 2 round loaves
- Oven Temperature: 400°F (200°C)
- Equipment: Large mixing bowl and baking sheet lined with parchment paper
- Difficulty: Easy
- Texture: Soft, fluffy interior with a golden crust
- Perfect For: Sandwiches, toast, or serving alongside soups and family meals
Why You’ll Love This Homemade Bread
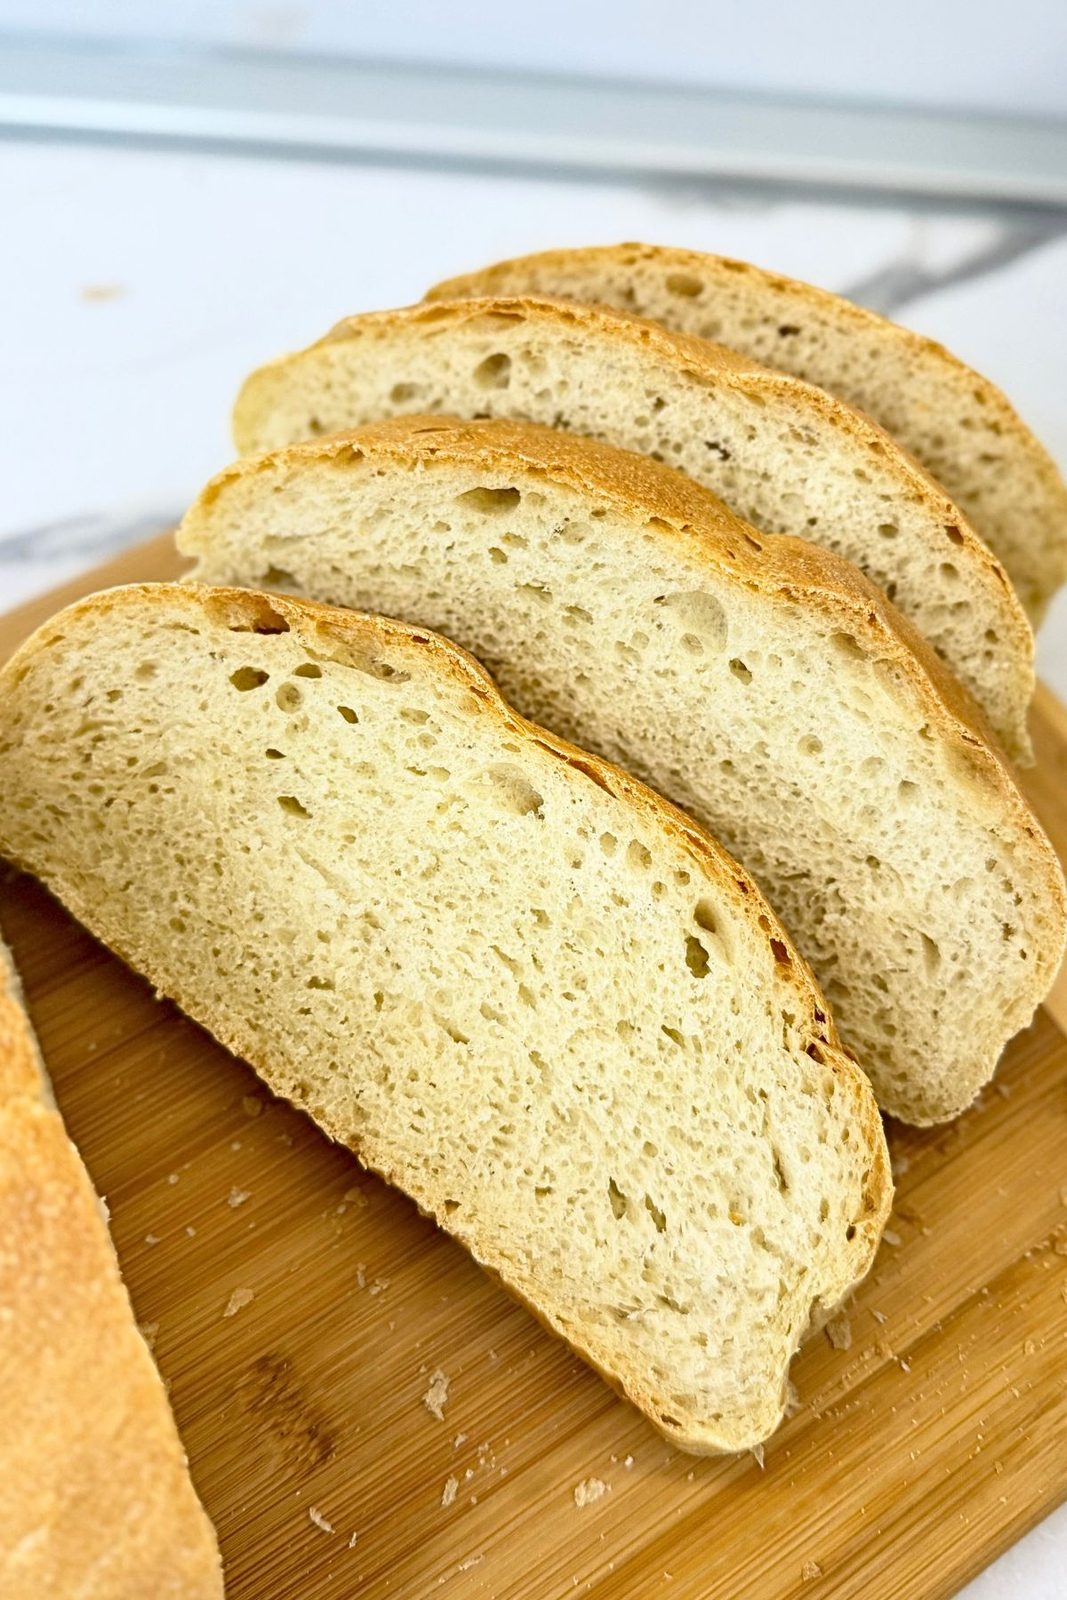
- Soft and fluffy: Each loaf has a tender, airy interior that’s delicious with a simple spread of butter.
- Simple ingredients: Made with pantry staples and a little honey, this homemade bread contains no eggs, milk, or butter.
- No bread pan needed: Shape the dough into round loaves and bake them directly on a parchment-lined baking sheet.
- Easy to follow: Straightforward steps and two rises make this a lovely recipe for anyone learning to bake bread.
- Makes two loaves: Enjoy one fresh and freeze the other for another day.
- Perfect for everyday meals: Slice it for sandwiches, toast it for breakfast, or serve it alongside your favorite soup.
Ingredients You’ll Need
You only need six simple ingredients to make this soft homemade bread. See the recipe card below for the full measurements.
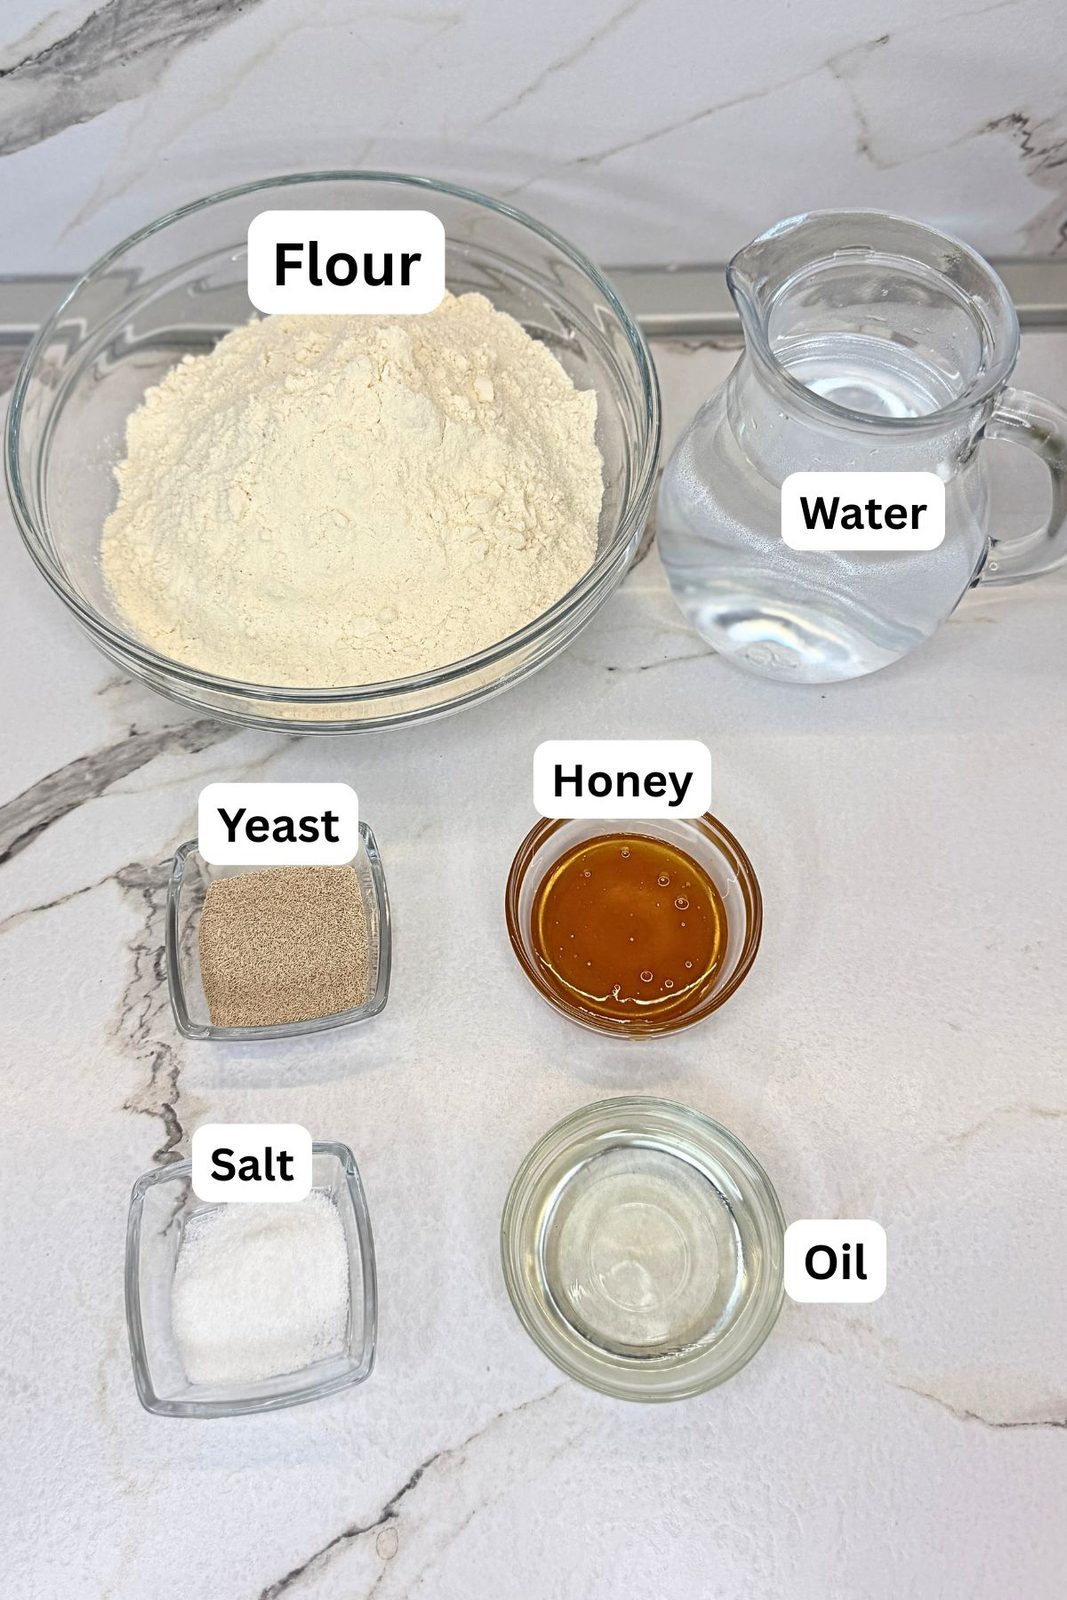
- Flour: Add it gradually, keeping the dough soft and slightly tacky. Too much flour can make the bread dense.
- Warm water: Helps bring the dough together and activate the yeast. It should feel comfortably warm, not hot.
- Dry yeast: Makes the dough rise and gives the loaves their airy texture. Let it sit in the warm water and honey until foamy.
- Honey: Adds a subtle sweetness that complements the bread without making it taste sweet.
- Salt: Brings out the flavor and balances the honey.
- Oil: Helps keep the crumb tender. Use a neutral oil, such as sunflower or vegetable oil.
How to Make Homemade Bread
1. Activate the yeast
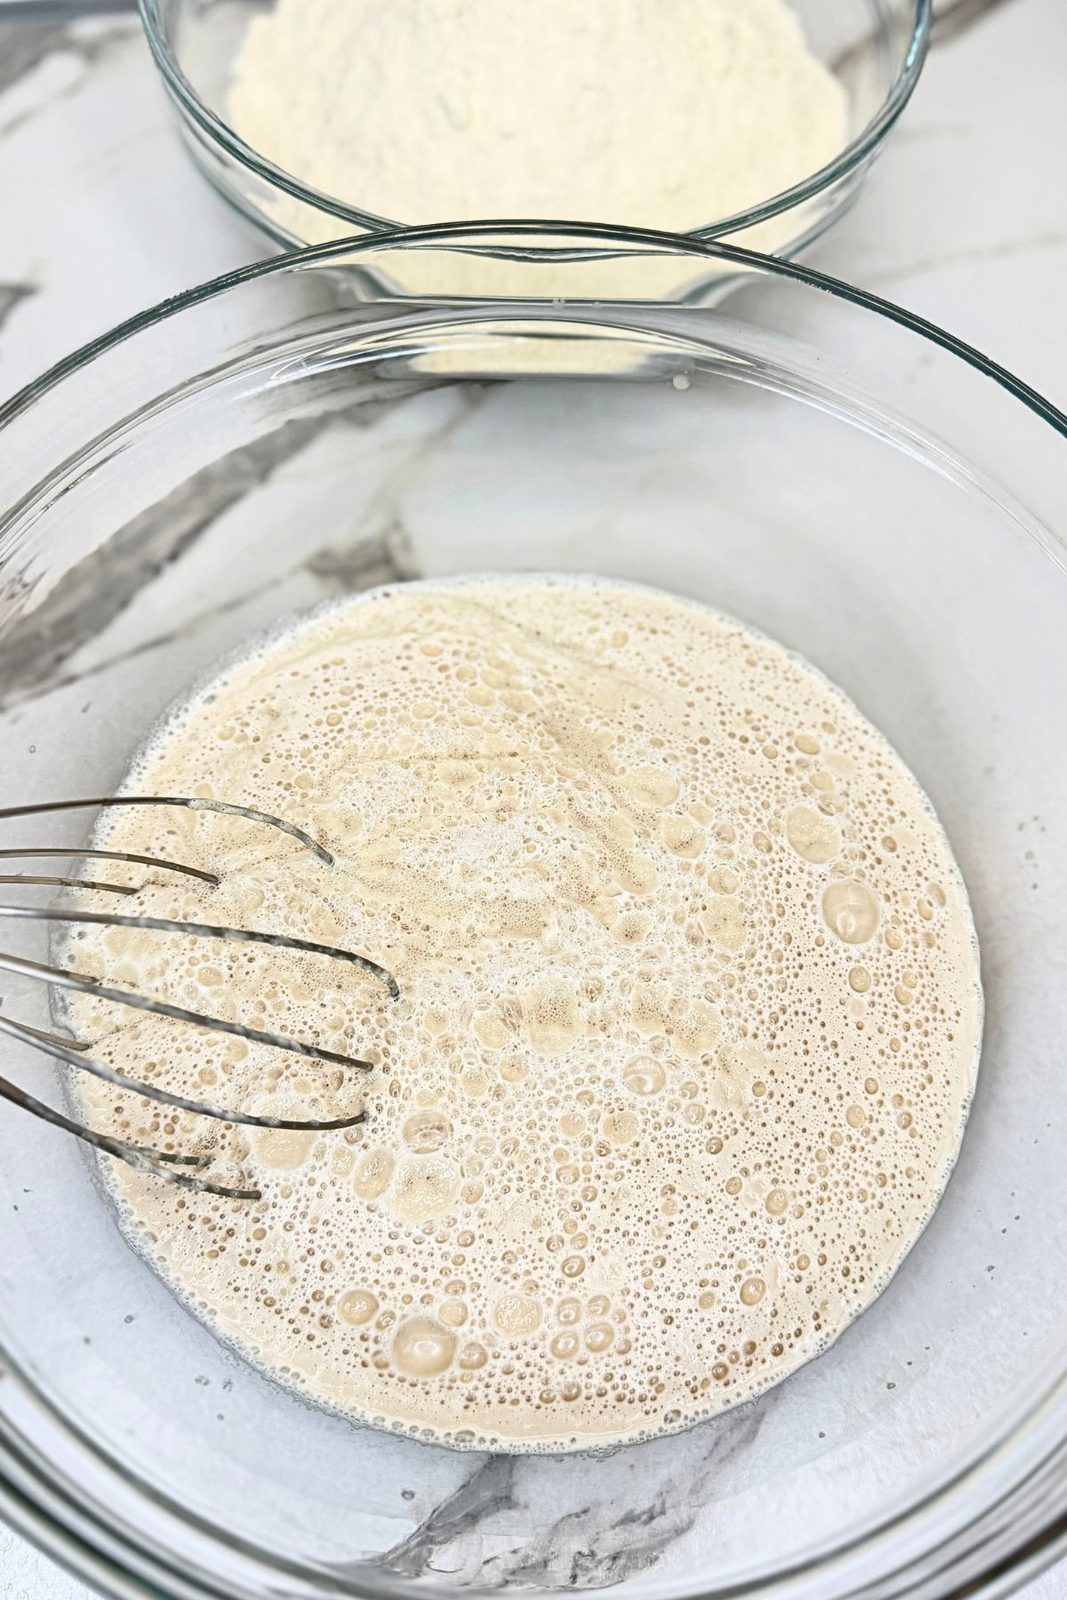
Pour the warm water into a large mixing bowl. Add the honey and dry yeast, stir gently, and let stand for 5–10 minutes, until the mixture becomes foamy.
2. Mix the dough
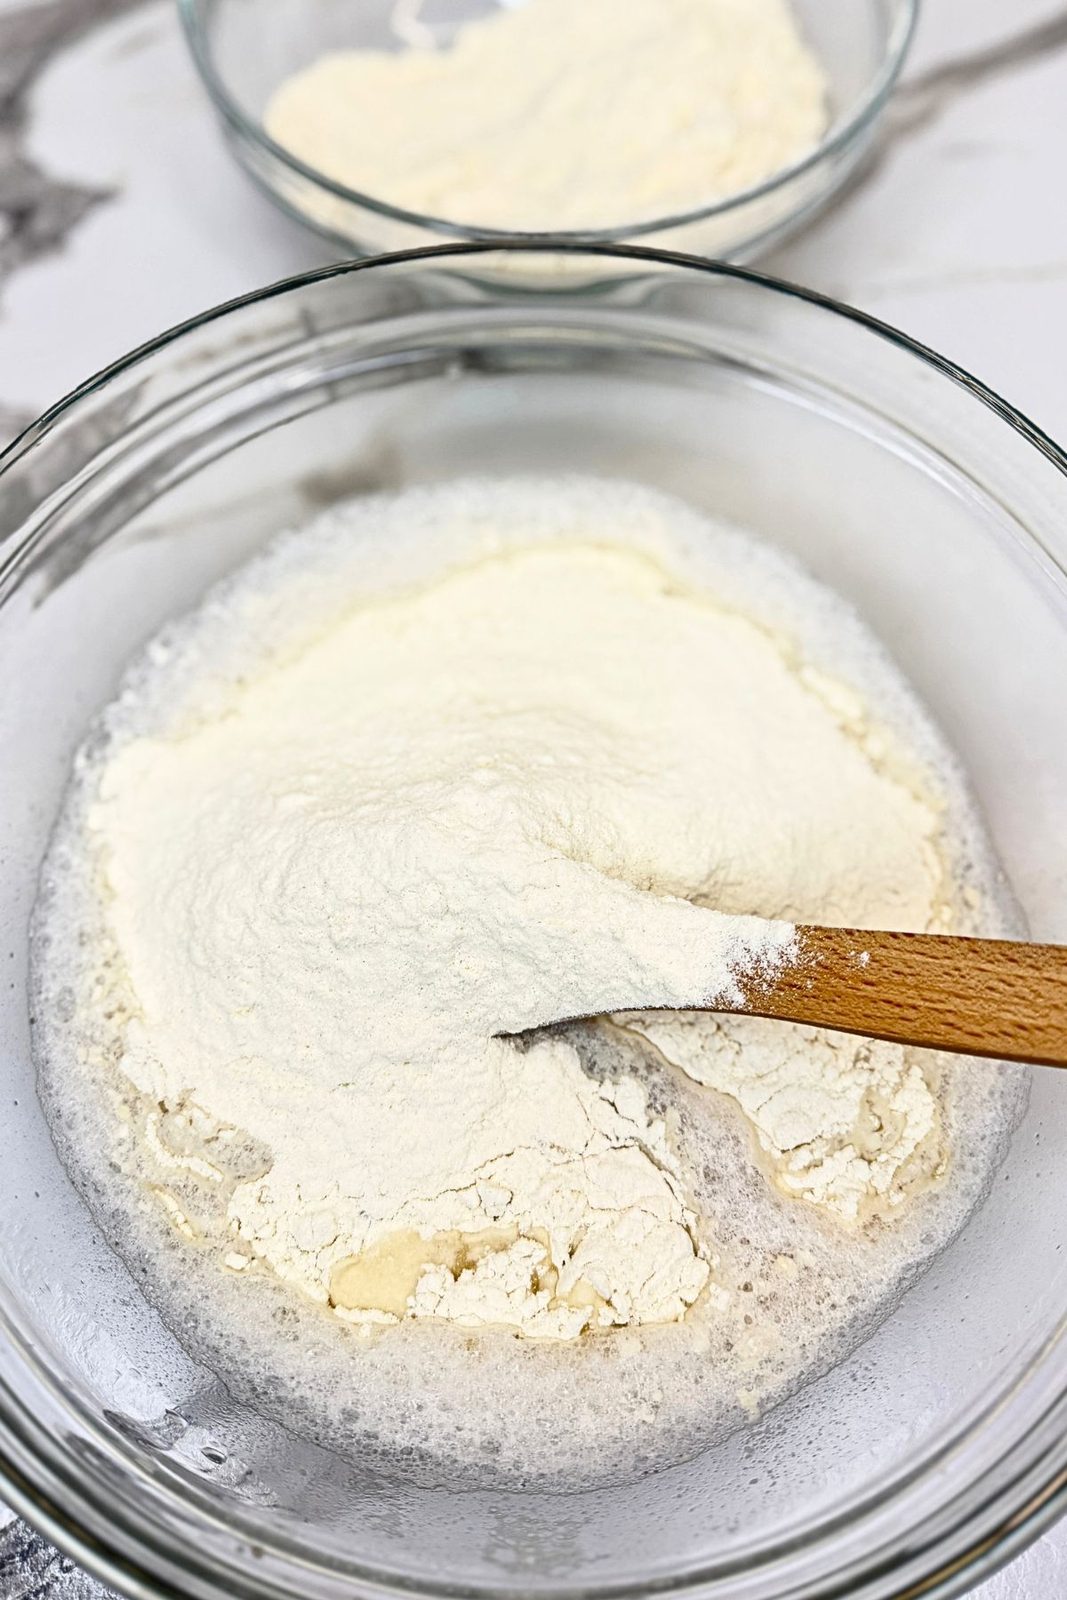
Stir the yeast mixture, then add the flour, salt, and oil. Start with 4 cups of flour, adding more gradually as needed. Mix until the ingredients come together into a soft dough.
You may not need the full amount of flour. The dough should remain slightly tacky rather than dry or stiff.
3. Knead and let rise
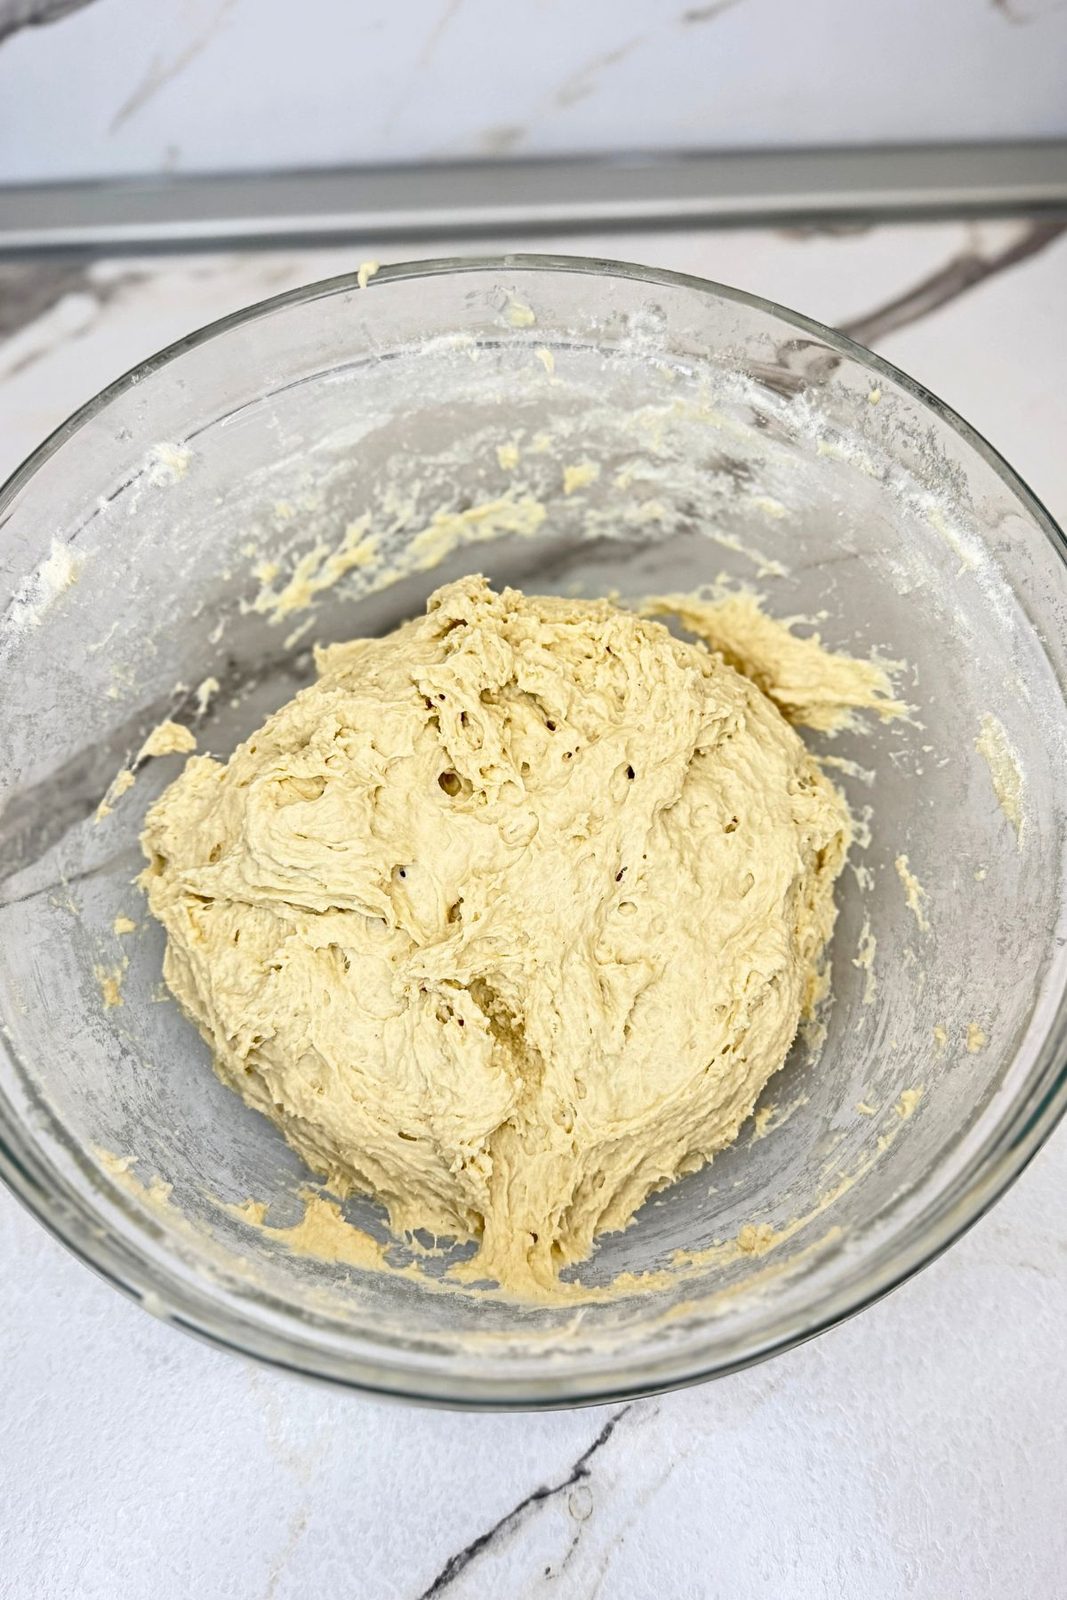
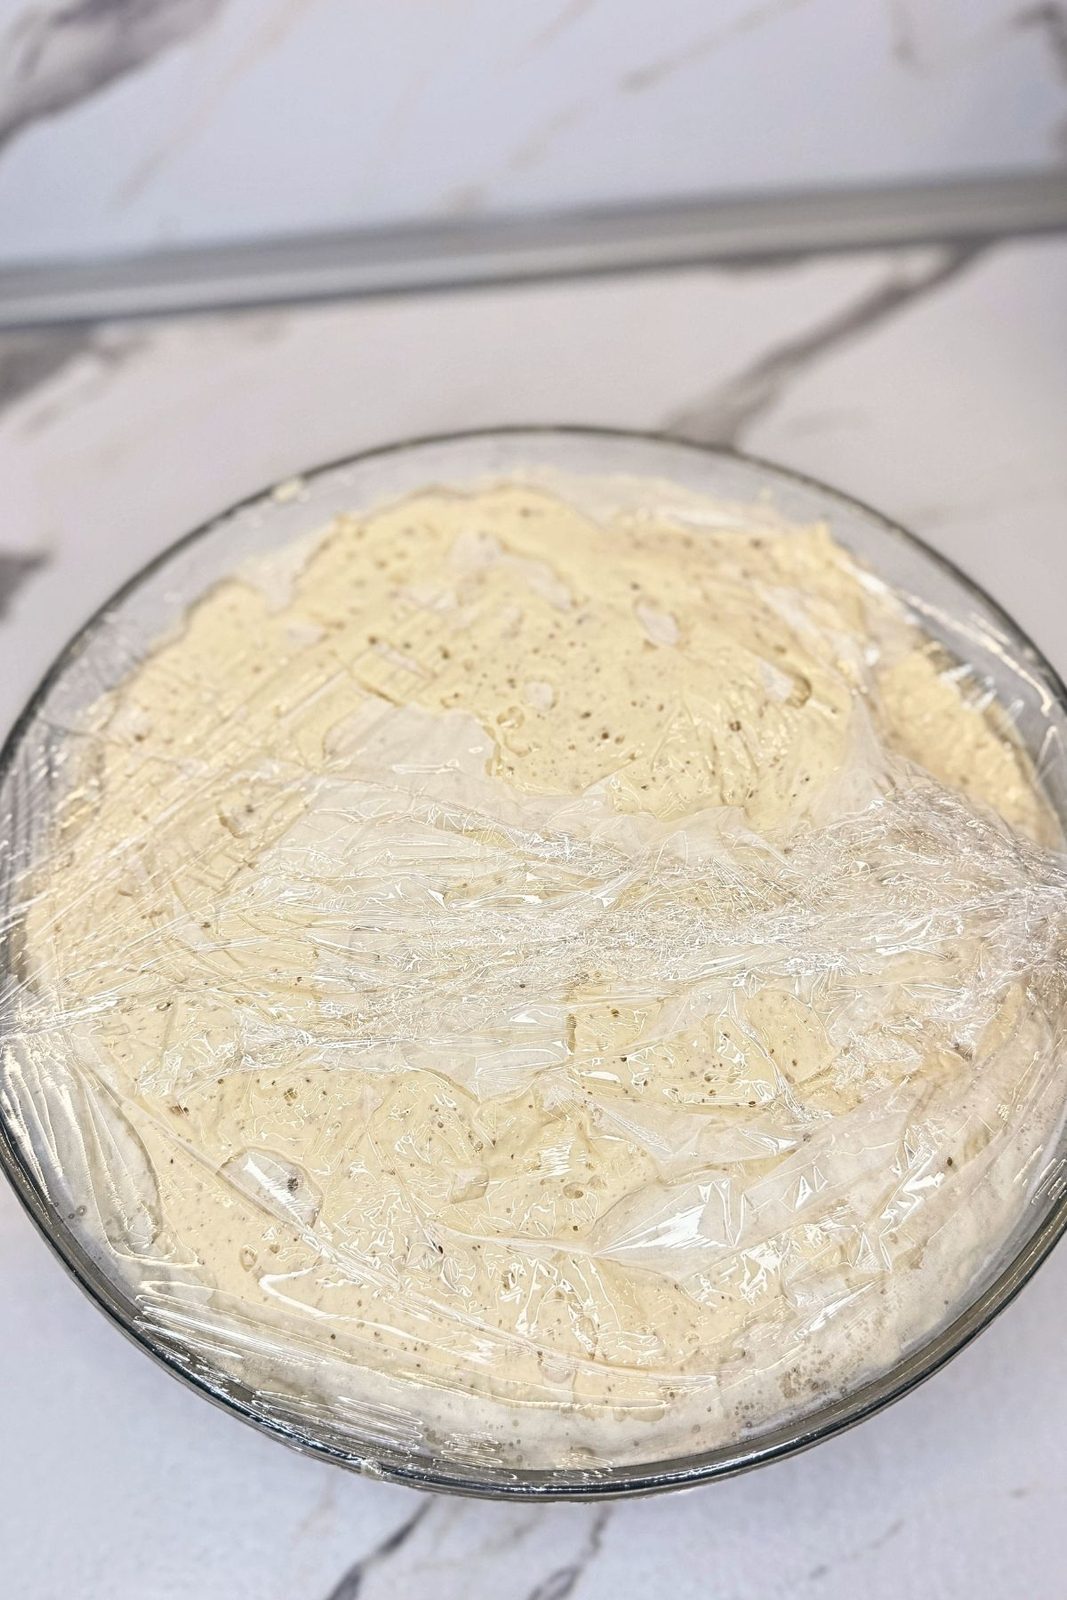
Knead the dough until it becomes smooth and elastic. Cover the bowl with plastic wrap and leave it in a warm, draft-free place for about 1 hour, or until doubled in size.
4. Divide and shape
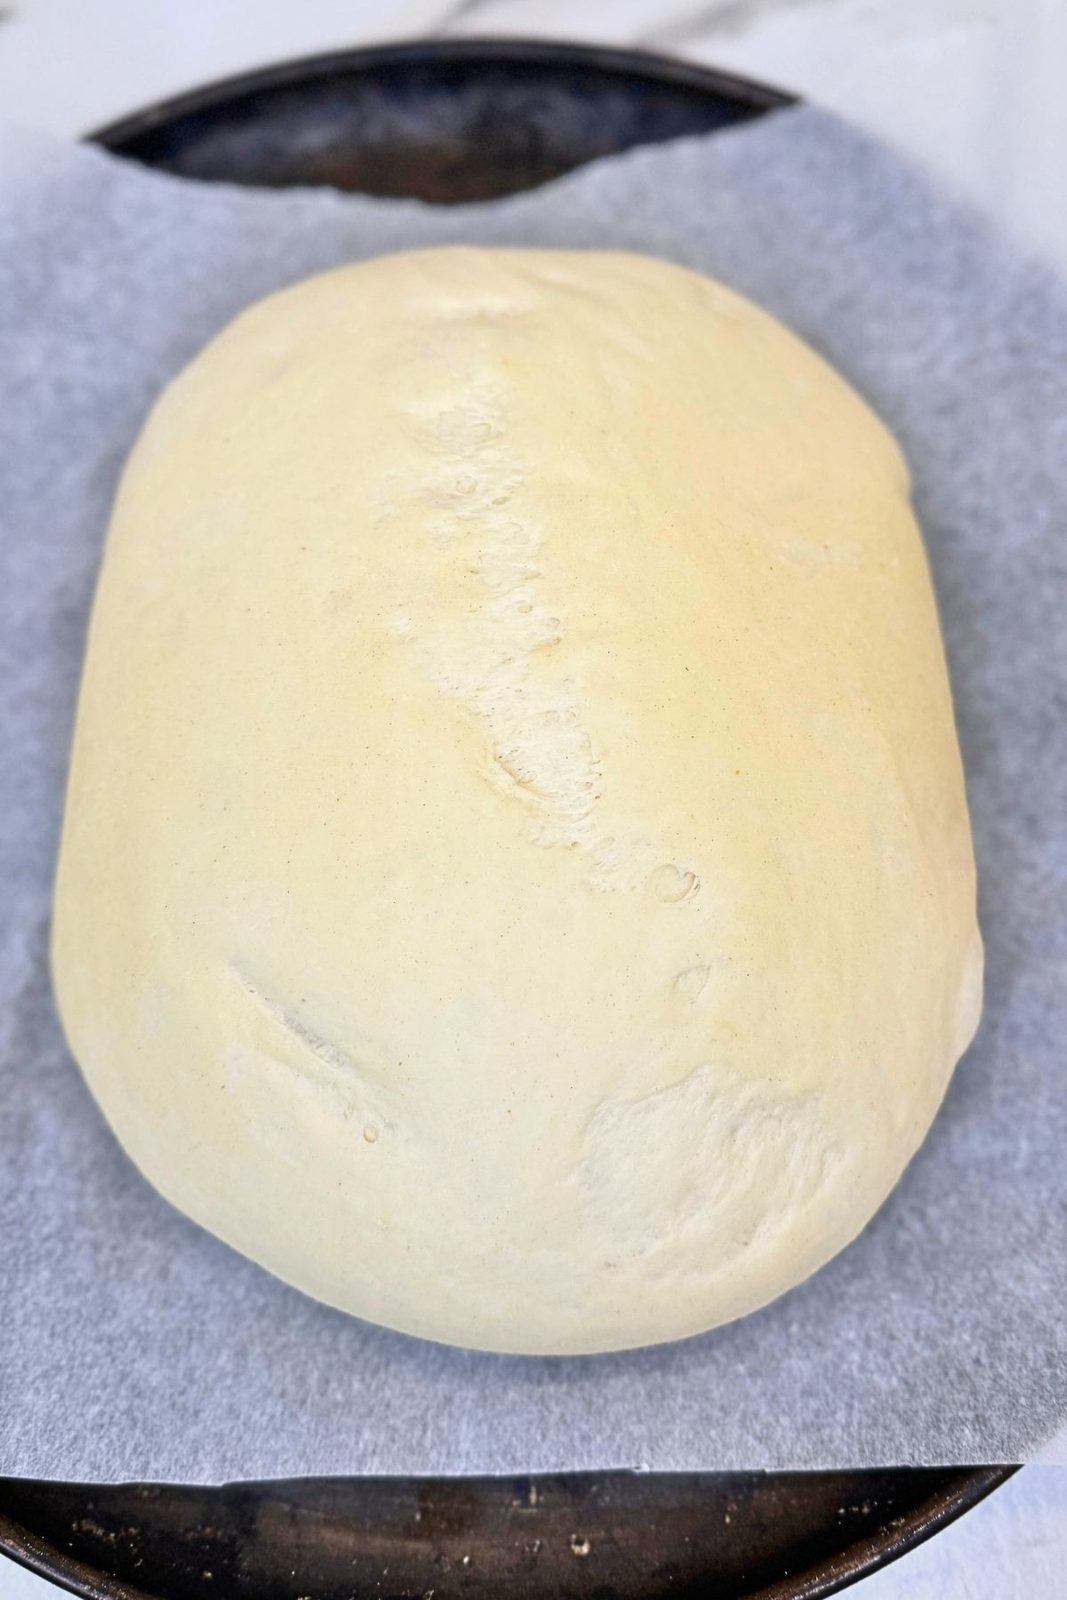
Turn the risen dough onto a lightly floured work surface and divide it into two equal portions. Gently knead each portion briefly, then shape it into a round loaf, tucking the edges underneath.
Place the loaves seam-side down on a baking sheet lined with parchment paper, leaving plenty of space between them. Use two baking sheets if needed.
5. Let the loaves rise again
Cover loosely with a clean kitchen towel or lightly oiled plastic wrap. Let rise for another 45 minutes, until noticeably puffy.
Toward the end of the rising time, preheat the oven to 400°F (200°C).
6. Bake until golden
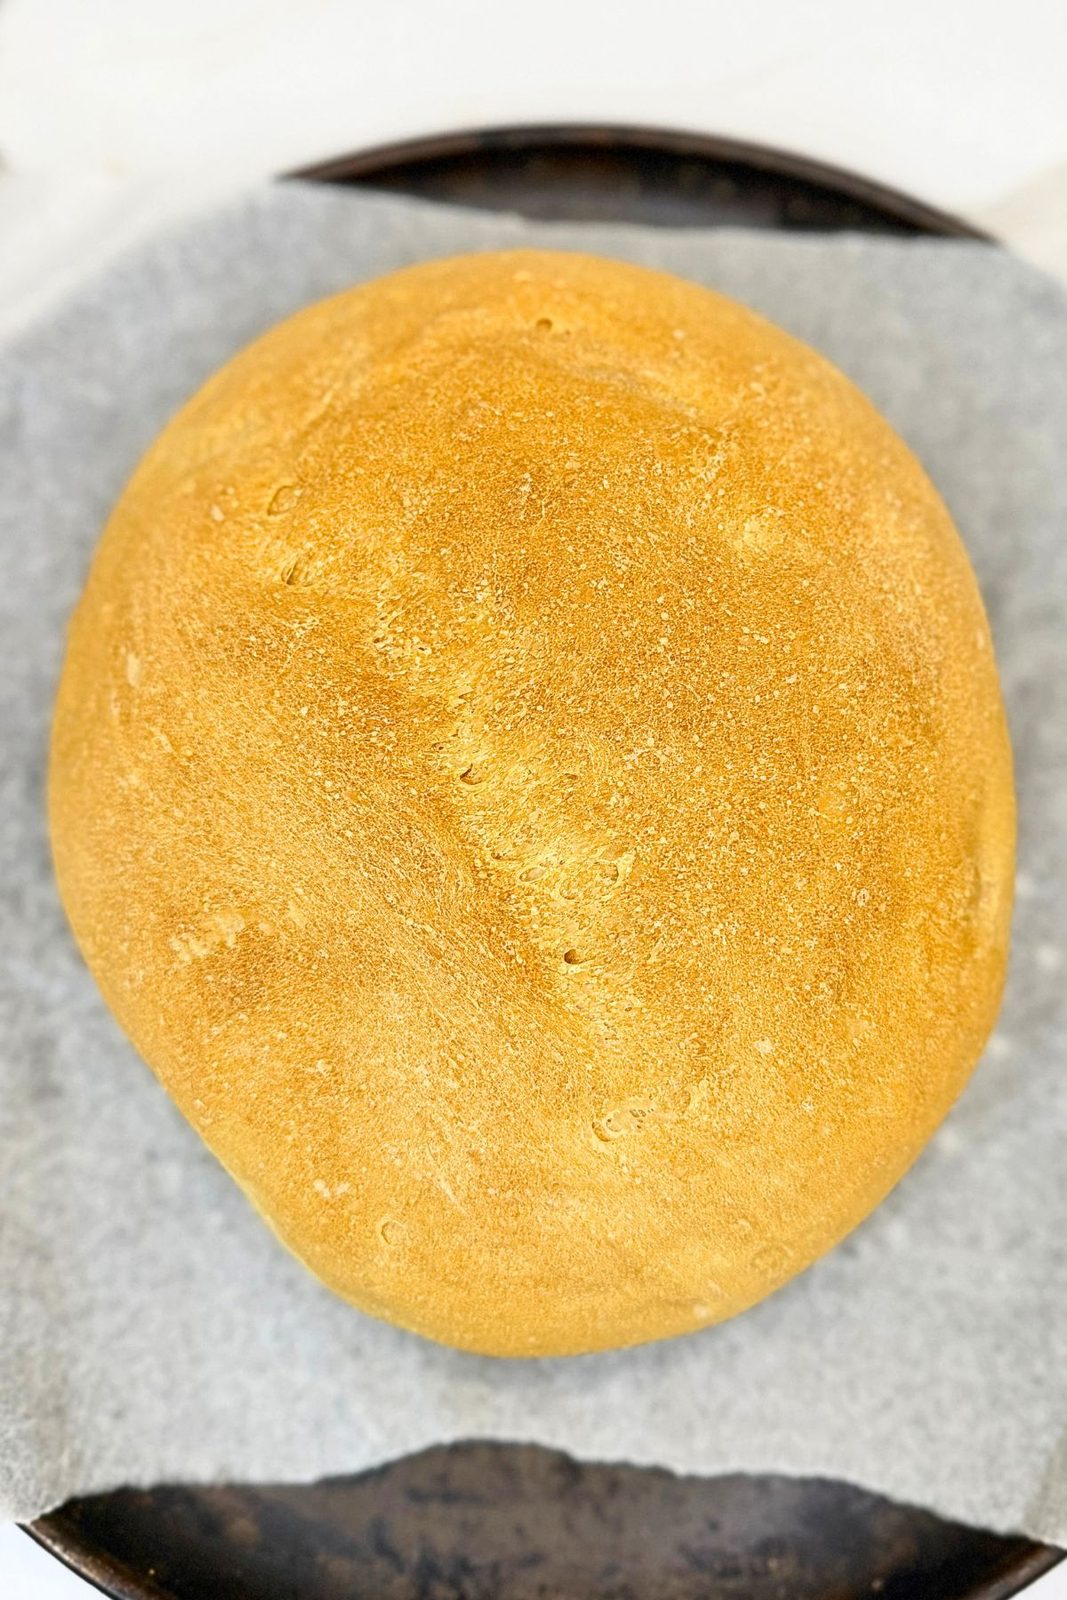
Bake in the preheated oven for 30–35 minutes, until the loaves are golden brown and sound hollow when gently tapped underneath. If the tops brown too quickly, cover them loosely with aluminum foil for the remaining baking time.
7. Cool and slice
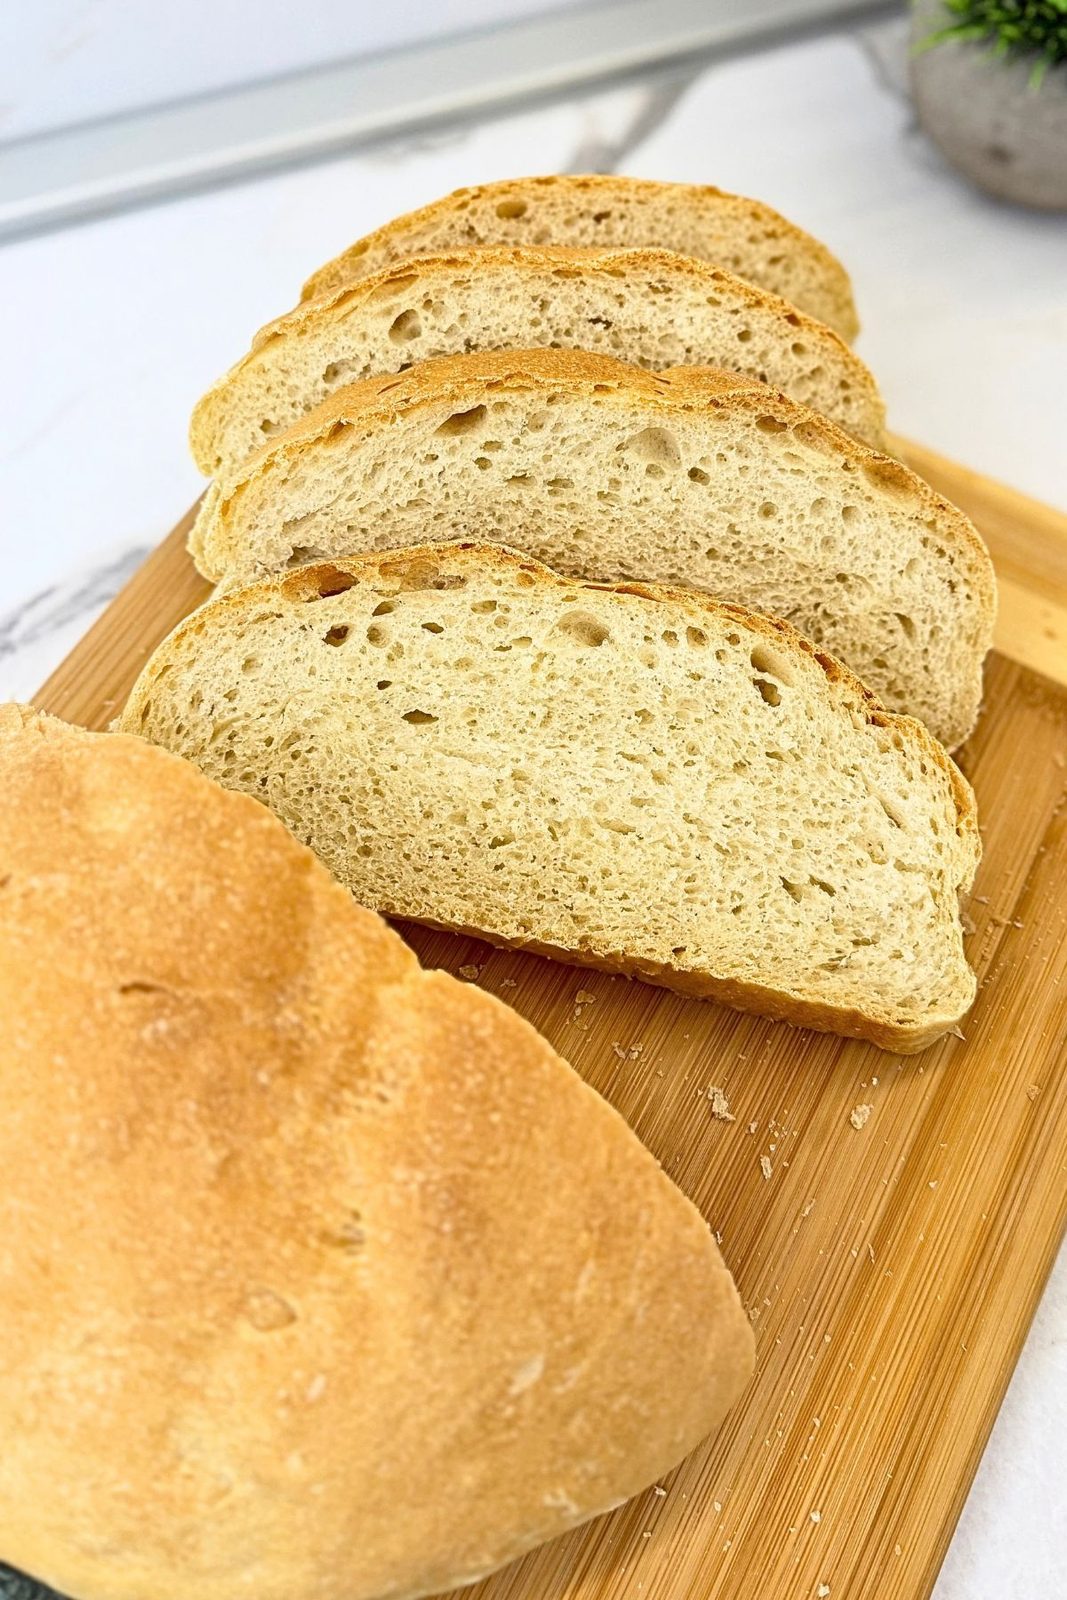
Transfer the homemade bread to a wire rack and let it cool before slicing. Cooling allows the crumb to set, making the bread easier to cut without compressing its soft interior. Use a serrated bread knife and a gentle sawing motion for neat slices.
How to Store and Freeze
At Room Temperature
Let the homemade bread cool completely before placing it in an airtight container or resealable bread bag. Store at room temperature for 2–3 days. Keep the loaf whole and slice only what you need to help prevent it from drying out.
Avoid storing bread in the refrigerator, as it can become stale more quickly. For longer storage, freeze it while it’s still fresh.
How to Freeze
Wrap each cooled loaf tightly in plastic wrap, then place it in a freezer-safe bag, pressing out excess air. Freeze for up to 3 months for the best quality.
You can also slice the bread before freezing. Place small pieces of parchment paper between the slices so you can easily take out just enough for breakfast or sandwiches.
How to Thaw and Reheat
Thaw a whole loaf at room temperature, still wrapped, for several hours. For a freshly warmed loaf, remove the wrapping, loosely cover with aluminum foil, and heat in a 300°F (150°C) oven for 10–15 minutes, or until warmed through.
Individual slices can go straight from the freezer into the toaster-no thawing needed.
Frequently Asked Questions (FAQ)
What type of flour should I use?
All-purpose flour works well for a soft, tender loaf. Bread flour is another option and gives the bread a slightly chewier texture. Add the flour gradually, since different flours absorb different amounts of water.
Why does the recipe call for a range of flour?
The amount you need depends on your flour and how you measure it. Start with 4 cups and add more gradually, only as needed. The dough should feel soft and slightly tacky, not stiff. You may not need the full 5½ cups.
Can I use instant yeast instead of active dry yeast?
Yes, you can use the same amount of instant yeast. It can be mixed directly with the flour, although following the recipe’s water-and-honey step also works. Instant yeast may rise faster, so watch the dough rather than relying only on the clock.
Why didn’t my dough rise?
The yeast may be old, the water may have been too hot, or the room may be too cool. Check that the yeast mixture becomes foamy before adding the remaining ingredients. Give the dough more time if your kitchen is chilly.
Why is my homemade bread dense?
Too much flour, insufficient kneading, or too little rising time can produce a dense loaf. Keep the dough soft, knead until smooth and elastic, and allow it to become noticeably puffy during both rises.
Can I prepare the dough the night before?
Yes. After kneading, place the dough in a lightly oiled bowl, cover tightly, and refrigerate overnight for the first rise. The next day, divide and shape it, then let the loaves rise until puffy before baking. Cold dough will need longer than the usual 45 minutes.
How can I make the crust softer?
For a softer finish, lightly brush the tops with melted butter after baking. Let the loaves cool on a wire rack under a clean kitchen towel. Once completely cool, store them in a sealed bread bag.
Can I make just one loaf?
Yes, halve all the ingredients and shape the dough into one round loaf. The rising times should be similar, and the baking time will usually remain close to 30–35 minutes because the individual loaf is the same size.
Why should I let the bread cool before slicing?
The crumb continues to set as the loaf cools. Cutting too soon can compress the soft interior and make it seem gummy. Let your homemade bread cool on a wire rack, then slice with a serrated knife.
Nutrition per Serving
Estimated nutrition per slice, based on 5½ cups of all-purpose flour and 16 slices total (8 per loaf):
- Calories: 173 kcal
- Carbohydrates: 33 g
- Protein: 4.5 g
- Fat: 2 g
- Saturated Fat: 0.3 g
- Cholesterol: 0 mg
- Sodium: 290 mg
- Fiber: 1.3 g
- Sugar: 1.5 g
Nutrition values are approximate and will vary depending on the ingredients used and slice size.
Conclusion
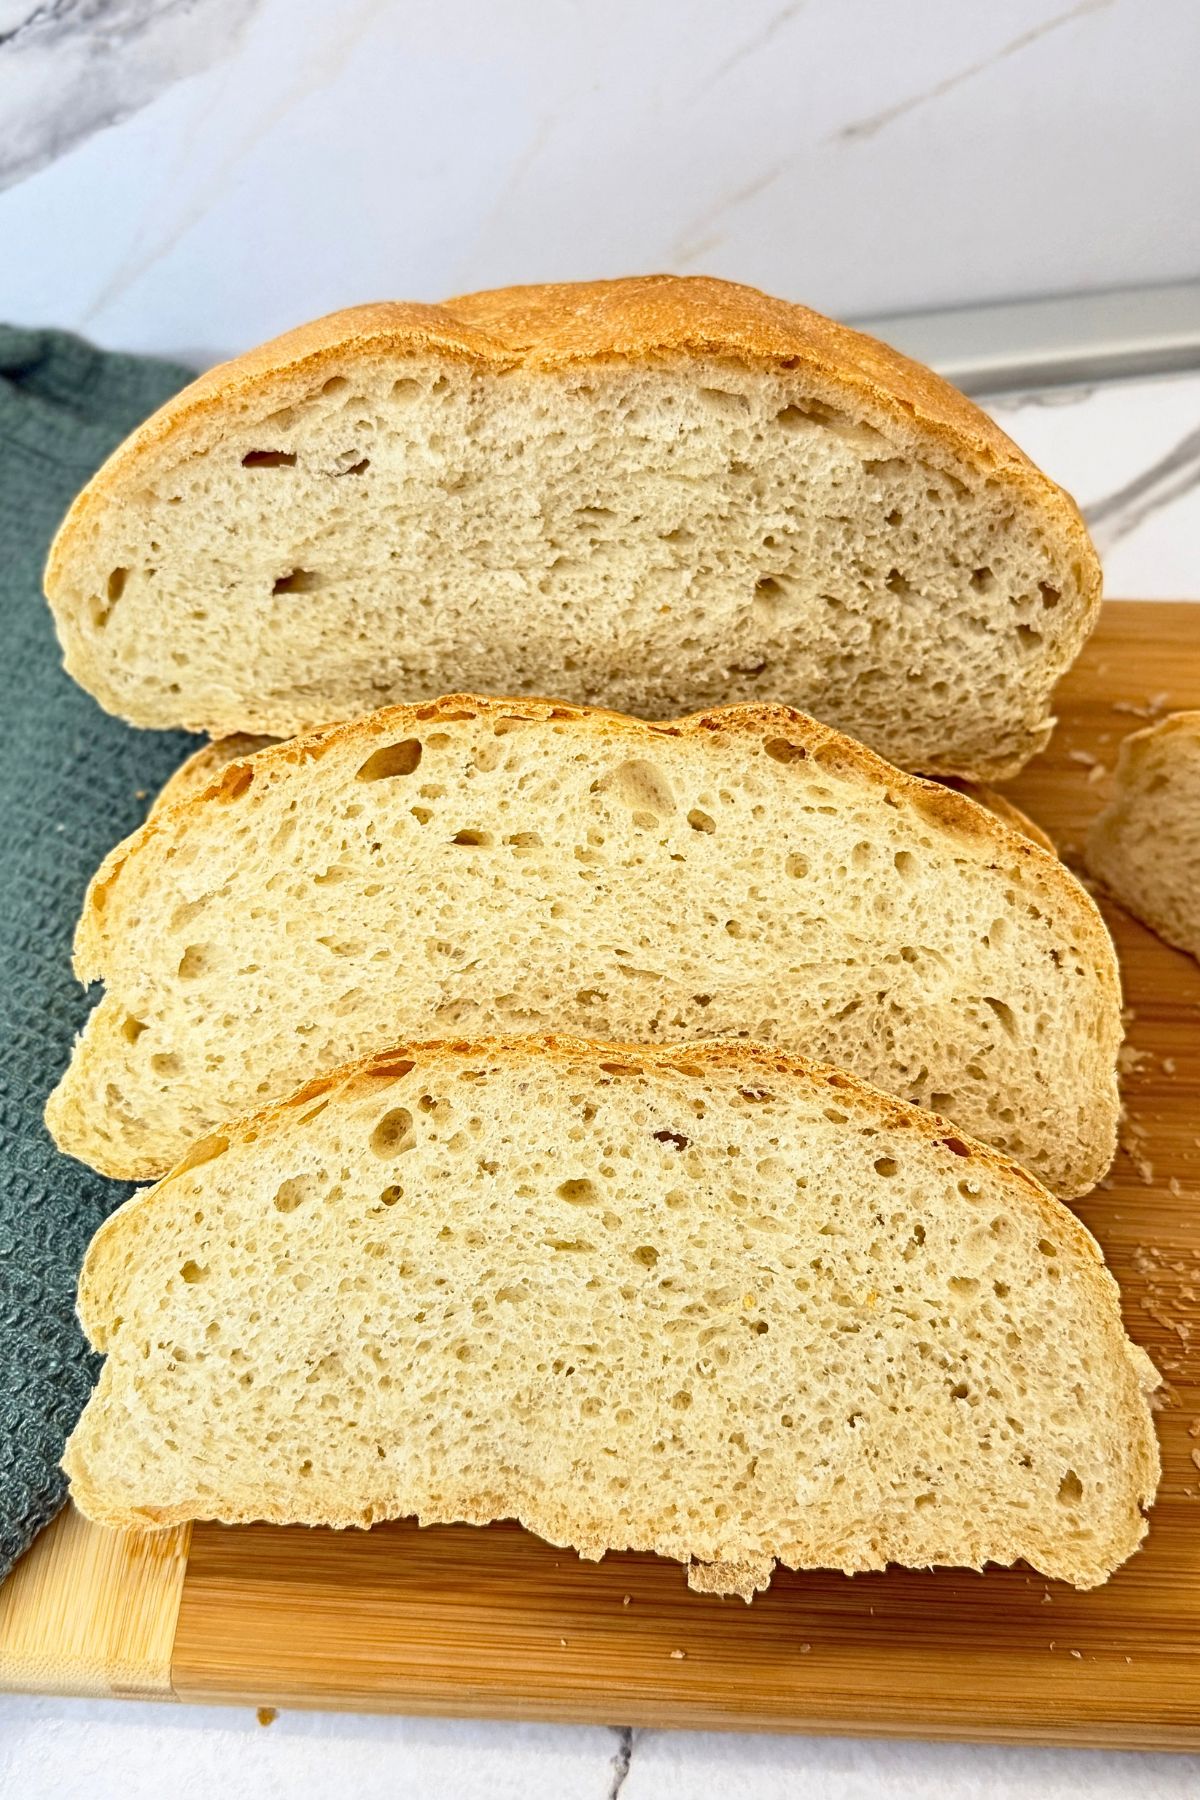
This homemade bread brings simple ingredients together in two golden loaves with a soft, fluffy center. Whether you slice it for sandwiches, toast it for breakfast, or serve it alongside dinner, it’s a comforting addition to your table.
With one loaf to enjoy and another to share or freeze, this recipe makes a little time in the kitchen go a long way. A slice with butter is a lovely place to start!
If you try this homemade bread, leave a comment and a recipe rating below. I’d love to hear how your loaves turned out and what you served them with.
Happy Baking!

The Best Homemade Bread – Soft and Fluffy
Ingredients
Equipment
Method
- Activate the yeast: Combine the warm water, honey, and yeast in a large mixing bowl. Stir gently and let stand for 5–10 minutes, until foamy.
- Mix the dough: Stir the yeast mixture, then add 4 cups (480 g) of flour, the salt, and oil. Mix until combined, adding the remaining flour gradually as needed to form a soft, slightly tacky dough.
- Knead: Knead until the dough becomes smooth and elastic. Avoid adding too much flour, which can make the bread dense.
- First rise: Place the dough in a lightly oiled bowl and cover with plastic wrap. Let rise in a warm, draft-free place for about 1 hour, or until doubled in size.
- Shape the loaves: Turn the dough onto a lightly floured work surface. Divide into two equal portions, knead each briefly, and shape into round loaves. Tuck the edges underneath and place seam-side down on a parchment-lined baking sheet, leaving plenty of space between them.
- Second rise: Cover loosely with a clean kitchen towel or lightly oiled plastic wrap. Let rise for about 45 minutes, until puffy. Toward the end of this time, preheat the oven to 400°F (200°C).
- Bake: Remove the covering and bake for 30–35 minutes, until golden brown and the bottoms sound hollow when tapped gently. If the tops brown too quickly, loosely cover with aluminum foil.
- Cool: Transfer the loaves to a wire rack and let cool before slicing. Cut each loaf into 8 slices.
Notes
- Flour: Spoon flour into the measuring cup and level it off. The amount needed may vary; keep the dough soft and slightly tacky.
- Water: Use comfortably warm water, not hot water, which can damage the yeast.
- Rising: Use the dough’s appearance as your guide. A cool kitchen may require longer rising times.
- Baking sheets: Use two sheets if both loaves cannot fit comfortably on one.
- Softer crust: Optionally brush the freshly baked loaves with melted butter and cover lightly with a clean kitchen towel while cooling.
- Storage: Cool completely and store in a sealed bread bag at room temperature for 2–3 days.
- Freezing: Wrap tightly and freeze for up to 3 months. Freeze sliced bread for easy toasting.
- Nutrition: Estimates use 5½ cups (660 g) of flour and 16 slices total, excluding optional butter.
One comment