Chocolate swirl buns are soft, airy, and filled with rich chocolate swirls, bringing pure homemade comfort in every bite. The dough is light and slightly sweet with a hint of vanilla, while the silky chocolate filling melts into delicate layers that create a beautiful spiral inside. As they bake, your kitchen fills with the irresistible aroma of warm dough and chocolate, just like a cozy bakery in the morning.
If you love baking homemade bread, be sure to also try my pretzel buns and natural colored burger buns for more soft and delicious ideas.
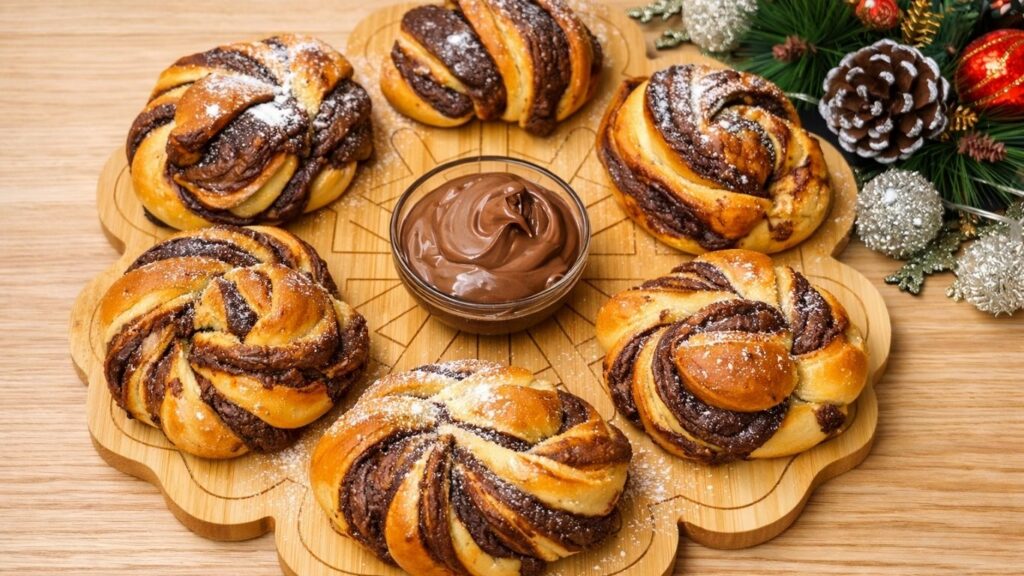
These homemade chocolate swirl buns are easy to make and beautifully layered with rich chocolate swirls. The dough comes together soft and smooth, perfect for rolling and creating those signature bakery style spirals. From mixing the dough to spreading the chocolate filling and watching the buns rise, every step is simple and rewarding.
Whether you are baking for your family, a cozy weekend breakfast, or a sweet treat just for yourself, these buns bring that warm homemade feeling to your table. Serve them fresh and warm and enjoy the perfect balance of soft dough and melted chocolate in every bite.
MY LATEST VIDEOS
Quick Info
Prep Time: 20 minutes
Rising Time: 1 hour
Bake Time: 20–25 minutes
Total Time: about 1 hour 45 minutesYield: 9 soft swirl buns
Serving Size: 1 bun
Cuisine: Homemade / Bakery-style
Category: Sweet buns, breakfast, dessert
Difficulty: Easy
Ingredients You’ll Need
These Chocolate Swirl Buns are made with simple ingredients that create a soft, fluffy dough and a rich chocolate filling.
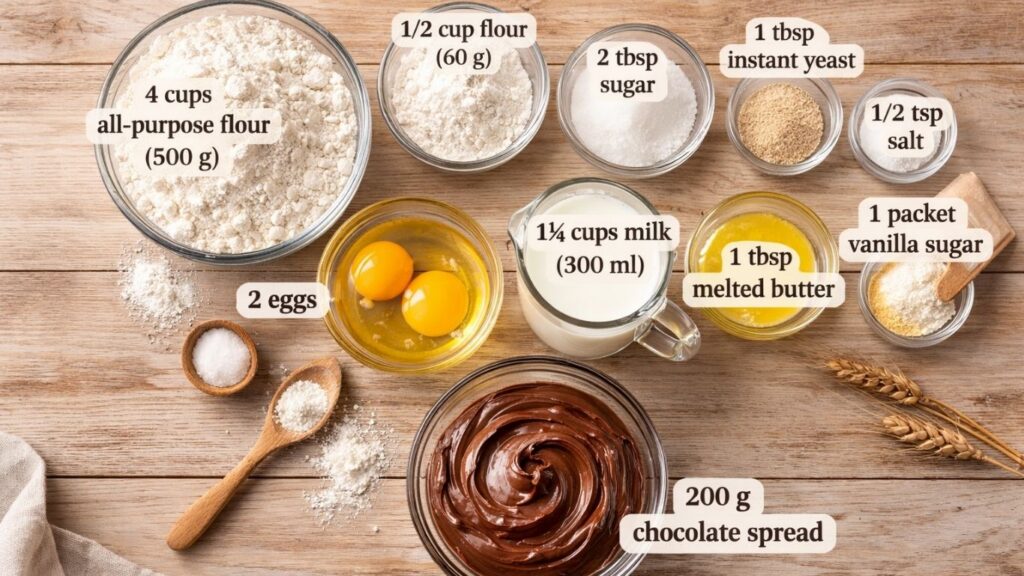
Milk: Adds moisture and creates a soft, tender texture. Use lukewarm milk to help the yeast work properly.
Instant yeast: Helps the dough rise and gives the buns their light and airy texture.
Sugar: Adds a touch of sweetness and supports the yeast during rising.
Eggs: Enrich the dough and help produce soft, beautifully golden buns.
Butter: Adds richness to the dough and keeps the crust tender when brushed over the freshly baked buns.
Vanilla: Vanilla sugar or vanilla extract adds a warm, sweet aroma.
All-purpose flour: Gives the dough its structure. Add only as much flour as necessary to keep the dough soft.
Salt: Balances the sweetness and enhances the other flavors.
Chocolate spread: Creates the rich chocolate layers throughout each swirl bun. Nutella or another smooth chocolate hazelnut spread works well.
Powdered sugar: An optional finishing touch that gives the buns extra sweetness and a beautiful bakery-style appearance.
HOW TO MAKE CHOCOLATE SWIRL BUNS
1. Activate the yeast
In a bowl, combine the lukewarm milk, sugar, and yeast. Stir gently and let the mixture sit for 5–10 minutes.
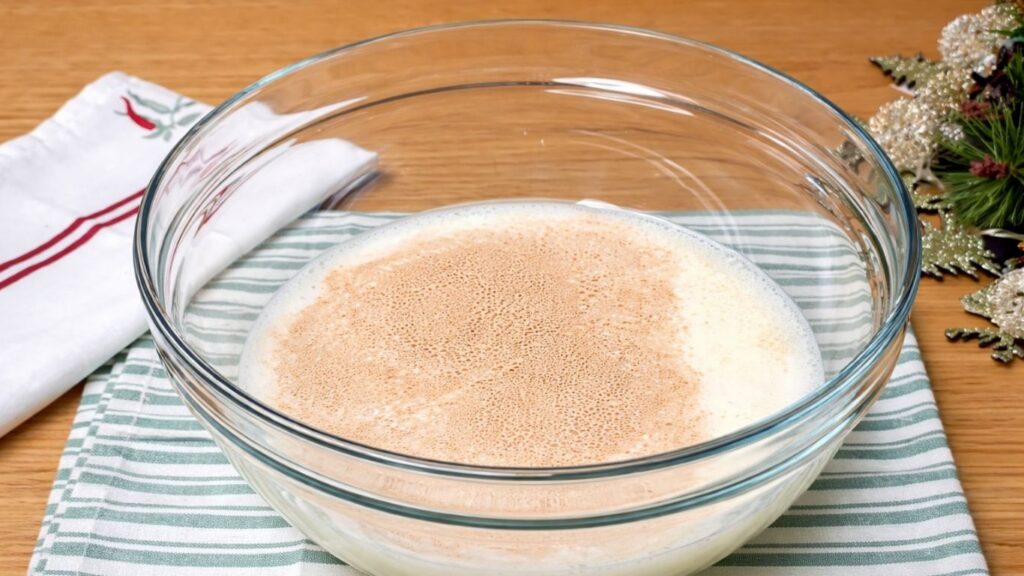
During this time, the yeast begins to activate and feed on the sugar, creating small bubbles and a light foam on the surface. This step helps you make sure the yeast is fresh and working properly before adding it to the dough.
Activating the yeast like this also gives your dough a stronger, more reliable rise, which results in soft, airy, and fluffy Chocolate Swirl Buns.
2. Add the remaining ingredients
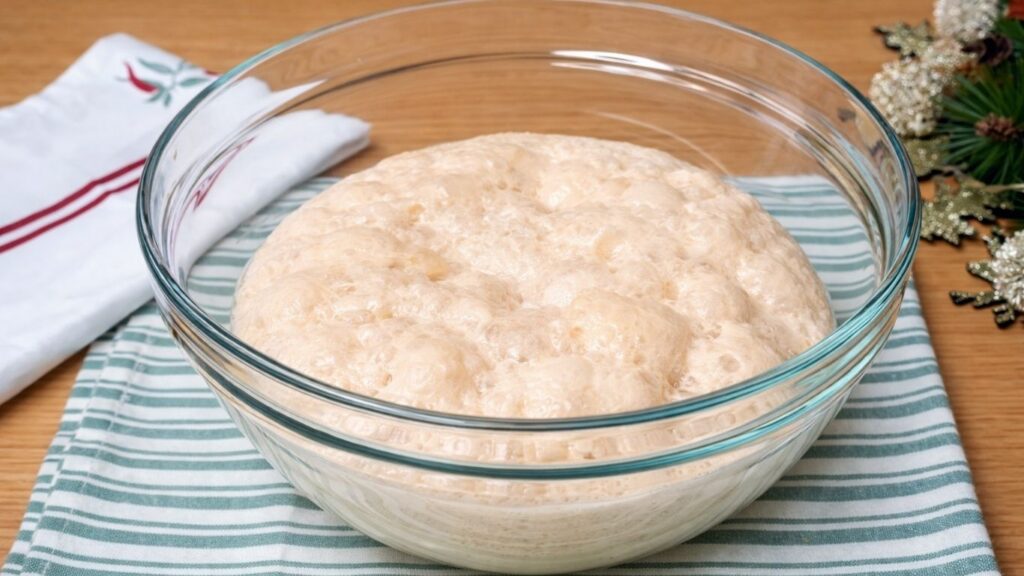
Once the yeast mixture has become foamy and bubbly, you know the yeast is active and ready. Now it’s time to build the dough.
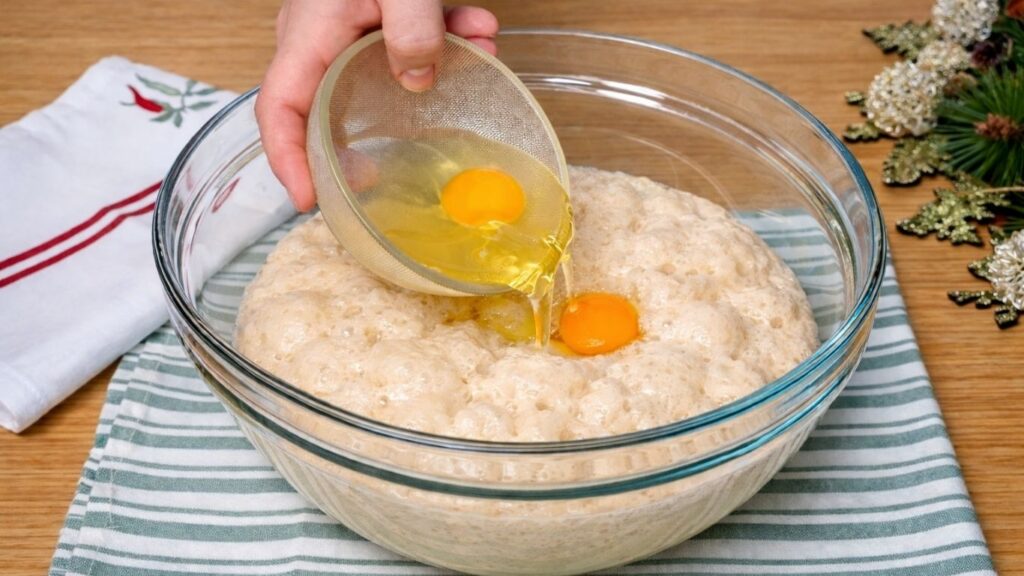
Add the eggs, melted butter, vanilla sugar (or vanilla extract), and salt, then mix well until everything is evenly combined. This step makes the dough richer, softer, and more flavorful.
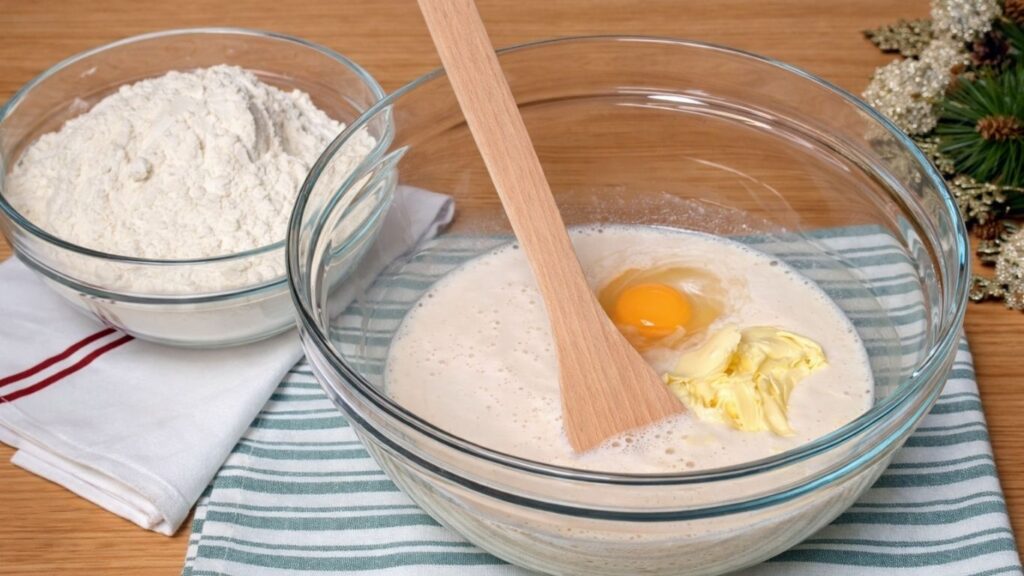
Next, start adding the sifted flour gradually-don’t add it all at once. Mix as you go until the dough begins to come together. At first it will look a bit sticky and rough, but as the flour hydrates, it will turn into a soft dough that holds its shape.
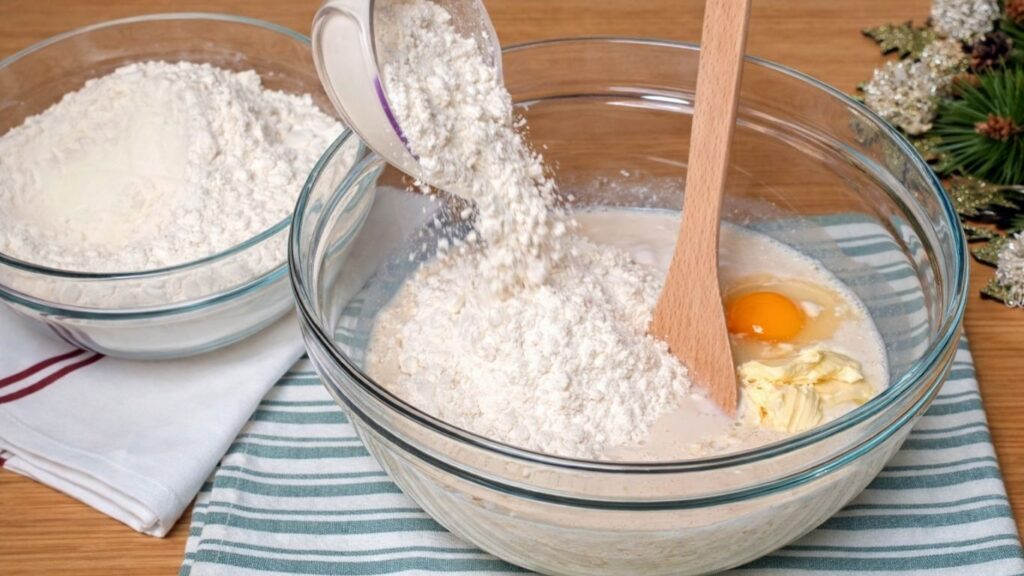
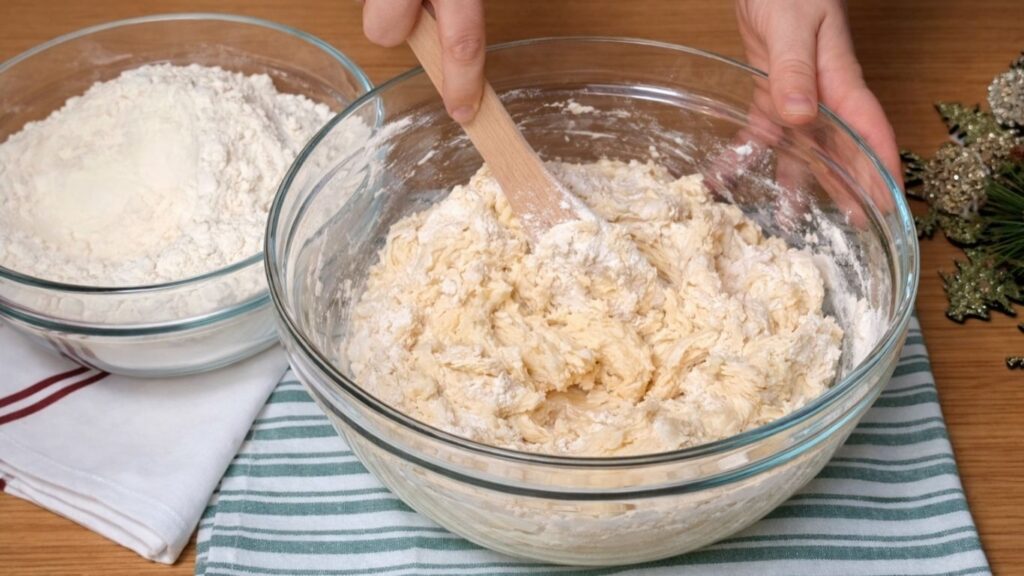
Once the dough forms in the bowl, transfer it onto a lightly floured work surface and knead it for about 8–10 minutes, until it becomes smooth, soft, and elastic.
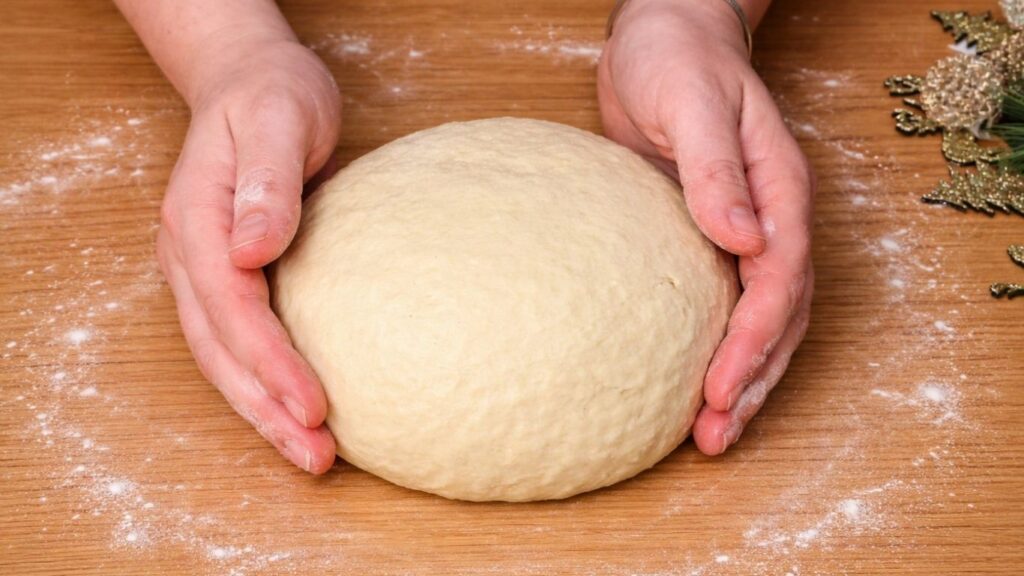
Shape the dough into a ball, place it into a lightly oiled bowl, cover it with a clean cloth or plastic wrap, and let it rest and rise for about 1 hour, or until doubled in size.
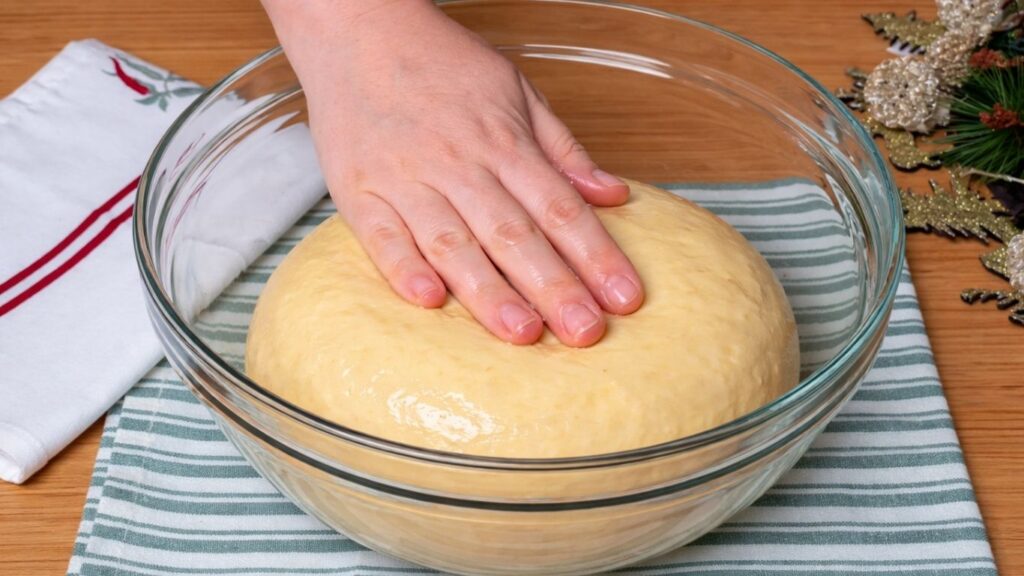
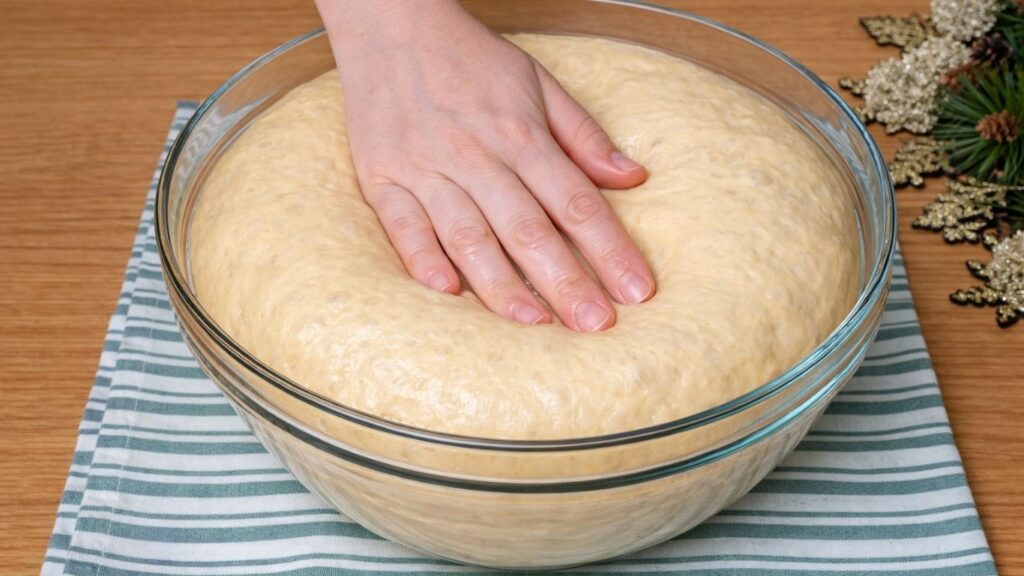
3. Roll out the dough
Once the dough has doubled in size, gently punch it down to release the air, then transfer it onto a clean, lightly floured work surface.
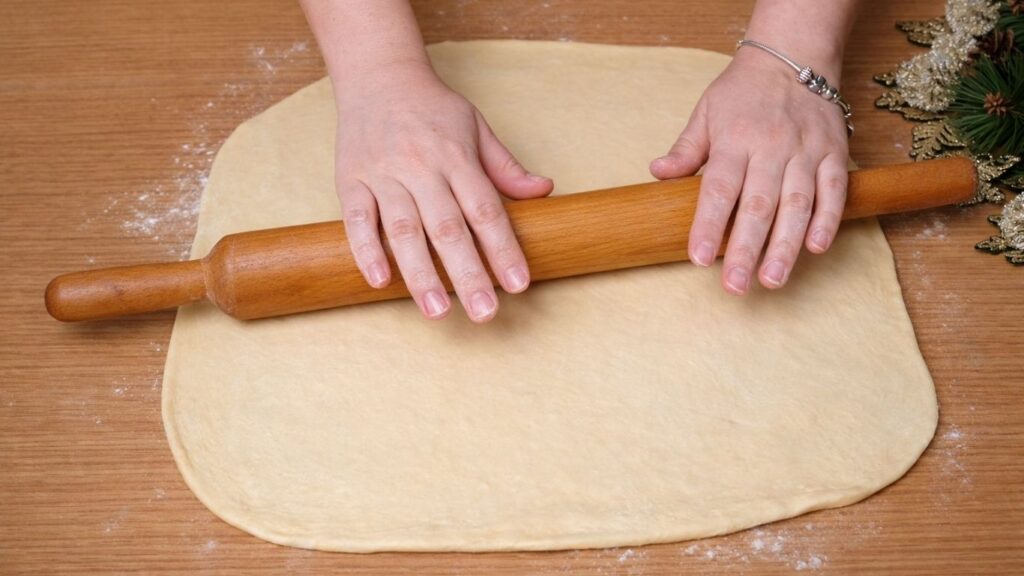
Using a rolling pin, roll the dough out into a long rectangle. I personally like to roll it thinner and longer, because it gives more beautiful layers and a more defined chocolate swirl buns inside each bun.
If you prefer a softer, thicker bun with a more “bread-like” bite, you can keep the dough a little thicker-it’s completely up to your taste. Just try to keep the thickness as even as possible so the buns bake evenly and the swirls look nice and clean.
4. Spread the chocolate filling
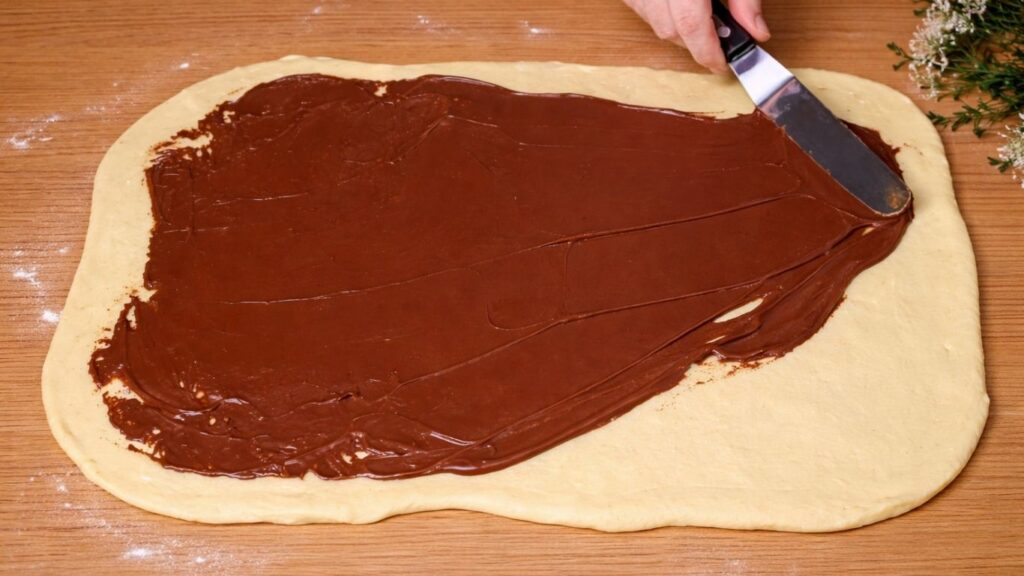
Once the dough is rolled out, use a spatula to spread the chocolate spread evenly over the entire surface of the dough.
Make sure the chocolate spread is at room temperature or slightly warmed, so it becomes smooth and easy to spread without tearing the soft dough. This will help you create a thin, even layer that rolls up beautifully and gives you those clean, rich chocolate swirls inside each bun.
5.Fold the dough
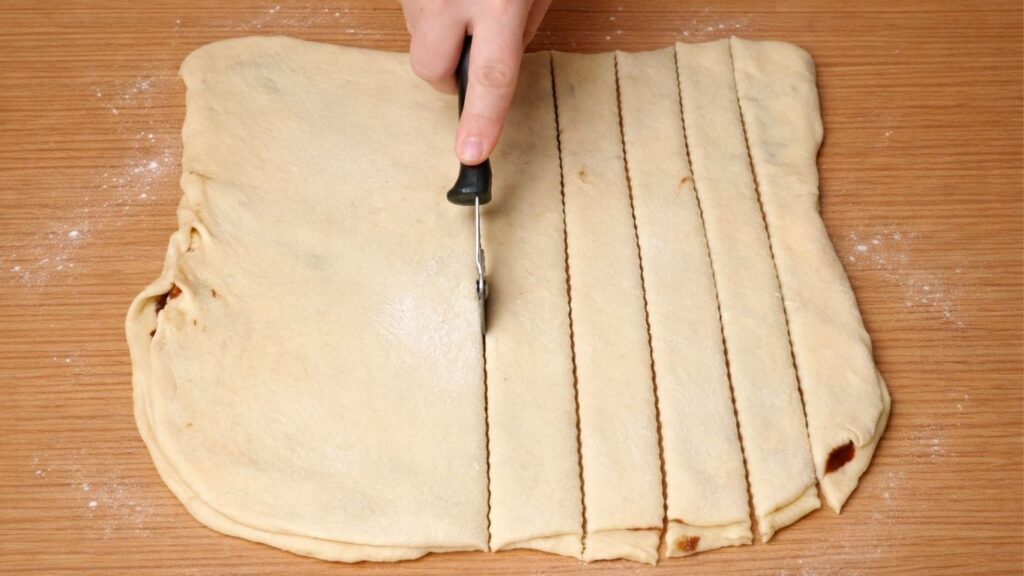
Once the dough is evenly spread with the chocolate filling, gently fold it in half, bringing one side over the other so that the entire chocolate layer is enclosed inside.
Press the dough lightly to seal the edges and help the layers stick together. Then, using a sharp knife or a pizza cutter, cut the dough into thin strips.
This step creates a neat, even layer of chocolate inside the dough and makes it easier to shape the buns later.
6. Shape the swirl buns
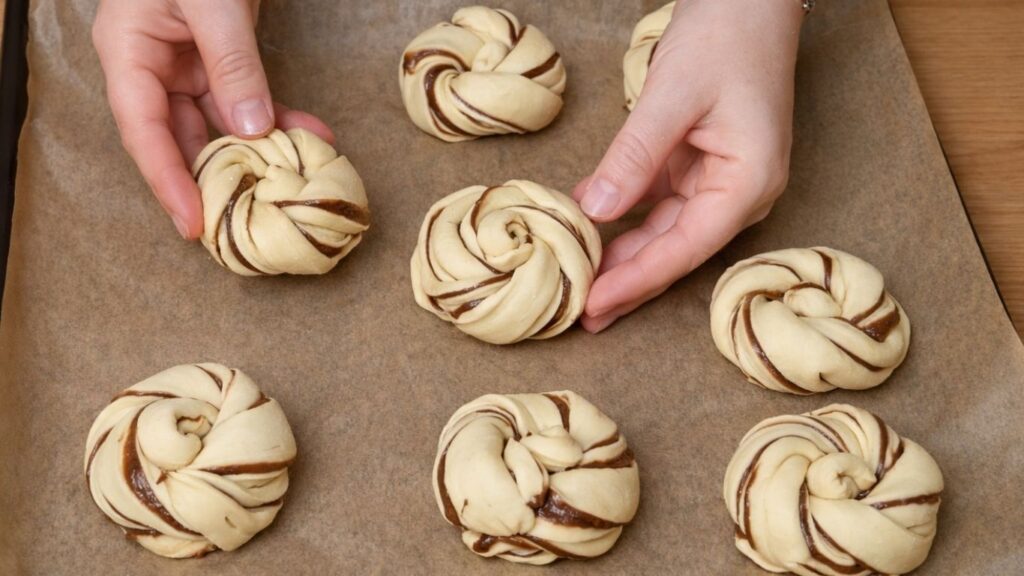
Take each of the cut dough strips and gently twist it along its length to create a soft spiral effect. Then roll the twisted strip into a loose coil, forming that classic swirl bun shape with visible layers.
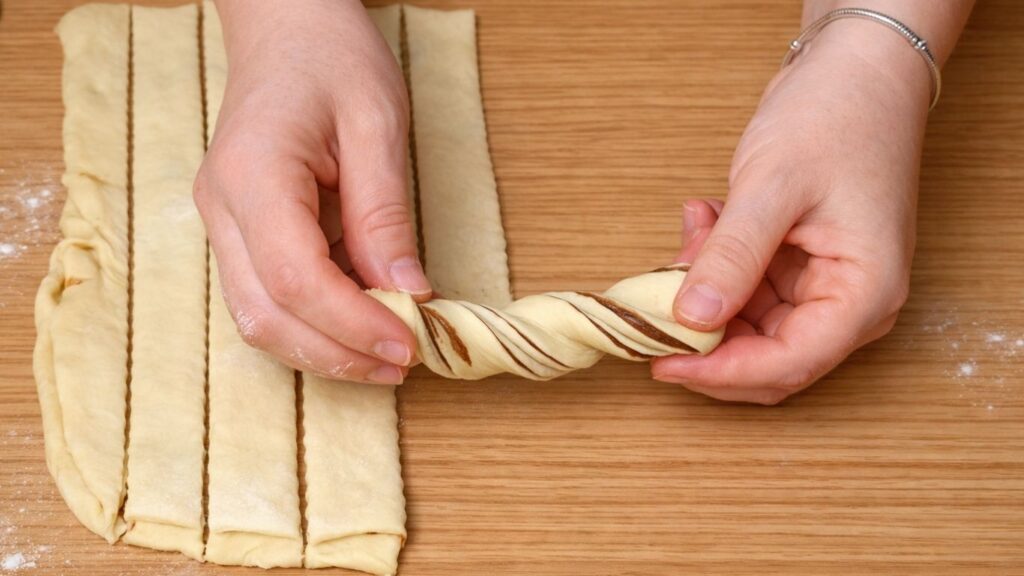
As you shape each chocolate swirl buns, keep the movement gentle and relaxed-don’t pull or tighten the dough too much. Leaving a bit of space between the layers helps the buns stay light and airy, and allows the beautiful chocolate swirls to show once baked.
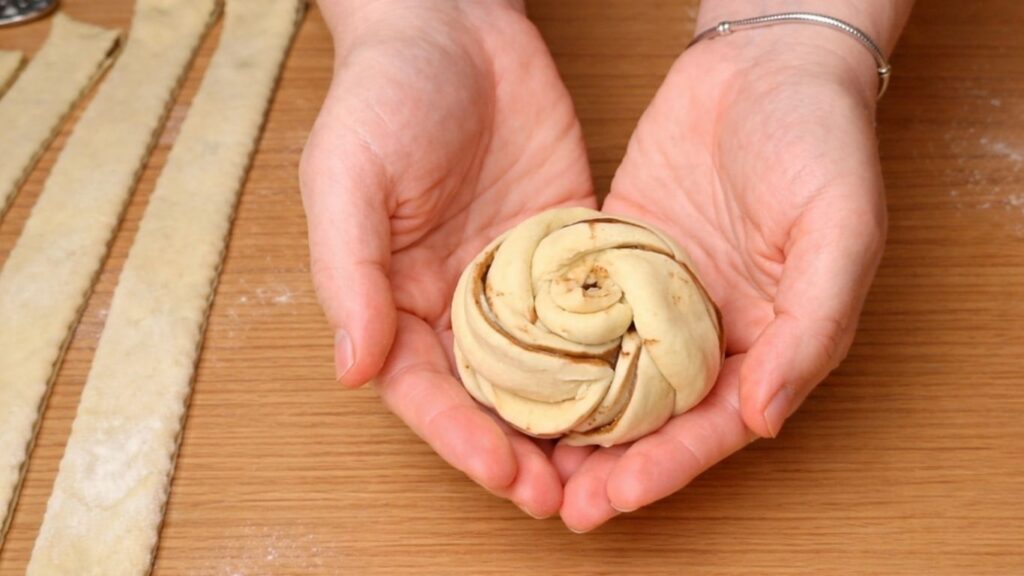
When you reach the end of the strip, tuck the tip underneath the bun so it holds its shape and doesn’t open during rising or baking.
7. Arrange the buns
Carefully place the shaped chocolate
swirl buns into a baking tray lined with parchment paper, arranging them neatly with a little space between each one.
Make sure to leave enough room around each bun so they can rise and expand freely during the second proof and baking. As they grow, they will become soft, puffy, and gently touch each other, creating that beautiful, fluffy pull-apart texture.
Bake the buns in a preheated oven at 200°C (392°F) for about 20 minutes, or until they turn lightly golden on top.
8.Finish the buns
As soon as the buns come out of the oven, while they are still warm and soft, gently brush the tops with melted butter. This step keeps the crust tender, adds a beautiful shine, and gives the buns a rich, bakery-style finish while locking in moisture.

For a final touch, lightly dust the buns with powdered sugar, if desired. The soft white layer gives a delicate sweetness and makes the buns look even more inviting and elegant.
Enjoy
Now it’s time to enjoy your homemade Chocolate Swirl Buns-soft, fluffy, and filled with rich chocolate layers. As you break one open, you’ll smell the warm aroma of chocolate, butter, and freshly baked dough filling your kitchen.
These chocolate swirl buns are more than just a treat-they bring that cozy, homemade feeling to your table. Enjoy them warm with your family, a cup of coffee, or a quiet moment just for yourself.
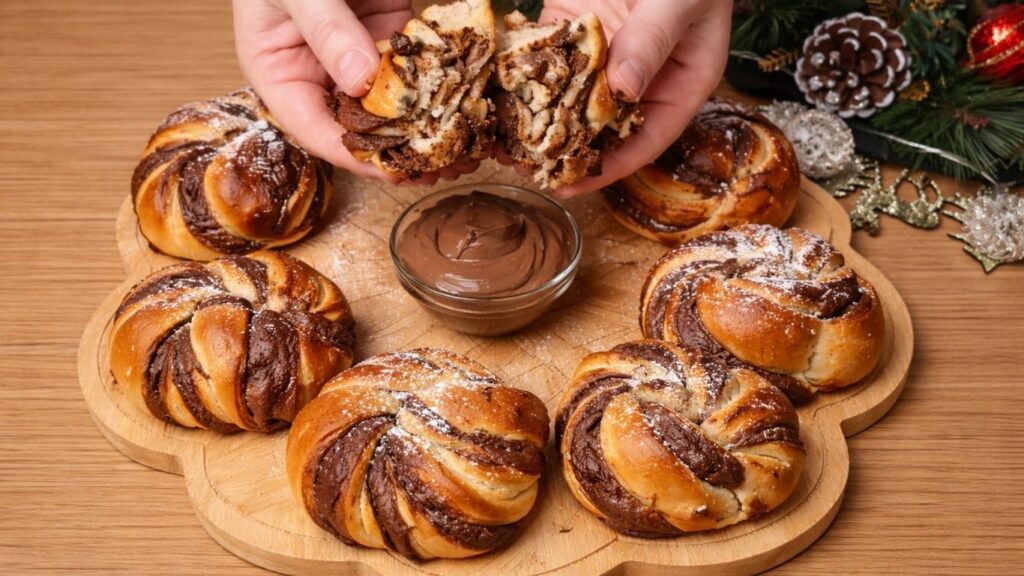
I truly hope you enjoyed this recipe and that your Chocolate Swirl Buns turn out soft, fluffy, and full of that rich homemade chocolate flavor.
If you try this recipe, I would love to hear from you-please share your experience in the comments and let me know how your buns turned out. Your feedback means so much and helps others as well. If anything wasn’t clear or you have any questions, feel free to write to me-I’m always happy to help.
Thank you for being here, for baking along, and for bringing a little bit of homemade warmth into your kitchen.
Storage & Serving Tips – Chocolate Swirl Buns
These soft and fluffy chocolate swirl buns are best enjoyed fresh, while they are still soft, slightly warm and filled with that rich chocolate aroma.
You can store them in a sealed bag or airtight container at room temperature for up to 2-3 days, where they will stay soft and tender.
If you would like to keep them fresh for longer, you can store them in the refrigerator for up to 5-7 days in a sealed bag.
Before serving, simply warm them slightly in the oven or microwave for a few seconds. This will make the chocolate filling soft and creamy again and bring back that fresh homemade texture.
For longer storage, you can also freeze the buns. Let them cool completely, store them in a freezer-safe bag, then thaw and warm gently before serving.
Frequently Asked Questions
What type of chocolate filling works best for swirl buns?
A smooth, spreadable chocolate filling works best because it creates a thin and even layer without tearing the soft dough. Chocolate spreads like Nutella or any homemade chocolate cream are perfect choices. If your filling feels too thick, gently warm it for a few seconds so it becomes soft and easy to spread, which helps you achieve clean and beautiful chocolate layers inside the buns.
How do I keep the chocolate from leaking out while baking?
To prevent the filling from leaking, make sure to spread a thin, even layer of chocolate and leave a small border around the edges of the dough. When folding and shaping, gently press the dough so the layers stay sealed. Avoid overfilling, as too much filling can melt and escape during baking.
How do I get neat and even swirl shapes?
For beautiful swirl buns, roll the dough into an even rectangle and cut strips of similar width. When shaping, gently twist each strip and roll it loosely into a coil. Try not to pull the dough too tightly-keeping the shape relaxed allows the layers to stay visible and gives the buns a soft, airy texture once baked.
Why did my swirl layers disappear after baking?
If the swirls are not visible after baking, it usually means the dough was rolled too thick, the filling layer was uneven, or the buns were shaped too tightly. Keeping the dough evenly rolled, the chocolate layer thin, and the shaping gentle will help the swirls stay defined and beautiful.
Can I use a different filling instead of chocolate?
Yes, this dough works wonderfully with other fillings too. You can use cinnamon sugar, cocoa sugar filling, Nutella, or even a light fruit spread. Just make sure the filling is not too liquid so the dough can hold its shape and keep the layers intact.
How do I keep the buns soft after baking?
Brushing the buns with melted butter while they are still warm helps keep the crust soft and gives them a beautiful shine. Storing them in an airtight container also helps maintain their soft, fluffy texture for the next few days.
Watch the full Chocolate Swirl Buns video
Watch how these soft & fluffy Chocolate Swirl Buns come together step by step. From a smooth, airy dough to rich chocolate layers, this video will guide you through every stage so you can easily recreate them at home.
Press play, enjoy the process, and don’t forget to bake along
I hope you enjoyed the video. Now you can find the full step-by-step recipe just below-let’s bake them together!
Nutrition per Serving
Approximate nutrition information for 1 Chocolate Swirl Bun, based on a recipe yielding 12 buns:
- Calories: 300 kcal
- Carbohydrates: 45 g
- Protein: 8 g
- Fat: 9 g
- Saturated Fat: 4 g
- Cholesterol: 40 mg
- Sodium: 135 mg
- Fiber: 2 g
- Sugar: 13 g
Nutrition values are estimates and may vary depending on the milk, chocolate spread, and other ingredients used.
Conclusion
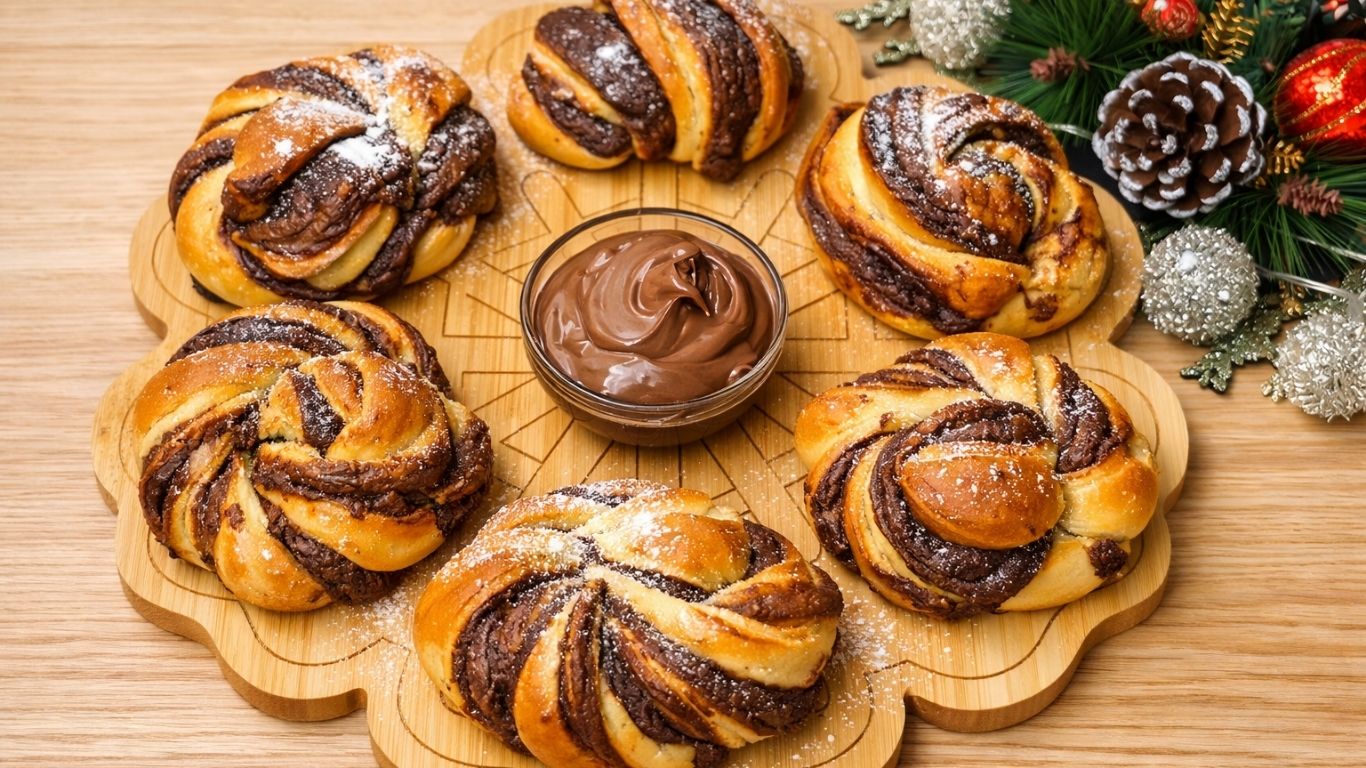
These Chocolate Swirl Buns are the perfect combination of soft homemade dough and rich chocolate layers. Their beautiful twisted shape makes them look impressive, while the simple preparation keeps the recipe approachable for home bakers. Serve them slightly warm for breakfast, brunch, or as a sweet afternoon treat with coffee or milk.
Once you taste the fluffy texture and creamy chocolate swirls, these buns are sure to become a family favorite.
Happy baking!

Soft Chocolate Swirl Buns
Ingredients
Equipment
Method
- Prepare the yeast mixture: Combine the lukewarm milk, sugar, and instant yeast in a large mixing bowl. Stir gently and let the mixture rest for 5–10 minutes. It should begin to look slightly foamy.
- Add the wet ingredients: Add the eggs, melted butter, and vanilla sugar or vanilla extract. Whisk until everything is evenly combined.
- Add the flour: Add the salt and gradually mix in the flour. Continue mixing until a soft, slightly sticky dough begins to form. Avoid adding all the extra flour unless it is necessary.
- Knead the dough: Transfer the dough to a lightly floured surface and knead for 8-10 minutes, or use a stand mixer fitted with a dough hook. The finished dough should be smooth, elastic, and soft.
- Complete the first rise: Shape the dough into a ball and place it in a lightly oiled bowl. Cover with plastic wrap or a clean kitchen towel. Let it rise in a warm, draft-free place for approximately 1 hour, or until doubled in size.
- Roll out the dough: Gently press the risen dough to release excess air. Transfer it to a lightly floured work surface and roll it into a long, evenly shaped rectangle. Roll it slightly thinner for more defined chocolate layers or leave it a little thicker for softer, bread-like buns.
- Add the chocolate filling: Spread the chocolate hazelnut spread evenly over the dough, leaving a small border around the edges. The spread should be at room temperature so it can be applied without tearing the dough.
- Fold and cut the dough: Fold the dough in half to enclose the chocolate filling. Press it gently so the layers hold together, then use a sharp knife or pizza cutter to cut it into 9 evenly sized strips.
- Shape the buns: Gently twist each strip along its length. Coil the twisted strip into a loose spiral and tuck the end underneath the bun to prevent it from opening.
- Complete the second rise: Arrange the shaped buns in a baking tray or pan lined with parchment paper, leaving some space between them. Cover loosely and let them rise for 20-30 minutes, or until soft and puffy.
- Bake: Preheat the oven to 400°F (200°C). Bake the Chocolate Swirl Buns for 20-25 minutes, or until lightly golden on top.
- Finish the buns: Brush the warm buns with melted butter immediately after removing them from the oven. Let them cool slightly, then dust with powdered sugar if desired.
Notes
- The milk should be lukewarm, approximately 105-110°F (40-43°C). Hot milk can damage the yeast.
- Instant yeast can be added directly to the dough, but allowing it to rest briefly in the warm milk helps confirm that it is active.
- Keep the dough soft and slightly tacky. Adding too much flour can make the buns dense or dry.
- Warm the chocolate spread briefly if it is too firm, but do not make it hot or runny.
- Cut the dough into evenly sized strips so the buns bake at the same rate.
- Store cooled buns in an airtight container at room temperature for up to 2 days or refrigerate them for up to 5 days.
- Freeze the baked buns for up to 2 months. Thaw at room temperature and warm briefly before serving.