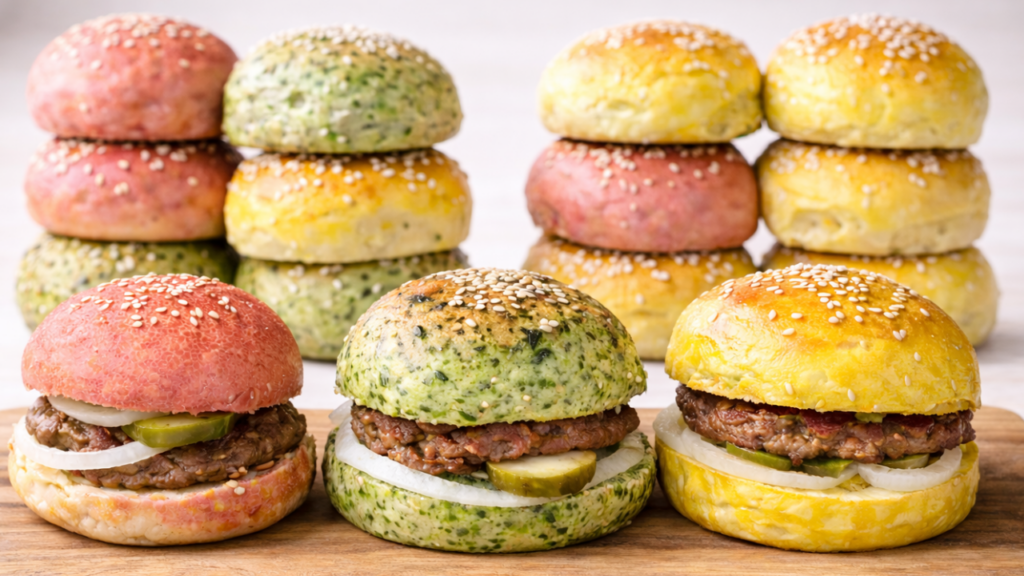
If you are looking for natural colored burger buns that are beautifully vibrant and made without artificial colors, this recipe is exactly what you need. These homemade natural colored burger buns are tinted with turmeric, spinach, and beetroot, creating soft, colorful buns with a light texture and delicate golden crust – perfect for burgers, sandwiches, and everyday meals. Each bite is tender, airy, and full of comforting homemade flavor that fills your kitchen with warmth.
If you enjoy baking homemade buns, be sure to also try my pretzel buns and natural colored burger buns for more easy and delicious ideas. You can also learn more about natural food coloring ingredients on Wikipedia.
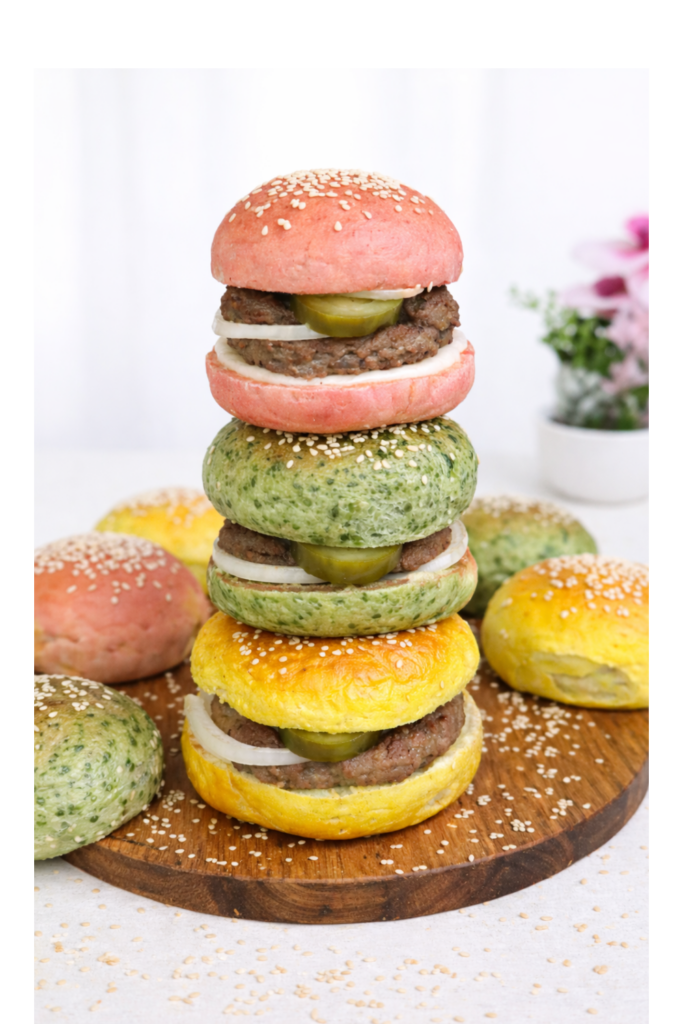
These vibrant natural colored burger buns are a beautiful way to make any everyday meal feel extra special. The buns are soft, light, and gently golden on the outside, while the colors come from simple ingredients like turmeric, spinach, and beetroot-so they look stunning without any artificial dyes.
When you slice them open, you’ll see a soft, airy crumb that is perfect for holding your favourite fillings, from classic beef or chicken burgers to veggie patties, cheese, fresh salad, and sauces. They are fun, eye-catching, and perfect for family meals, kids’ lunches, or relaxed weekend gatherings. These natural colored burger buns are perfect for everyday baking and special occasions.
MY LATEST VIDEOS
Quick Info
- Prep time: 20 minutes
- Rise time: 1 hour 30 minutes
- Bake time: 20-25 minutes
- Total time: about 2 hours 10 minutes
- Yield: 24 Soft & Fluffy Colored Mini Burger Buns
Ingredients You’ll Need
These Colored Burger Buns are made with simple ingredients and three natural colorings that create beautiful yellow, green, and pink mini buns.
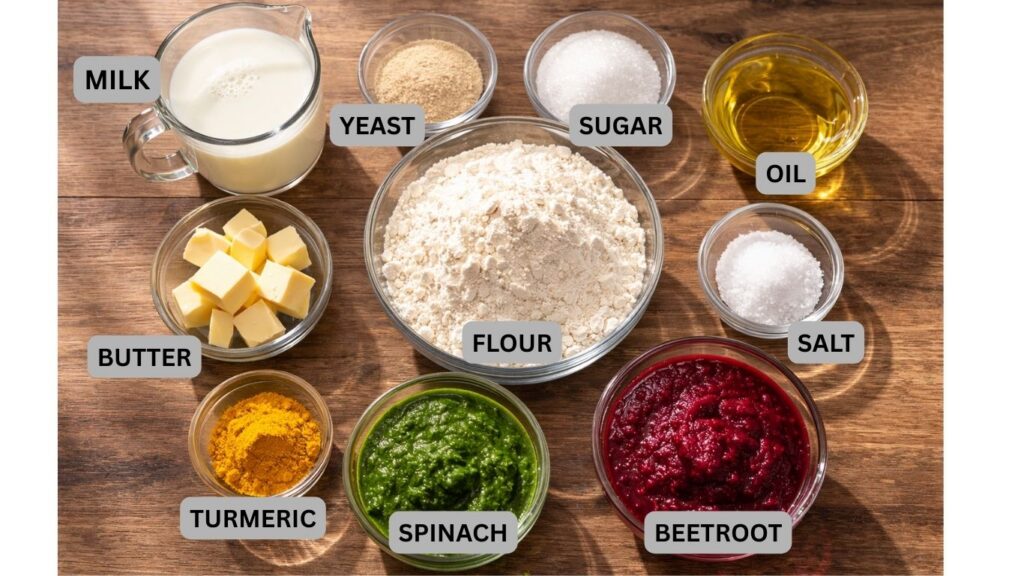
Warm milk: Adds moisture and helps create a soft, tender texture. It should be pleasantly warm, but never hot.
Active dry yeast: Helps the dough rise and gives the buns their light, airy texture.
Sugar: Feeds the yeast and adds a subtle sweetness.
All-purpose flour: Provides structure for the dough. Additional flour may be necessary after adding the spinach and beet purees.
Salt: Balances the flavor and strengthens the dough.
Butter: Enriches the dough and keeps the buns soft and tender.
Turmeric: Creates the naturally warm yellow color without adding artificial food coloring.
Spinach puree: Gives one portion of dough its natural green color.
Cooked beet puree: Creates the beautiful soft pink color.
Water and oil: Brushed over the buns before and after baking to produce a soft, lightly shiny crust.
Sesame seeds: An optional topping that gives these mini burger buns a classic bakery-style finish.
HOW TO MAKE NATURAL COLORED BURGER BUNS
1. Activate the yeast
In a bowl, pour the warm milk – it should be pleasantly warm to the touch, not hot, so it creates the perfect environment for the yeast to activate. Add the sugar and sprinkle the active dry yeast over the top.
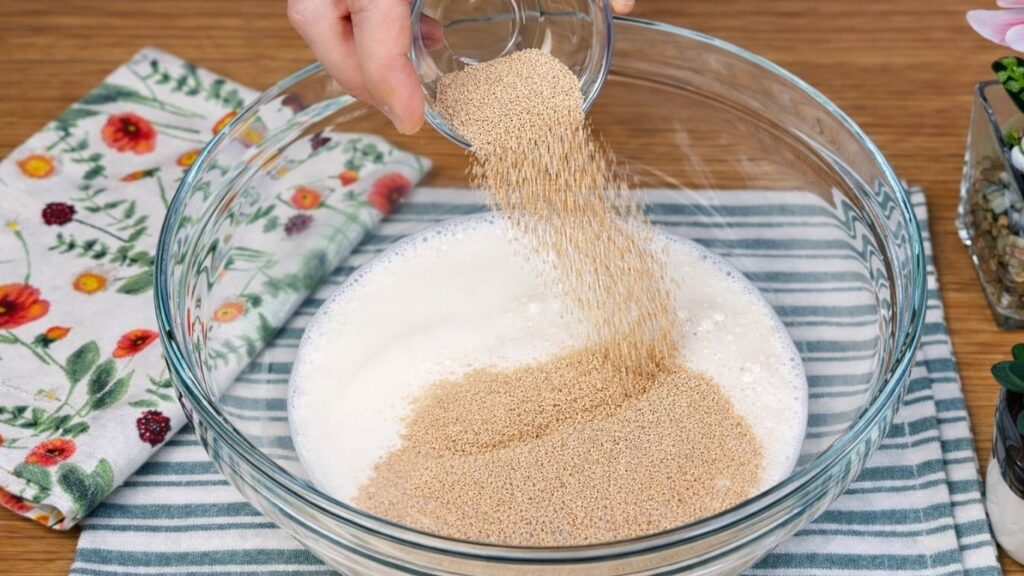
Gently stir everything together until combined, then let the mixture rest for about 5-10 minutes. During this time, the yeast will start to activate and become bubbly and slightly foamy on the surface. This step is very important because it ensures that your yeast is alive and ready to help the dough rise beautifully.
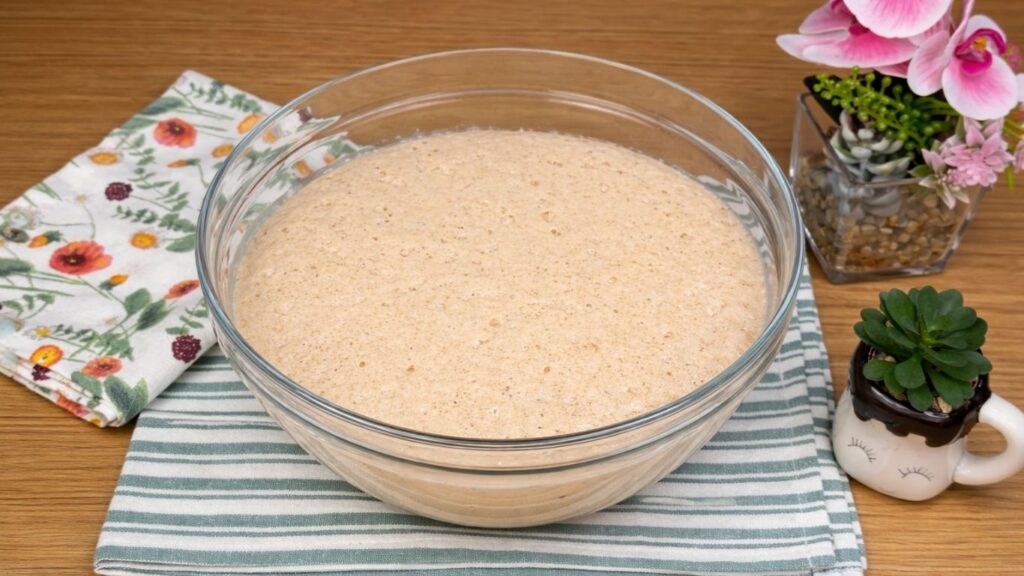
Properly activated yeast will give your buns a light, airy and soft texture, which is exactly what we want for perfect homemade buns.
2. Mixing and kneading the dough
Once the yeast has activated, it’s time to add the remaining ingredients. Add the flour, salt, and softened butter to the mixture, then begin mixing until everything comes together into a dough.
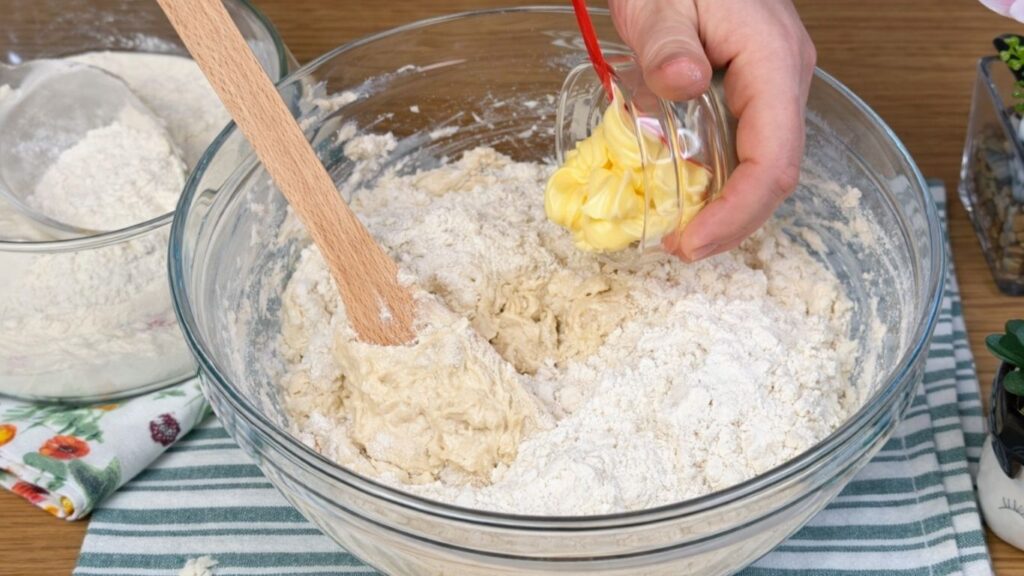
Knead the dough until it becomes smooth, soft, and slightly elastic – it should be soft enough to handle, but still firm enough to hold its shape and not stick excessively. When the dough reaches this perfect balance, transfer it onto a clean work surface and continue kneading for a few more minutes to develop the gluten and create a beautiful texture.
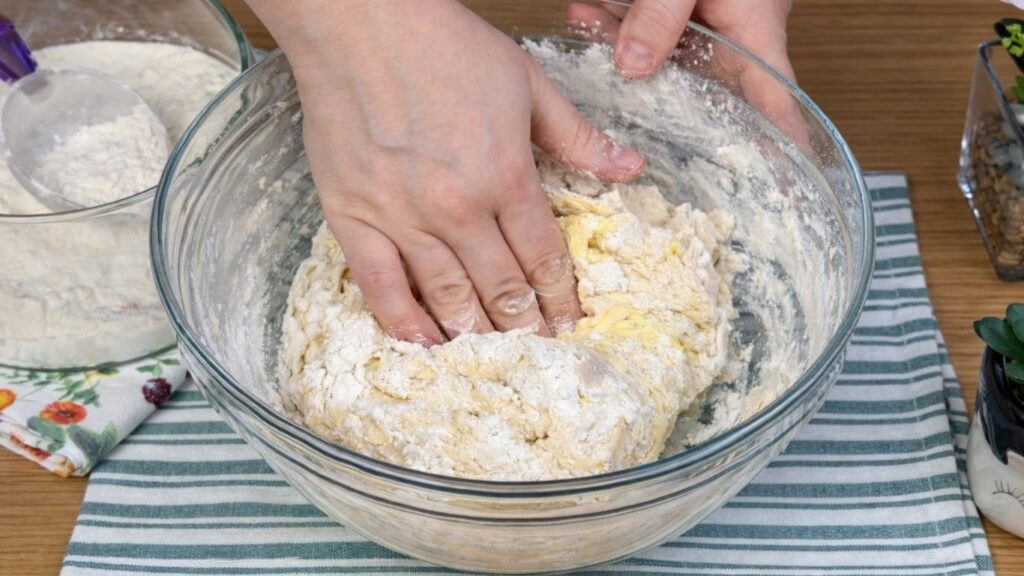
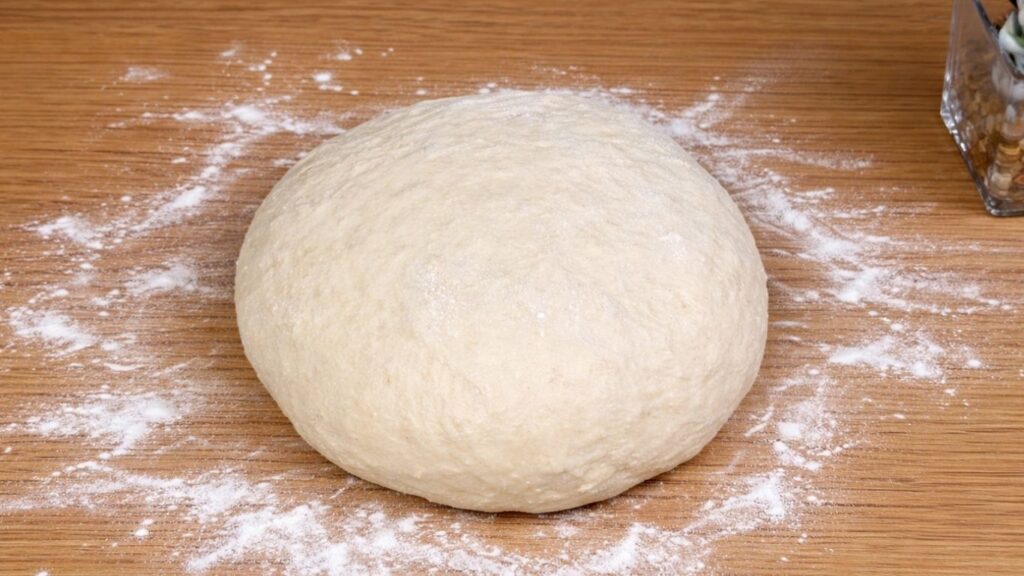
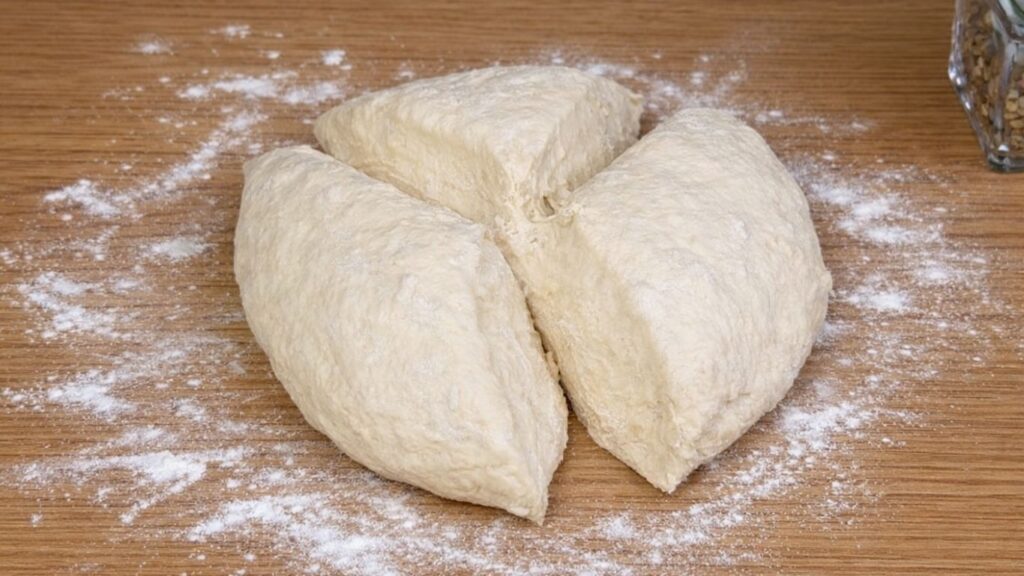
When the dough is well kneaded and smooth, divide it into three equal parts. This will allow us to prepare the different natural colors in the next step.
3. Coloring the dough naturally
Take the three portions of dough and add a different natural ingredient to each one.
Yellow dough – Turmeric
Take the first portion of dough and add the turmeric to begin making your natural colored burger buns. Knead the dough until the color is evenly distributed and you achieve a soft, warm yellow shade, perfect for beautifully vibrant natural colored burger buns.
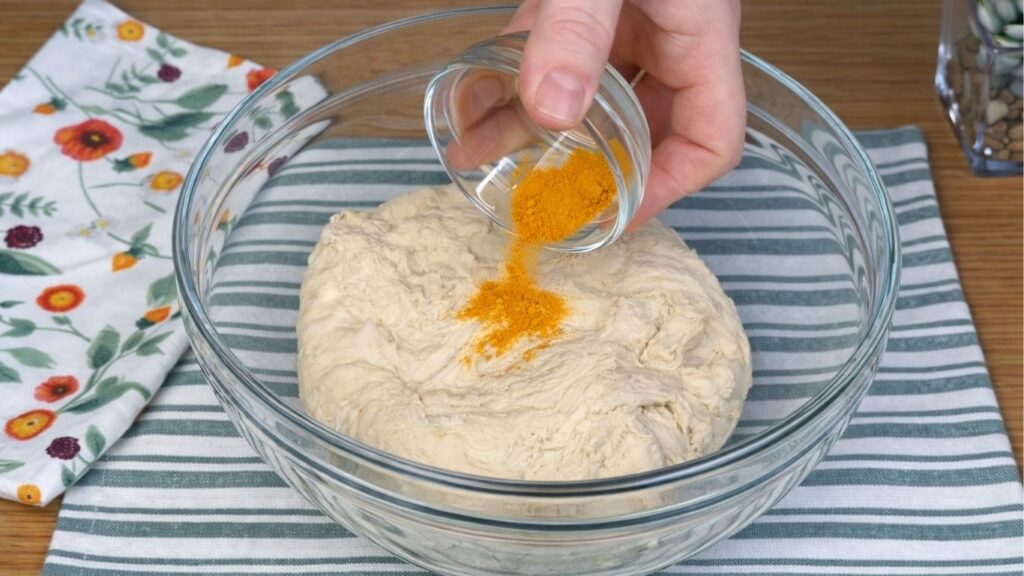
If needed, you can add a little extra flour while kneading, but be careful not to add too much. The dough should remain soft, smooth and slightly elastic, as a softer dough will give you light and fluffy buns after baking.
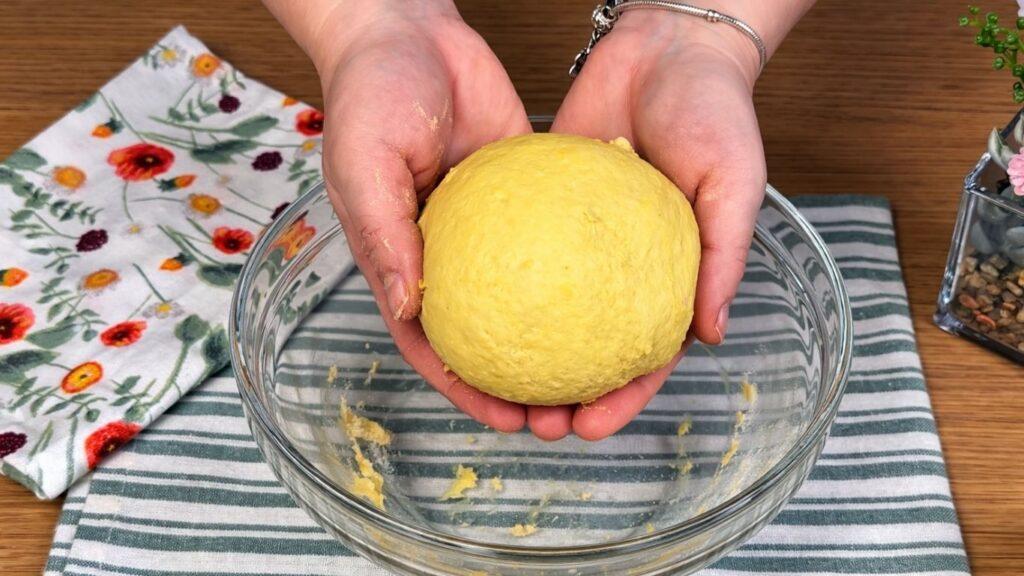
Continue kneading until the dough is evenly colored, smooth and easy to handle.
Green dough – Spinach
Take the second portion of dough and add the blended spinach. Knead it well until the color is evenly distributed and the dough turns a beautiful natural green.
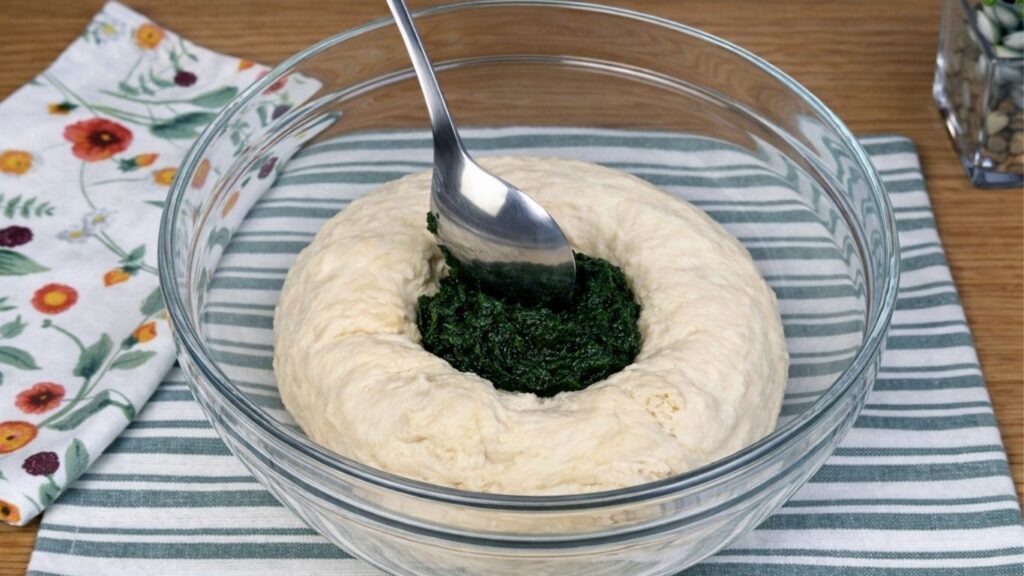
Because the spinach contains extra moisture, you will likely need to add a little more flour while kneading. Don’t worry – this is completely normal. Just add small amounts at a time until the dough becomes soft, smooth, and easy to handle, without being sticky.
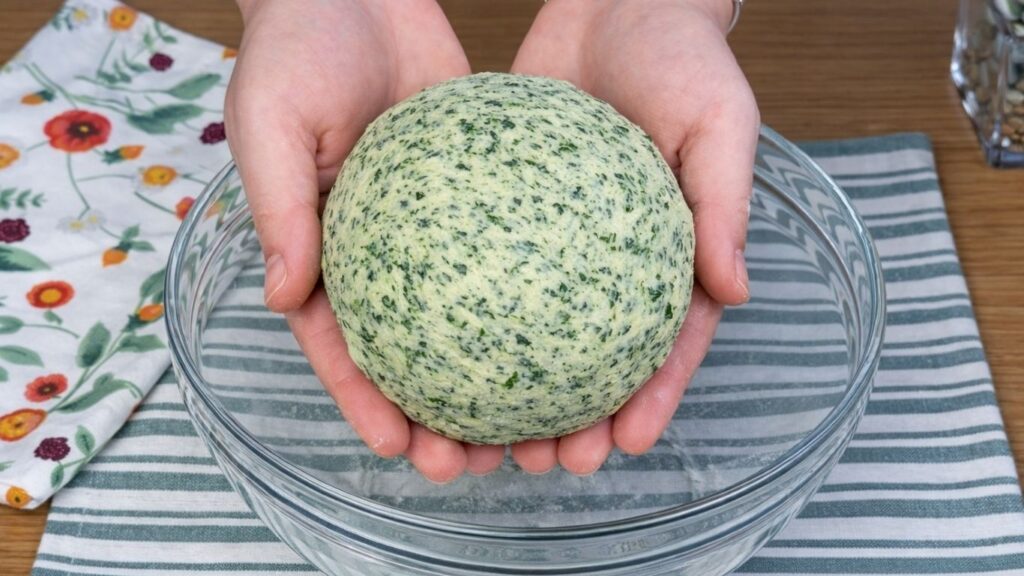
Continue kneading until the dough is evenly colored and has a soft, elastic texture.
Pink dough – Beetroot
Take the third portion of dough and add the blended cooked beetroot. Knead it well until the dough turns a beautiful soft pink color and the color is evenly distributed throughout.
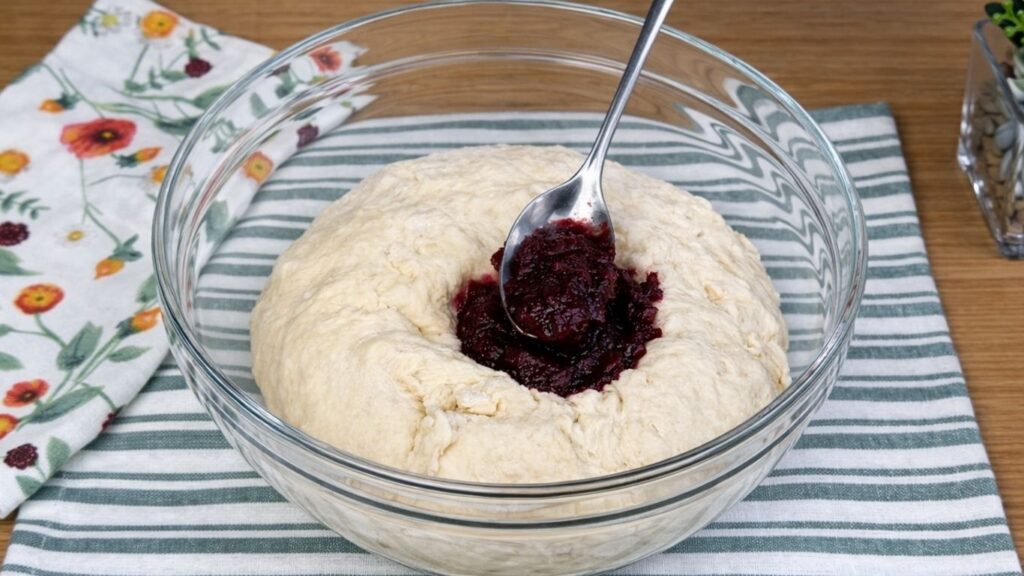
Once you add the beetroot, the dough will become more moist because of the natural juices. Feel free to add a little extra flour while kneading to balance the texture, but be careful not to add too much. It is always better for the dough to remain slightly softer rather than too firm.
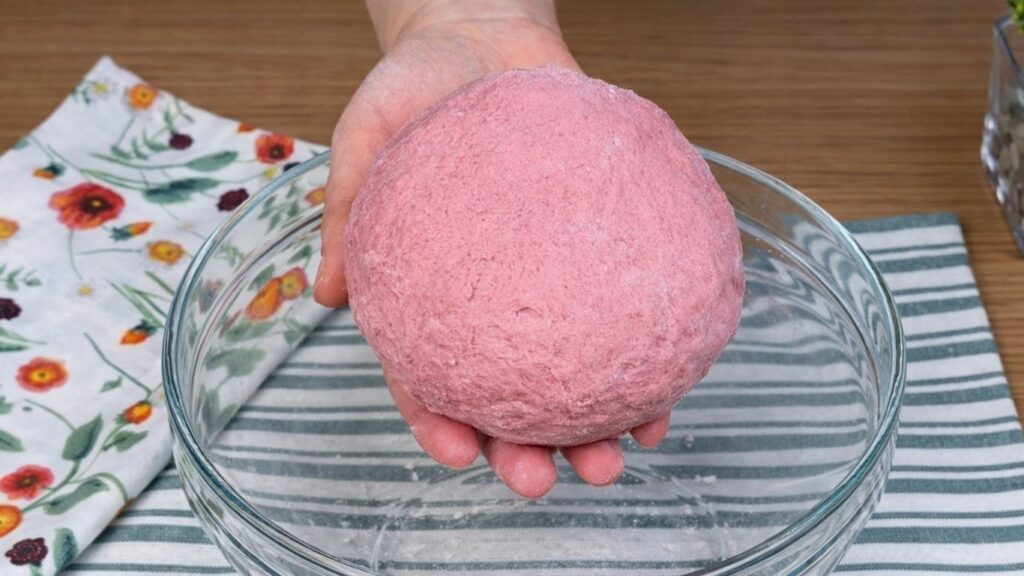
Continue kneading until the dough is smooth, soft, and easy to handle with a light, elastic texture.
4. First rise
Place each portion of dough onto a lightly oiled surface or into lightly greased bowls. Cover them gently with plastic wrap or a clean kitchen towel to prevent drying out.
Let the dough rest for about 1 hour, or until it has doubled in size. This resting time allows the yeast to fully develop, making the dough light, airy, and easy to work with in the next steps.
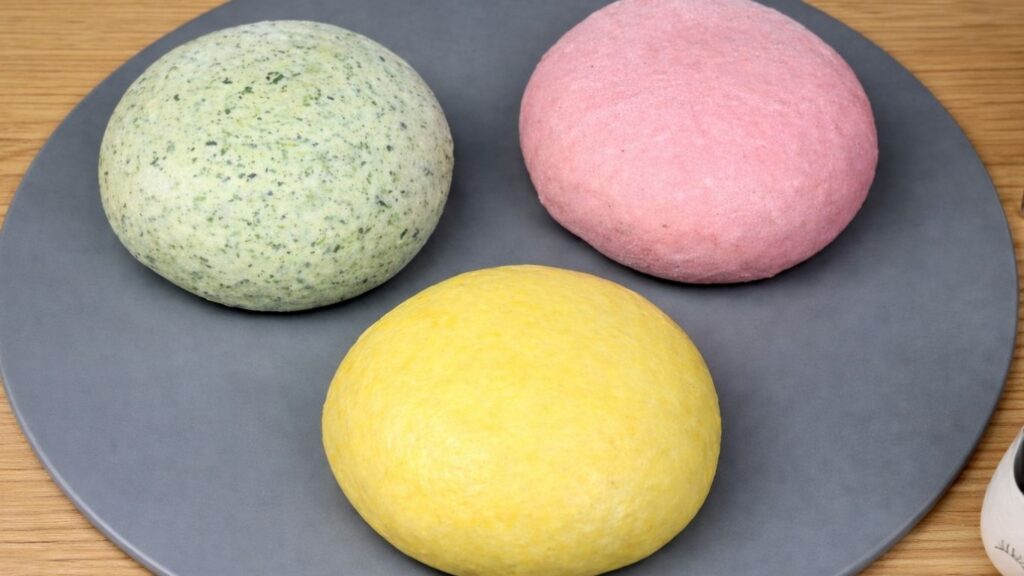
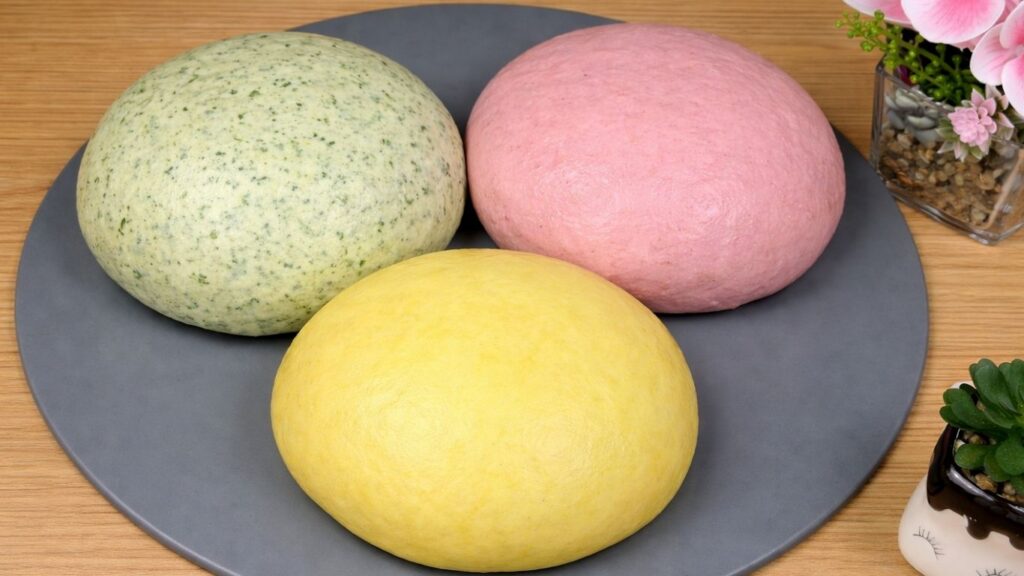
Once the dough has risen, it will be soft, puffy, and ready for shaping.
5. Shaping the dough
Once the dough has doubled in size, transfer each portion to a clean work surface and shape the buns.
Start with the yellow dough. Place it on the work surface, divide it into 8 equal pieces, and shape each piece into a smooth ball. When shaping your natural colored burger buns, try to keep each bun even in size so they bake beautifully.
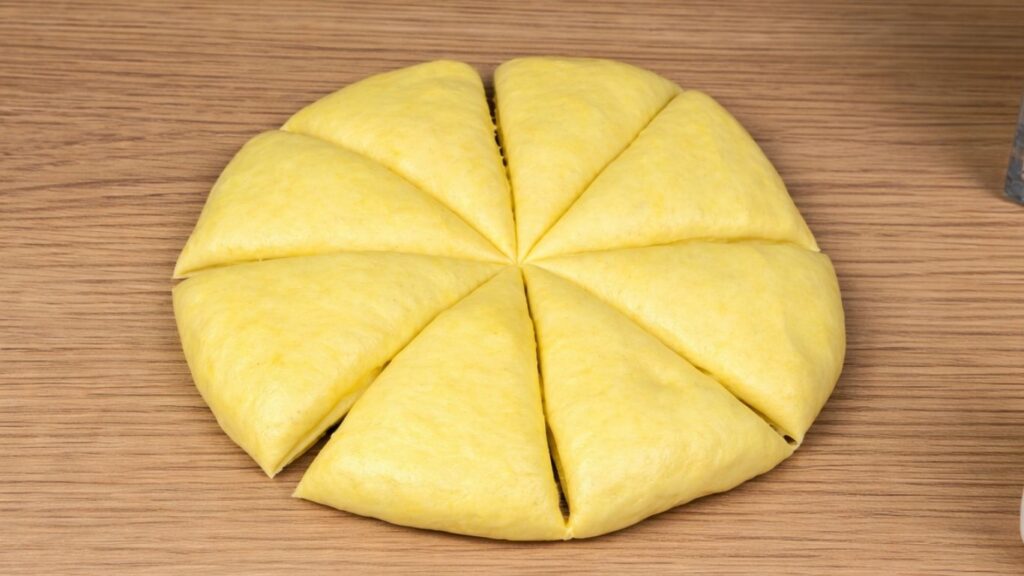
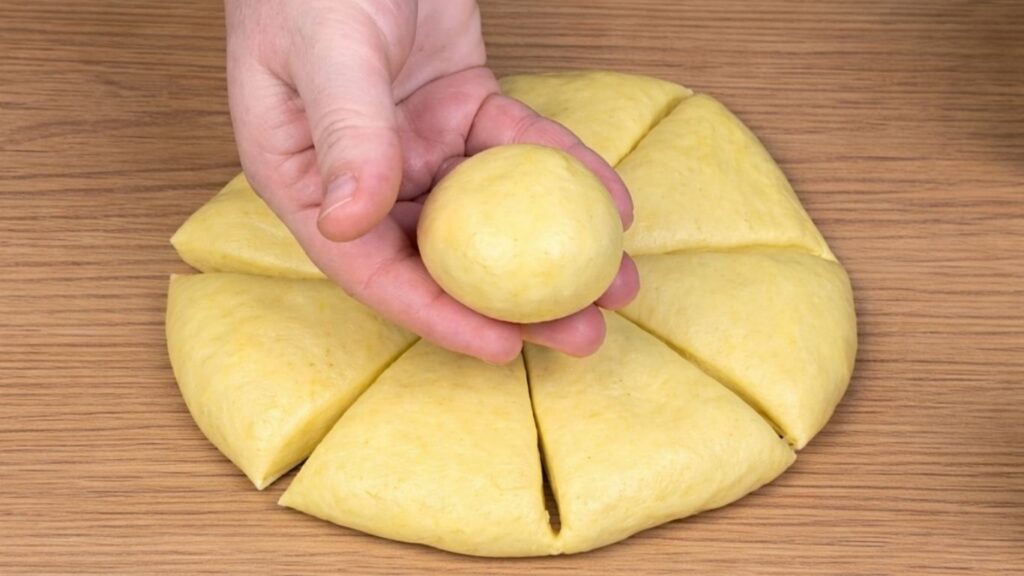
Repeat the same process with the pink dough – divide it into 8 equal pieces and shape each piece into a smooth ball.
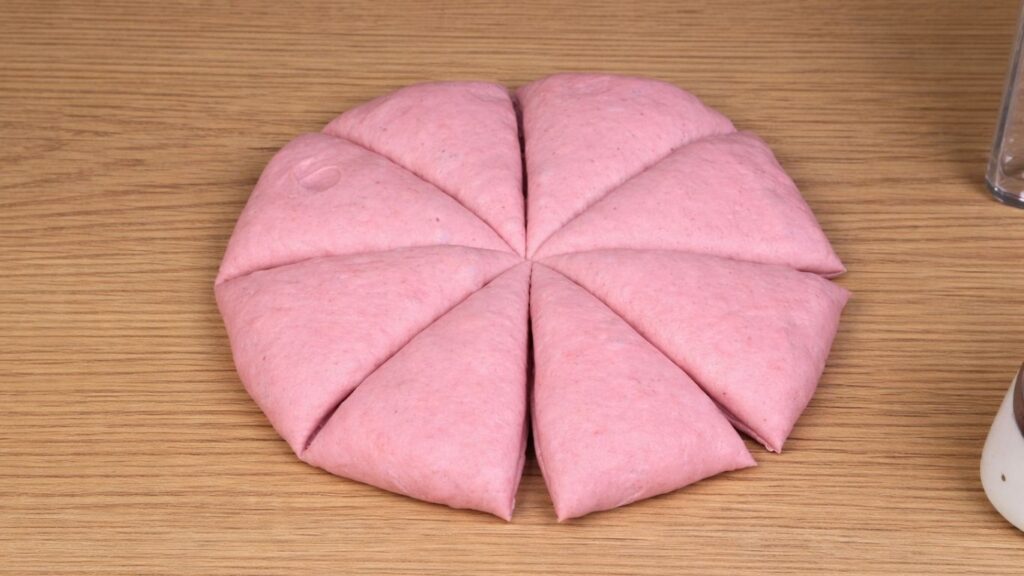
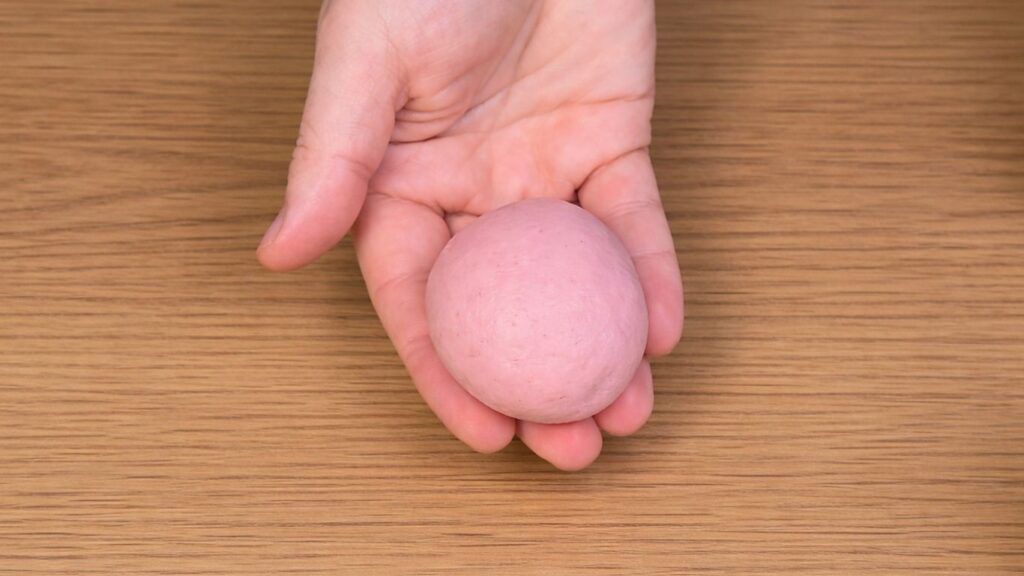
Finally, take the green dough, divide it into 8 equal pieces, and shape them into smooth, even balls.
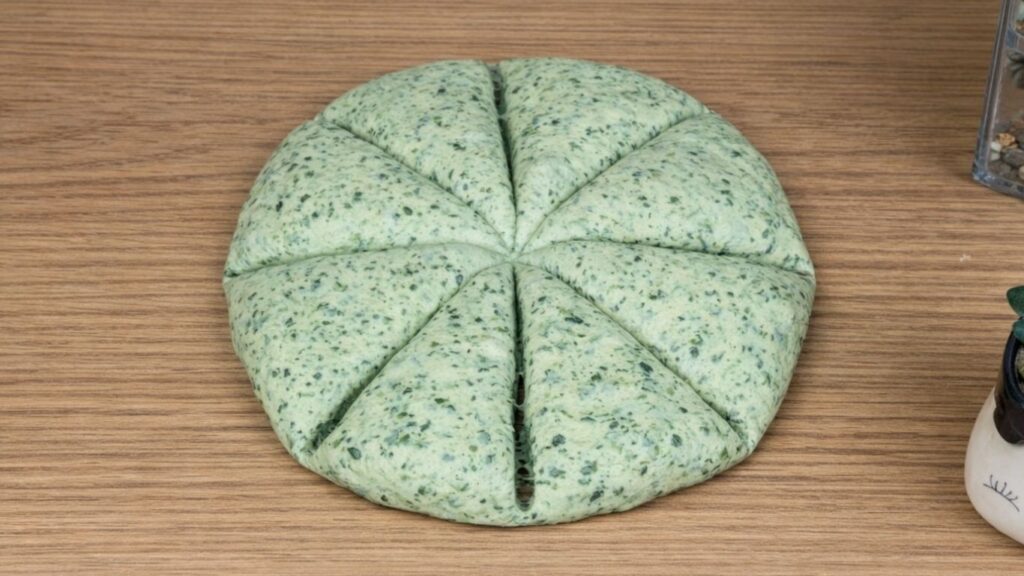
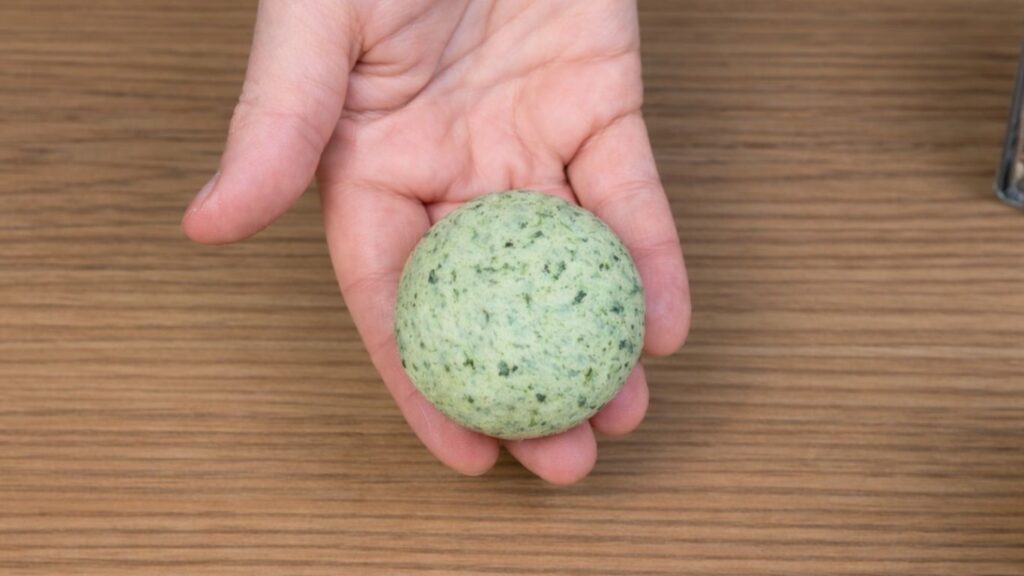
Try to keep all the balls similar in size so the buns bake evenly and look uniform.
6. Preparing for baking
Arrange all the shaped dough balls onto a baking tray lined with parchment paper, leaving a little space between each one so they have room to rise and expand while baking.
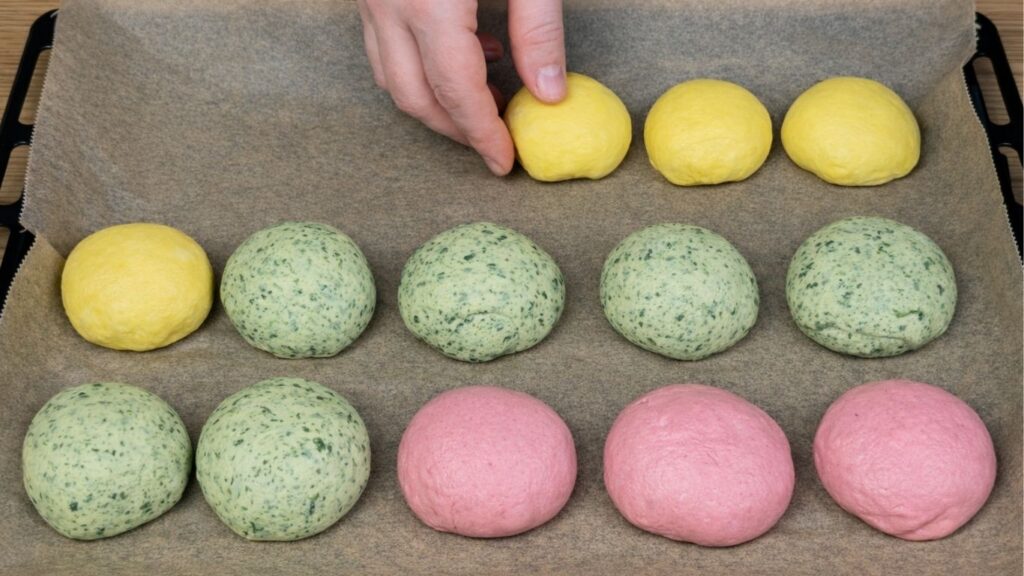
In a small bowl, mix water and oil, then gently brush each bun with this mixture. This will help create a soft, tender crust and give the buns a beautiful light shine.
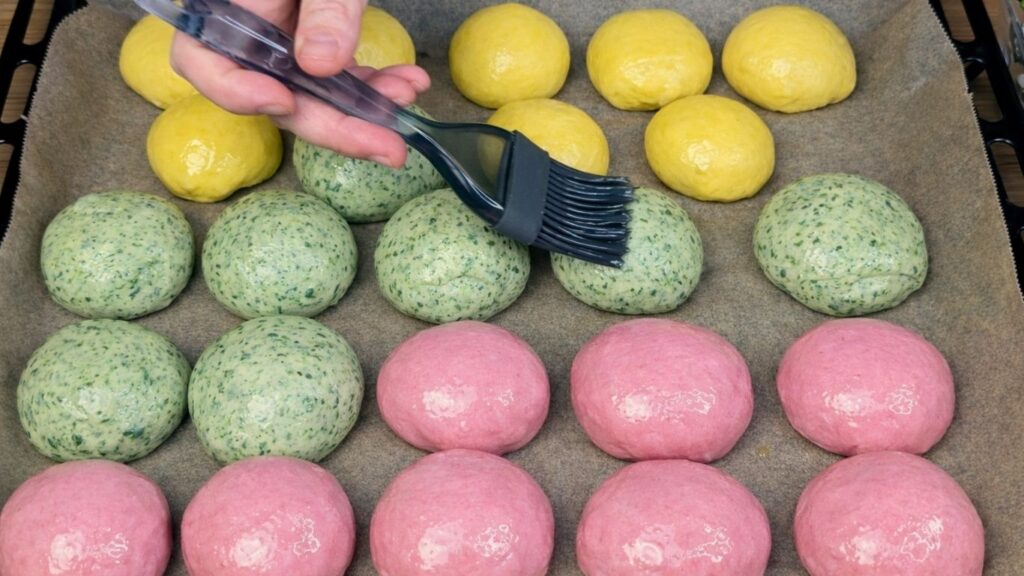
Once arranged in the tray, let the buns rest for about 10 minutes so they can rise slightly and become light and puffy.
Sprinkle the tops with sesame seeds for extra texture and flavor.
Place the tray into a preheated oven and bake at 180°C (350°F) for about 20-30 minutes, or until the buns are beautifully golden and evenly baked. Making natural colored burger buns at home is simple, fun, and a beautiful way to use natural ingredients.
7. Finishing and serving
Natural colored burger buns are beautifully baked and have turned a rich golden color, carefully remove the tray from the oven. As they come out, you will notice their soft, puffy texture and a light, delicate crust that has formed during baking.
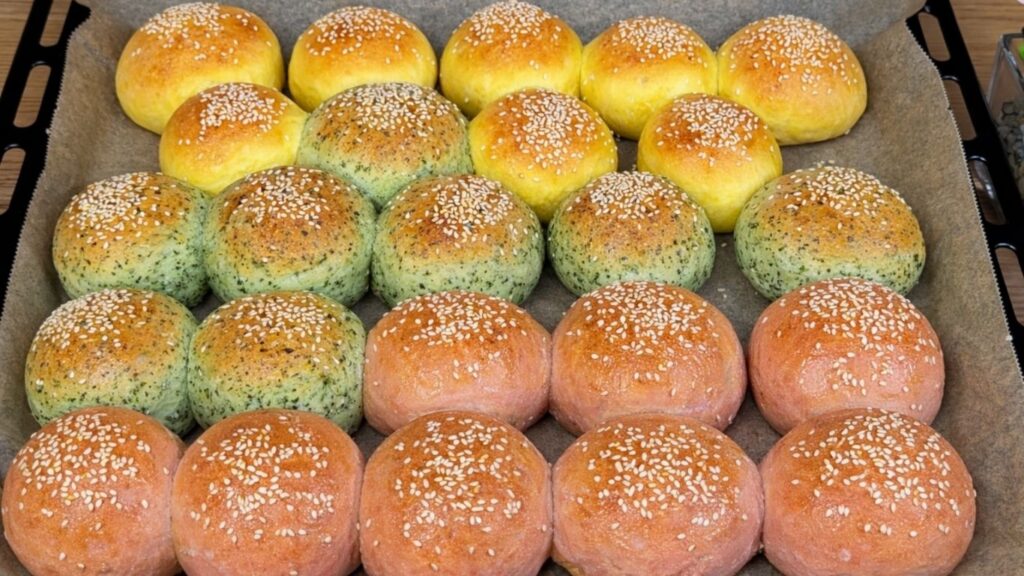
While the buns are still warm, gently brush each one with the water and oil mixture. This step adds a soft shine, keeps the crust tender, and helps lock in moisture so the buns stay soft and fluffy.
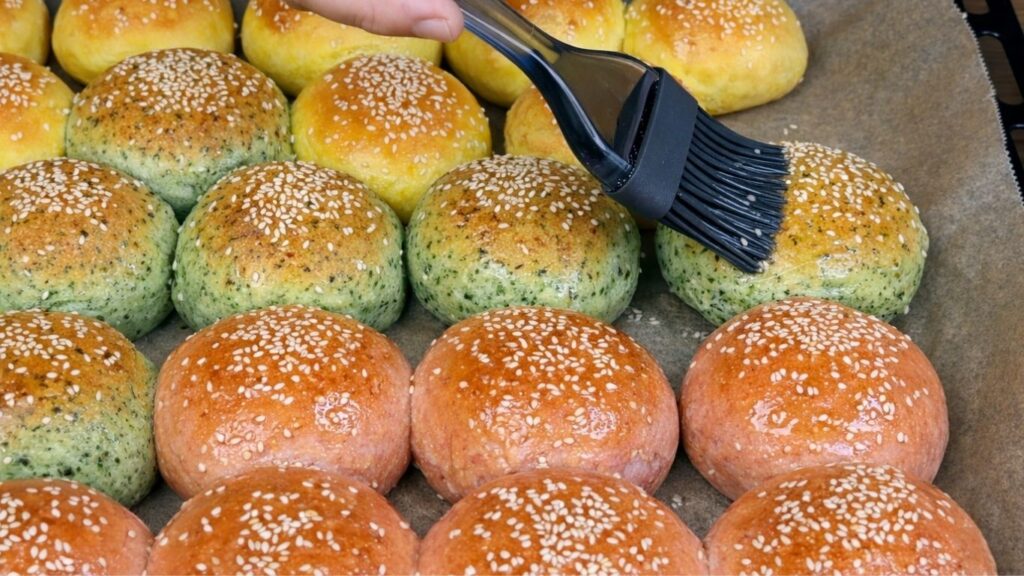
Allow the buns to cool slightly on a rack before serving.
Enjoy them fresh by making delicious burgers, sandwiches, or simply serve them as soft homemade bread alongside your favorite meals.
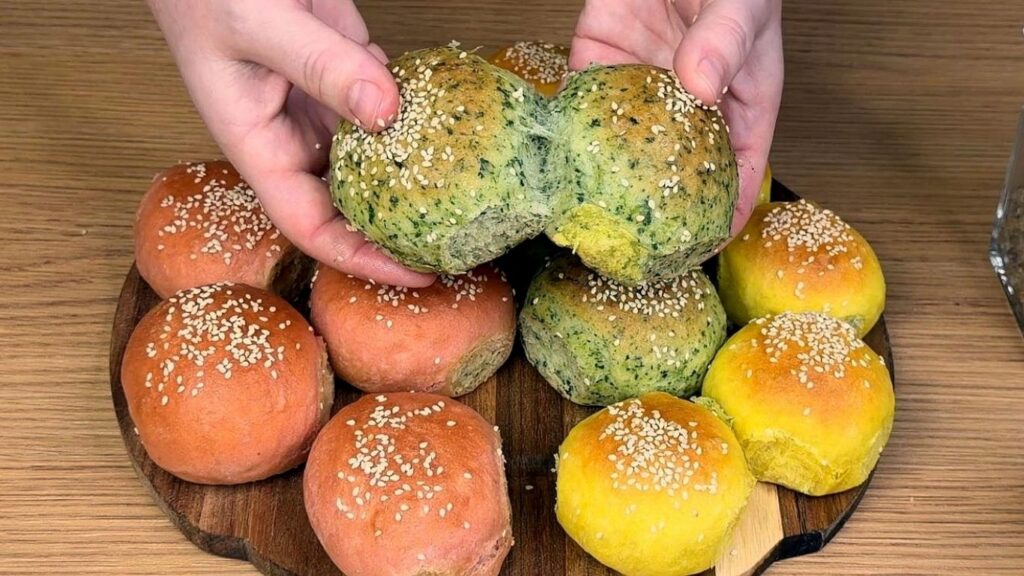
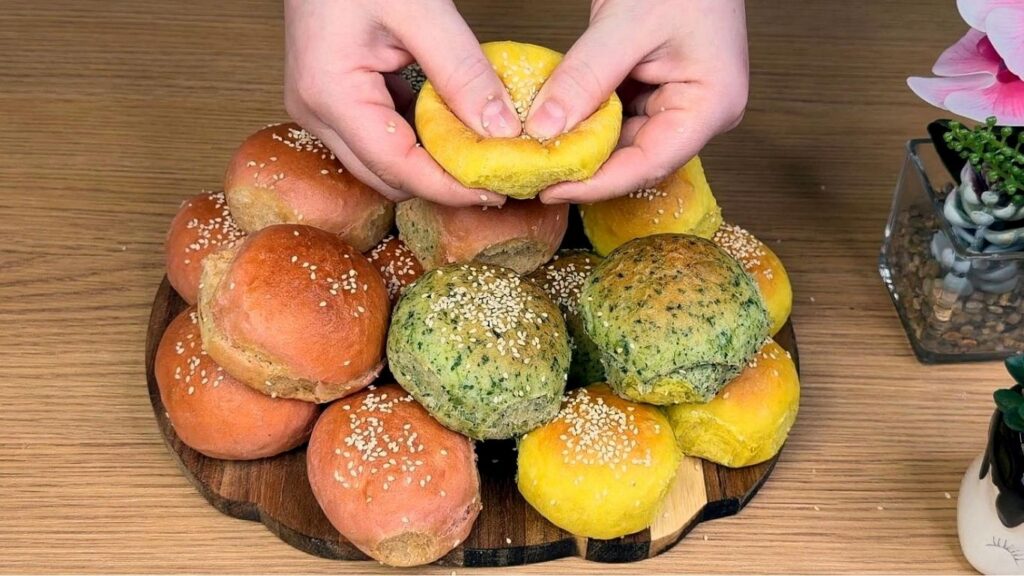
Storage & Serving
Storage
Once the buns have completely cooled, store them in an airtight container or a well-sealed bag at room temperature. They will stay soft and fresh for up to 2-3 days.
For longer storage, you can freeze the buns for up to 2 months. Simply place them in a freezer-safe bag or container. When ready to use, thaw at room temperature and warm slightly to bring back their soft, fluffy texture.
Serving
These naturally colored buns are soft, tender, and perfect for so many delicious meals.
Use them to make beautiful homemade burgers, fill them with your favorite sandwich fillings, or simply enjoy them warm as soft homemade bread alongside your meals.
They are also perfect for family gatherings, kids’ lunches, or festive tables, adding both flavor and beautiful natural color to your table.
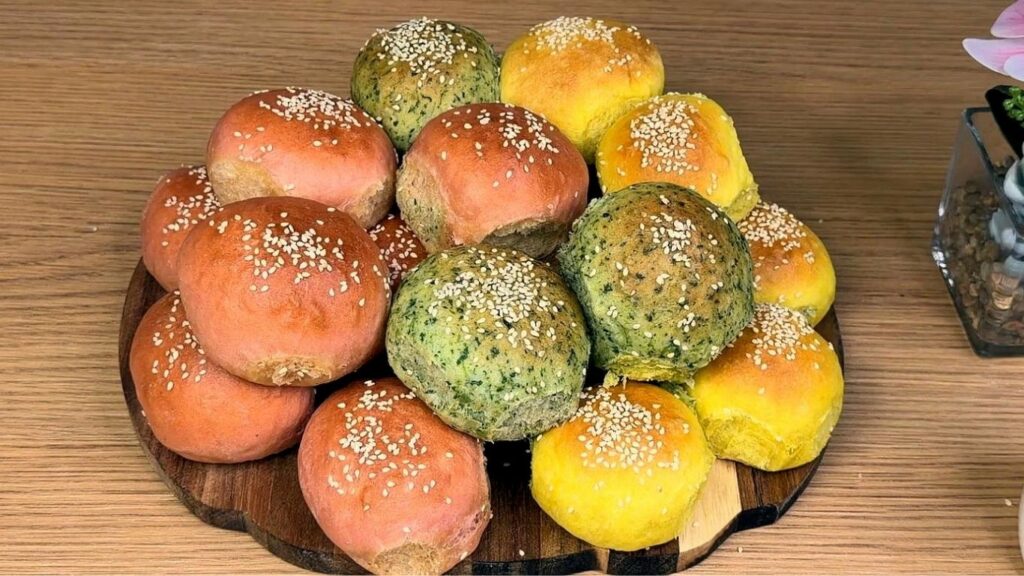
Enjoy
Enjoy these beautiful, natural colored burger buns fresh and soft, straight from your kitchen. Their tender texture and gentle flavors make them perfect for creating delicious homemade burgers filled with your favorite ingredients – fresh vegetables, juicy patties, creamy sauces, or simple classic fillings.
They are not only soft and fluffy, but also made with natural ingredients, which makes them a wonderful choice for your family and especially for children. Their cheerful colors bring joy to the table and make every meal feel special.
Serve them warm, share them with your loved ones, and enjoy every bite of these homemade, wholesome burger buns made with care and love.
These natural colored burger buns will quickly become one of your favorite homemade bun recipes.
If you enjoyed this recipe, I would love to hear from you.
Feel free to leave a comment below and share your experience – your feedback means so much and helps others try the recipe too.
If anything was unclear or you have any questions while making the buns, don’t hesitate to ask in the comments. I’m always happy to help you every step of the way.
Frequently Asked Questions
Will the buns keep their color after baking?
Yes, natural colored burger buns will keep their color after baking, but the shade may become slightly softer and more natural due to the heat of the oven. Turmeric keeps a warm yellow tone, spinach gives a gentle green color, and beetroot turns into a soft pink shade. Even after baking, the buns remain beautifully colorful, vibrant, and perfect for serving.
Do the buns taste like spinach, beetroot, or turmeric?
No, the flavors of the natural ingredients are very mild and subtle. Their main role is to give the dough its beautiful color, while the overall taste of the buns remains soft, light, and slightly buttery like classic homemade bread. Even children who don’t usually enjoy vegetables will love these buns because the flavors are gentle and well balanced.
How do I get an even and smooth color in the dough?
For a smooth and even color, knead each portion of dough well after adding the natural ingredient. Continue kneading until the color is fully incorporated and no streaks remain. Taking a little extra time during this step ensures that the final buns have a clean, vibrant color throughout.
Why is the colored dough softer or stickier than the plain dough?
Ingredients like blended spinach and beetroot naturally contain extra moisture, which can make the dough feel softer or slightly stickier. This is completely normal. Simply add a small amount of extra flour while kneading until the dough becomes soft, smooth, and easy to handle, but still remains tender for fluffy buns.
Can I use other natural ingredients to color the dough?
Yes, you can easily experiment with other natural colors. Carrot puree or pumpkin can give a soft orange tone, cocoa powder creates a chocolate brown shade, and matcha gives a gentle green color. Just keep in mind that some ingredients add extra moisture, so you may need to adjust the flour slightly to keep the dough balanced.
How do I keep all the buns the same size and shape?
Divide each portion of dough into equal pieces and shape them into smooth balls by gently tucking the edges underneath. Keeping the portions equal helps the buns rise and bake evenly, giving you a beautiful tray of uniform, bakery-style burger buns.
How do I keep the buns soft after baking?
Brushing the buns with the water and oil mixture while they are still warm helps keep the crust soft and adds a light shine. Storing them in an airtight container once cooled will also help them stay soft and tender for the next few days.
Watch the full Natural Colored Burger Buns video
You can watch the full step-by-step video recipe below, where I show you exactly how to make these soft, natural colored burger buns from start to finish.
Nutrition per Serving
Approximate nutrition information for 1 Colored Mini Burger Bun, based on a recipe yielding 24 buns:
- Calories: 130 kcal
- Carbohydrates: 20 g
- Protein: 3 g
- Fat: 4 g
- Saturated Fat: 2 g
- Cholesterol: 10 mg
- Sodium: 255 mg
- Fiber: 1 g
- Sugar: 2 g
Nutrition values are estimates and may vary depending on the amount of additional flour and sesame seeds used.
Conclusion
These Colored Burger Buns are a fun and beautiful alternative to traditional homemade buns. Naturally colored with turmeric, spinach, and beet, they are soft, fluffy, and free from artificial food coloring. Their small size makes them perfect for sliders, party platters, lunchboxes, or colorful sandwiches the whole family can enjoy.
Serve them fresh with your favorite burger fillings, or freeze a batch so you always have soft homemade mini buns ready for another meal.
Happy baking!
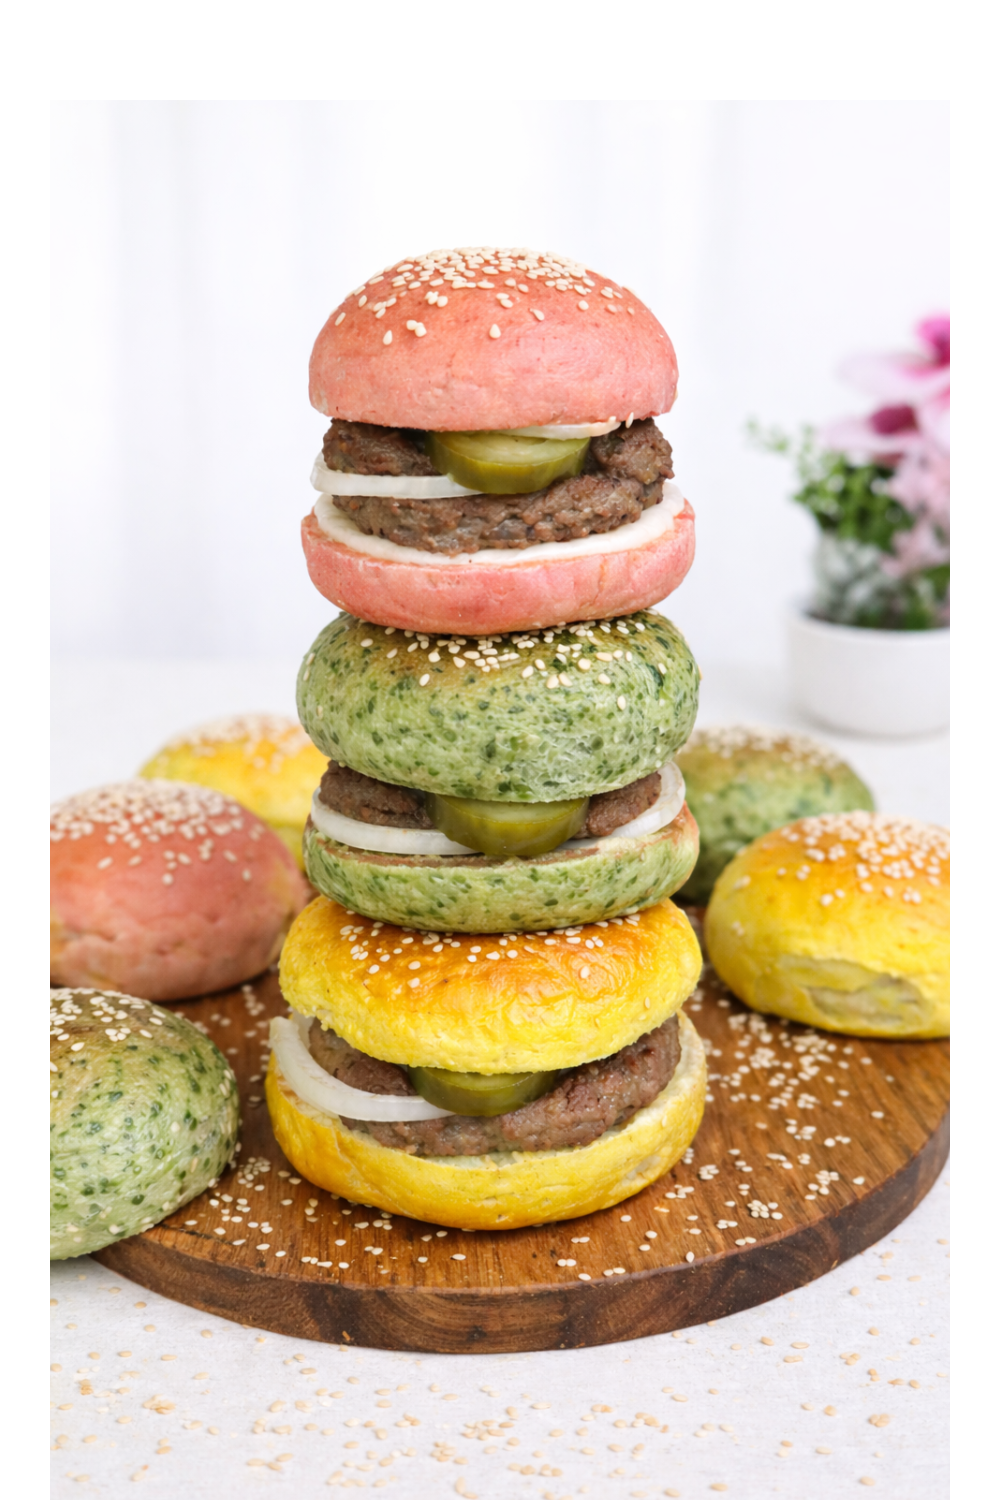

Colored Mini Burger Buns
Ingredients
Equipment
Method
- Activate the yeast: Pour the warm milk into a large mixing bowl. Add the sugar, active dry yeast, and 3 tablespoons of flour. Stir until combined and let the mixture rest for 5-10 minutes, or until foamy and bubbly.
- Prepare the dough: Add 4 cups of flour, salt, and softened butter to the activated yeast mixture. Mix until a soft dough begins to form.
- Knead the dough: Transfer the dough to a lightly floured surface and knead for 8-10 minutes, or use a stand mixer fitted with a dough hook. The dough should become smooth, soft, and elastic. Keep it slightly tacky because more flour may be needed when the natural colors are added.
- Divide the dough: Divide the dough into three equal portions. Using a kitchen scale will help ensure that each color produces 8 evenly sized buns.
- Make the yellow dough: Add the turmeric to the first portion. Knead until the color is evenly distributed and the dough becomes a warm yellow shade.
- Make the green dough: Add the spinach puree to the second portion. Knead until the dough is evenly green. If it becomes sticky, add extra flour one tablespoon at a time until it is soft and manageable.
- Make the pink dough: Add the cooked beet puree to the third portion. Knead until the dough is evenly pink. Add extra flour one tablespoon at a time if necessary, but keep the dough soft.
- Complete the first rise: Place each colored dough portion in a separate lightly greased bowl. Cover with plastic wrap or clean kitchen towels. Let the dough rise in a warm, draft-free place for approximately 1 hour, or until doubled in size.
- Shape the buns: Divide each colored dough portion into 8 equal pieces, creating 24 pieces in total. Shape each piece into a smooth, round ball by tucking the edges underneath.
- Complete the second rise: Arrange the buns on baking sheets lined with parchment paper, leaving space between them. Cover loosely and let them rise for 20-30 minutes, or until soft and puffy.
- Brush and add the topping: Preheat the oven to 350°F (180°C). Mix the water and oil in a small bowl. Gently brush the risen buns with the mixture and sprinkle with sesame seeds, if desired. Reserve the remaining mixture for brushing after baking.
- Bake: Bake the Colored Burger Buns for 20–25 minutes, or until baked through and lightly golden. Avoid overbaking, as this can dry out the buns and darken their natural colors.
- Brush after baking: As soon as the buns come out of the oven, gently brush them with the remaining water-and-oil mixture. This helps keep the crust soft and adds a light shine.
- Cool: Transfer the buns to a wire rack and allow them to cool before slicing and serving.
Notes
- The milk should be approximately 105-110°F (40-43°C). Hot milk can damage the yeast.
- Use thick spinach and beet purees. Drain away excess liquid before adding them to the dough.
- Flour absorption varies, so add extra flour gradually. The dough should remain soft and slightly tacky.
- Natural colors may become slightly softer or darker during baking.
- Turmeric and beet can stain hands and surfaces, so gloves may be helpful.
- For evenly sized buns, weigh each colored dough portion before dividing it into 8 pieces.
- Store cooled buns in an airtight container at room temperature for up to 3 days.
- Freeze the buns in a freezer-safe bag for up to 2 months. Thaw at room temperature and warm briefly before serving.