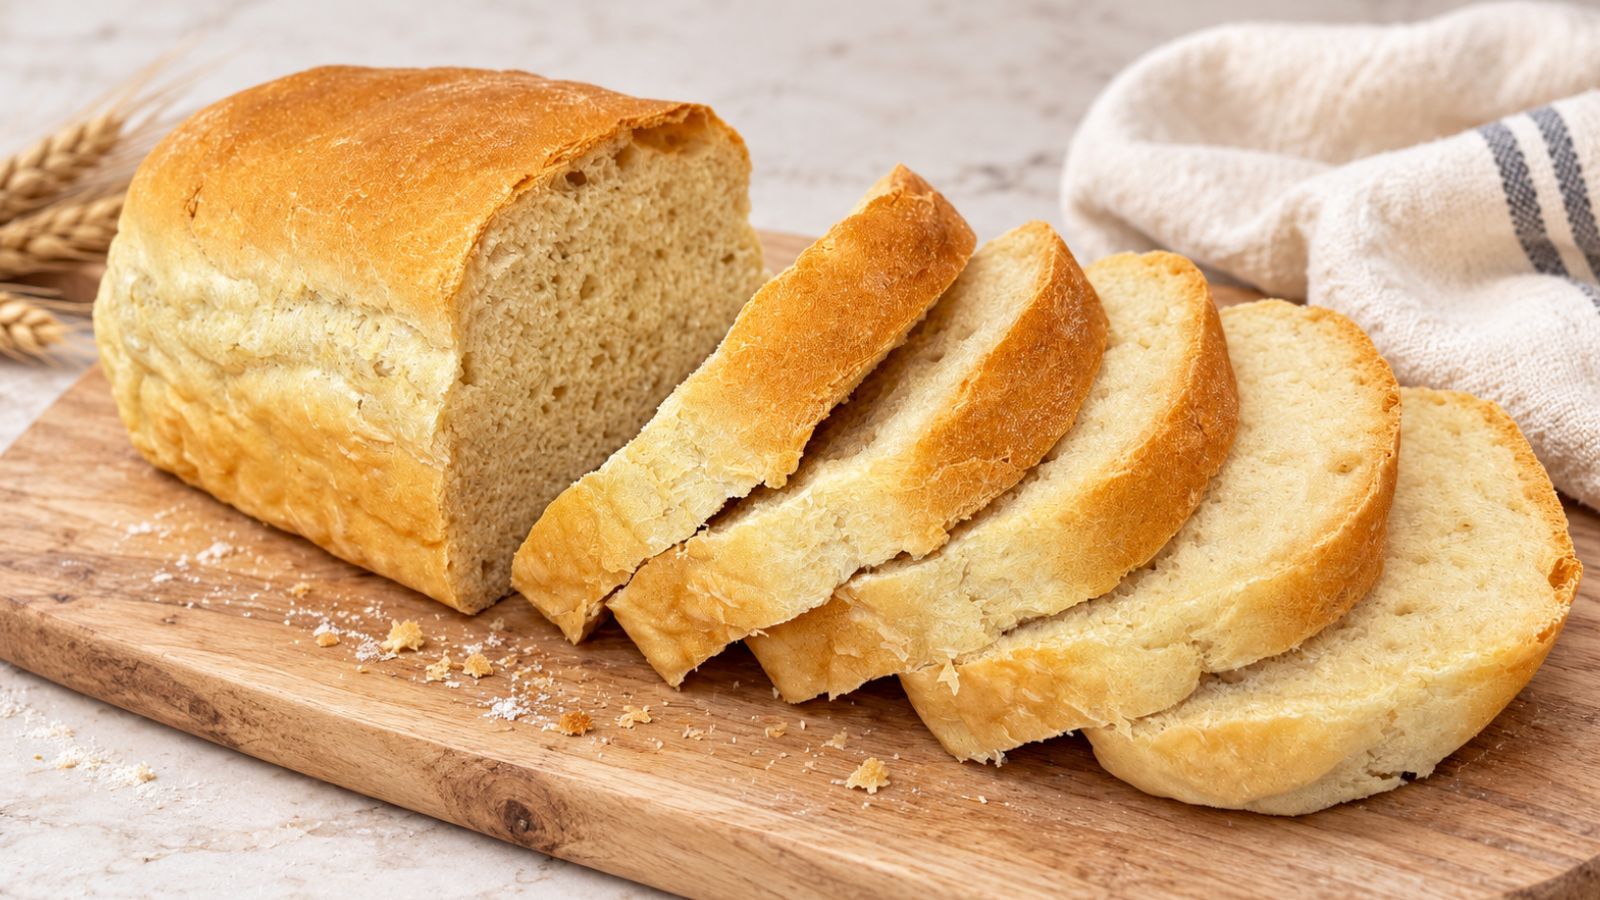
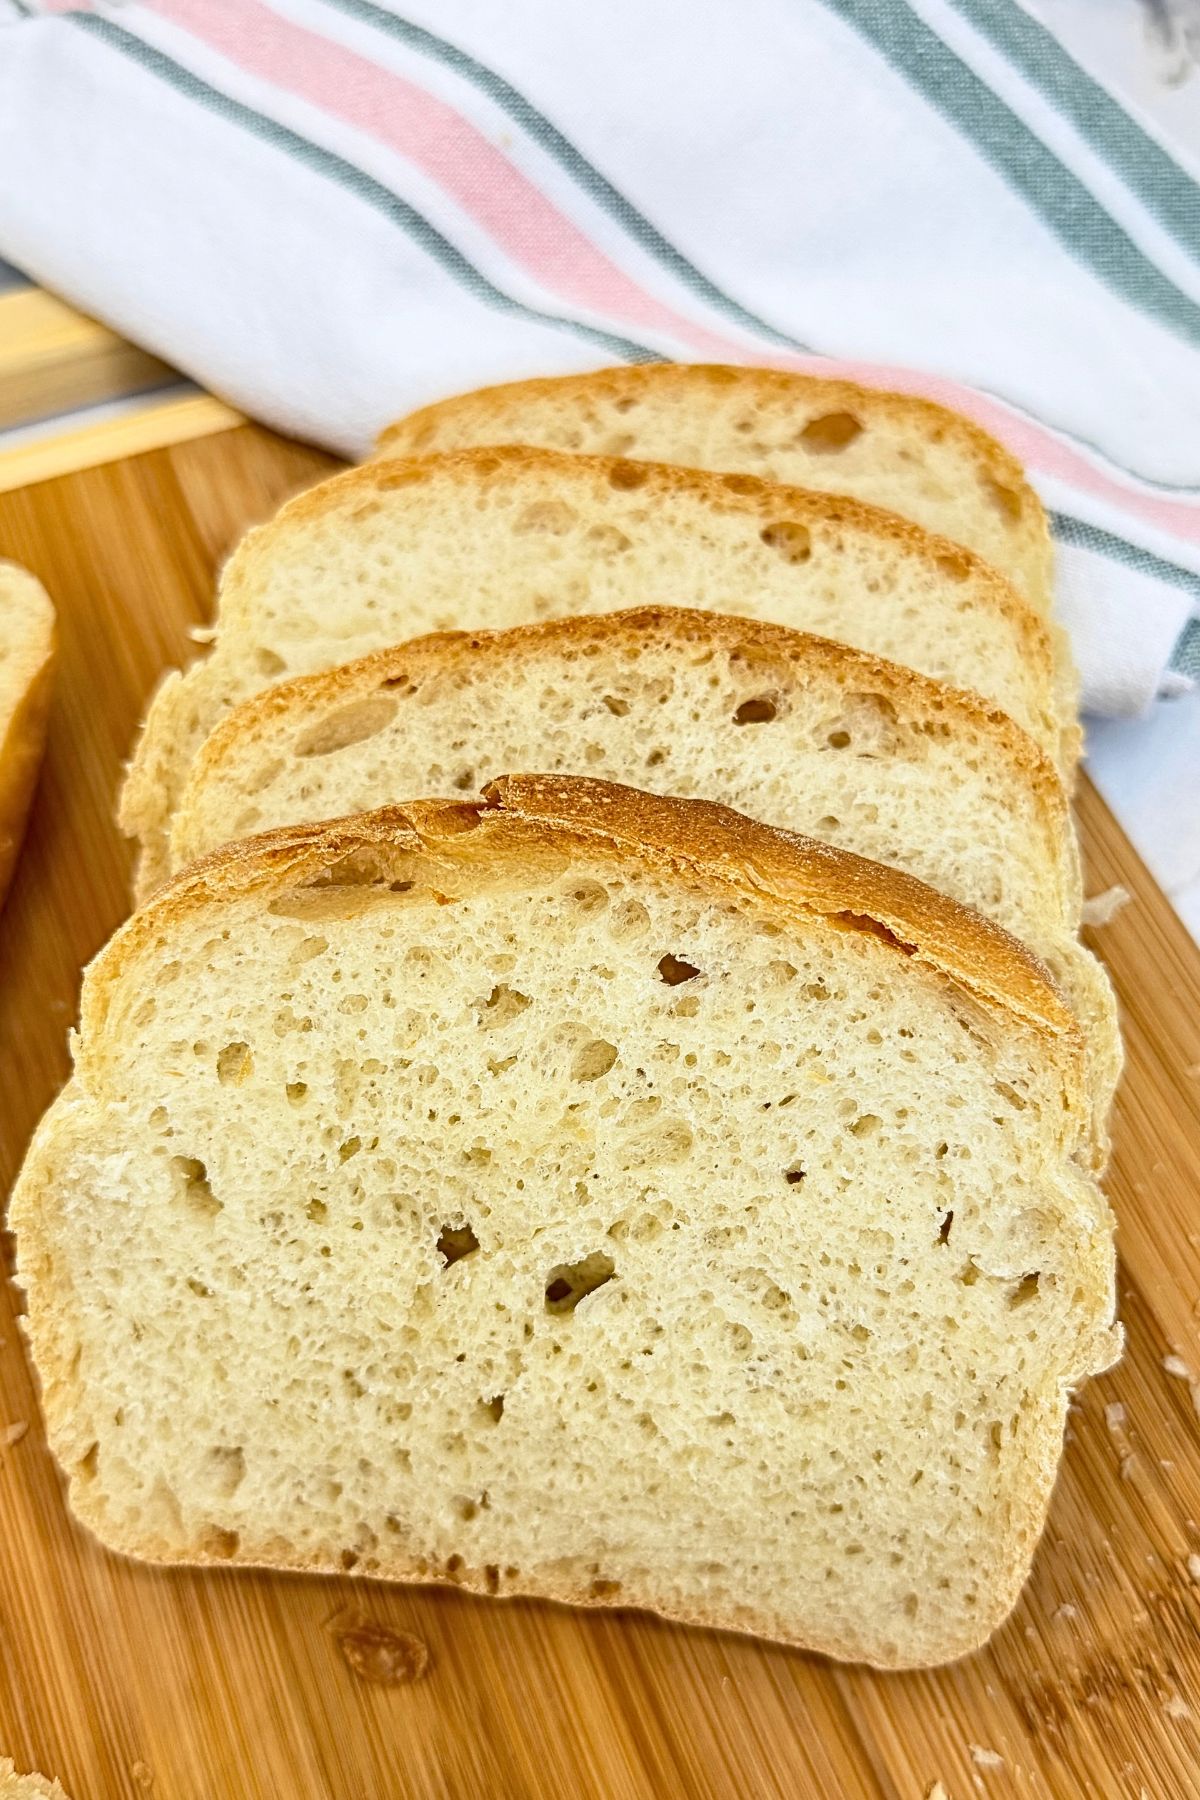
This homemade sandwich bread has everything I love in an everyday loaf-a soft, fluffy interior, a golden crust, and slices that are just right for sandwiches and toast. There’s something so comforting about the smell of fresh bread baking, especially when it’s made with a handful of simple ingredients you already have in your kitchen.
A little honey adds a gentle hint of sweetness, while the oil helps keep the crumb tender. There’s no milk, butter, or eggs in this recipe-just a simple yeast dough and time to let it rise. Whether you’re making lunch for the family or toasting a slice for breakfast, this is the kind of bread you’ll look forward to baking again.
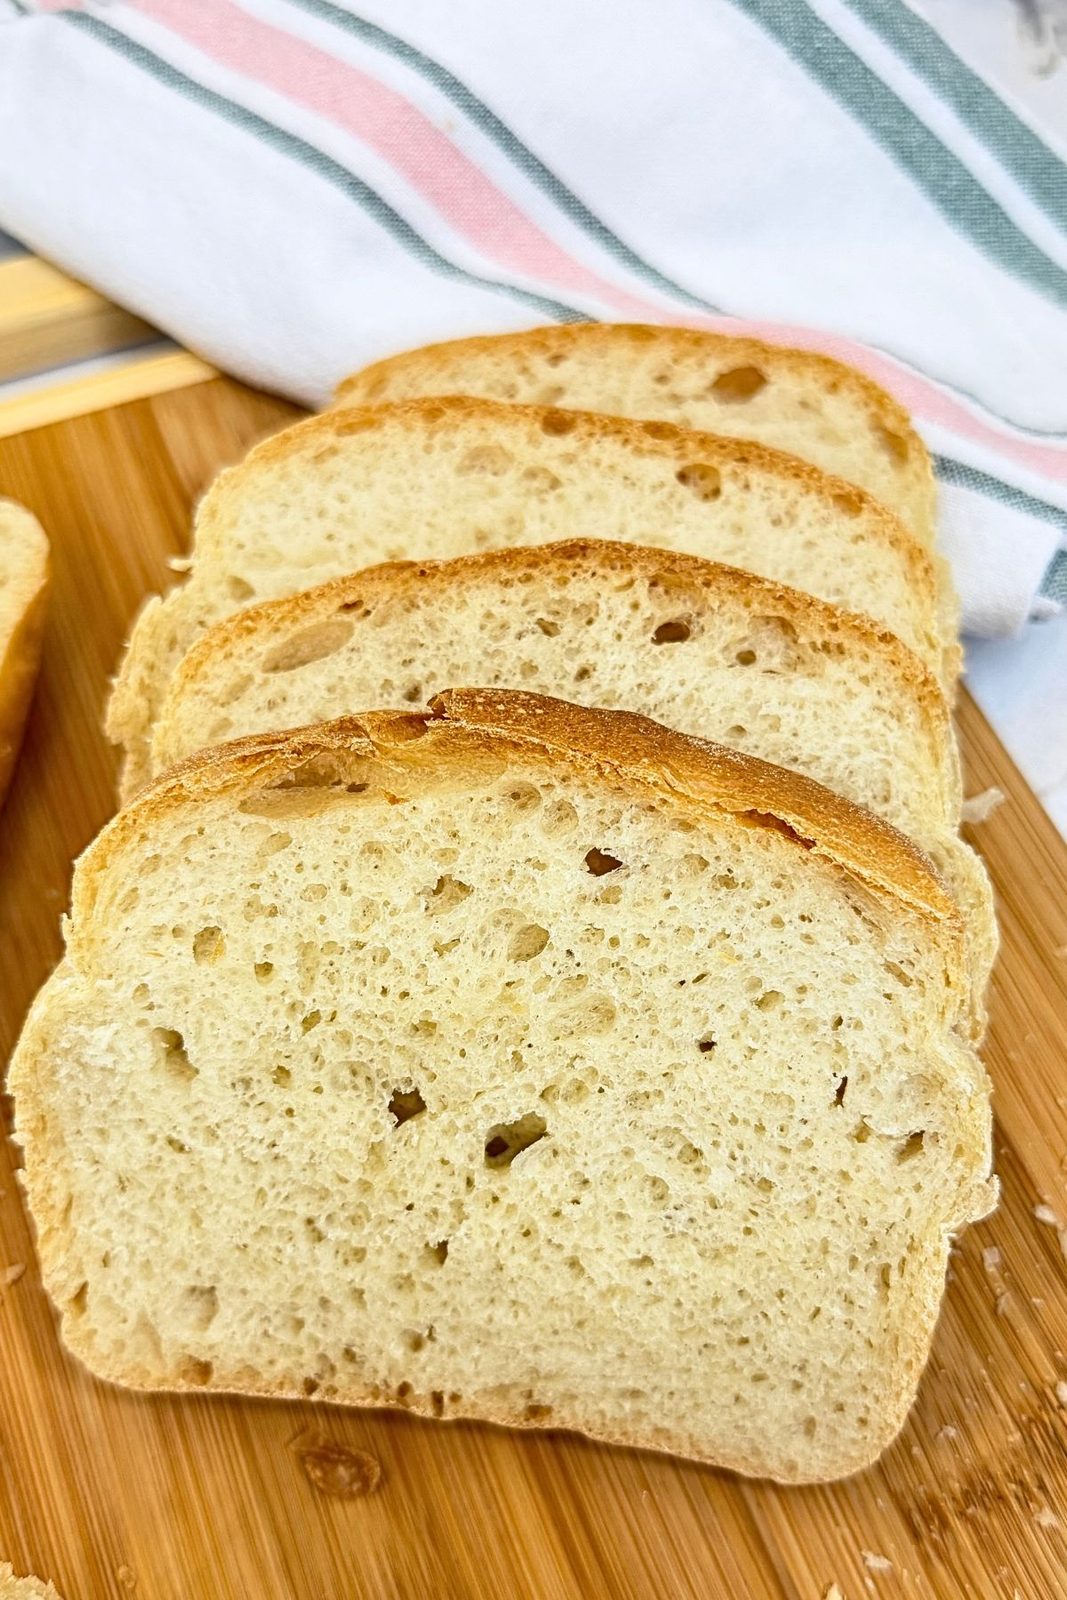
Making homemade sandwich bread is a lovely way to bring fresh baking into your everyday routine. The dough comes together in one bowl, then gets two rises before baking. I’ll walk you through each stage with photos, so you can see how the dough should look as you go.
If you enjoy working with yeast dough, you might also like my homemade bagels for another delicious breakfast or sandwich option. And if you’re new to bread baking, this yeast baking guide from King Arthur Baking is a helpful resource to keep handy.
For this recipe, add the flour gradually so you can feel when the dough has enough, and give it time to become puffy before baking. Those little details help create the tender slices that make homemade sandwich bread so satisfying.
Quick Recipe Info
- Prep Time: 20 minutes
- Rise Time: 1 hour 45 minutes
- Bake Time: 30–35 minutes
- Total Time: About 2 hours 40 minutes, plus cooling
- Yield: 2 loaves
- Category: Bread
- Method: Oven-baked
- Oven Temperature: 350°F (180°C)
- Difficulty: Easy
Why You’ll Love This Homemade Sandwich Bread
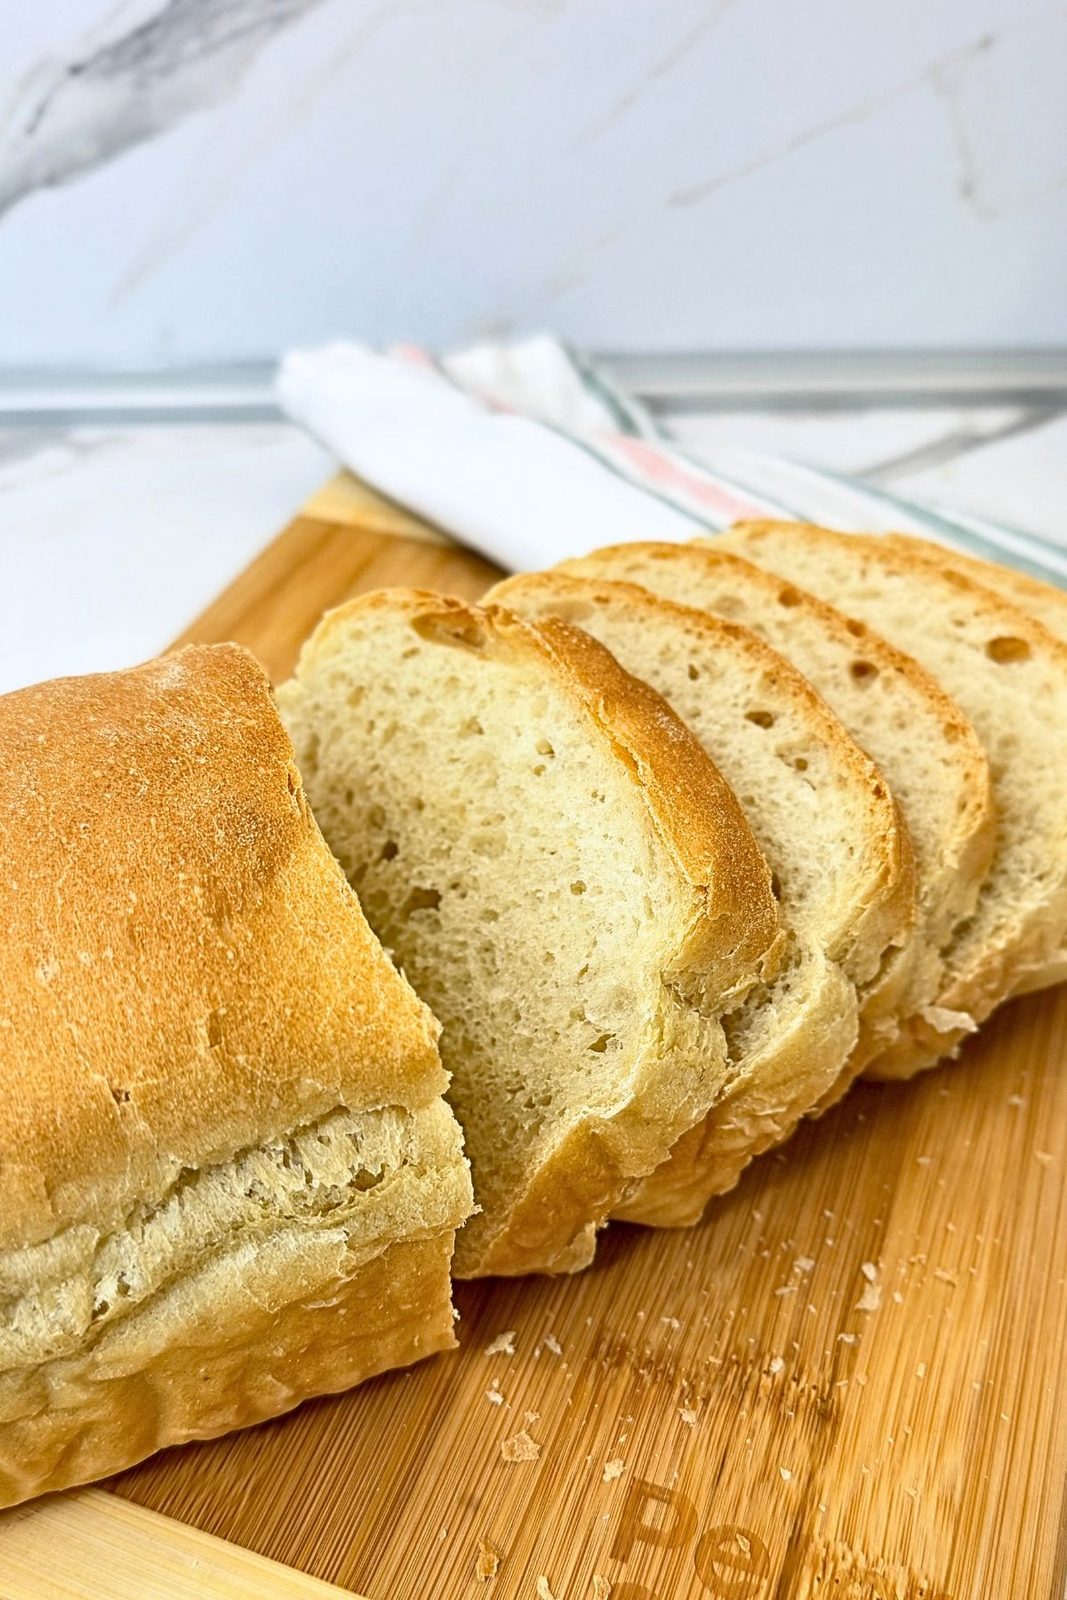
- Soft and fluffy: A tender crumb makes each slice delicious for sandwiches, toast, or simply spreading with butter.
- Simple ingredients: Made with flour, water, yeast, honey, oil, and salt-no milk, eggs, or butter needed.
- Easy to make by hand: You don’t need a stand mixer or bread machine to prepare the dough.
- Just a touch of sweetness: A little honey rounds out the flavor without making the bread overly sweet.
- Useful every day: Fill it with your favorite sandwich ingredients, make grilled cheese, or turn leftover slices into French toast.
- Makes two loaves: Enjoy one fresh and freeze the other for another day.
Ingredients You’ll Need
This homemade sandwich bread comes together with just six simple ingredients. You’ll find the full measurements in the recipe card below.
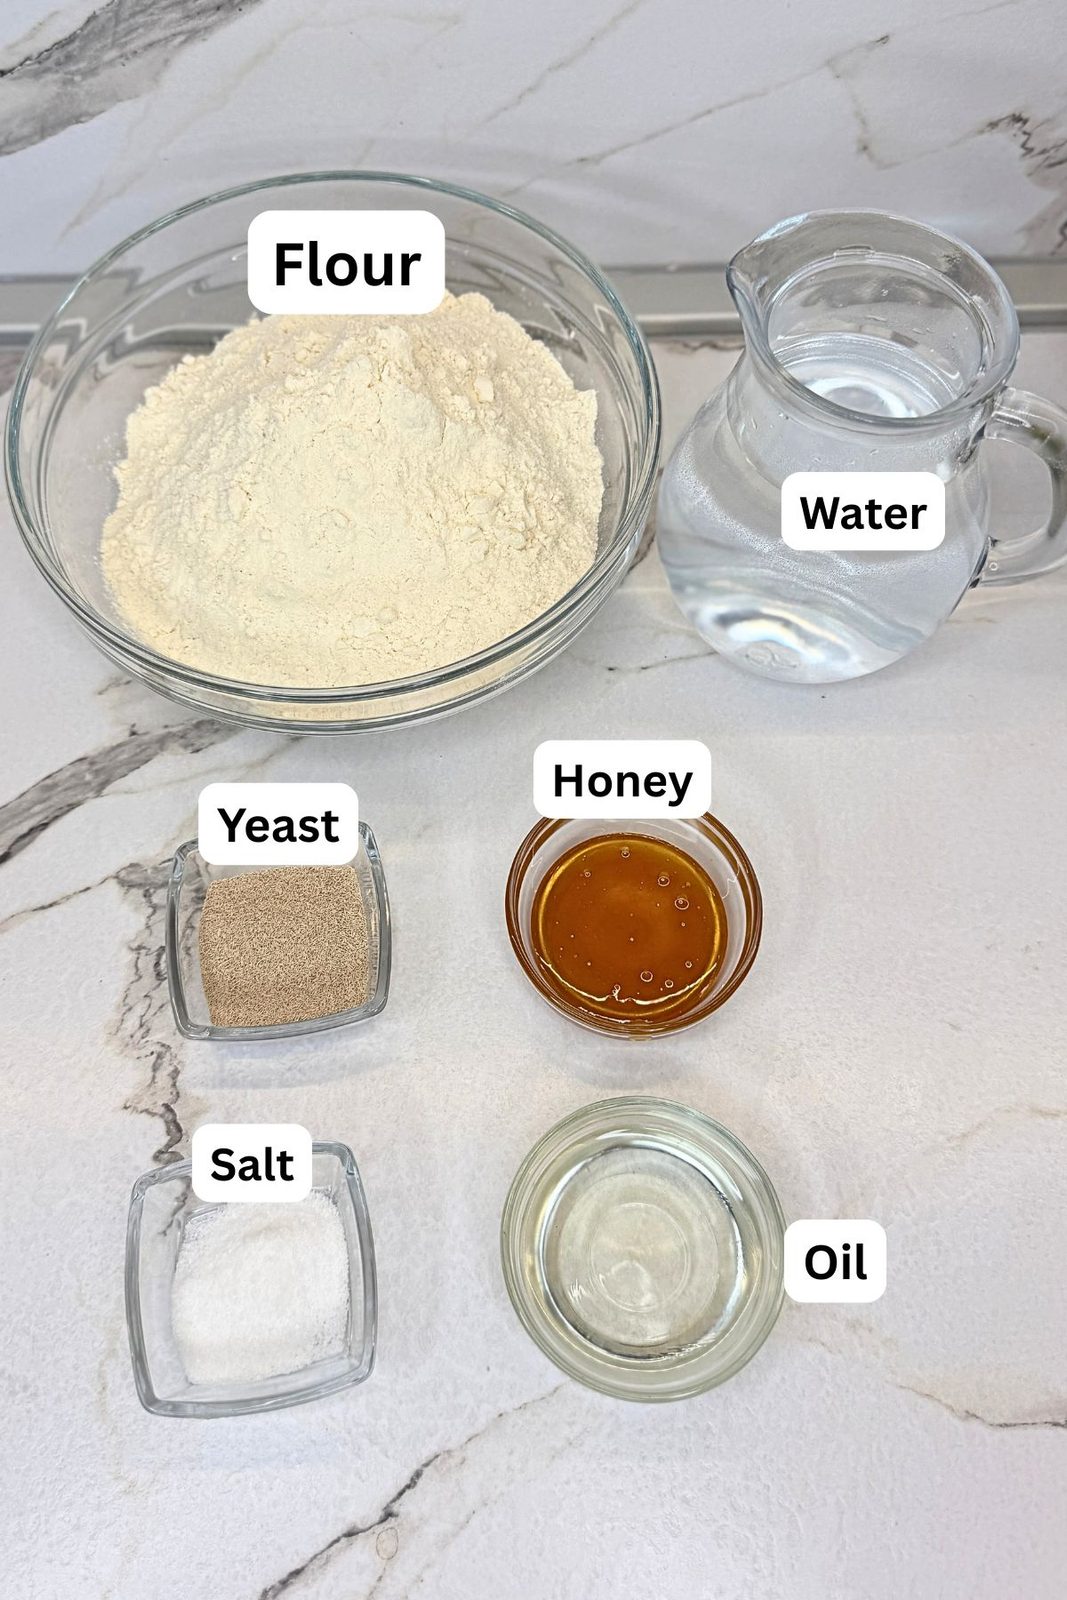
- Flour: Gives the bread its structure. Add it gradually-you may not need the full amount. The dough should feel soft and slightly tacky, rather than dry or stiff.
- Warm water: Helps activate the yeast and brings the dough together. Use water that feels comfortably warm, not hot.
- Dry yeast: Helps the dough rise and creates that fluffy texture. Let it sit with the warm water and honey until foamy.
- Honey: Adds a gentle sweetness that complements both sweet and savory toppings.
- Oil: Helps keep the crumb tender. Choose a neutral oil, such as vegetable or sunflower oil.
- Salt: Brings out the flavor and balances the sweetness of the honey.
How to Make Homemade Sandwich Bread
1. Activate the yeast
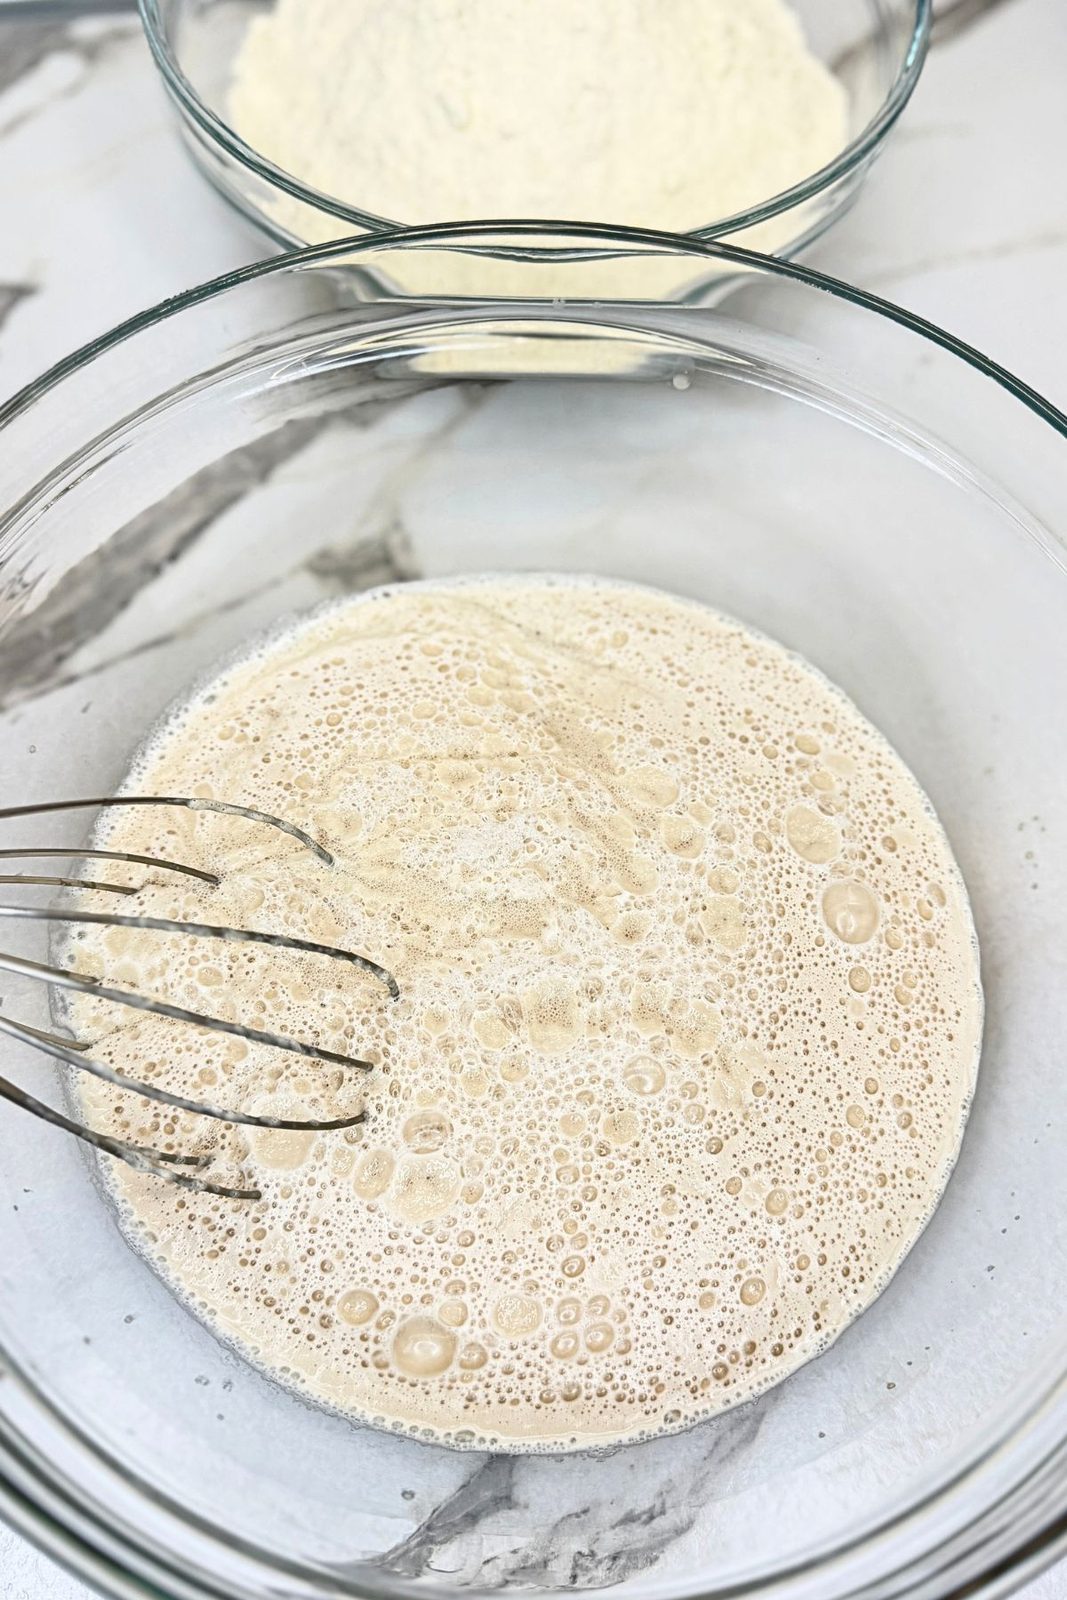
Pour the warm water into a large mixing bowl. Add the yeast and honey, stir, and let stand for 5–10 minutes, until the mixture looks foamy.
2. Mix and knead the dough
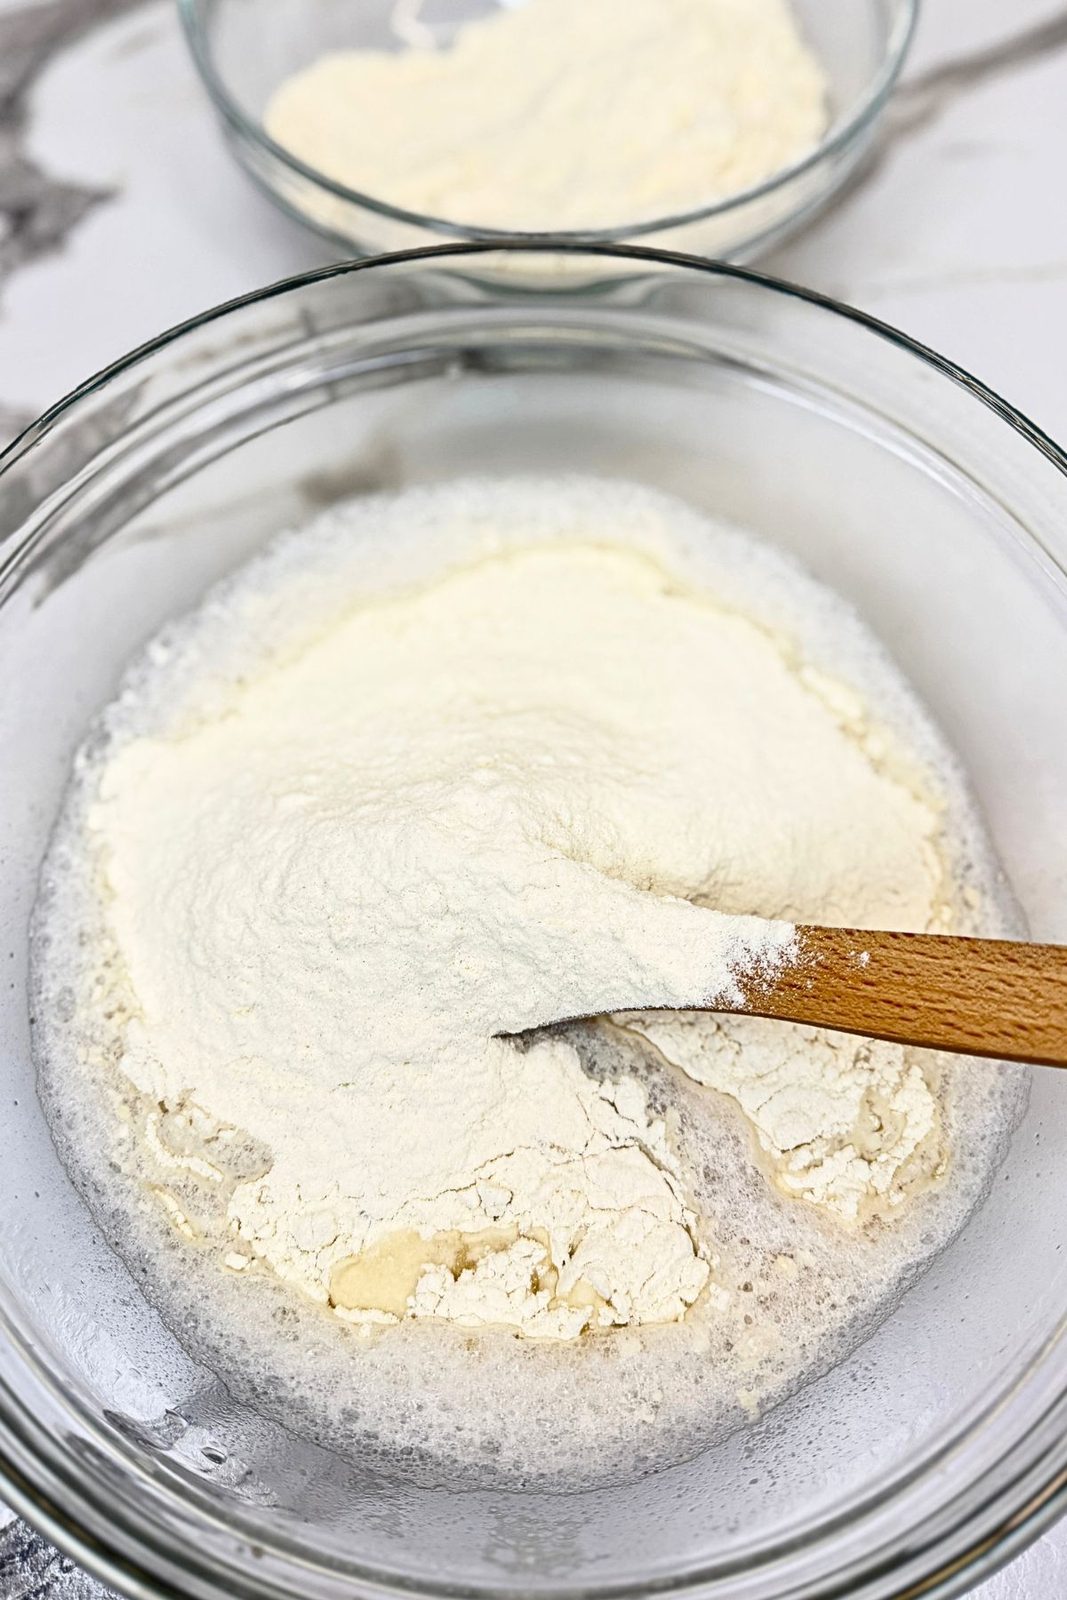
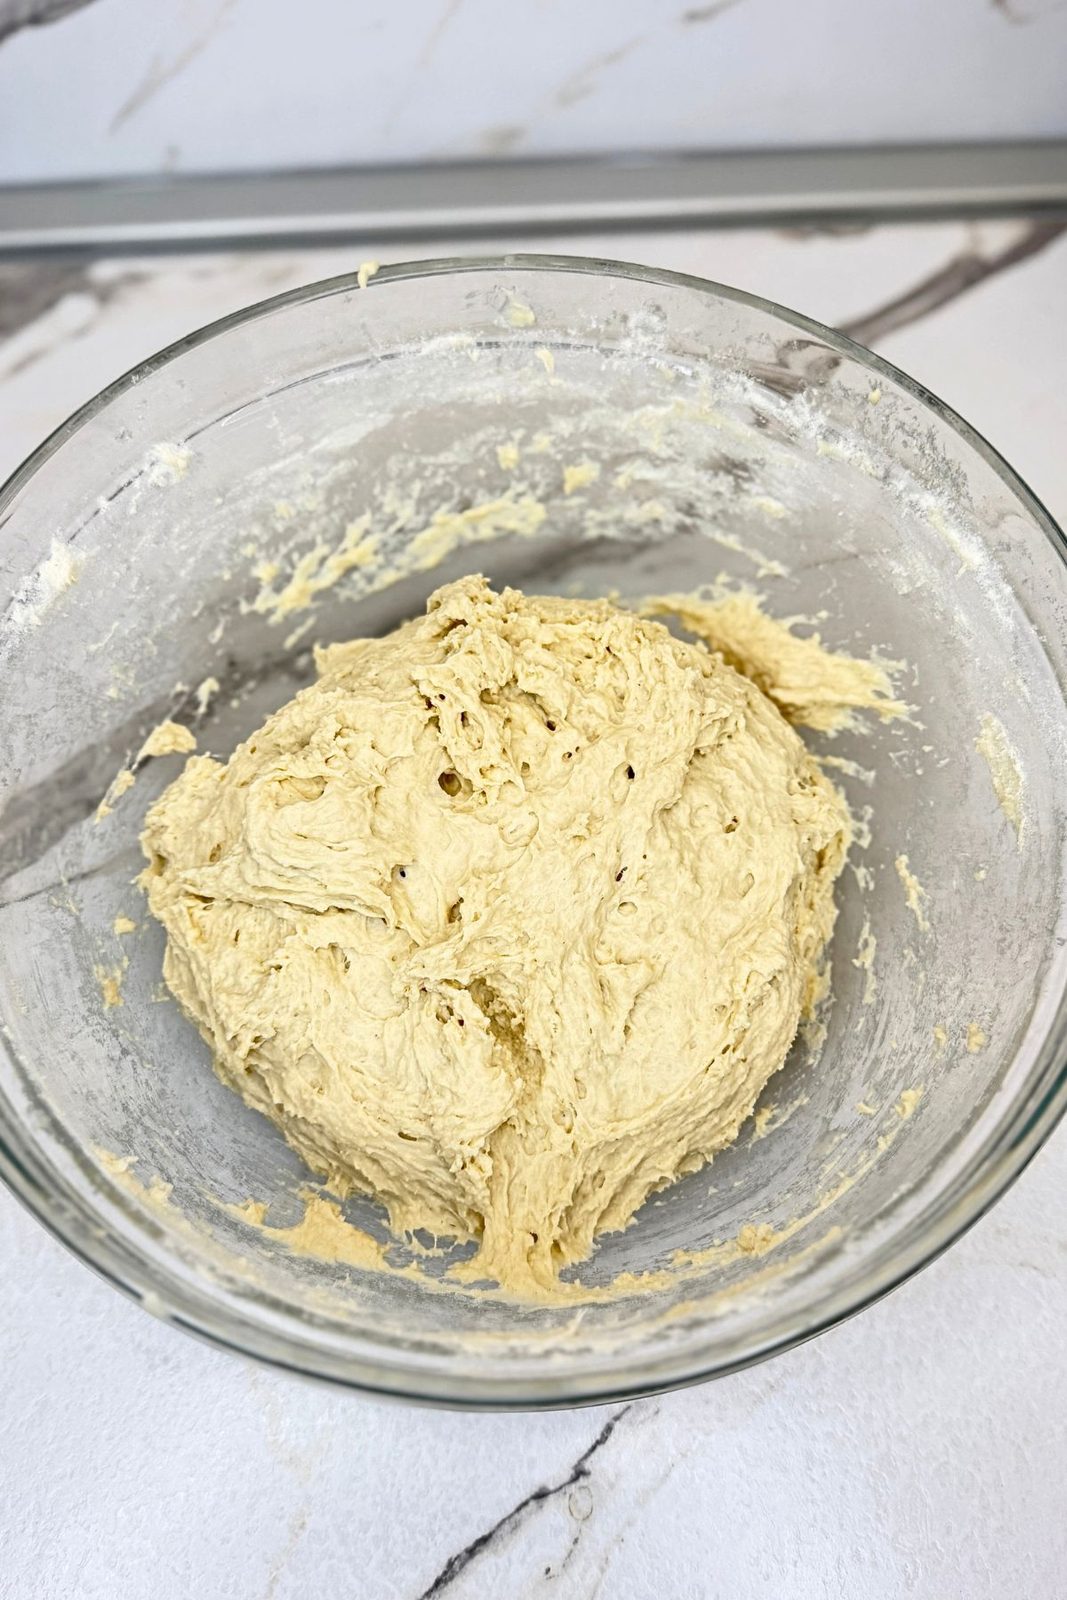
Stir the yeast mixture again, then add the oil, some of the flour, and the salt. Gradually mix in more flour until a soft dough forms. Knead until smooth and elastic, adding only enough flour to make the dough manageable. It should remain slightly tacky, rather than dry or stiff.
3. Let the dough rise
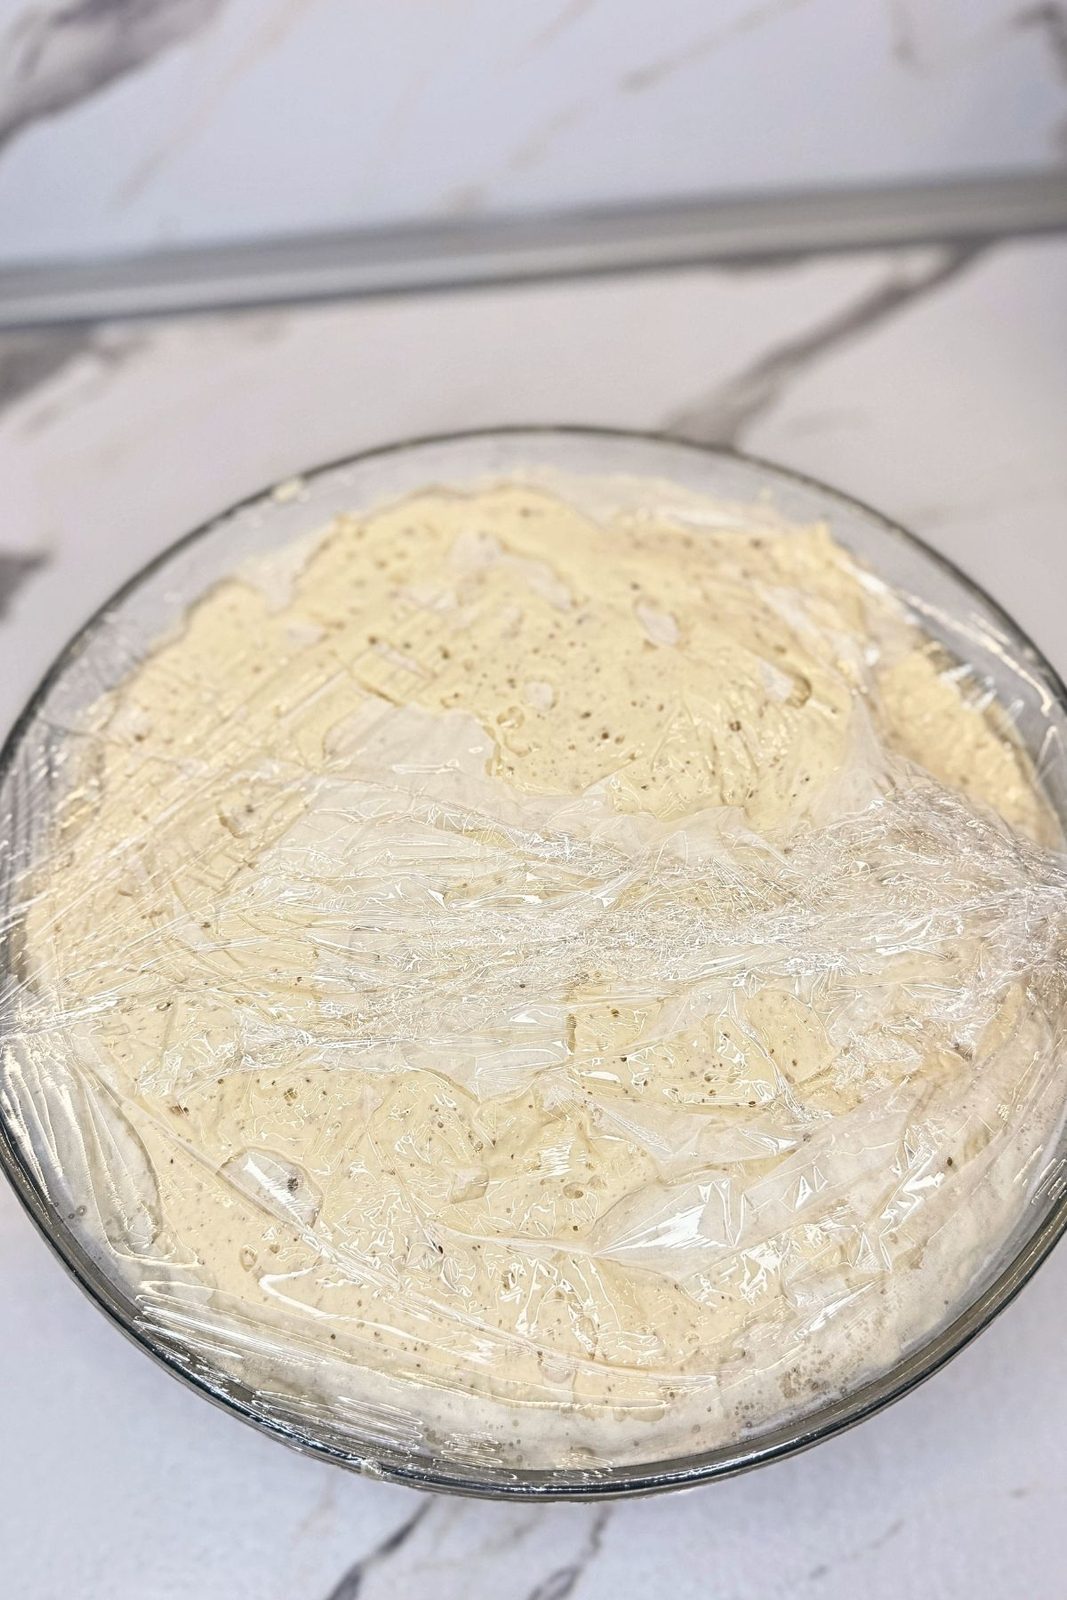
Cover the bowl and leave it in a warm spot for about 1 hour, or until the dough has doubled in size. A cooler kitchen may mean a longer rise, so use the dough’s appearance as your guide.
4. Shape the loaves
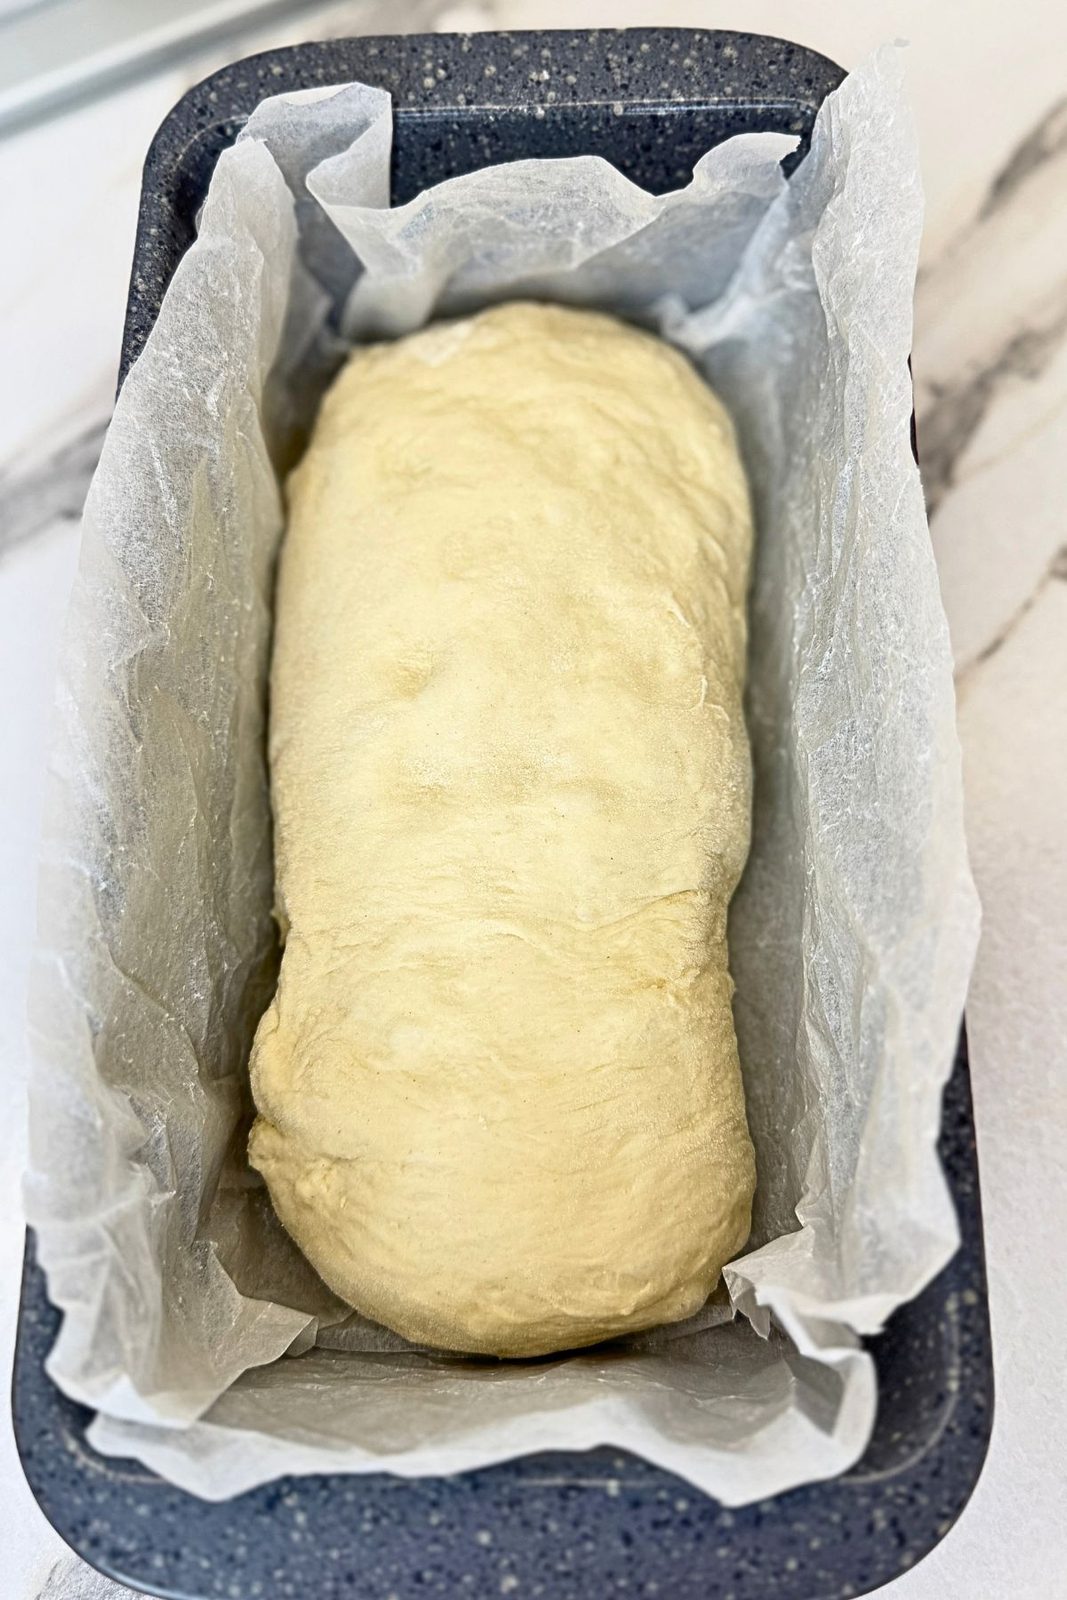
Turn the dough out onto a lightly floured surface and gently press out the excess air. Divide into two equal portions. Flatten each portion into a rectangle, then roll it up snugly into a log that fits your loaf pan. Pinch the seam closed and tuck in the ends.
5. Let rise again
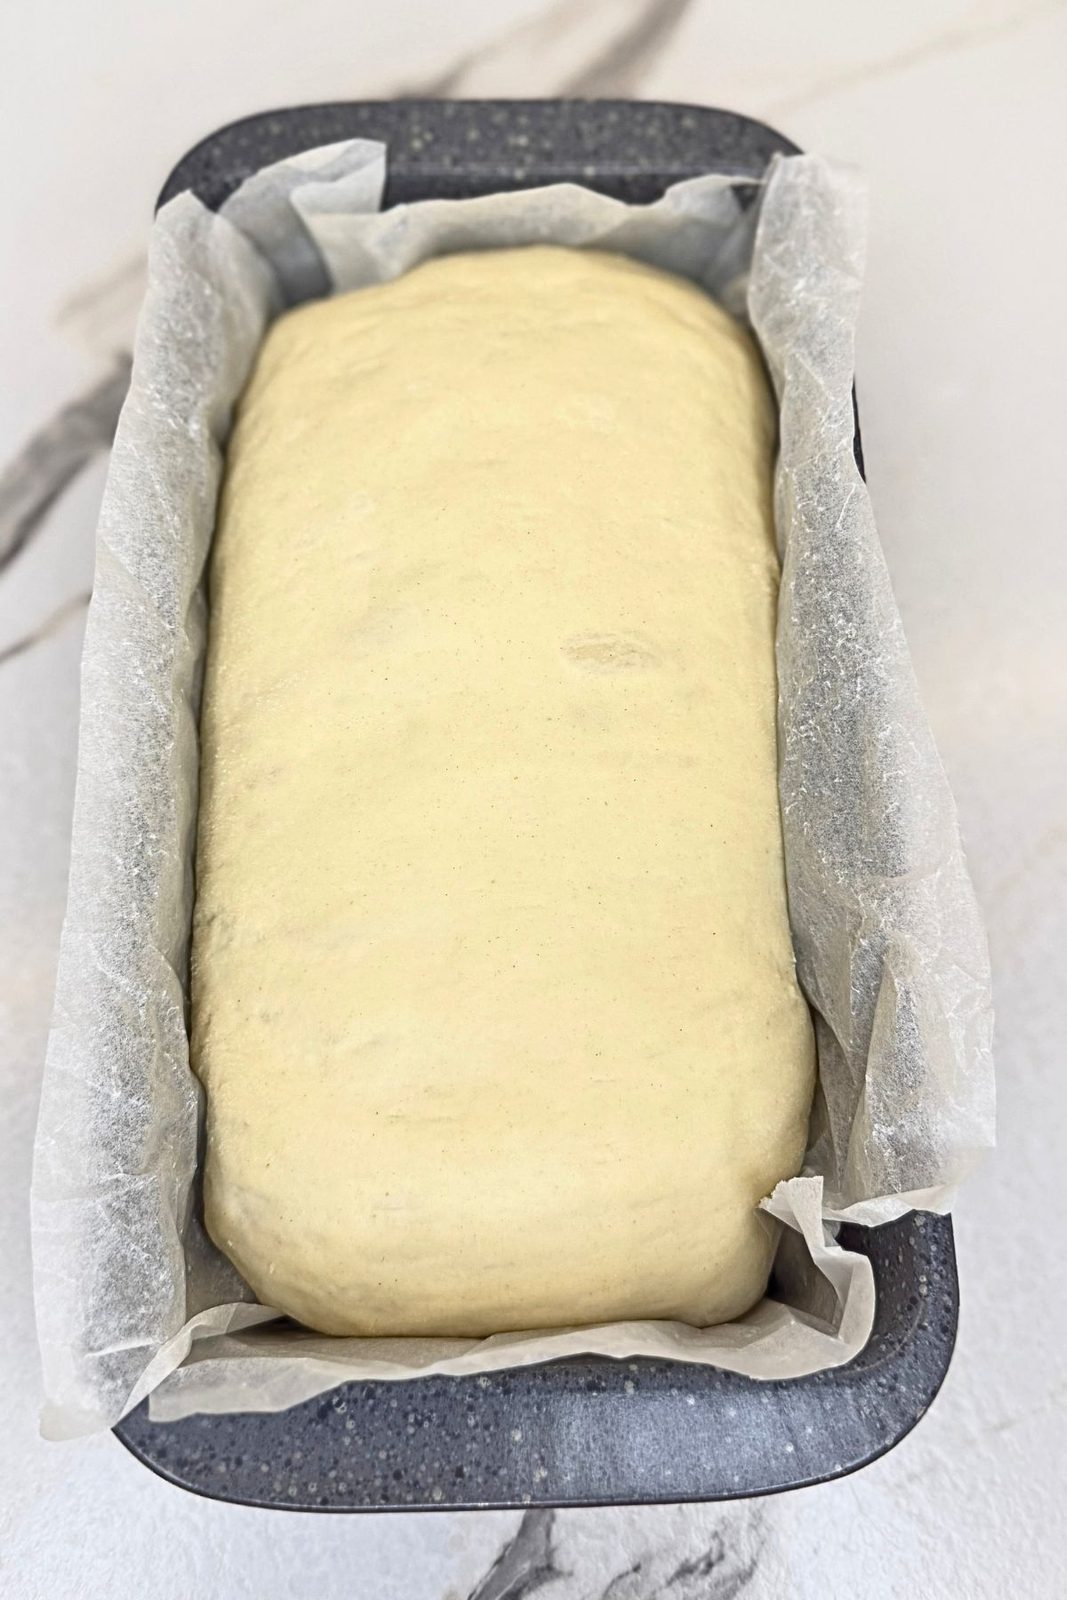
Line two 9 × 5-inch loaf pans with parchment paper. Place each loaf seam-side down in a prepared pan. Cover loosely and let rise for about 45 minutes, until noticeably puffy.
Toward the end of this rise, preheat the oven to 350°F (180°C).
6. Bake until golden
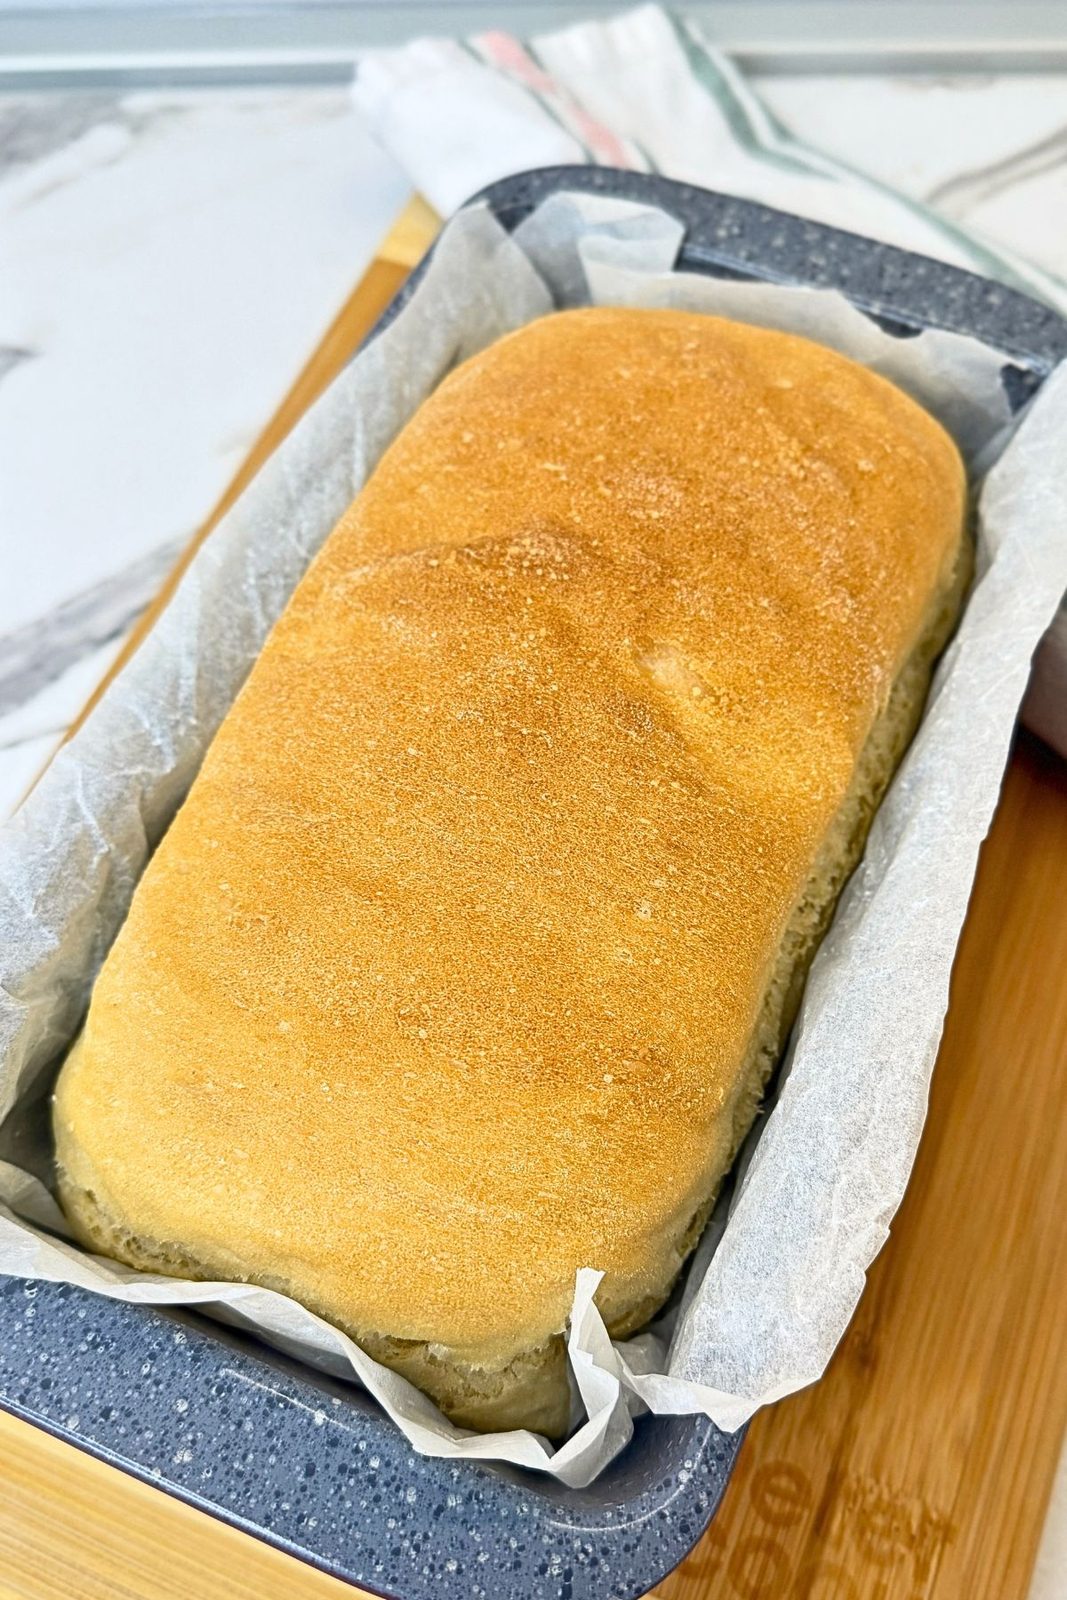
Bake for 30–35 minutes, until the tops are golden brown and the loaves are baked through. If the tops brown too quickly, loosely cover them with foil for the remaining baking time.
7. Cool before slicing
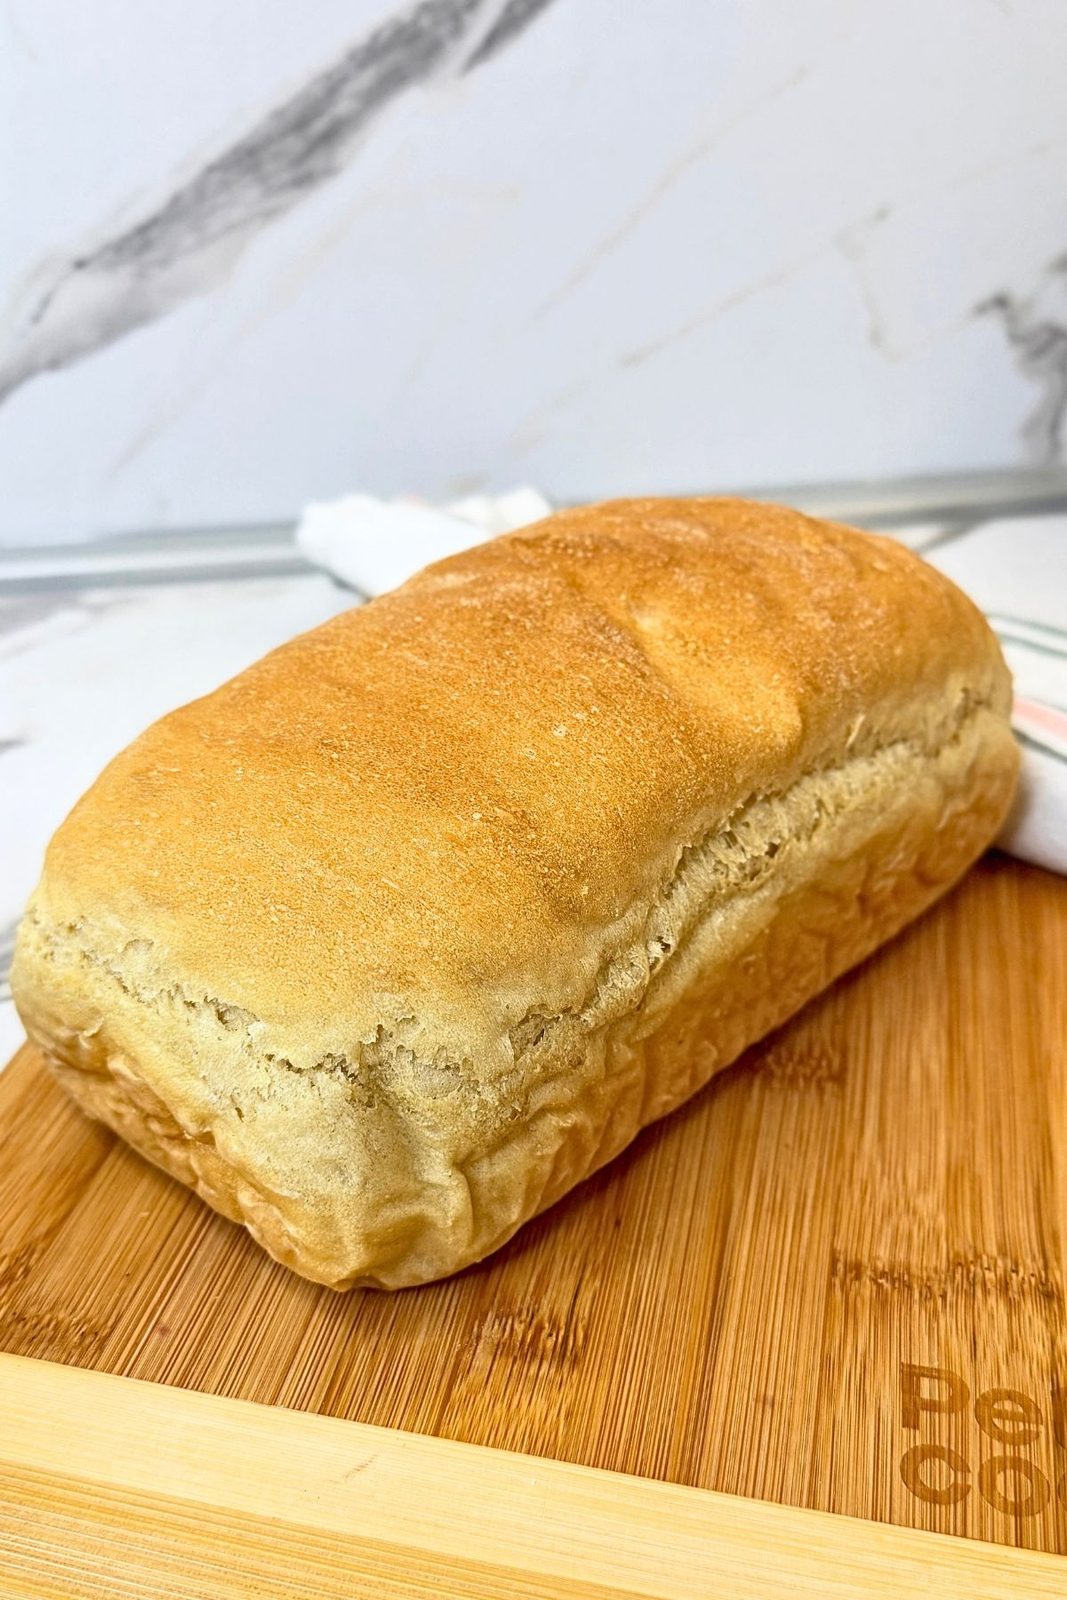
Remove the bread from the oven and carefully lift the loaves out of the pans. Transfer to a wire rack and loosely cover with a clean kitchen towel as they cool. Let the bread cool completely before slicing so the soft crumb has time to set.
Enjoy your homemade sandwich bread with your favorite fillings, toasted for breakfast, or simply spread with butter.
How to Store and Freeze
At room temperature: Let your homemade sandwich bread cool completely, then keep it in an airtight container or a tightly closed bread bag for up to 3 days. Store in a cool, dry place away from direct sunlight. Avoid sealing it while warm, as trapped steam can make the bread damp.
To freeze: Slice the cooled bread before freezing so you can take out just what you need. Place the slices in a freezer-safe bag, separating them with parchment paper if desired. Press out excess air and freeze for up to 3 months for the best quality. You can also wrap a whole loaf tightly and place it in a freezer bag.
To thaw and serve: Thaw slices at room temperature or toast them straight from frozen. For a whole loaf, leave it wrapped while thawing at room temperature.
Make the most of leftovers: Bread that has become a little dry is lovely for French toast, grilled cheese, croutons, or homemade breadcrumbs. Avoid refrigerating your bread, as it tends to become stale faster.
Frequently Asked Questions (FAQ)
Why didn’t my yeast become foamy?
The yeast may be old, or the water may have been too hot or too cold. Give it 5–10 minutes in comfortably warm water with the honey. If active dry yeast shows no activity, start again with fresh yeast before adding the remaining ingredients.
How much flour should I add?
Start with 4 cups and add more gradually as needed. You may not need the full 5½ cups. The dough should become soft, elastic, and slightly tacky after kneading. Too much flour can make homemade sandwich bread dense and dry.
Can I use a stand mixer?
Yes! Use the dough hook on low speed to mix and knead the dough until smooth and elastic. Add the flour gradually and check the texture frequently to avoid making the dough too stiff.
Why is my bread dense?
Common causes include adding too much flour, not kneading enough, or baking before the dough has risen sufficiently. Allow the first rise to continue until the dough has doubled, and let the shaped loaves become noticeably puffy before baking.
Can I make one loaf instead of two?
To make one loaf in a 9 × 5-inch pan, halve all the ingredients. Keep an eye on it toward the end of the baking time. Don’t put the entire batch into one standard pan-it needs enough room to rise and bake evenly.
Why did my loaf split along the side?
The dough may have needed more time during the second rise, or the seam may not have been sealed properly. Pinch the seam closed after shaping and place it underneath the loaf in the pan.
How do I keep the crust soft?
After baking, remove the loaves from their pans and loosely cover them with a clean kitchen towel while they cool on a rack. Once completely cool, store them in a tightly closed bread bag or airtight container.
Why should I wait before slicing?
The crumb continues to set as the bread cools. Cutting too soon can compress the interior and make it seem gummy. Let the loaves cool completely for neater sandwich slices.
Can I freeze homemade sandwich bread?
Yes! Slice it once completely cool, place it in a freezer-safe bag, and freeze for up to 3 months for the best quality. Take out individual slices as needed and toast them straight from frozen.
Nutrition per Serving
Serving size: 1 slice (24 slices total; 12 per loaf)
- Calories: 115 kcal
- Carbohydrates: 22 g
- Protein: 3 g
- Fat: 1.5 g
- Saturated Fat: 0.2 g
- Fiber: 0.8 g
- Sugar: 1 g
- Sodium: 195 mg
Nutrition is an estimate based on 5½ cups (660 g) of all-purpose flour and 24 equal slices. Values exclude butter, spreads, and sandwich fillings.
Conclusion
This homemade sandwich bread brings a soft, fluffy crumb and a golden crust to your everyday table. With six simple ingredients and a little time to rise, you’ll have two loaves ready for sandwiches, breakfast toast, or a slice with butter and jam. Enjoy one fresh and freeze the other for busy days.
If you try this recipe, leave a comment and a rating below-I’d love to hear how your bread turned out and what you served with it!
Happy baking!

Homemade Sandwich Bread – Soft and Fluffy
Ingredients
Equipment
Method
- Activate the yeast: Combine the warm water, yeast, and honey in a large mixing bowl. Stir and let stand for 5–10 minutes, until foamy.
- Mix the dough: Stir the yeast mixture again, then add the oil, 4 cups of flour, and the salt. Mix until a dough forms, adding more flour gradually as needed.
- Knead: Knead by hand for about 8–10 minutes, until smooth and elastic. The dough should feel soft and slightly tacky. Add only enough flour to keep it manageable.
- First rise: Cover the bowl and leave in a warm spot for about 1 hour, or until the dough has doubled in size.
- Shape: Line two 9 × 5-inch loaf pans with parchment paper. Transfer the dough to a lightly floured surface and gently press out the excess air. Divide into two equal portions. Flatten each into a rectangle, roll into a log, and pinch the seam closed. Place seam-side down in the prepared pans.
- Second rise: Cover loosely and let rise for about 45 minutes, until noticeably puffy. Toward the end of the rise, preheat the oven to 350°F (180°C).
- Bake: Bake for 30–35 minutes, until golden brown and baked through. If the tops brown too quickly, loosely cover with foil.
- Cool: Carefully remove the loaves from the pans and transfer to a wire rack. Loosely cover with a clean kitchen towel and let cool completely before slicing each loaf into 12 slices.
Notes
- Flour: You may not need the full amount. Start with 4 cups and add gradually. Too much flour can make the bread dense and dry.
- Measuring: The metric amounts use 120 g of flour per cup. For cup measurements, spoon the flour into the cup and level it without packing.
- Rising: Timing depends on your kitchen temperature. Look for doubled dough during the first rise and puffy loaves during the second.
- One loaf: Halve all ingredients to make one loaf in a 9 × 5-inch pan. Do not put the full batch into one standard loaf pan.
- Storage: Cool completely and store in a tightly closed bread bag or airtight container at room temperature for up to 3 days.
- Freezing: Freeze sliced bread in a freezer-safe bag for up to 3 months for the best quality. Thaw at room temperature or toast from frozen.