
Homemade hot dog buns are light, airy and buttery, perfect for classic hot dogs and sandwiches.These homemade hot dog buns have a soft texture and rich flavor thanks to warm milk, eggs, and melted butter. They are easy to make from scratch and much better than store-bought buns.
If you enjoy baking bread at home, these homemade hot dog buns will quickly become a favorite in your kitchen. The dough is simple to prepare and gives you beautifully shaped buns with a tender crumb and delicate crust.
If you love soft homemade breads, be sure to check out my pretzel buns and natural colored burger buns. Both recipes are made from scratch and are perfect for burgers, sandwiches, and family meals.

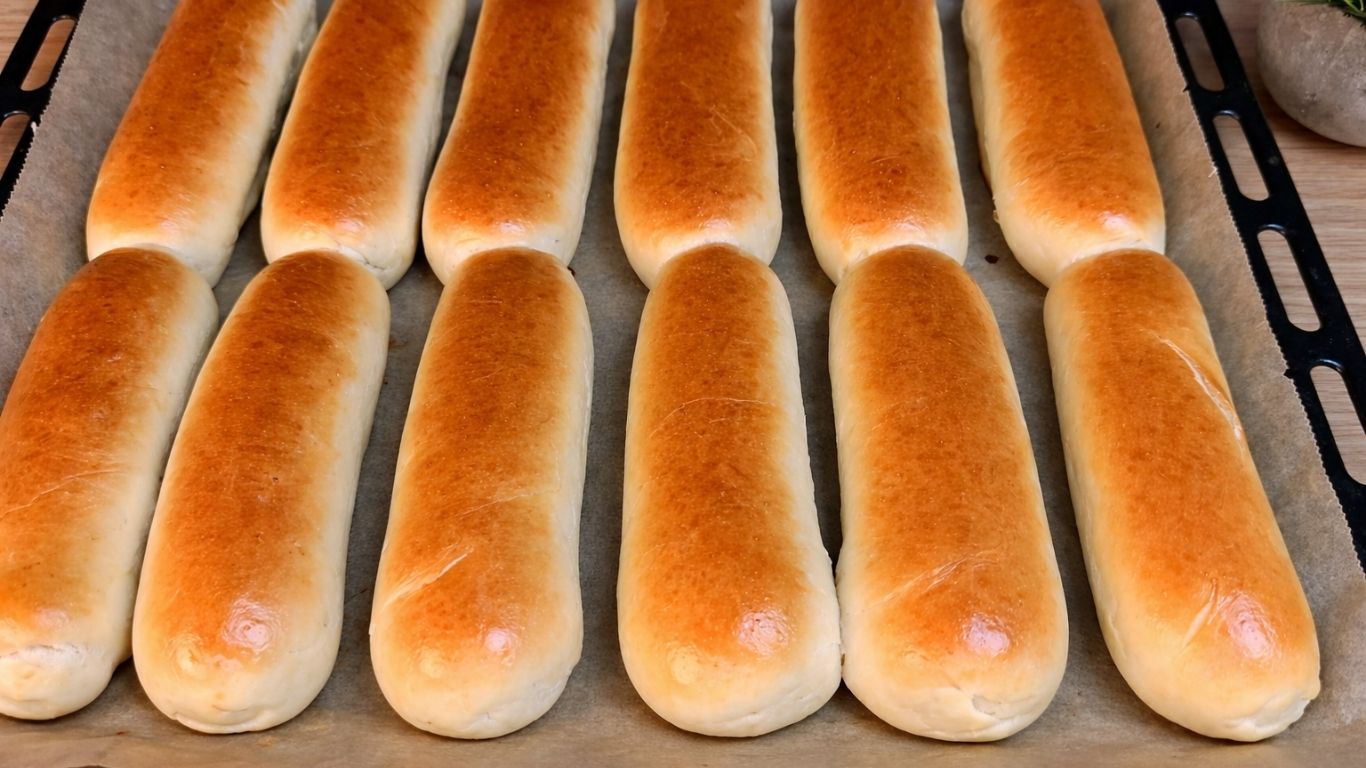
There is something special about freshly baked homemade hot dog buns straight from the oven. The golden tops, soft interior and delicate crust make them completely different from anything you can buy in the store.
These homemade hot dog buns are light and airy, yet sturdy enough to hold your favorite sausages and toppings without falling apart. The combination of warm milk, eggs and melted butter creates a rich dough that bakes into beautifully shaped, tender buns.
Whether you are preparing a summer barbecue, a family dinner or a simple weekend lunch, homemade hot dog buns make every meal feel a little more special. Once you try them freshly baked and slightly warm, you will understand why making them from scratch is always worth it.
MY LATEST VIDEOS
Quick Info
- Prep time 20 minutes
- Rising time 1 to 1.5 hours
- Bake time 18 to 22 minutes
- Total time about 2 hours
- Makes 12 hot dog buns
- Difficulty easy
- Cuisine American
Ingredients You’ll Need
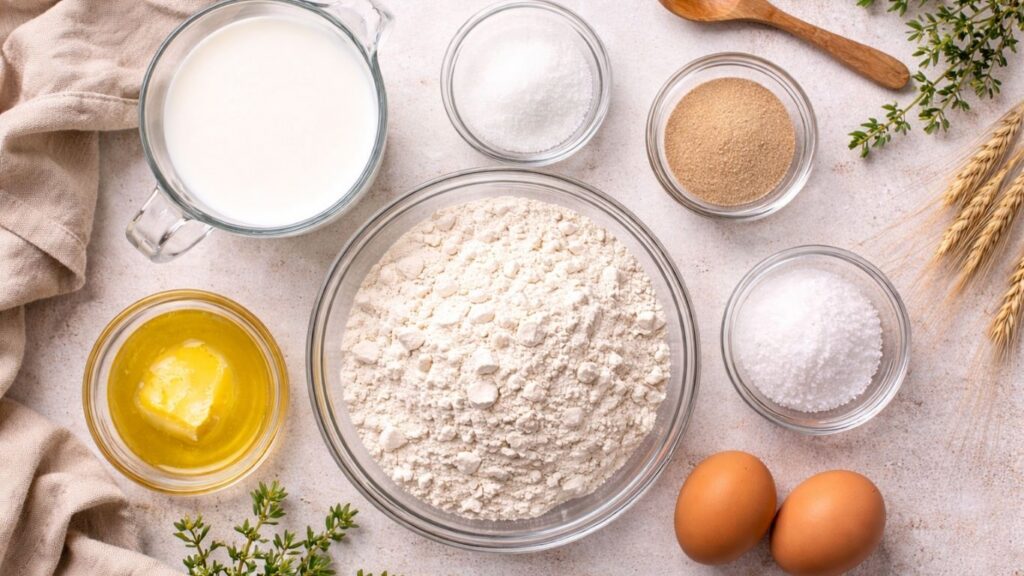
These homemade hot dog buns are made with simple pantry ingredients that create a soft, fluffy dough with a beautifully golden top.
- Warm milk: Gives the buns a softer, richer texture. The milk should be pleasantly warm, not hot, so it does not damage the yeast.
- Granulated sugar: Adds a touch of sweetness and helps activate the yeast.
- Active dry yeast: Helps the dough rise and creates the light, airy texture of the buns.
- Unsalted butter: Adds richness and keeps the buns soft and tender.
- All-purpose flour: Provides the structure for the dough. Add it gradually because you may not need the full amount.
- Eggs: Add richness, structure, and softness to the dough.
- Salt: Enhances the flavor and balances the slight sweetness of the buns.
For the Egg Wash
- Egg yolk: Helps create a beautifully golden and slightly glossy top.
- Milk: Thins the egg yolk and makes the glaze easier to brush over the buns.
After-Baking Glaze
- Water and oil: Brushing this simple mixture over the buns while they are still hot helps keep the crust soft and gives the tops a light shine.
HOW TO MAKE HOMEMADE HOT DOG BUNS
INSTRUCTIONS
1. Activate the yeast
In a large bowl, pour the warm milk. The milk should feel pleasantly warm to the touch, not hot. If it is too hot, it can damage the yeast and prevent the dough from rising properly.
Add the sugar and stir gently until it dissolves. Sprinkle the active dry yeast over the surface of the milk and let it sit for about 5 to 10 minutes. During this time, the yeast will begin to activate and form a light, foamy layer on top.
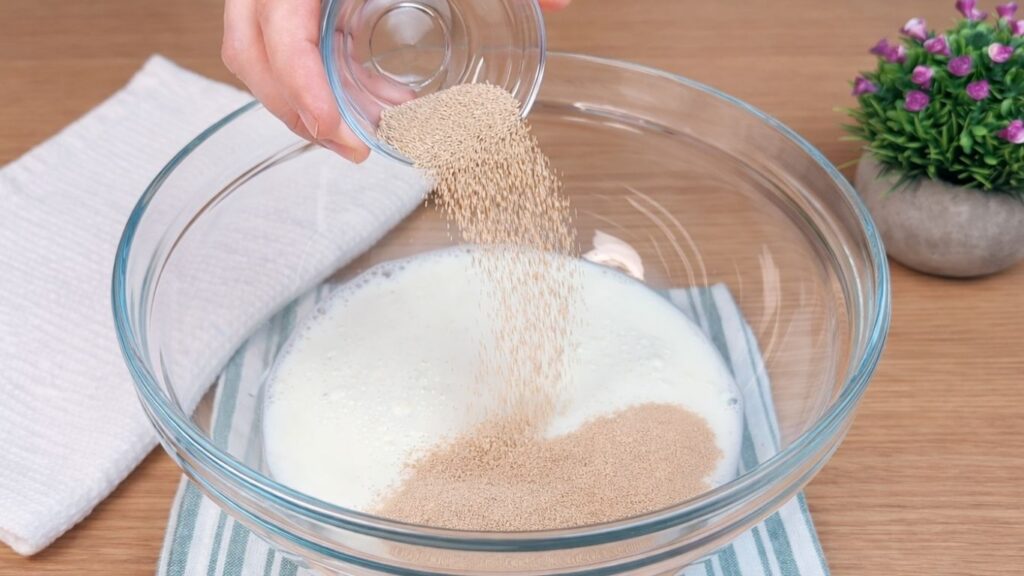
This step is very important because it ensures that the yeast is alive and ready to help the dough rise. If the mixture does not become foamy, your yeast may be inactive and should be replaced before continuing with the recipe.
2. Add the remaining ingredients and mix the dough
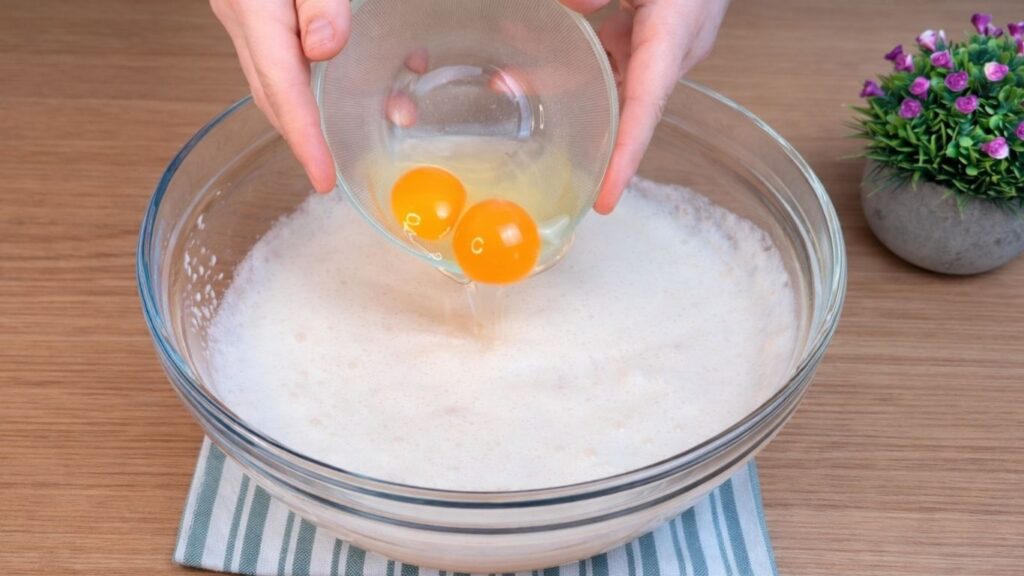
Once the yeast mixture has become foamy, it is time to add the remaining ingredients. Add the eggs and melted butter to the bowl and mix gently until everything is well combined.
Gradually add the flour and salt to the mixture. It is best to add the flour in parts, mixing as you go, so the dough develops evenly. Stir with a wooden spoon or spatula until the dough starts to come together and pulls away from the sides of the bowl.
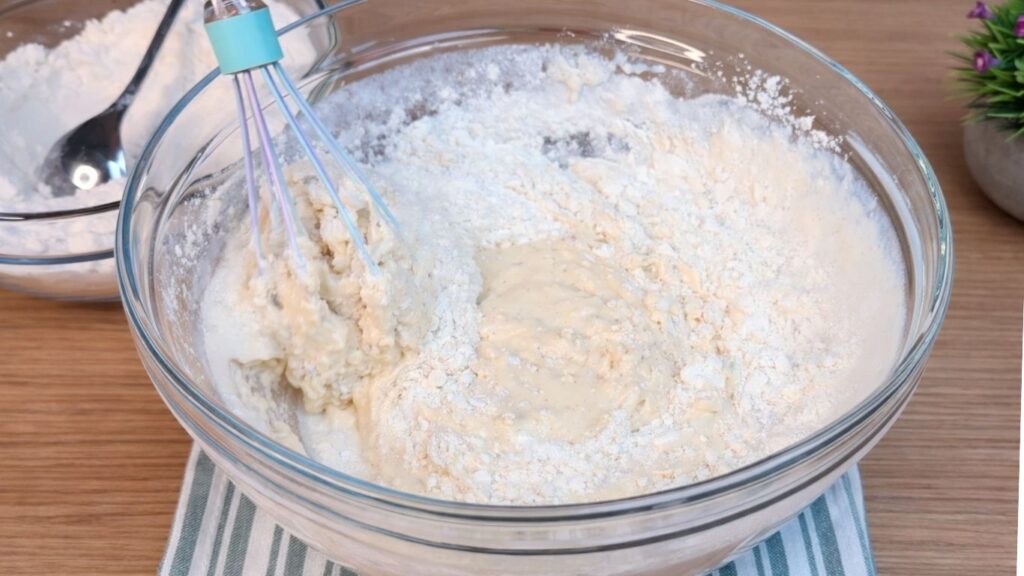
At this stage, the dough will be soft and slightly sticky, which is perfectly normal. Avoid adding too much flour too quickly, as this can make the hot dog buns dense instead of light and airy. The goal is to create a soft, workable dough that holds its shape but still feels tender to the touch.
3. Kneading the dough
Transfer the dough onto a lightly floured work surface. Begin kneading with your hands, gently folding the dough over itself and pressing it forward with the heel of your hand. Turn the dough slightly and repeat the motion.
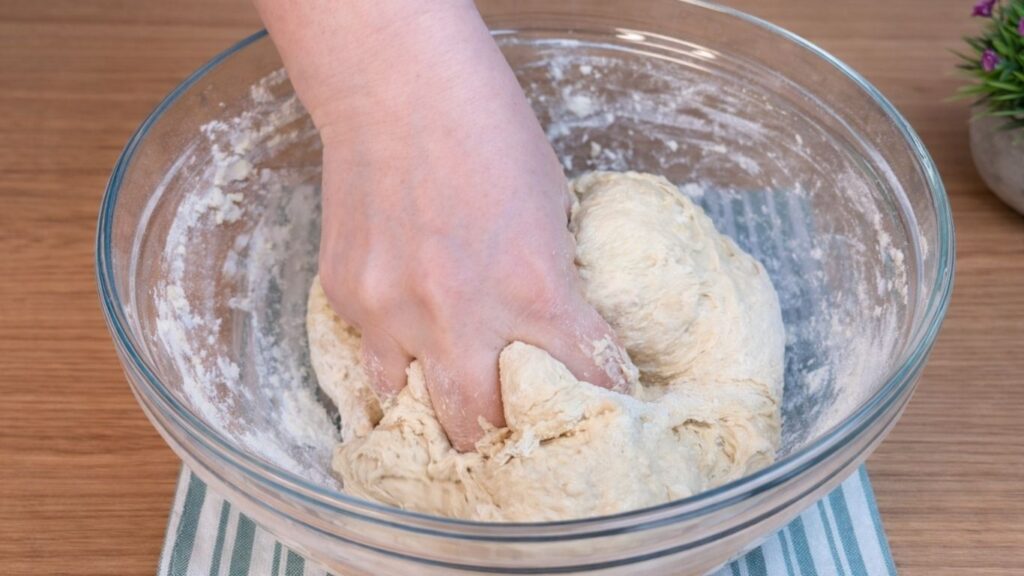
Knead the dough for about 5 to 8 minutes. At first, it may feel slightly sticky, but as you continue kneading, it will become smoother and more elastic. If needed, sprinkle just a small amount of flour on the surface, but avoid adding too much. Too much flour can make the hot dog buns dry and heavy.
The dough is ready when it becomes soft, smooth and elastic. When you gently press it with your finger, it should slowly spring back. Proper kneading is essential for developing the gluten, which gives the homemade hot dog buns their light and airy texture while still keeping them strong enough to hold fillings.
4. First rise
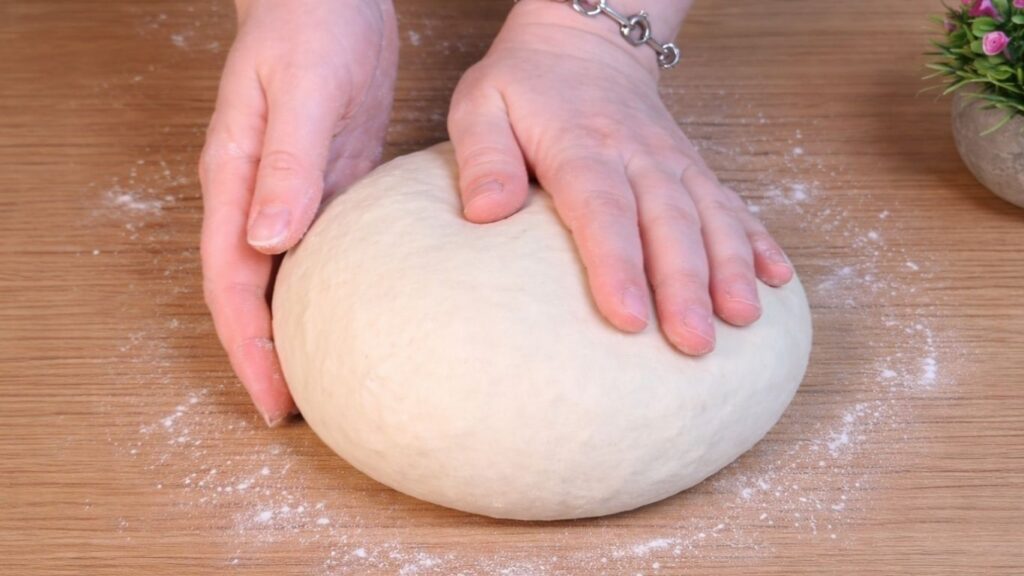
Once the dough is smooth and properly kneaded, shape it into a ball and place it in a lightly oiled bowl. Turn the dough once so the surface is lightly coated with oil. This helps prevent it from drying out during rising.
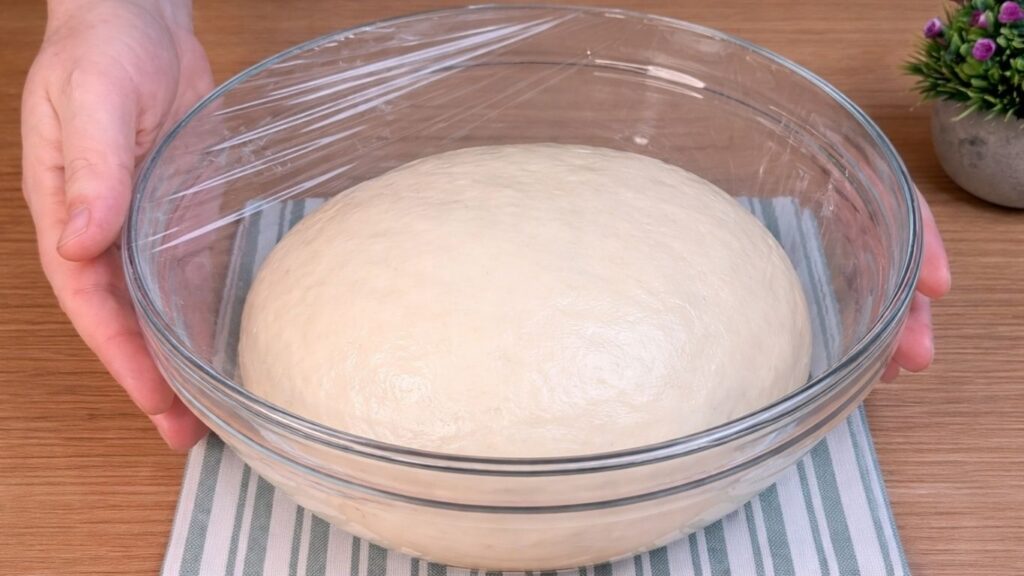
Cover the bowl with plastic wrap or a clean kitchen towel. I personally prefer using plastic wrap because it seals the bowl better and prevents the dough from forming a dry crust while it rises.
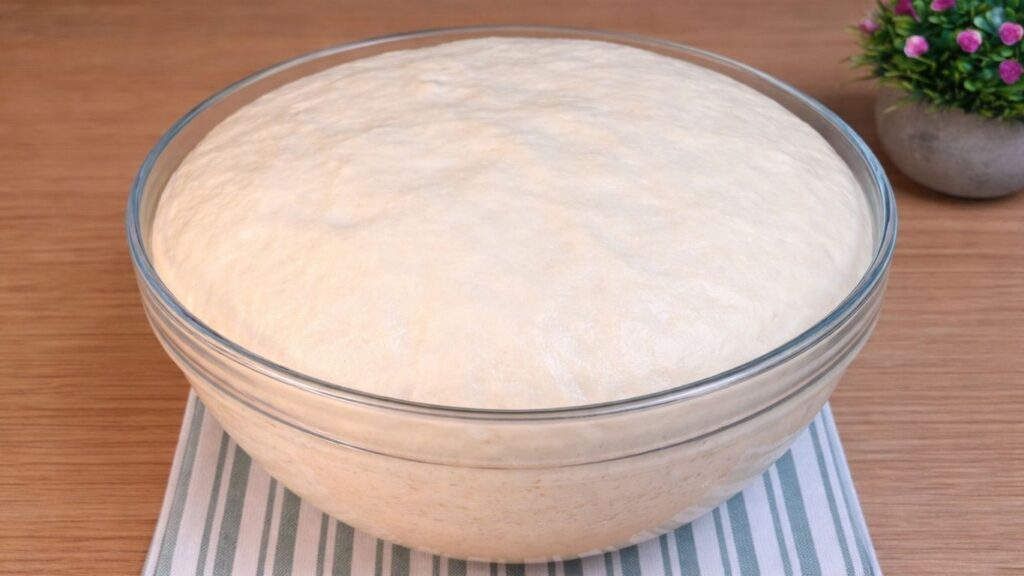
Let the dough rest at room temperature for about 1 hour, or until it has doubled in size. The rising time may vary depending on the temperature of your kitchen. The dough should look visibly puffy and airy when it is ready for the next step.
5. Divide and shape the dough
Once the dough has doubled in size, gently transfer it onto a clean work surface. Lightly press it down to release the excess air, but do not overwork it. This helps maintain the soft and airy texture of the buns.
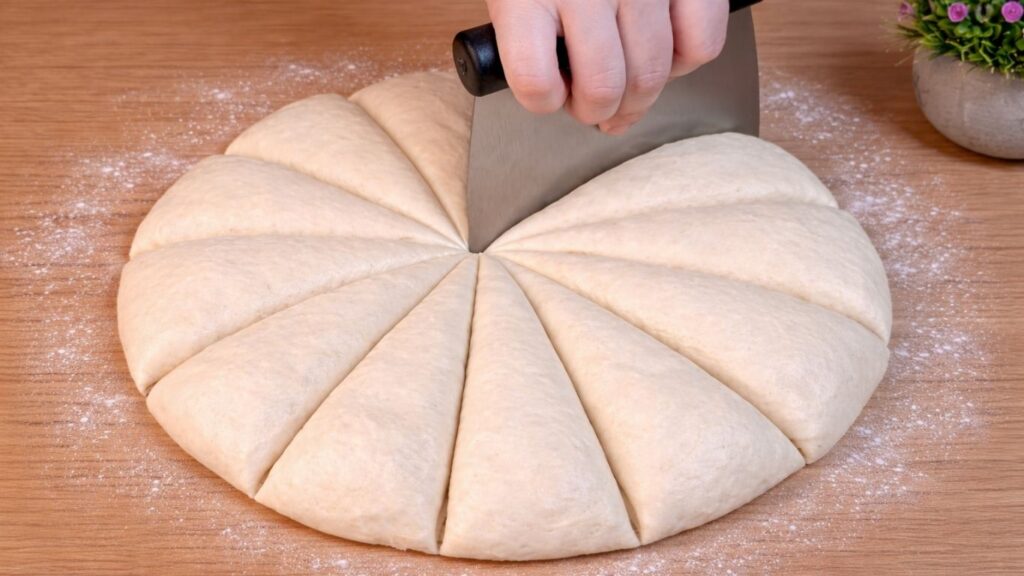
Using a knife or dough scraper, divide the dough into 12 equal pieces. For more precise results, you can use a kitchen scale to ensure each piece is the same weight. This helps the hot dog buns bake evenly.
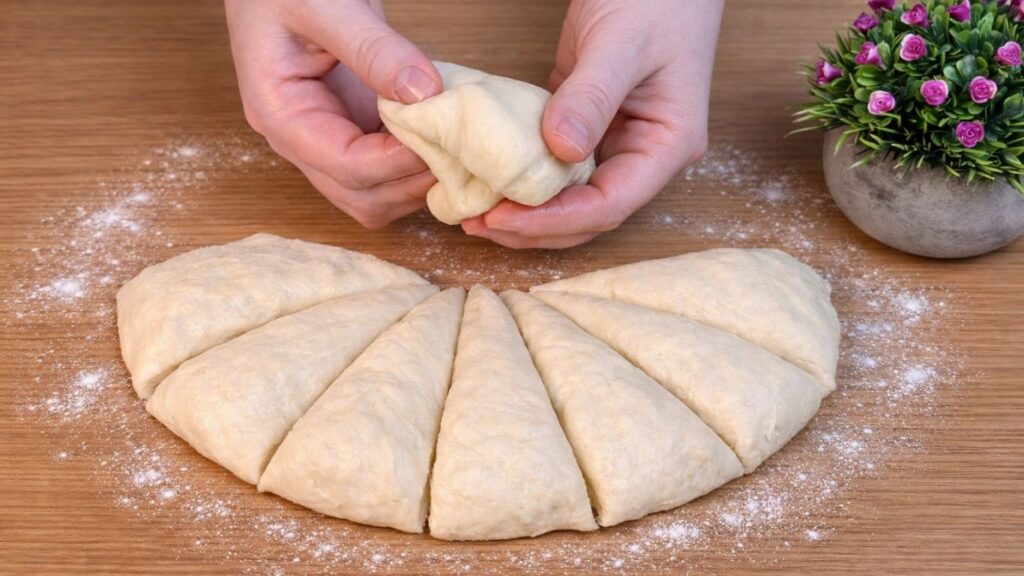
Take each portion of dough and shape it into a smooth ball by gently folding the edges underneath and rolling it on the surface with your hand. Place the shaped balls onto a silicone mat or lined baking sheet and let them rest for about 10 minutes before shaping the buns. This short resting time allows the dough to relax, making it easier to form the classic hot dog bun shape. Shaping the dough properly at this stage helps your homemade hot dog buns develop a smooth surface and even structure during the next rise.
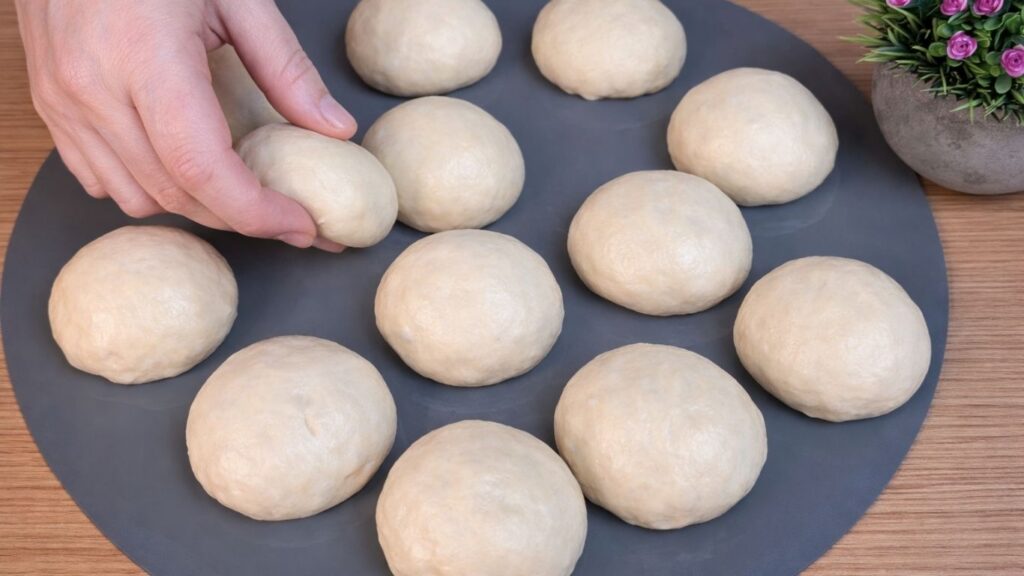
6. Shape the hot dog buns
After the dough balls have rested for about 10 minutes, take one ball of dough and gently stretch it lengthwise with your fingers. Lightly flatten and shape it into an oval form. Then use a small rolling pin to even out the thickness of the dough so it is uniform from edge to edge.
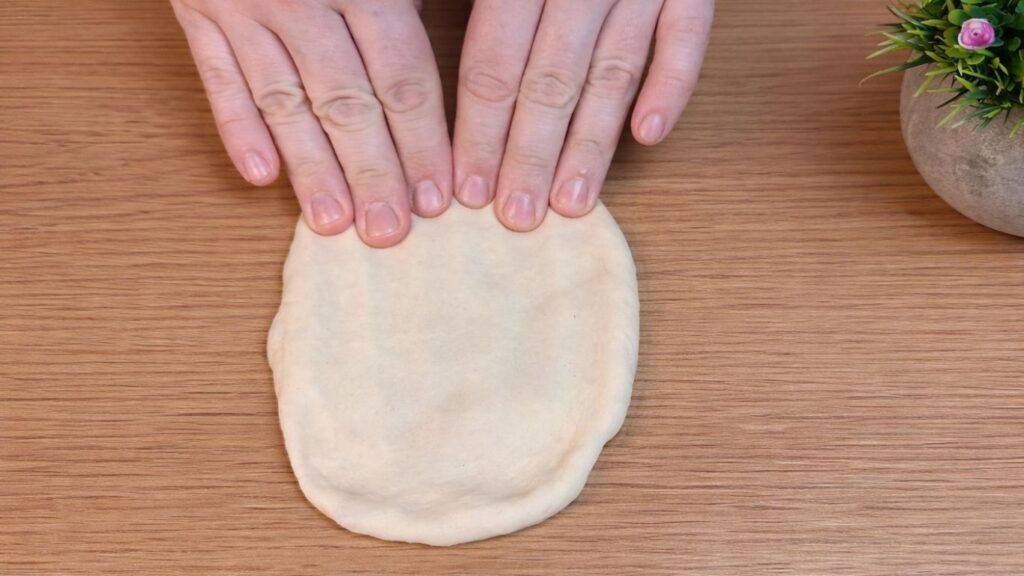
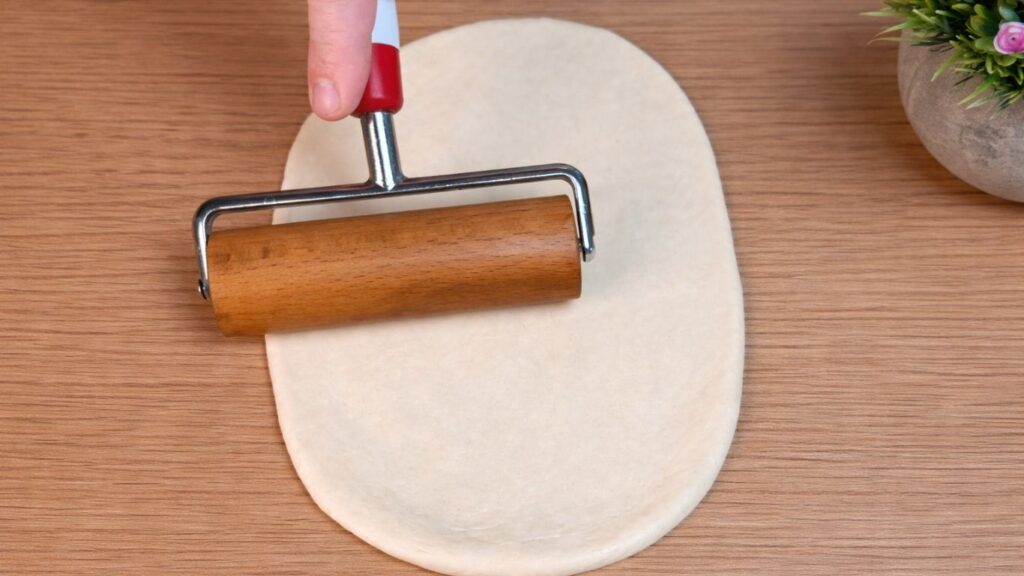
Starting from one shorter side, begin rolling the dough toward the opposite end, forming a tight log. Once rolled, gently press along the seam and lightly pinch the ends to seal the dough together. This helps keep the shape stable during rising and baking.
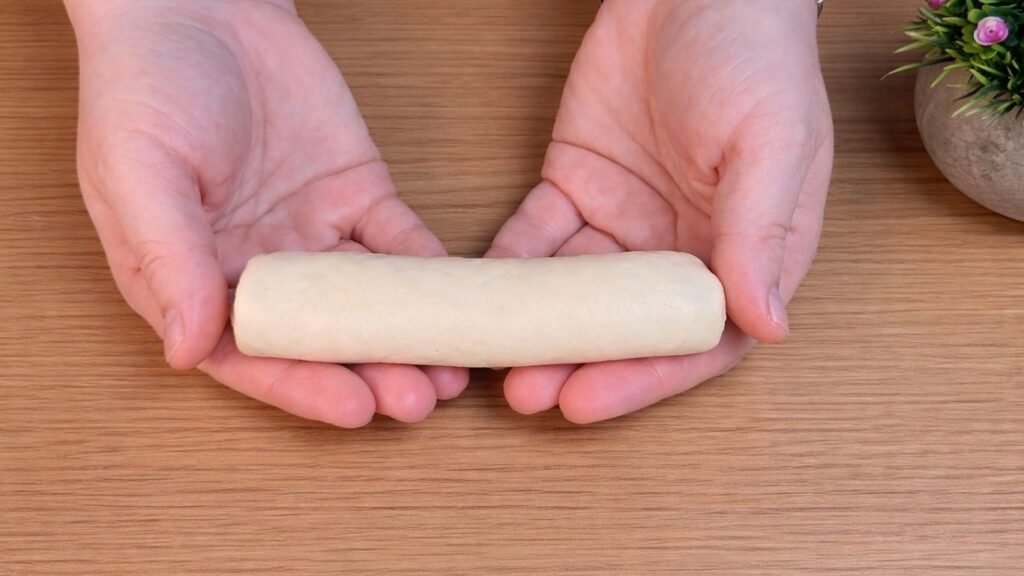
Finally, roll the shaped piece lightly under your hands to smooth the surface and create an even, elongated bun. At this stage, you should have a neatly shaped hot dog bun with a smooth top and sealed bottom.
7. Arrange on the baking tray and second rise
Place the shaped hot dog buns onto a baking tray lined with parchment paper, leaving a small space between each bun. Make sure they are evenly arranged so they have room to expand during the final rise.
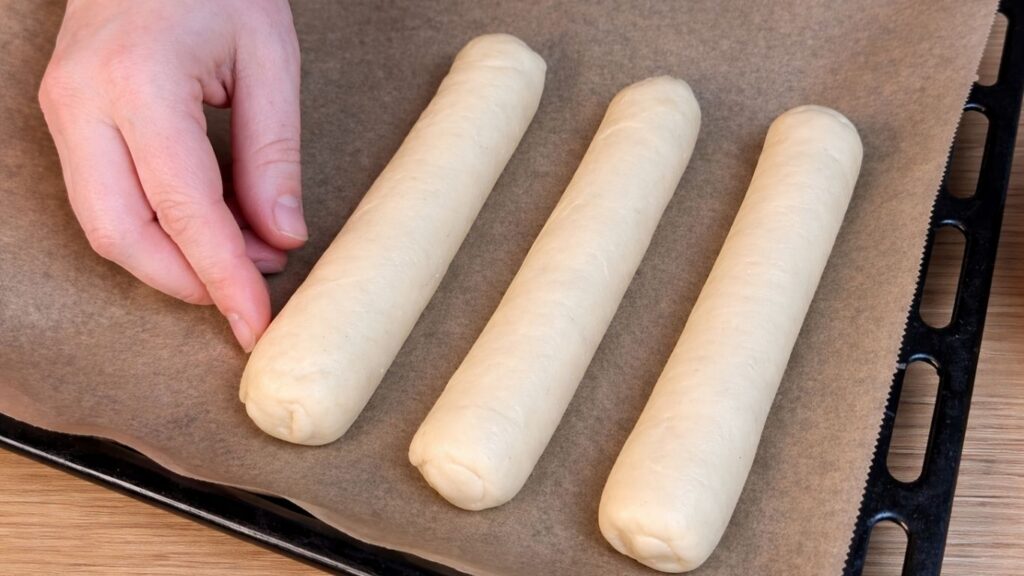
Cover the tray loosely with plastic wrap or a clean kitchen towel to prevent the surface from drying out. Let the buns rise for about 20 minutes, or until they look slightly puffy and increased in size.
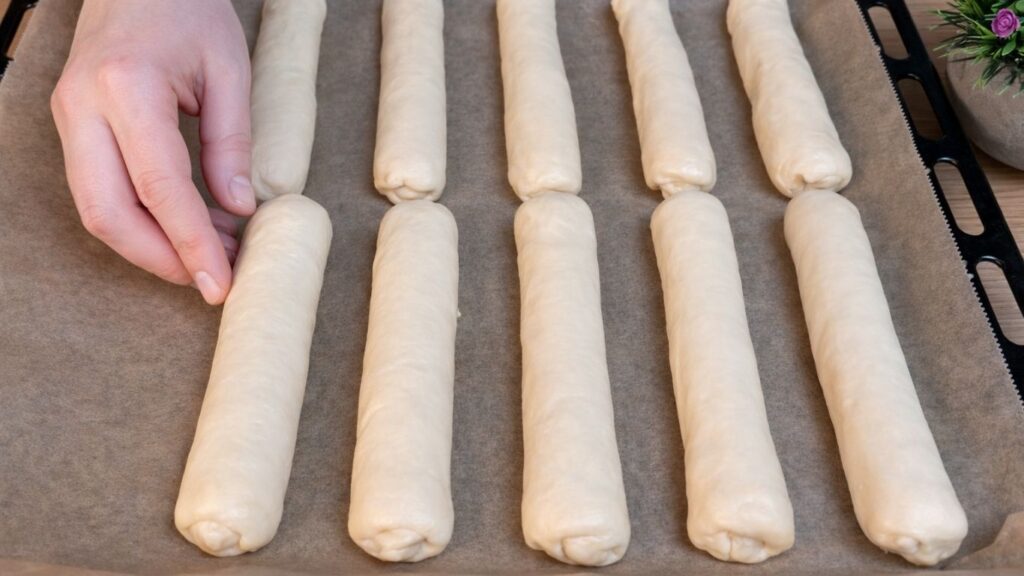
This second rise is important because it gives the homemade hot dog buns their final light and airy texture. Do not skip this step, as it helps create soft, tender buns with a beautiful shape after baking.
8. Egg wash and prepare for baking
Once the buns have completed their second rise and look slightly puffy, it is time to prepare them for baking. In a small bowl, whisk one egg with a tablespoon of milk until smooth. This will create a simple egg wash.
Using a pastry brush, gently brush the tops of the buns with the egg wash. Be careful not to press too hard so you do not deflate the dough. The egg wash gives the homemade hot dog buns a beautiful golden color and a soft, slightly shiny finish after baking.
Preheat the oven to 180°C while you brush the buns. Make sure the oven is fully heated before placing the tray inside. Proper preheating ensures even baking and helps the buns rise nicely in the oven.
9. Baked buns and brushing
Once the homemade hot dog buns are fully baked, they should have a beautiful golden brown color and feel light when lifted. The tops should be slightly firm, while the inside remains soft and airy.
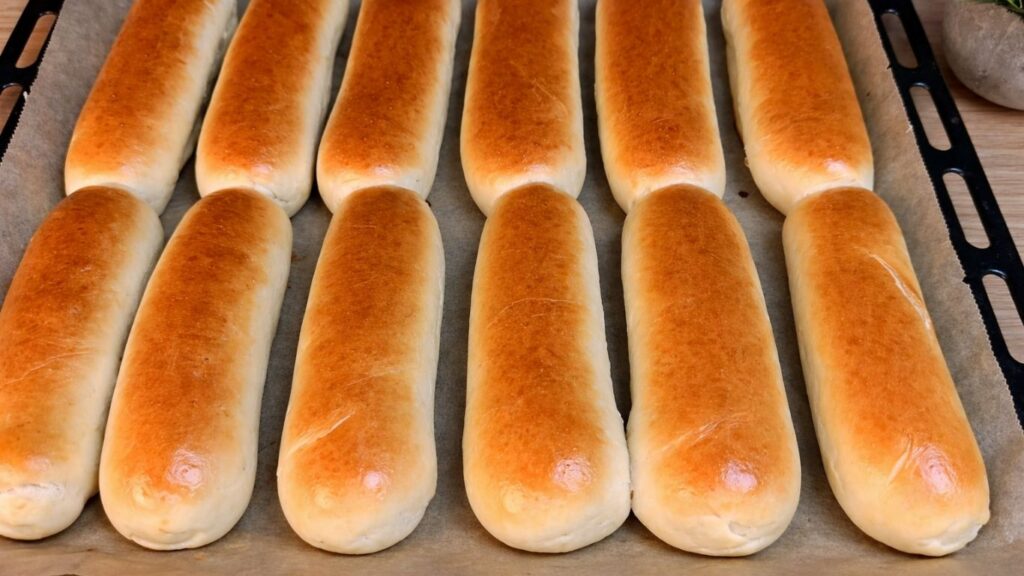
Remove the tray from the oven and let the buns rest for a few minutes. While they are still warm, gently brush the tops with a mixture of oil and water. Brushing the buns while they are hot helps keep the homemade hot dog buns extra soft and gives them a light shine without making the crust heavy. This simple step keeps the crust tender and the inside beautifully soft.
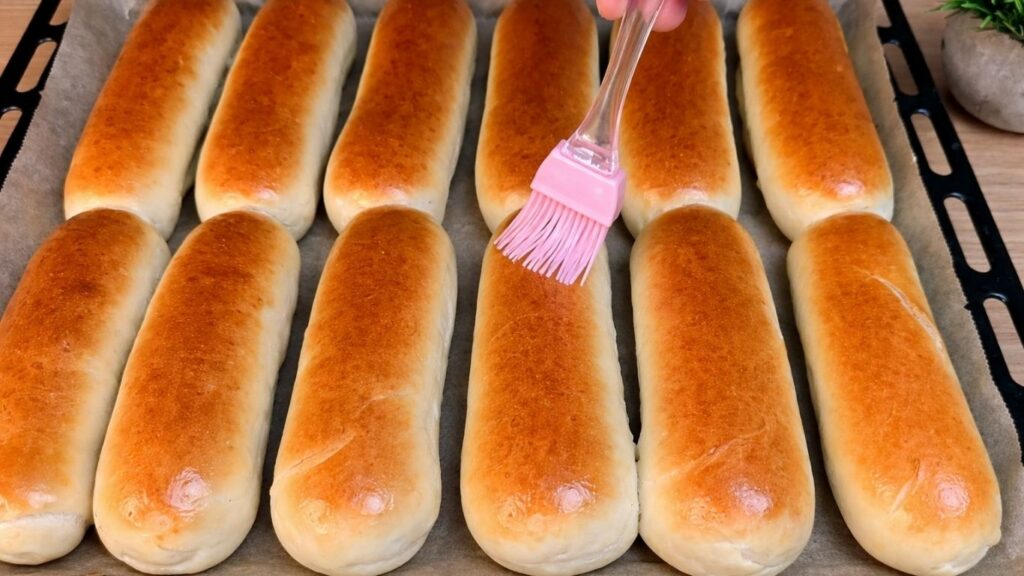
Allow the homemade hot dog buns to cool slightly before slicing. As they cool, the texture will settle, leaving you with tender, light and perfectly shaped buns ready to be filled.
Serving Homemade Hot Dog Buns
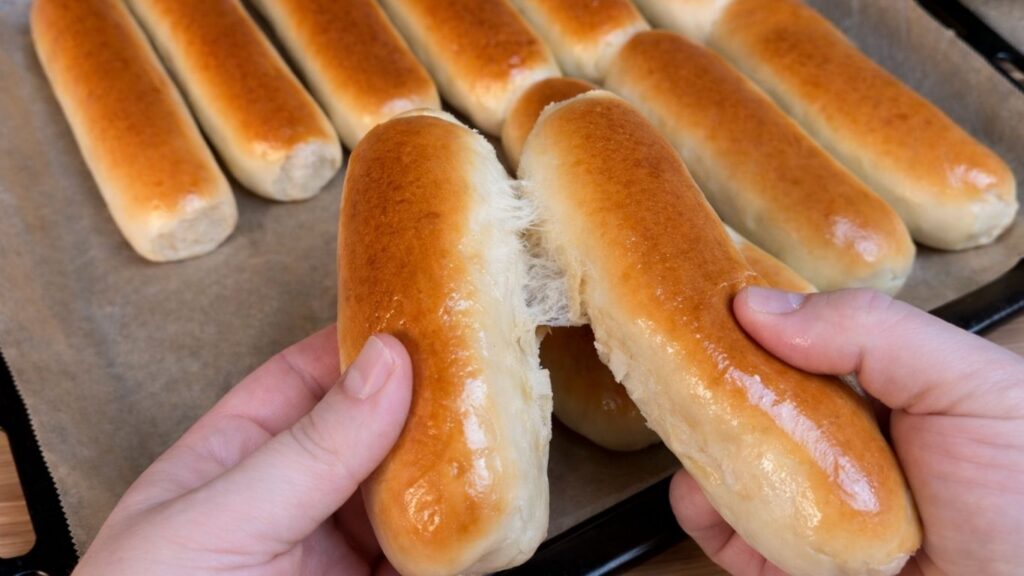
These homemade hot dog buns are best served slightly warm, when they are at their softest and most tender. Slice them carefully down the center without cutting all the way through, so they hold your favorite fillings perfectly.
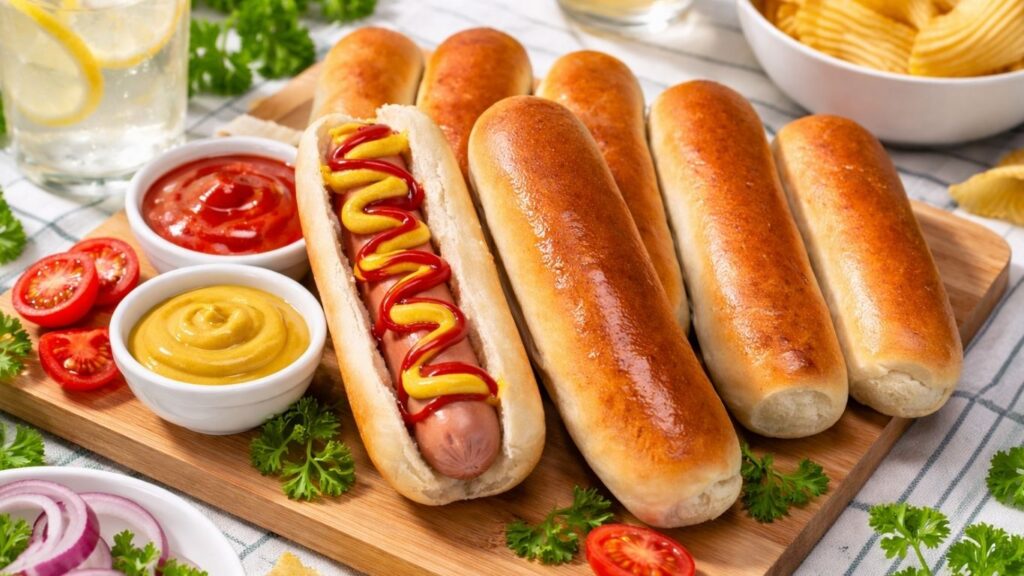
Fill the buns with classic hot dogs and your favorite toppings such as mustard, ketchup, sautéed onions, or pickles. They are also perfect for grilled sausages, sandwiches, or even mini subs.

Thanks to their light and airy texture, homemade hot dog buns stay soft while still being sturdy enough to hold generous fillings without falling apart. Whether for a summer barbecue, family gathering, or casual dinner, they make every meal feel homemade and special.
Storing and Freezing Homemade Hot Dog Buns
To keep your homemade hot dog buns fresh, store them in an airtight container or sealed plastic bag at room temperature for up to 3 days. Make sure they are completely cooled before storing to prevent excess moisture from building up inside the container.
If you would like to store them longer, you can keep the homemade hot dog buns in the refrigerator for up to 5 days. Before serving, warm them slightly in the oven or microwave to restore their softness.
For longer storage, these homemade hot dog buns freeze beautifully. Place them in a freezer safe bag and freeze for up to 2 months. When ready to use, let them thaw at room temperature and warm them gently before serving.
Frequently Asked Questions About Hot Dog Buns
Can I make hot dog bun dough ahead of time?
Yes. You can prepare the dough, cover it tightly, and refrigerate it overnight after the first rise. The next day, let it sit at room temperature for about 20–30 minutes before shaping the buns and continuing with the recipe.
Why are my homemade hot dog buns dense?
Dense buns are usually caused by adding too much flour, not kneading the dough enough, or not allowing enough rising time. The dough should stay soft and slightly tacky rather than dry and stiff.
Can I use instant yeast instead of active dry yeast?
Yes. Instant yeast can be used in place of active dry yeast. It can usually be mixed directly with the dry ingredients, although you can still dissolve it in warm milk if you prefer.
How do I know when the dough has risen enough?
The dough should roughly double in size during the first rise. After shaping, the buns should look noticeably puffy after the second rise but should still hold their shape.
Can I make these hot dog buns without a stand mixer?
Brushing the hot buns with the water and oil mixture helps soften the crust and gives the tops a light shine. It is a simple step that helps keep the homemade hot dog buns tender.
Can I freeze homemade hot dog buns?
Yes. Allow the buns to cool completely, then place them in a freezer-safe bag or airtight container. Freeze for up to 3 months. Thaw at room temperature and warm them briefly before serving.
How should I store hot dog buns?
Store completely cooled buns in an airtight container or tightly sealed bag at room temperature for up to 2-3 days. For longer storage, freezing is the best option.
Can I use these buns for other sandwiches?
Yes. These buns are also great for grilled sausages, pulled chicken, deli sandwiches, mini subs, or other savory fillings.
Watch the Full Hot Dog Buns Video
If you try these homemade hot dog buns, leave a comment below and share your experience. Your feedback truly means a lot.
Don’t forget to subscribe to my YouTube channel for more step by step homemade bread and baking recipes.
Nutrition per 1 bun
Calories 240 kcal
Carbohydrates 40 g
Protein 6 g
Fat 5 g
Sugar 4 g
Fiber 1.5 g
Sodium approximately 280 mg
Nutritional values are approximate and may vary depending on the exact ingredients and portion sizes used.
Conclusion
These homemade hot dog buns are soft, fluffy, and so much better than store-bought. With their light and airy texture, golden tops, and tender crust, they are perfect for classic hot dogs, grilled sausages, sandwiches, or any of your favorite fillings.
Making buns from scratch does take a little extra time because of the rising process, but the result is absolutely worth it. Once you see how beautifully soft and fresh homemade hot dog buns can be, this recipe may quickly become one of your favorite homemade bread recipes.
Serve them slightly warm, fill them with your favorite toppings, and enjoy every soft and delicious bite.
Happy baking!

Homemade Hot Dog Buns
Ingredients
Equipment
Method
Activate the yeast
Pour the warm milk into a large mixing bowl. Add the sugar and stir to dissolve. Sprinkle the active dry yeast over the milk and let it sit for 5-10 minutes, until foamy.Make the dough
Add the eggs and melted butter and mix until combined. Gradually add the flour and salt, mixing until a soft, slightly sticky dough forms.Knead the dough
Transfer the dough to a lightly floured surface and knead for 5-8 minutes, until smooth, soft, and elastic. Add only a small amount of additional flour if needed.First rise
Shape the dough into a ball and place it in a lightly oiled bowl. Cover with plastic wrap or a clean kitchen towel and let rise for about 1 hour, or until doubled in size.Divide the dough
Gently press the risen dough to release excess air and divide it into 12 equal portions. Shape each portion into a smooth ball.Rest
Place the dough balls on a lined baking sheet or silicone mat and let them rest for 10 minutes. This makes the dough easier to shape.Shape the buns
Gently stretch each dough ball into an oval and lightly flatten it with a small rolling pin. Starting from one short side, roll the dough tightly into a log. Pinch the seam and ends closed, then gently roll to create a smooth, elongated hot dog bun shape.Second rise
Arrange the buns on a parchment-lined baking sheet, leaving a little space between them. Cover loosely and let rise for about 20 minutes, until slightly puffy.Preheat the oven
Preheat the oven to 350°F (180°C).Brush with egg wash
Whisk together the egg yolk and milk. Gently brush the tops of the risen buns without pressing down on the dough.Bake
Bake for 18-22 minutes, or until the buns are beautifully golden brown.Brush after baking
Mix the water and oil. While the buns are still hot, lightly brush the tops with the mixture to help keep the crust soft and give them a light shine.Cool
Allow the buns to cool slightly before slicing and serving.
Notes
- Make sure the milk is warm, not hot. Milk that is too hot can damage the yeast.
- If the yeast does not become foamy after 5–10 minutes, it may no longer be active and should be replaced.
- Add the flour gradually. Depending on the flour and humidity, you may not need the full 5 cups.
- The dough should remain soft and slightly tacky. Adding too much flour can make the buns dense and dry.
- Do not skip the resting and rising times. They help create light, fluffy hot dog buns.
- For evenly sized buns, weigh the dough and divide it into 12 equal portions.
- Brush the water-and-oil mixture over the buns while they are still hot for an extra-soft crust.