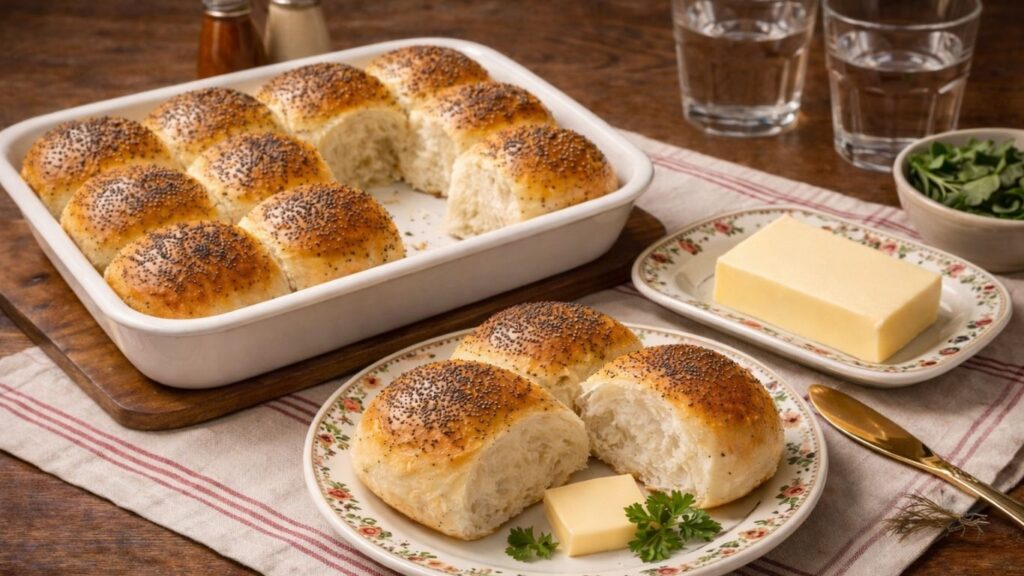
These soft and fluffy dinner rolls are light, buttery, and incredibly easy to make at home, with a beautifully golden crust and a soft, airy, pillowy interior that makes them perfect for family dinners, holidays, or everyday baking, just like the classic bread rolls you can find on Wikipedia and my homemade pretzel buns recipe on Inga Kitchen Story, giving you simple, reliable results and that fresh homemade bakery taste in every bite.

These soft and fluffy dinner rolls are the perfect homemade bread for any occasion, with their delicate golden crust and irresistibly light, airy interior that melts in your mouth with every bite. Freshly baked dinner rolls fill your kitchen with a warm, comforting aroma and bring that special homemade touch to your table.
Whether you are preparing a cozy family dinner, a festive holiday meal, or a simple everyday lunch, these dinner rolls fit perfectly into any menu. Our perfectly puffy dinner rolls are especially wonderful for Easter, as they pair beautifully with traditional dishes and make your holiday table feel even more warm, elegant, and inviting.
These dinner rolls are beautifully soft, slightly buttery, and wonderfully tender, making them perfect for serving warm with butter, using for small sandwiches, or enjoying on their own as a classic homemade treat.
MY LATEST VIDEOS
Quick Info
- Prep Time: 20 minutes
- Resting Time: 1 hour 30 minutes
- Bake Time: 20-25 minutes
- Total Time: about 2 hours 15 minutes
- Servings: 12 dinner rolls
- Difficulty: Easy
- Perfect for: Family dinners, holidays, Easter table, everyday baking
Ingredients You’ll Need
These homemade Dinner Rolls are made with simple pantry ingredients that create a soft, fluffy texture and a beautifully golden finish.
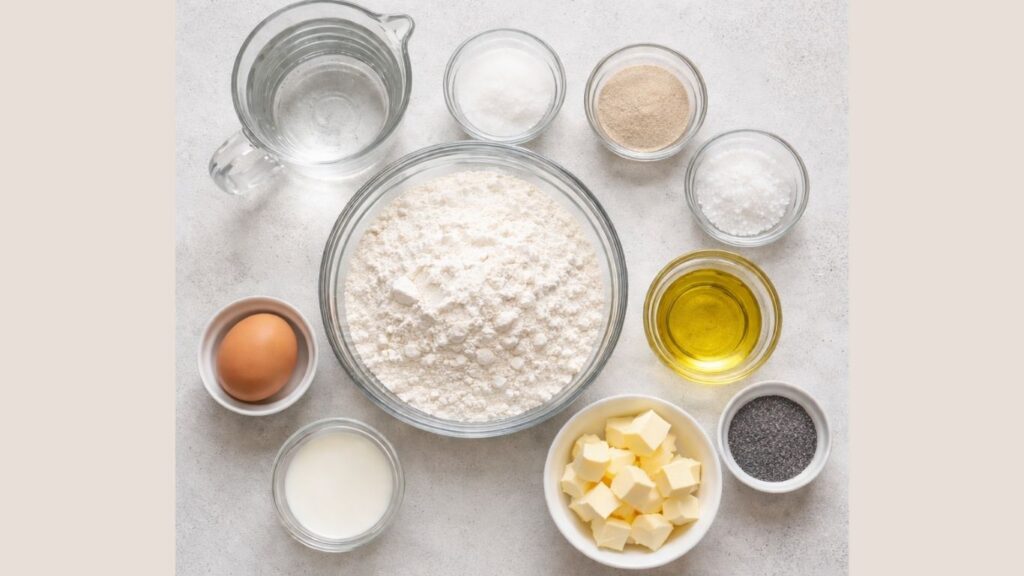
Warm water: Activates the yeast and provides moisture for the dough. It should feel pleasantly warm, but never hot.
Instant yeast: Helps the dough rise and gives the dinner rolls their soft, airy texture.
Sugar: Feeds the yeast and adds a very subtle sweetness.
All-purpose flour: Provides structure while keeping the rolls light and tender. Add additional flour only if the dough is too sticky.
Salt: Balances the flavor and strengthens the dough.
Oil: Keeps the dough soft and prevents the rolls from drying out.
Egg and milk: Combined to make an egg wash that gives the rolls a shiny, golden crust.
Butter: Brushed over the warm dinner rolls to add flavor and keep the crust soft.
Seeds: An optional topping that adds texture and a decorative finish. Poppy, sesame, sunflower, or mixed seeds all work well.
HOW TO MAKE DINNER ROLLS
1. Activate the yeast
Start by warming the water until it feels pleasantly warm to the touch, but not hot. The temperature should be comfortable for your finger, because water that is too hot can damage the yeast and prevent it from activating properly. Pour the warm water into a large bowl and add the sugar, stirring gently until the sugar dissolves.
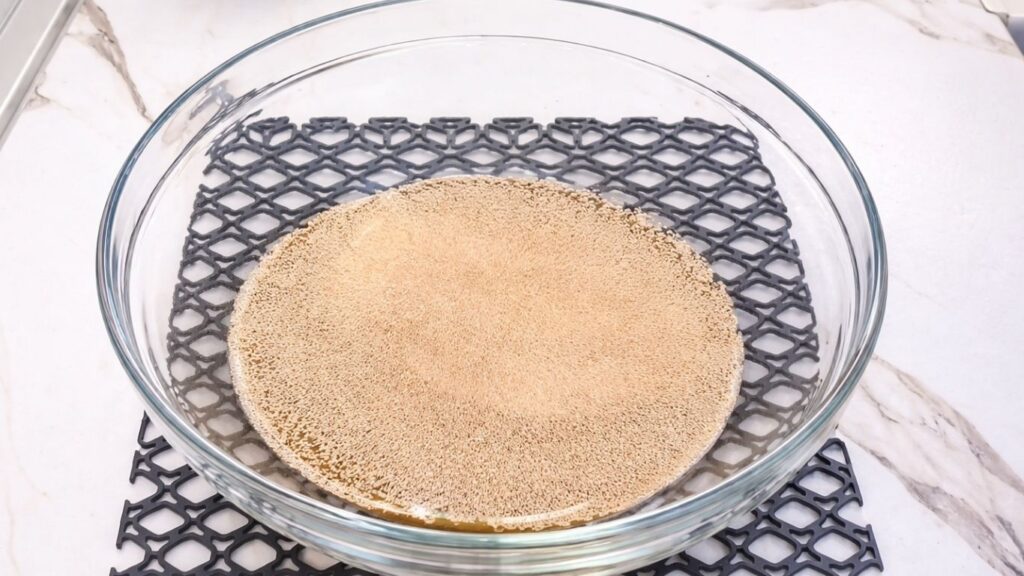
Sprinkle the instant yeast over the surface of the warm water and give it a light stir so it combines evenly. Let the mixture rest for about 5 to 10 minutes. During this time the yeast will begin to activate, forming small bubbles and a light foam on the surface. This shows that the yeast is alive and ready to help your dough rise.
This simple step is very important because properly activated yeast ensures that your dough will rise well and gives your dinner rolls a soft, airy, and fluffy texture.
2. Mixing and kneading the dough
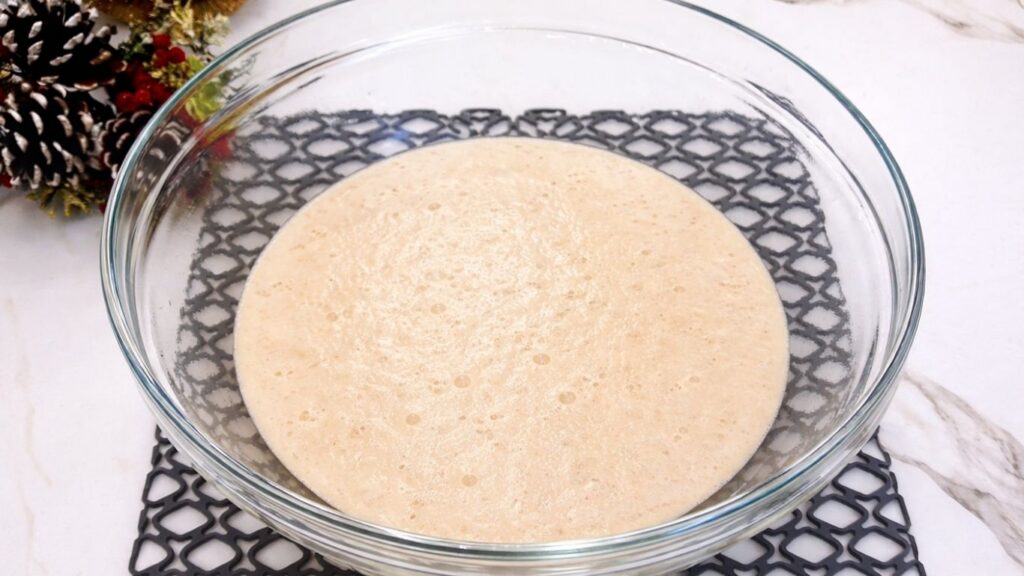
Once the yeast has activated and become foamy, it is time to add the remaining ingredients. Add the salt, oil, and sifted flour to the bowl. Gradually mix everything together until a soft dough begins to form. Sifting the flour at this stage helps create a smoother and lighter dough, making it easier to knead and giving your dinner rolls a softer final texture, which is exactly what we want for perfect dinner rolls.
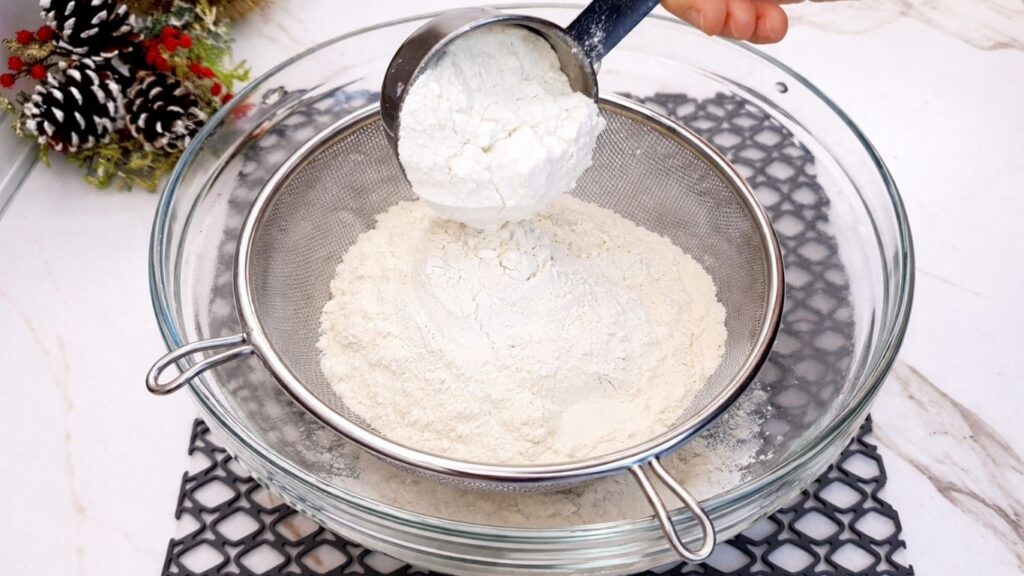
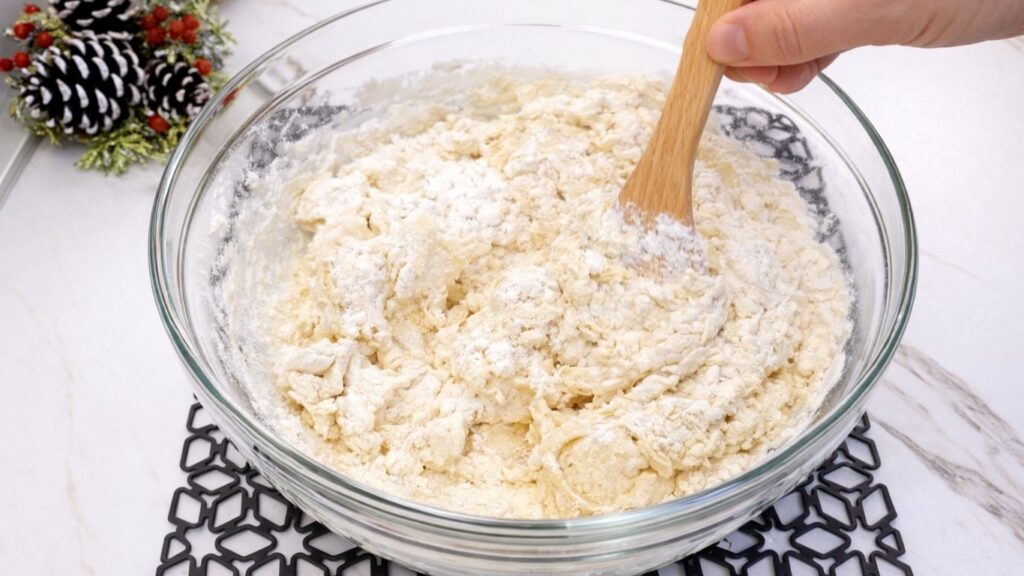
When the dough starts to come together and is no longer too sticky, transfer it onto a clean work surface. Begin kneading the dough with your hands, folding and pressing it gently. Continue kneading for at least 5 minutes until the dough becomes smooth, soft, and slightly elastic. Proper kneading helps develop the structure of the dough and ensures your dinner rolls will be light and fluffy with a beautiful soft crumb.
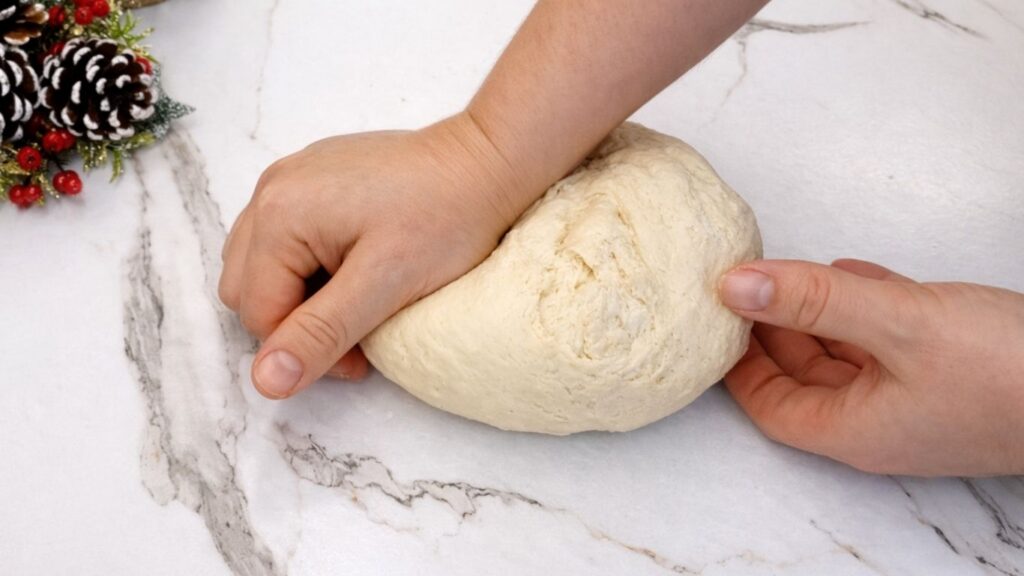
3. Rising the Dough
Once the dough is well kneaded, place it into a lightly oiled bowl. Turn the dough once so that all sides are coated with a thin layer of oil. This helps prevent it from drying out while it rises. Cover the bowl with plastic wrap so the surface of the dough stays soft and protected.
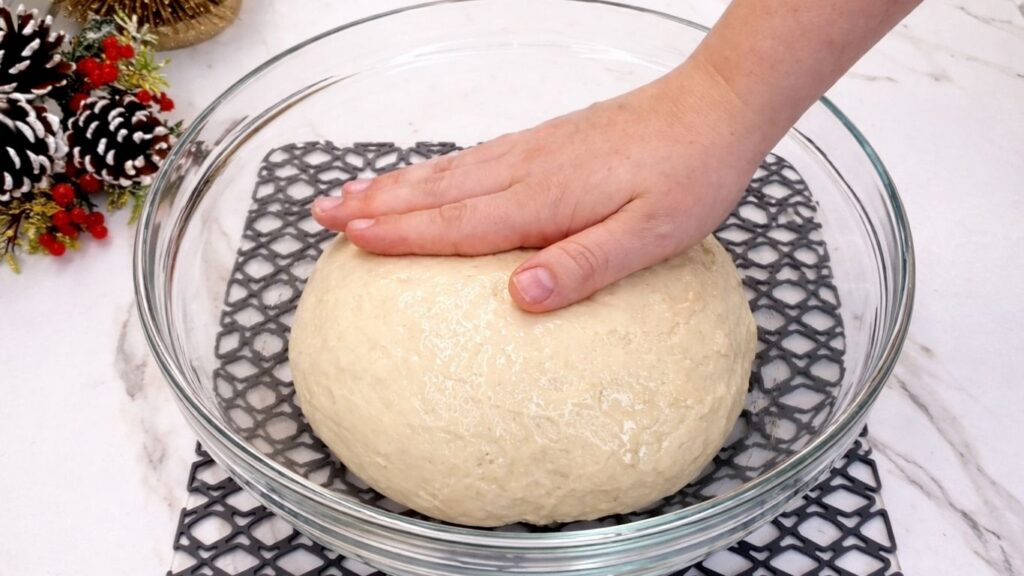
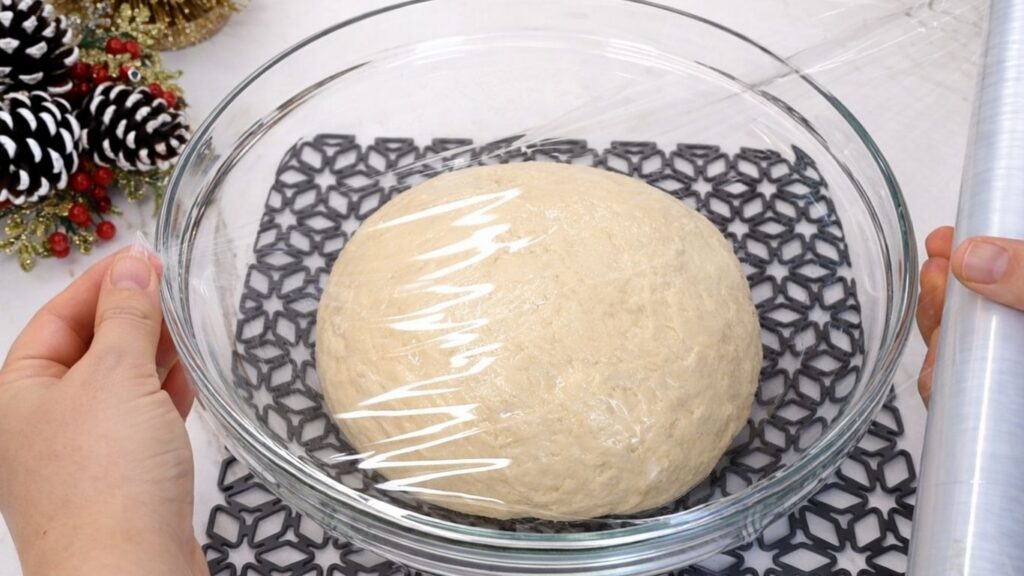
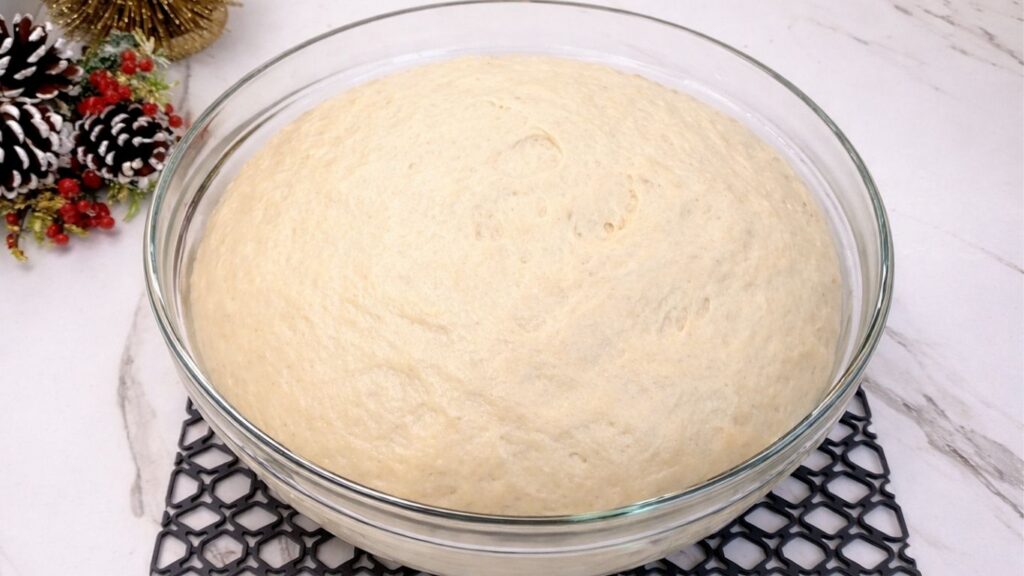
Let the dough rest in a warm place for about 1 hour, or until it has doubled in size. During this time, the yeast continues to work and creates air inside the dough, which will give your dinner rolls their soft, airy, and fluffy texture after baking, making your dinner rolls perfectly light and delicious.
4. Shaping the dinner rolls
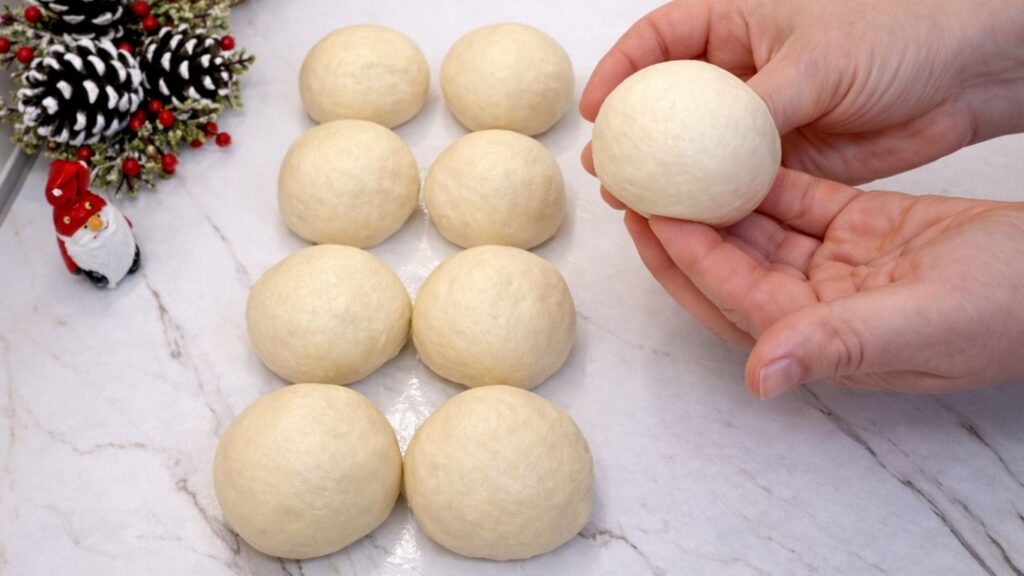
Once the dough has risen nicely and doubled in size, gently transfer it onto a clean work surface. Lightly press the dough to release the air, then divide it into 12 equal portions so that all the dinner rolls bake evenly and have a uniform size.
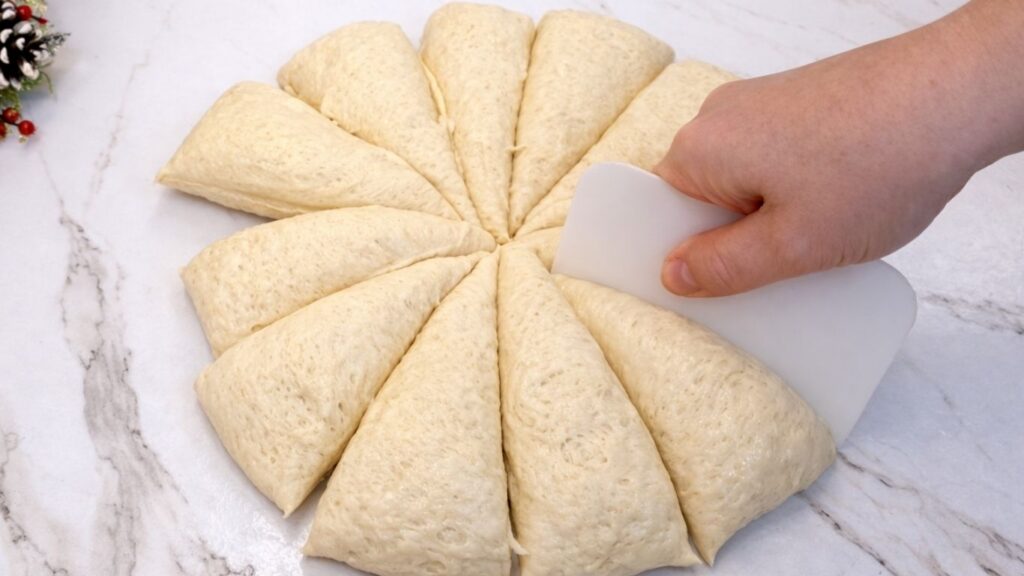
Take each piece of dough and shape it into a smooth ball by gently tucking the edges underneath and rolling it lightly in your hands or against the work surface. This helps create a smooth top and gives the dinner rolls a beautiful, round shape.
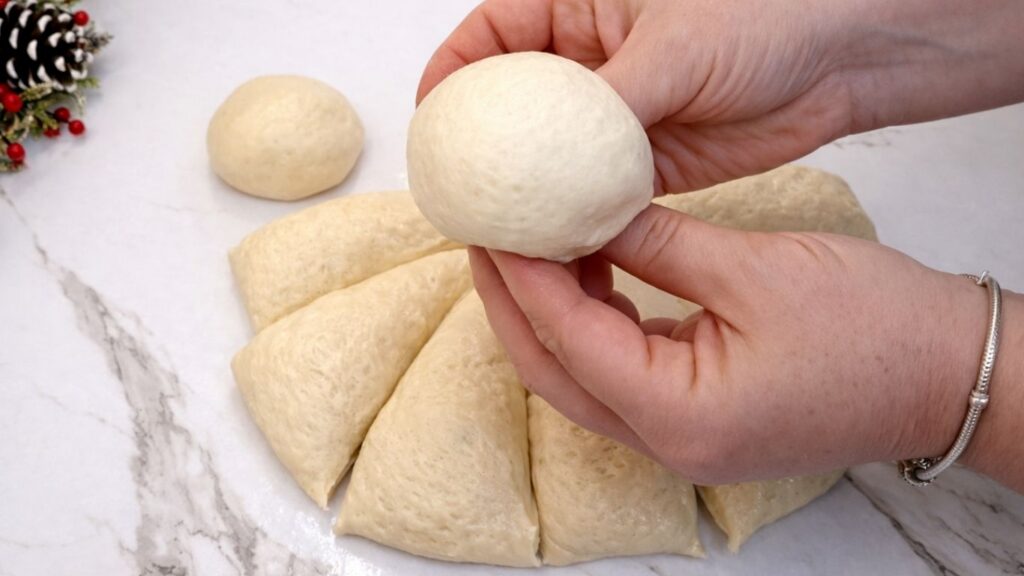
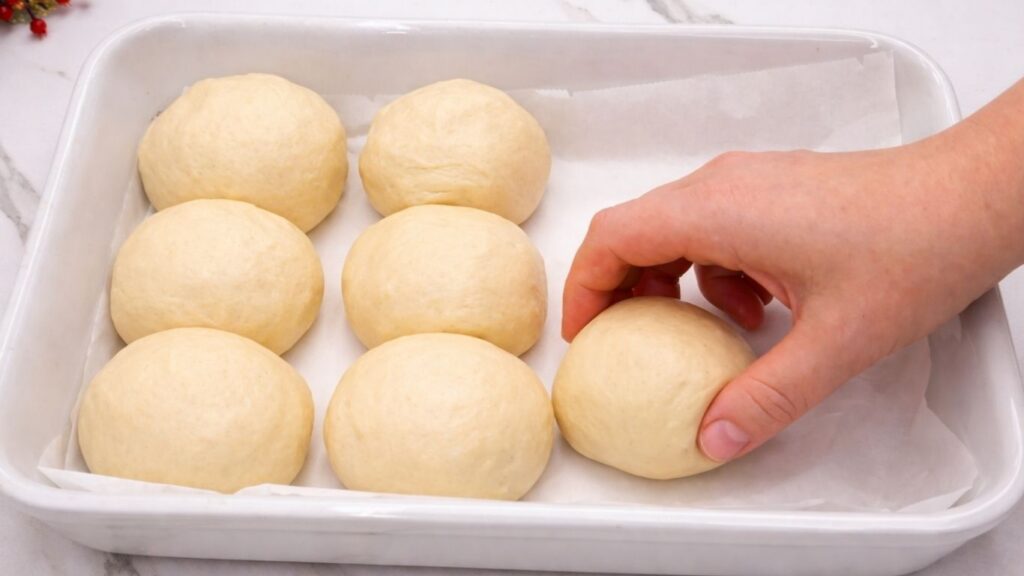
Place the shaped balls into a baking tray, leaving a small space between each one so they have room to rise and expand. Once all the rolls are arranged, cover them lightly and let them rest for about 30 minutes. During this time they will rise again, becoming soft and puffy, which will give your dinner rolls that light and fluffy texture after baking.
5. Brushing before baking
Once the shaped rolls have rested in the baking tray for about 30 minutes and become soft and puffy, they are ready to be brushed before baking.
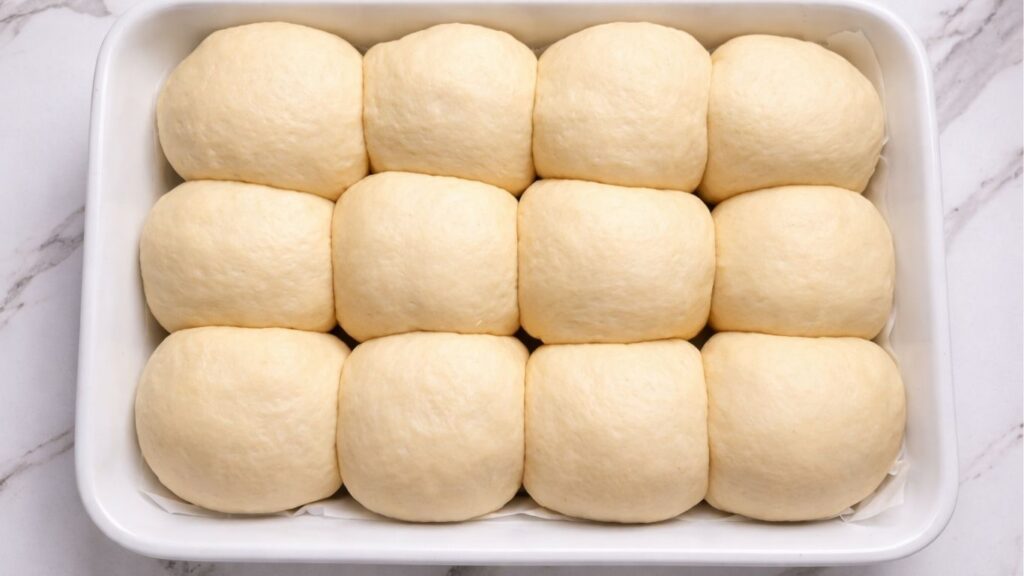
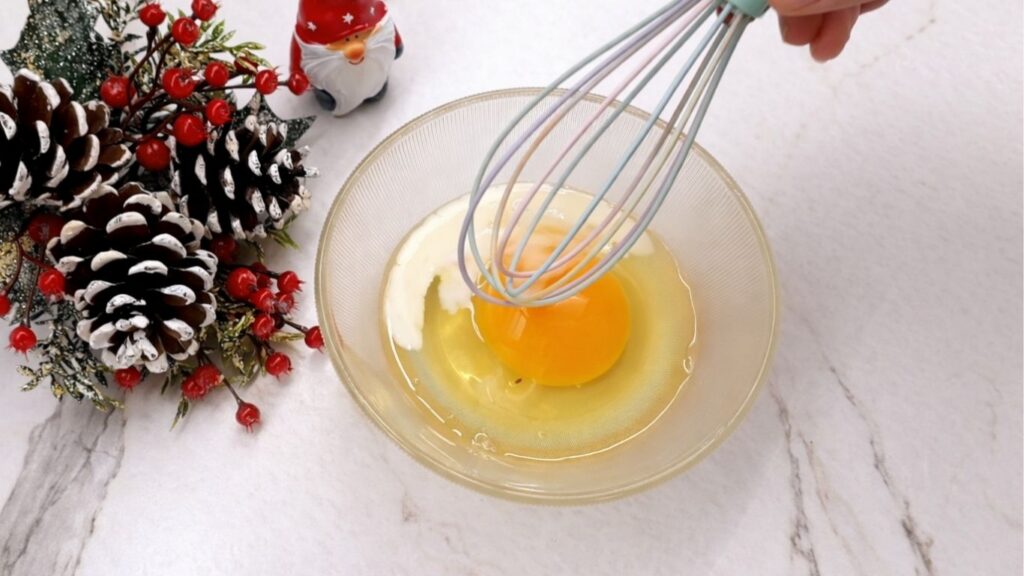
In a small bowl, mix the egg and milk until smooth, then gently brush the surface of each roll with this mixture. This step gives the dinner rolls a beautiful golden color and a soft, shiny finish once they are baked.
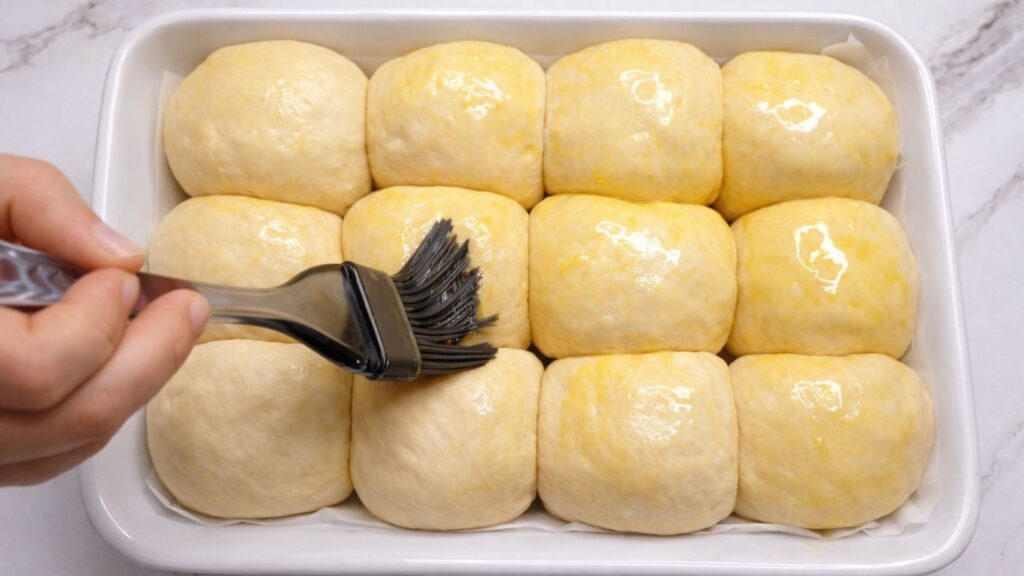
If you like, you can sprinkle seeds on top after brushing. This is completely optional, but it adds a nice texture and a decorative look to the dinner rolls. I sprinkled poppy seeds on top because that is how we like them at home, but you can use any seeds you prefer or leave them plain.
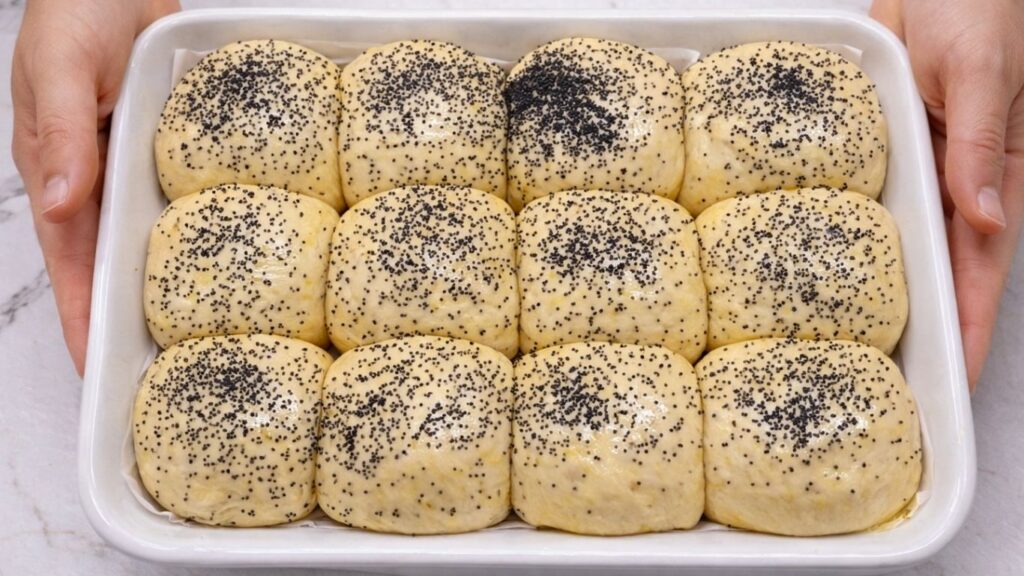
6. Baking the dinner rolls
Preheat the oven to 200 degrees C which is 392 degrees F. Place the tray with the risen dinner rolls into the oven and bake them for about 20 to 30 minutes, or until the dinner rolls become beautifully golden on top and fully baked through.
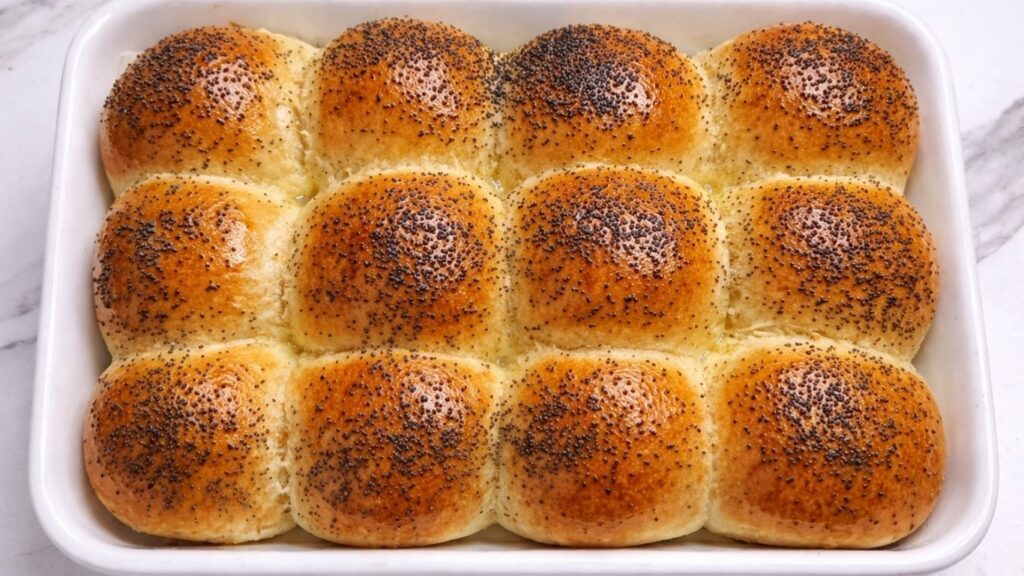
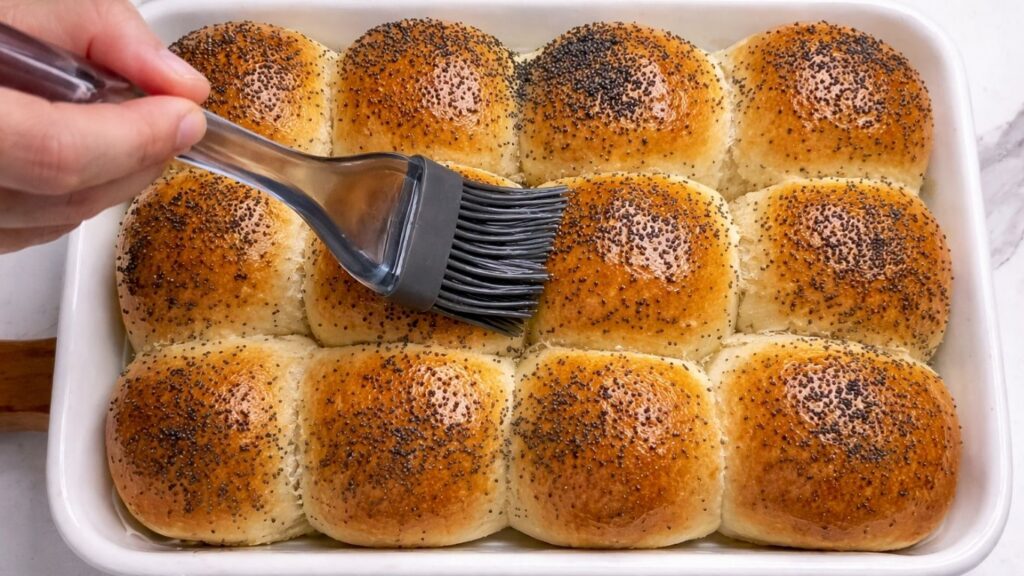
Once they are done, remove the tray from the oven and while the dinner rolls are still warm, gently brush them with melted butter. This final step adds extra flavor, gives them a soft and glossy finish, and makes the dinner rolls even more tender and buttery inside.
Serving the dinner rolls
Serve the dinner rolls warm so they are soft, fluffy, and full of that rich buttery aroma. You can place them in a serving basket lined with a clean kitchen towel to keep them warm and inviting on the table.
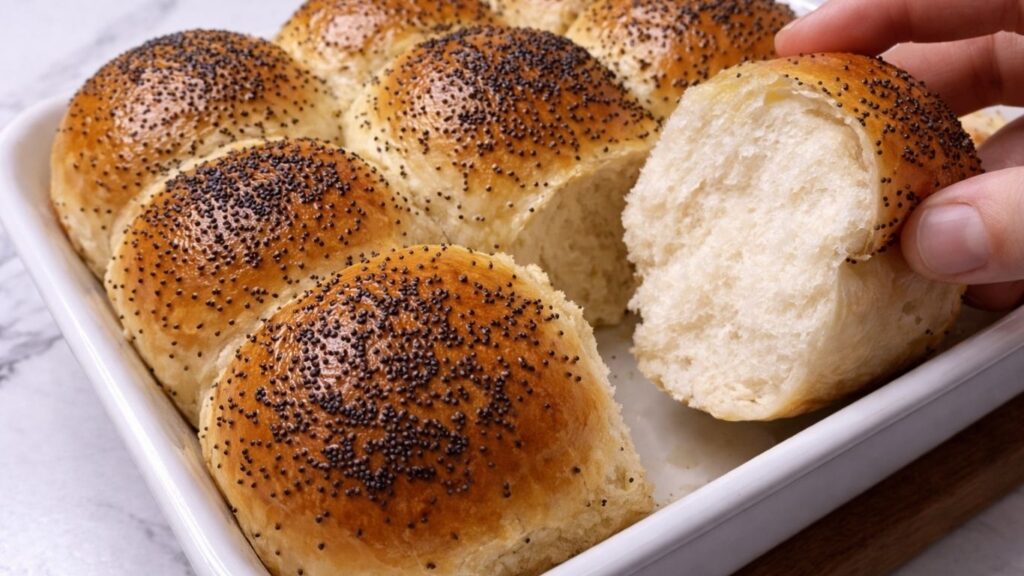
These dinner rolls are perfect as a side for everyday meals or special family gatherings. They pair beautifully with soups, stews, roasted meat, or fresh salads, and they are just as delicious enjoyed on their own with a little extra butter.
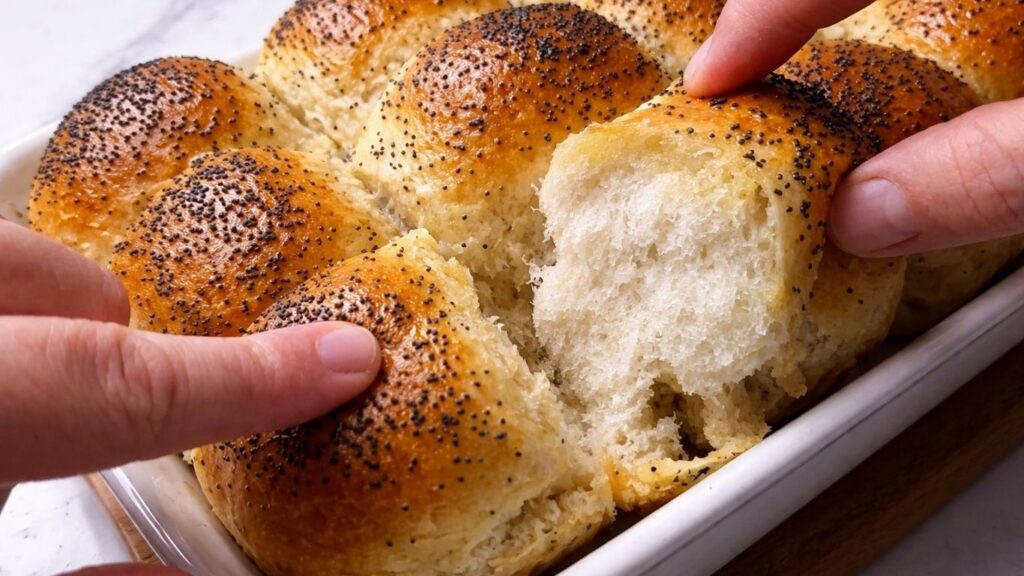
For the best experience, gently pull the dinner rolls apart while they are still slightly warm and enjoy their light, airy texture and perfectly soft interior with that delicious buttery taste.
Storing and freezing the dinner rolls
Once the dinner rolls have completely cooled, store them in a sealed bag or an airtight container at room temperature. They will stay soft and fresh for up to 2 to 3 days. Keep them in a cool and dry place, away from direct sunlight, so they keep their light and fluffy texture.
If you would like to keep them fresh for longer, you can store the dinner rolls in the refrigerator for up to 5 to 7 days. Place them in a sealed container or a zip bag so they do not dry out. Before serving, you can warm them slightly in the oven or microwave to bring back their softness and fresh baked feel.
Dinner rolls also freeze very well. Once they are completely cooled, place them in a freezer safe bag or container and freeze for up to 2 to 3 months. When you are ready to enjoy them, let the dinner rolls thaw at room temperature and then warm them gently in the oven for a few minutes. This will help them become soft, fluffy, and delicious again with that same lovely buttery taste.
Frequently Asked Questions
Why did my yeast not activate even though the water was not too hot?
If your yeast did not become foamy after resting in warm water, there is a good chance that the yeast is old or has been opened for a long time and lost its strength. Always check the expiration date and store yeast in a well sealed container. Fresh yeast should start to bubble within a few minutes when mixed with warm water and sugar.
Why are my dinner rolls dense and not fluffy?
Dense dinner rolls are usually caused by not allowing the dough enough time to rise or by using too much flour. Make sure the dough doubles in size during the rising stages and try not to add extra flour while kneading unless it is really necessary. A soft and slightly tacky dough will give you lighter and fluffier dinner rolls.
Why did my dinner rolls turn out hard?
This can happen if too much flour is added to the dough or if the rolls were baked for too long. It can also happen if the dough did not rest long enough to rise properly. For soft dinner rolls, keep the dough soft, allow enough rising time, and bake only until golden.
Why are my dinner rolls not golden on top?
If your dinner rolls did not develop a golden color, it is often because they were not brushed with the egg and milk mixture before baking. This brushing step gives them that beautiful golden and shiny finish. Also make sure your oven is fully preheated before baking.
Why did my dinner rolls spread too much and lose their shape?
If the rolls spread too much, the dough may have been too soft or over proofed. Make sure to shape the dough tightly into balls and do not let them rise for too long in the baking tray. A balanced dough that is soft but still holds its shape will give you nicely rounded dinner rolls.
Can I make the dough ahead of time?
Yes, you can prepare the dough in advance and let it rise slowly in the refrigerator overnight. The next day, let the dough come back to room temperature, shape the dinner rolls, and continue with the final rise and baking. This method can even improve the flavor and make your dinner rolls taste richer and more developed.
Watch the full Dinner Rolls video
If you try this recipe, let me know in the comments how it turned out.
And don’t forget to subscribe to my YouTube channel for more delicious homemade recipes!
Nutrition per 1 bun
Calories 190 kcal
Carbohydrates 28 g
Protein 5 g
Fat 6 g
Saturated fat 2 g
Cholesterol 20 mg
Sodium 300 mg
Sugar 2 g
Fiber 1 g
Conclusion
These homemade Dinner Rolls are soft, fluffy, and wonderfully buttery, making them a delicious addition to any meal. Their light texture and golden tops make them perfect for family dinners, holiday celebrations, the Easter table, or simple everyday baking.
Serve them warm with butter, use them to soak up soups and sauces, or enjoy them alongside your favorite main dish. Once you try these fresh homemade rolls, they may quickly become a regular part of your family meals.
Happy baking!
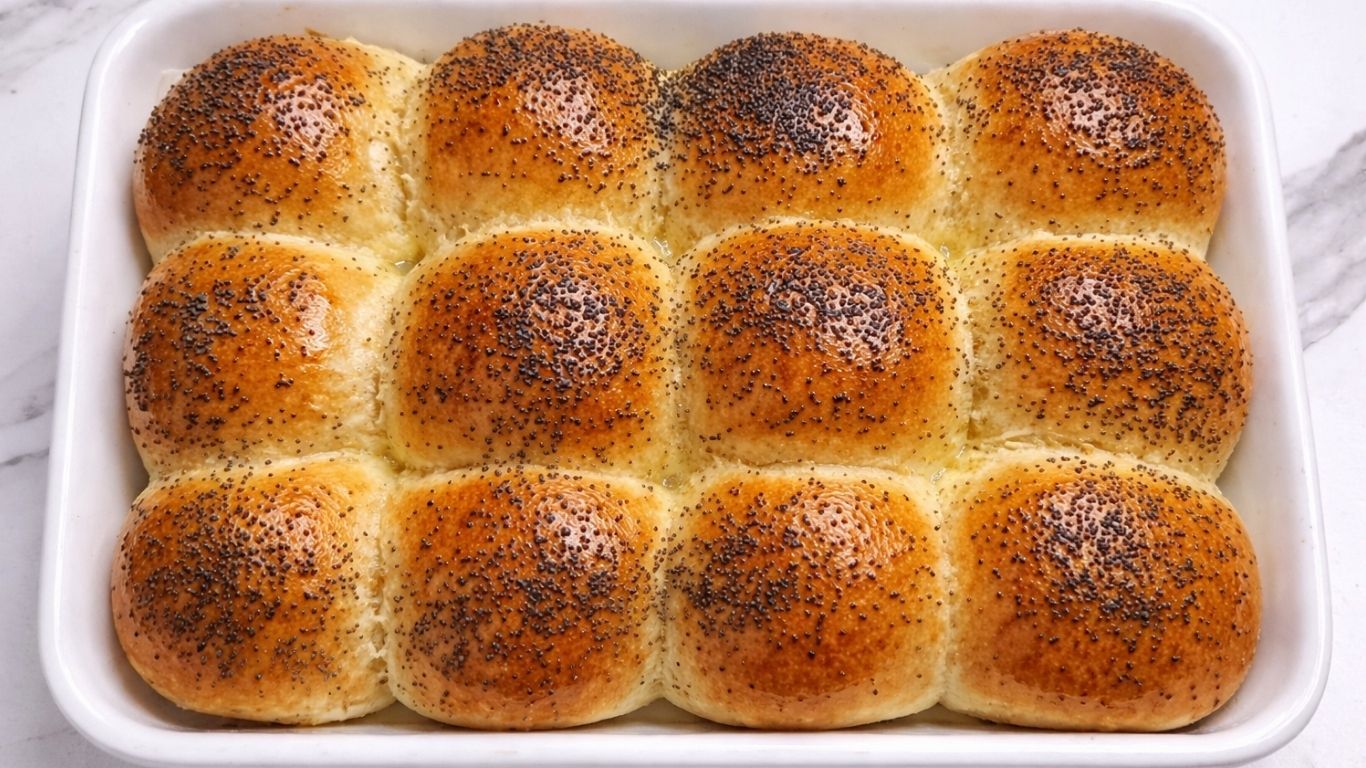

Soft and Fluffy Homemade Dinner Rolls
Ingredients
Equipment
Method
- Prepare the yeast mixture: Pour the warm water into a large mixing bowl. Add the sugar and stir until dissolved. Sprinkle the instant yeast over the water, stir gently, and let the mixture rest for 5-10 minutes. It should begin to look slightly foamy.
- Prepare the dough: Add the oil, salt, and most of the flour to the yeast mixture. Mix with a wooden spoon or spatula until a soft dough begins to form. Gradually add the remaining flour as needed.
- Knead the dough: Transfer the dough to a lightly floured work surface and knead for 8-10 minutes. Alternatively, knead it in a stand mixer fitted with a dough hook. The finished dough should be smooth, soft, and elastic. It may feel slightly tacky, but it should not stick heavily to your hands.
- Complete the first rise: Place the dough in a lightly oiled bowl and turn it once to coat the surface. Cover with plastic wrap or a clean kitchen towel. Let it rise in a warm, draft-free place for approximately 1 hour, or until doubled in size.
- Divide the dough: Gently press the risen dough to release excess air. Transfer it to a clean work surface and divide it into 12 equal portions.
- Shape the dinner rolls: Shape each piece into a smooth ball by tucking the edges underneath and gently rolling it against the work surface.
- Complete the second rise: Arrange the shaped rolls in a greased or parchment-lined 9 × 13-inch baking pan, leaving a small amount of space between them. Cover loosely and let them rise for approximately 30 minutes, or until soft and puffy.
- Prepare the egg wash: Preheat the oven to 400°F (200°C). Whisk the egg and milk together in a small bowl until smooth.
- Brush and add the topping: Gently brush the risen dinner rolls with the egg wash. Sprinkle them with poppy seeds, sesame seeds, or other seeds if desired.
- Bake: Bake the dinner rolls for 20-25 minutes, or until evenly golden brown and baked through. Avoid overbaking because this can make the rolls dry.
- Brush with butter: Remove the rolls from the oven and immediately brush the warm tops with melted butter. This keeps the crust soft and adds a rich, buttery flavor.
- Cool and serve: Allow the dinner rolls to cool slightly before serving. Serve them warm with soups, stews, roasted meats, salads, or extra butter.
Notes
- The water should be approximately 105-110°F (40-43°C). Water that is too hot can damage the yeast.
- Instant yeast can be mixed directly with flour, but resting it briefly in warm water helps confirm that it is active.
- Add flour gradually because different brands absorb moisture differently.
- Keep the dough soft and slightly tacky. Too much flour can produce dense or dry rolls.
- For evenly sized dinner rolls, weigh the complete dough and divide the weight by 12.
- The rolls are ready when they are golden brown and sound slightly hollow when gently tapped.
- Store cooled dinner rolls in an airtight container at room temperature for up to 3 days.
- Freeze the baked rolls in a freezer-safe bag for up to 2 months. Thaw them at room temperature and warm briefly before serving.