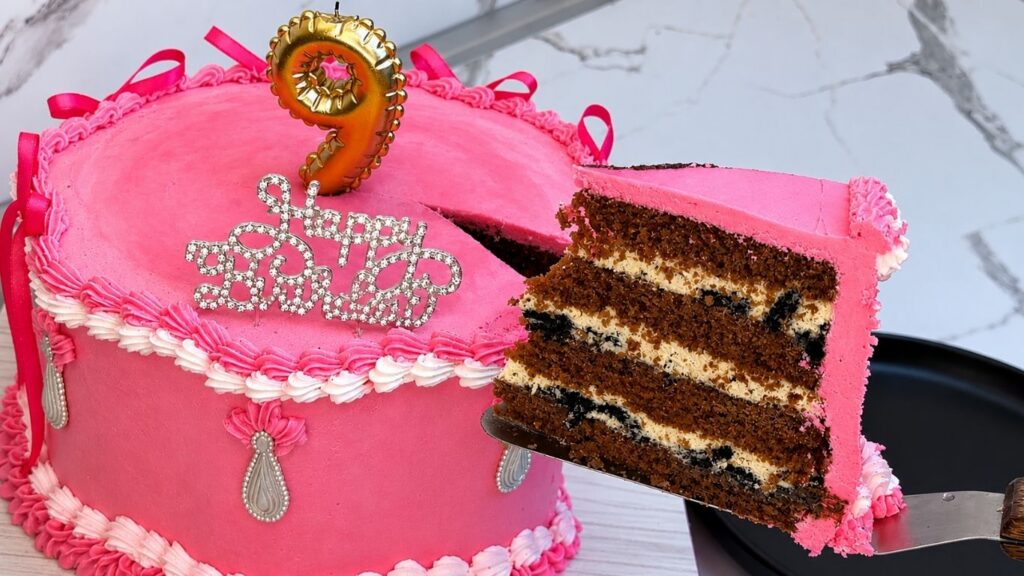
This Oreo cake filling recipe is the perfect cream for chocolate cake layers. It is smooth, creamy, stable, and full of delicious Oreo cookie pieces in every bite. The rich chocolate sponge cake pairs beautifully with the light Oreo cream, making this cake perfect for birthdays, celebrations, and special occasions.
If you are looking for an easy Oreo cake filling that holds well between cake layers, this recipe is a great choice. It is simple to make, easy to spread, and gives your cake that classic cookies and cream flavor everyone loves.
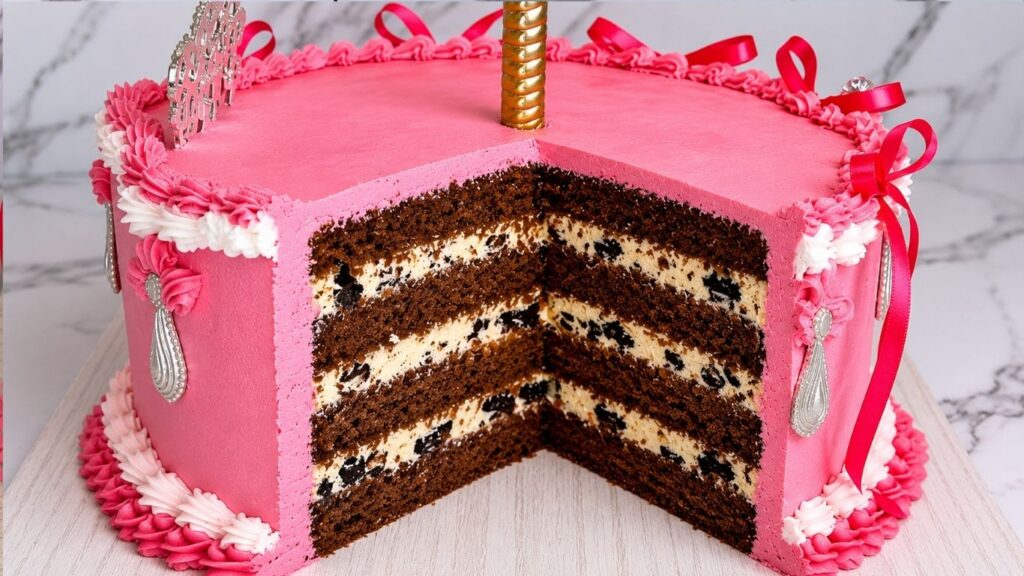
For this cake, I used my homemade chocolate cake layers because they are soft, moist, and stable enough for tall layered cakes. You can find the full recipe for the chocolate sponge cake layers here and use them as the base for this Oreo cake.
The Oreo cake filling is made with crushed Oreo cookies, which give the cake that classic cookies and cream flavor. This filling spreads beautifully between the layers and makes every slice creamy, rich, and full of Oreo pieces. If you want to learn more about these iconic cookies, you can also visit the official Oreo website
Watch the Full Video Tutorial
Follow along with the full video tutorial to see exactly how I make this creamy Oreo cake filling and layer it perfectly with soft chocolate cake layers.
Quick Recipe Info
Prep Time: 10 minutes
Chill Time: Minimum 4 hours, but overnight is best
Total Time: About 4 hours 10 minutes
Difficulty: Easy
Best For: Layer cakes, birthday cakes, and celebration cakes
Cake Size: Enough Oreo filling for one 6-inch and one 9-inch layered cake
Flavor: Oreo / Cookies and Cream
This Oreo cake filling takes only 10 minutes to prepare and is perfect for filling rich chocolate cake layers. For the best texture, stable layers, and clean cake slices, chill the filled cake for at least 4 hours, or overnight if possible.
Why You’ll Love This Oreo Cream Filling
Quick & Effortless: It spreads smoothly between the layers and gives every single slice a beautiful creamy texture with just the right amount of cookie crunch-all without taking hours of tedious prep work in the kitchen.
Rich Cookies & Cream Flavor: You’ll love this homemade Oreo cake filling because it brings that classic, beloved flavor straight into your dessert, creating the ultimate pairing for moist chocolate sponges.
Bakery-Quality Stability: This filling is uniquely stable enough for stacking tall layered cakes, making it a reliable choice for special birthday bashes and tiered celebration desserts.
Ingredients You’ll Need
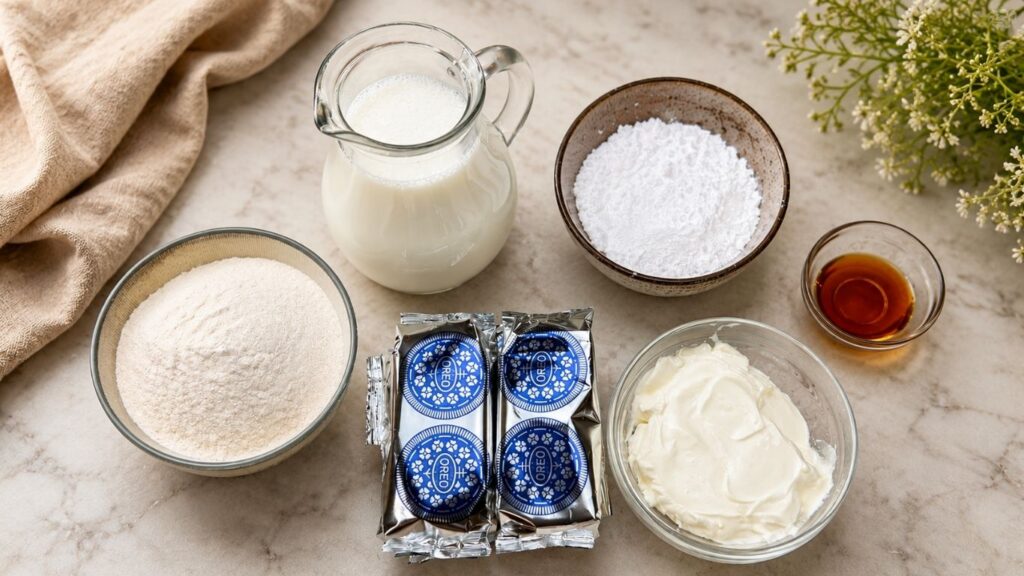
For this Oreo cake filling, you only need a few simple ingredients. The cream is smooth, light, and full of crushed Oreo cookies, making it perfect for filling chocolate cake layers.
Ingredients:
2 cups (500 ml) cold milk
5.3 oz (150 g) cream cheese, softened at room temperature
6 tablespoons (50 g) powdered sugar
1 tablespoon vanilla extract
12 oz / 1 standard package (340 g) Oreo cookies, crushed
6.3 oz (180 g) instant vanilla pudding mix (or vanilla cream powder)
Oreo Cake Filling Substitutions
If you want a quick alternative to the instant vanilla pudding mix and milk, you can easily use 2 cups (500 ml) of heavy whipping cream instead.
Simply whip the heavy cream until stiff peaks form, then gently fold it into your cream cheese mixture. This substitution will also give you a wonderfully creamy, light, and stable Oreo cake filling that works beautifully between your chocolate cake layers.
Simple Syrup for Cake Layers
To make sure your chocolate cake layers stay incredibly soft and melt-in-your-mouth tender, I highly recommend using a simple syrup. It takes just a few minutes to make but makes a massive difference in the final texture of your cookies and cream cake!
Ingredients:
- 1/2 cup (100 g) sugar
- 3/4 cup + 1 tablespoon (200 ml) water
- 1 tablespoon vanilla extract
Baker’s Tip: This simple syrup keeps the chocolate cake layers moist and adds a light vanilla flavor. Bring the sugar and water to a gentle simmer until the sugar completely dissolves, then remove from heat and stir in the vanilla extract. Let it cool completely. Brush each cake layer generously with the syrup before adding the Oreo filling.
How to Make Oreo Cake Filling
Step 1: Whip the Cream Cheese Base
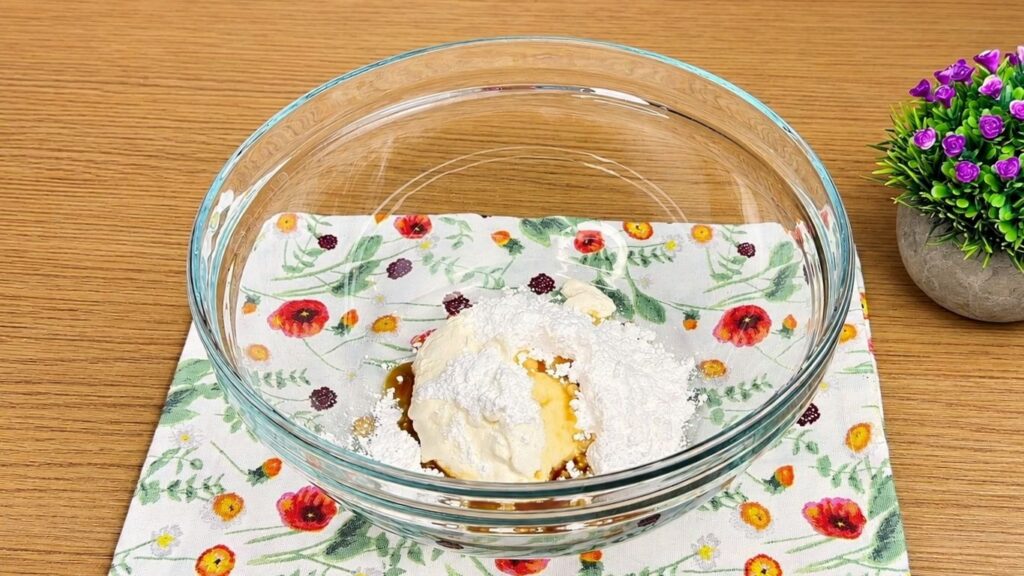
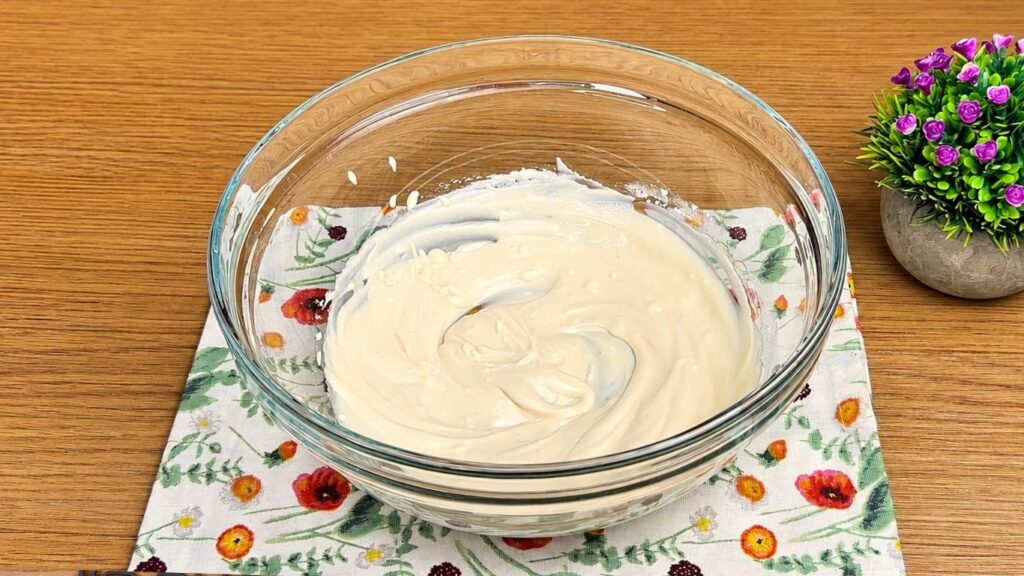
Add the cream cheese, powdered sugar, and vanilla extract to a large mixing bowl. Mix everything together with a hand mixer until the cream cheese becomes completely smooth and the ingredients are well combined.
Step 2: Add the Milk and Pudding Mix
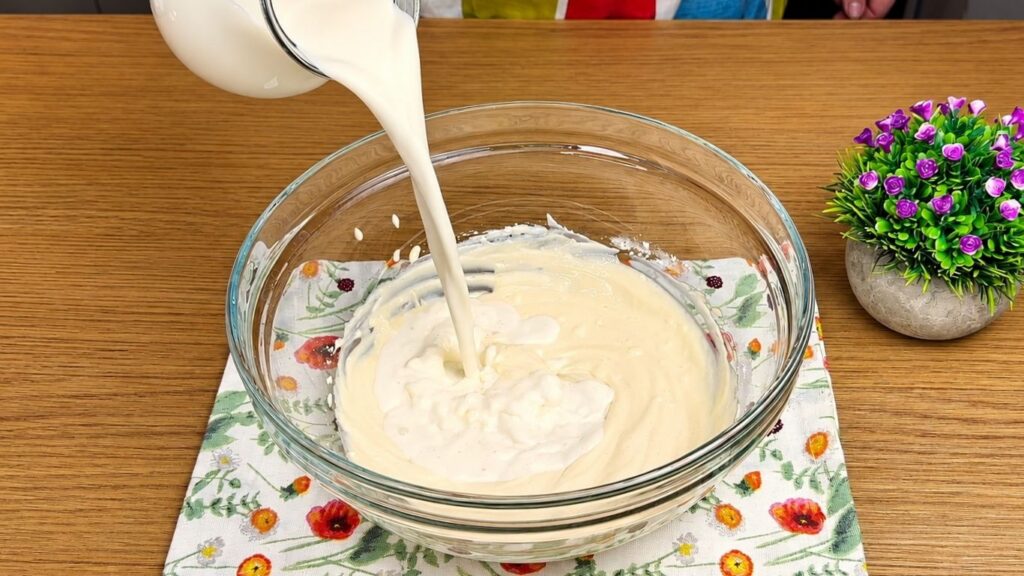
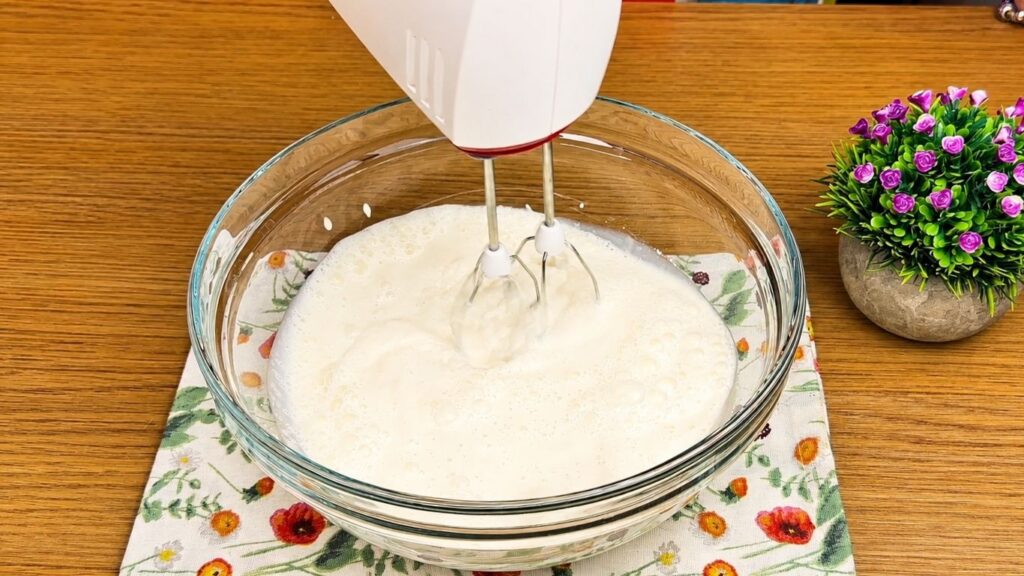
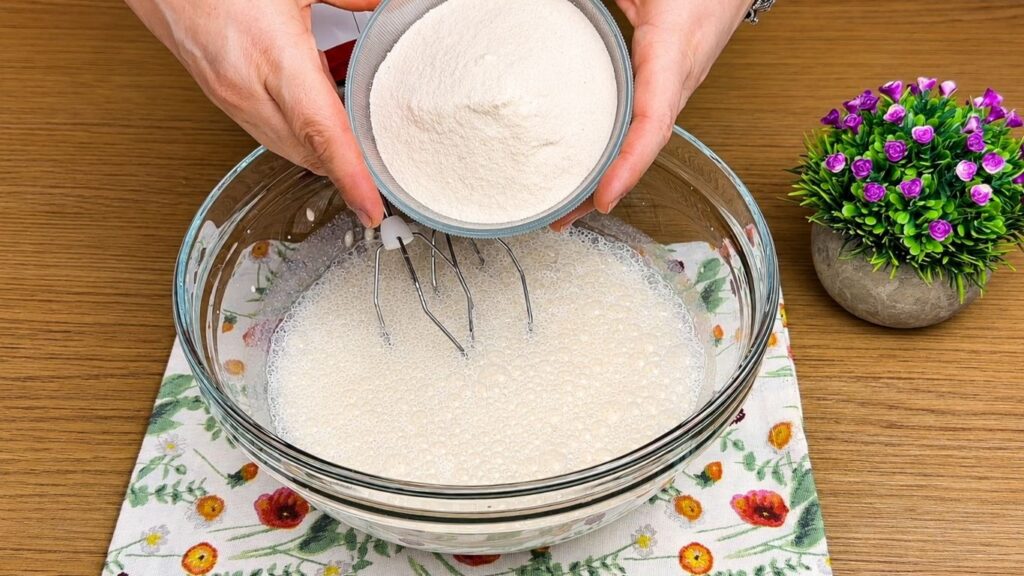
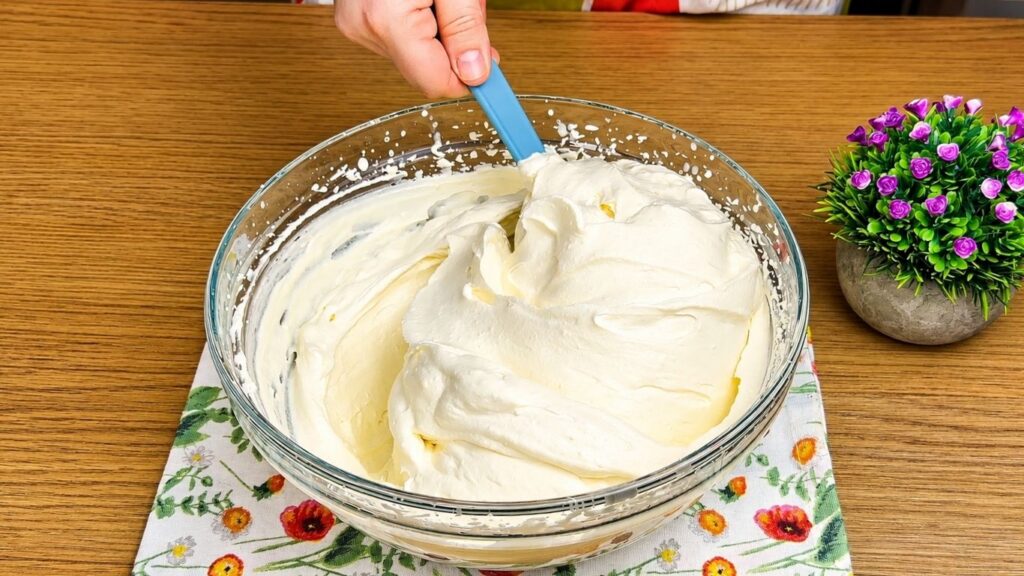
Pour in the cold milk and mix briefly, just until the mixture starts to come together. Next, add the instant vanilla pudding mix and continue mixing with your hand mixer for about 1 to 2 minutes. You want to mix just until the Oreo cake filling base becomes thick, smooth, and beautifully fluffy.
Step 3: Crush the Oreo Cookies
Crush the Oreo cookies into medium-sized pieces. Do not crush them too finely, because you want to have those delicious, small Oreo chunks in every single bite.
Inga’s Pro Tip: I like to place the cookies in a zip-top bag and gently hit them a few times with a kitchen mallet until they are broken into perfect pieces. It’s quick, easy, and clean!
Step 3: Fold and Combine
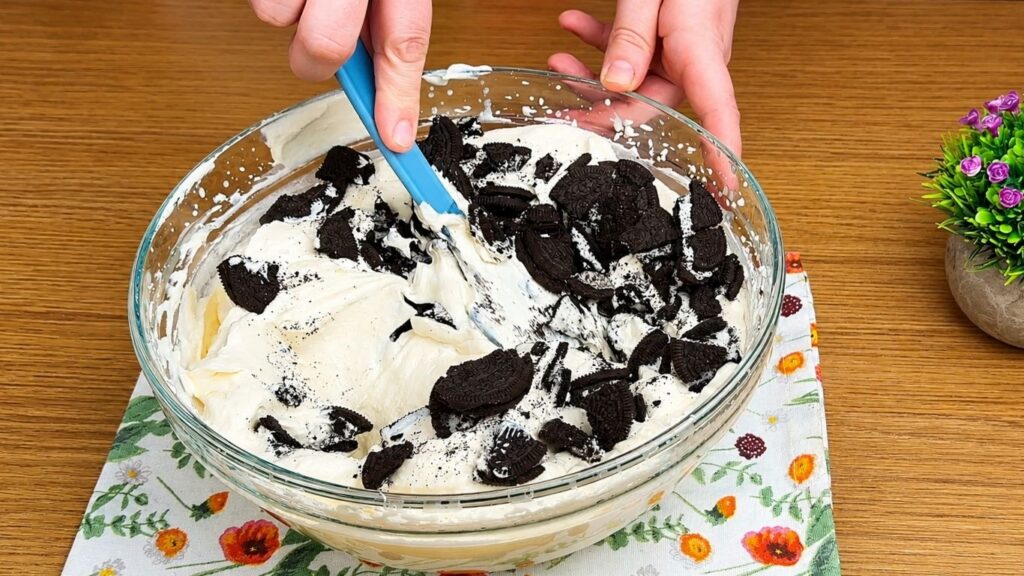
Add the crushed Oreo cookies to the thick, whipped cream. Using a spatula, gently fold the mixture until everything is evenly combined.
Your homemade Oreo cake filling is now ready! It should be incredibly creamy, stable, and packed with cookie pieces-perfect for spreading right between your chocolate cake layers.
How to Assemble Your Oreo Cake
Step 1: Prep Your Layers and Cake Pan
Slice your chocolate cake layers to your desired thickness. I personally prefer thinner sponge layers in my desserts, so I slice mine a little thinner. However, you can cut them to whatever thickness you prefer depending on how you like your final cake!
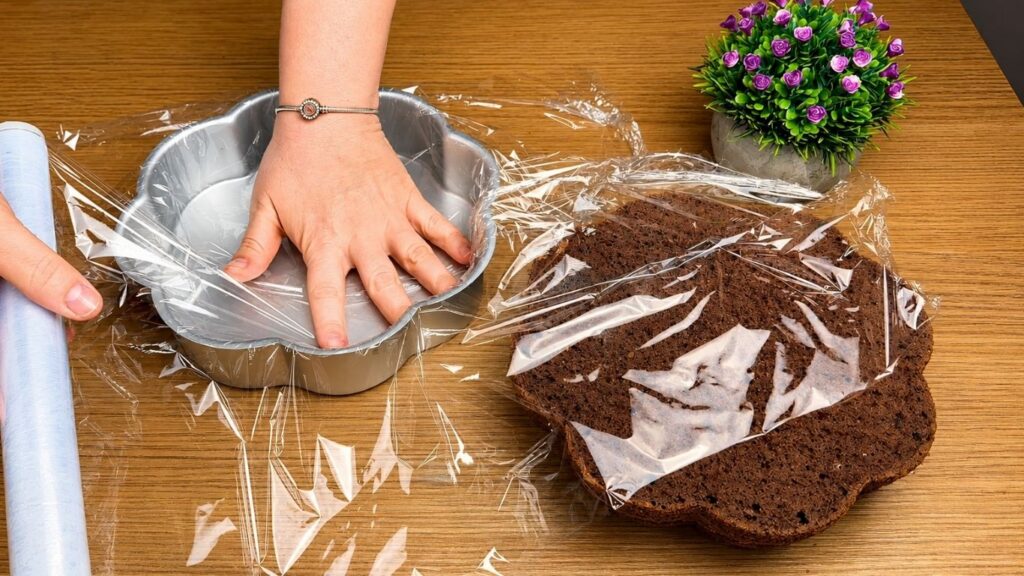
Next, line the inside of your cake pan with plastic wrap. This is a total lifesaver because it makes it much easier to lift the assembled cake out later, while helping it hold its perfect shape and lock in the creamy Oreo cake filling during chilling.
Step 2: Layer, Syrup, and Repeat
Place the first chocolate cake layer into the prepared pan and lightly brush it with the simple syrup. Add a generous layer of Oreo cake filling on top and spread it evenly all the way to the edges.
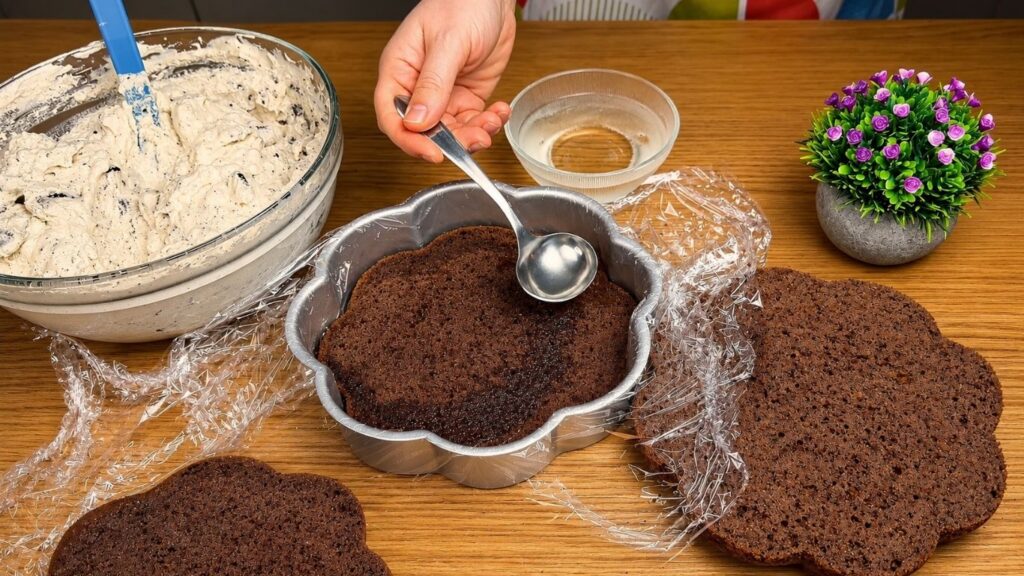
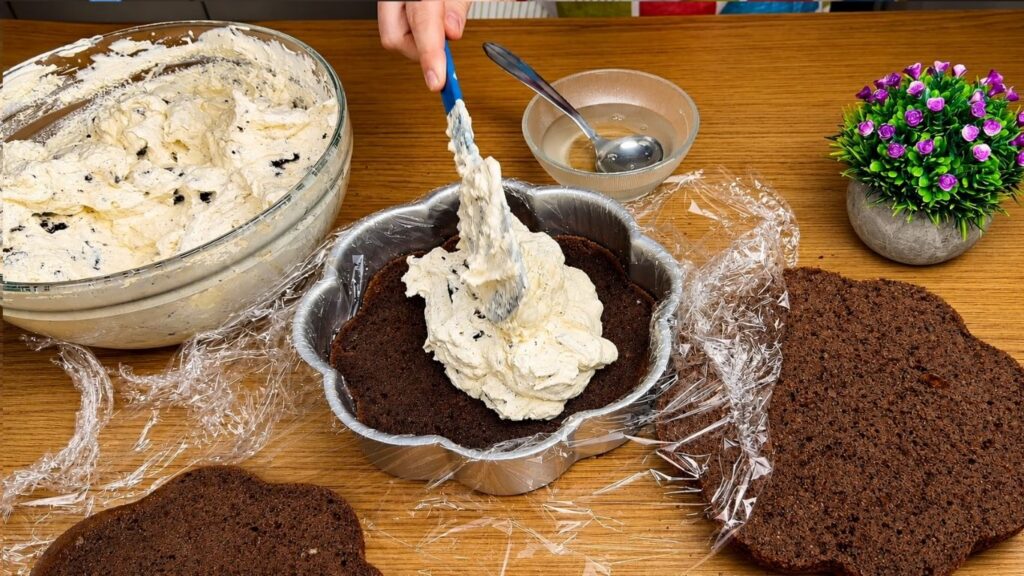
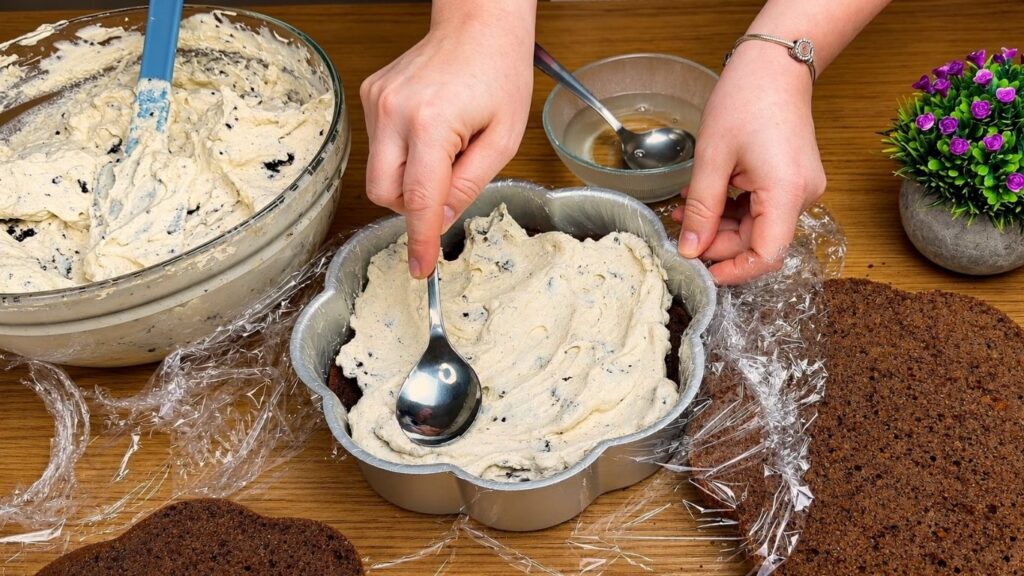
Place the second cake layer on top, brush it again with the vanilla syrup, and add another layer of Oreo cake filling. Spread the mixture evenly so every single slice has the exact same amount of delicious filling.
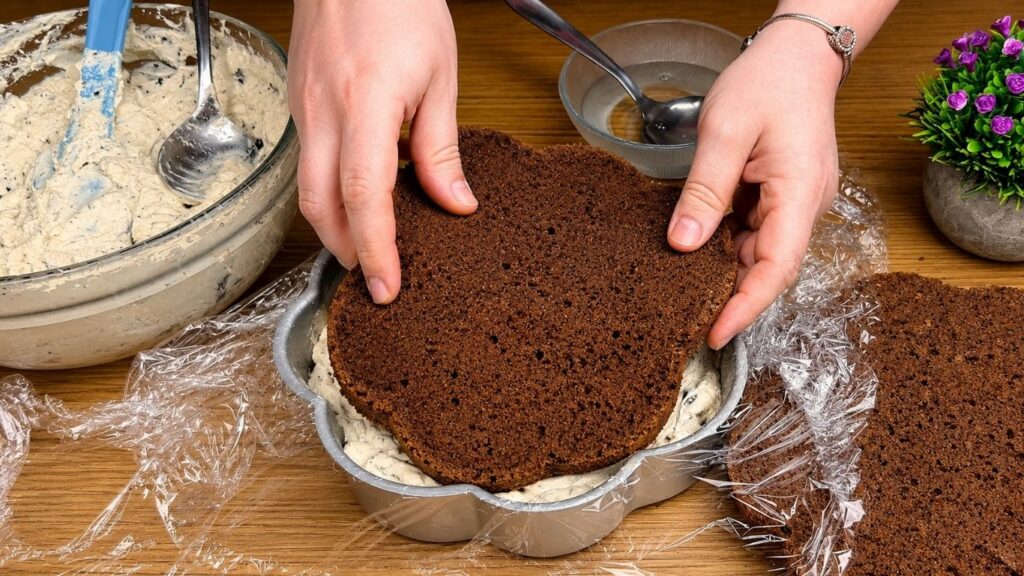
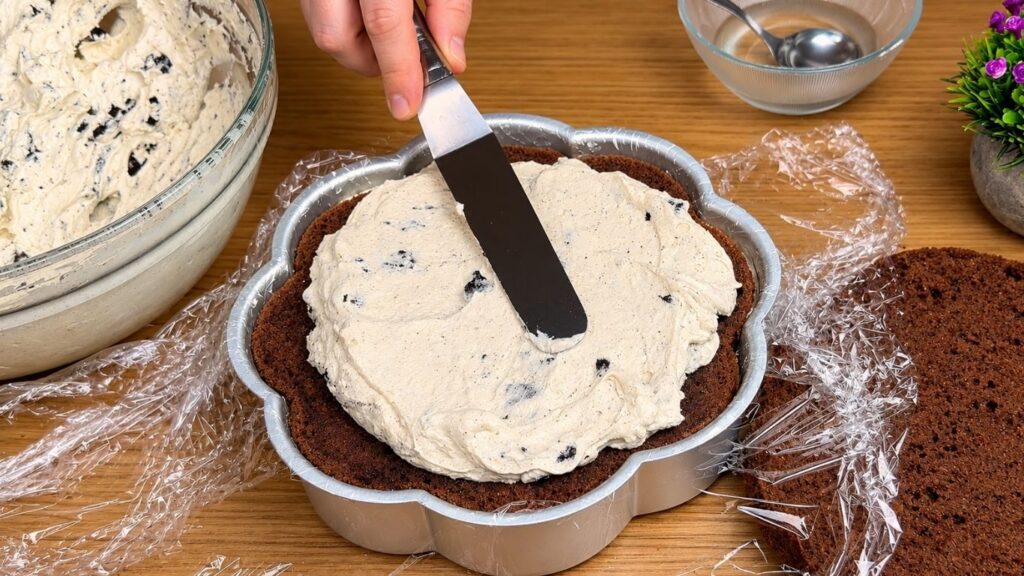
Step 3: Cover and Chill
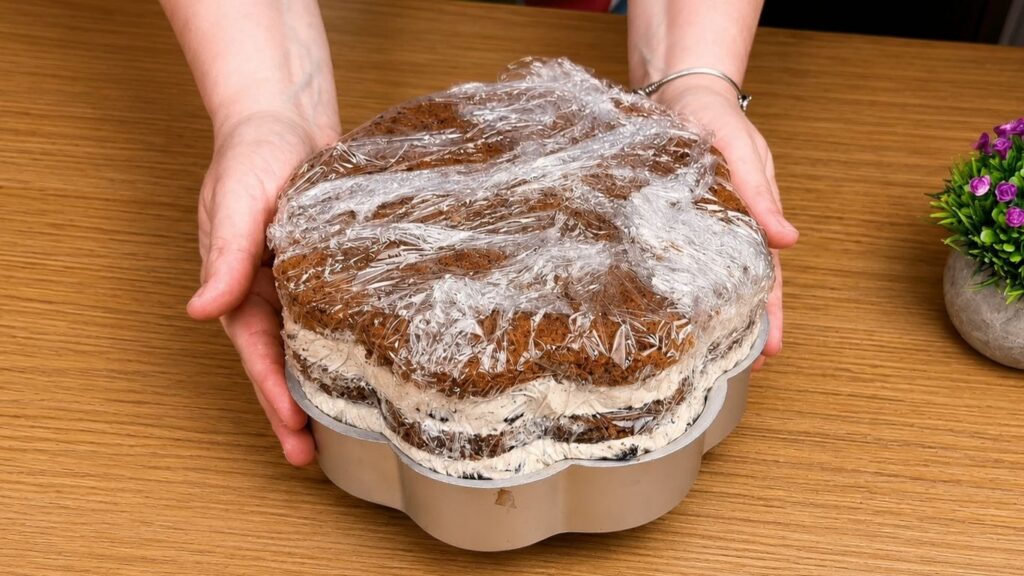
Add the final cake layer on top and brush it with syrup as well. Gently cover the top of the cake with plastic wrap so it does not dry out while resting.
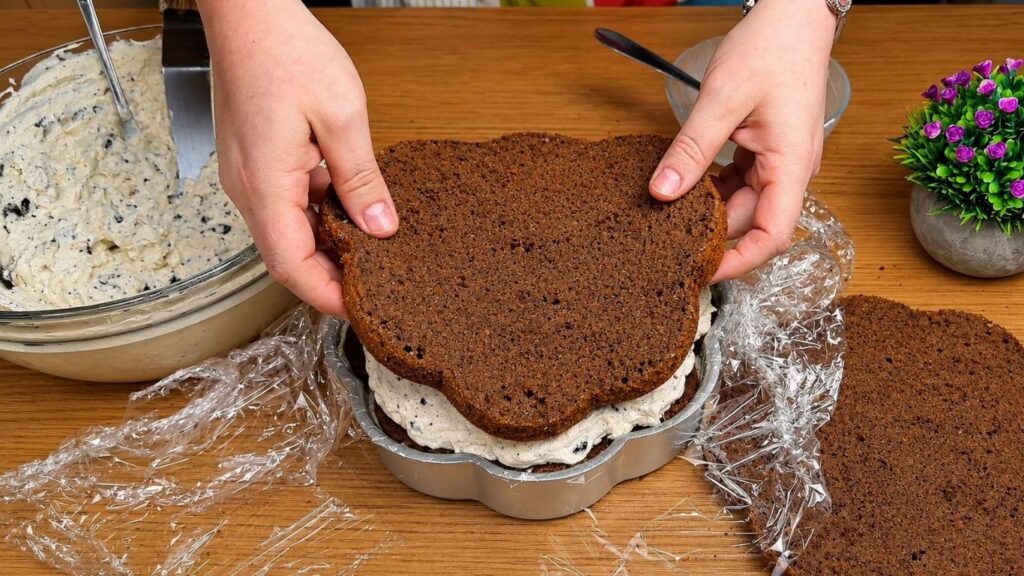
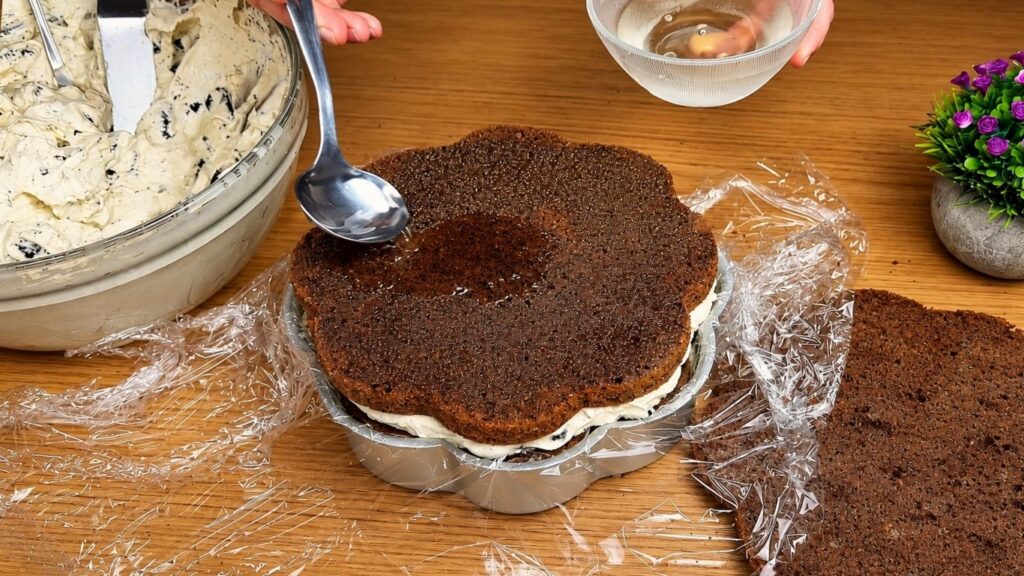
Place the cake in the refrigerator and let it chill for at least 4 hours. For the absolute best texture, maximum stability, and those perfectly clean cake slices, leaving it in the fridge overnight is even better!
Decorating and Serving Your Oreo Cake
Once the cake is well chilled, carefully remove it from the pan and take off the plastic wrap. At this point, your dessert is perfectly stable and ready to decorate any way you like!
You can cover it with buttercream, whipped cream, chocolate ganache, or any frosting that fits your Oreo cake filling design. I decorated mine with a beautiful pink buttercream, but you can keep it simple or style it to match whatever festive theme you are celebrating.
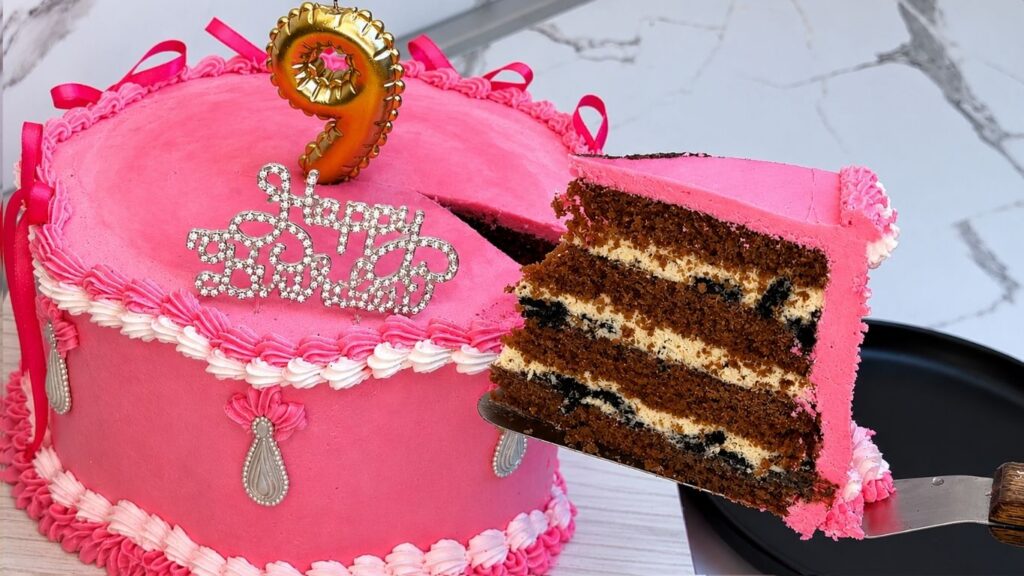
After decorating, it’s finally time to slice and serve. The chocolate cake layers stay incredibly soft and moist, while the Oreo cake filling gives every single bite that rich, classic cookies and cream flavor.
Pro Tip for Perfect Slices: For the cleanest, bakery-quality cake slices, use a sharp knife dipped in hot water and make sure to wipe the knife clean between each and every cut!
How to Store and Freeze Oreo Filled Cake
Storing in the Refrigerator
Store the Oreo filled cake in the refrigerator, covered well with plastic wrap or inside an airtight cake container. This keeps the cake fresh and prevents the top from drying out.
The cake can be stored in the fridge for up tHow to Store and Freeze Oreo Filled Cake
Storing in the Refrigerator
Store the assembled cake in the refrigerator, covered well with plastic wrap or inside an airtight cake container. This keeps the dessert perfectly fresh and prevents the sponge layers from drying out.
The cake can be kept in the fridge for up to 3 to 4 days. If you haven’t already let it set after assembly, giving the Oreo cake filling a few hours to fully chill before serving will ensure your slices look incredibly clean and neat.
Freezing Instructions (Make-Ahead Tip)
You can easily freeze this cake before decorating! Wrap the chilled, filled cake tightly in several layers of plastic wrap, then place it in a freezer-safe bag or container. It can be frozen with the Oreo cake filling inside for up to 1 month.
When you are ready to use it, thaw the cake overnight in the refrigerator while it is still wrapped. Once completely thawed, it is ready to be decorated with buttercream, whipped cream, ganache, or your favorite frosting!o 3-4 days. For the absolute best texture and flavor, I highly recommend letting the cake chill overnight before slicing, as the layers become incredibly moist and the Oreo filling sets beautifully.
Frequently Asked Questions About Oreo Cake Filling
Can I make Oreo cake filling ahead of time?
Yes, you can easily prepare this Oreo cake filling a day before assembling your cake. Store it tightly covered in the refrigerator. Before spreading it onto your chocolate cake layers, give it a quick mix with a spatula or a hand mixer on low speed to restore its smooth, creamy consistency.
Can I use this Oreo filling for other cake flavors?
Absolutely! While it pairs divinely with rich chocolate sponges, this versatile Oreo cake filling also works beautifully as a center for vanilla bean cakes, red velvet layers, or even as a surprise core inside standard chocolate cupcakes.
Should I crush the Oreo cookies finely?
No, it is much better to crush the Oreo cookies into medium-sized, uneven pieces. If you crush them too finely into a powdery dust, the cream will turn a dull gray color, and you will miss out on that amazing, crunchy texture in every bite.
What kind of cream cheese is best for this recipe?
For the best stability and texture, always use full-fat brick cream cheese (such as Philadelphia). Avoid using whipped cream cheese or cream cheese from a tub/spread, as they contain higher water content and can make your Oreo cake filling too runny to hold up tall layers.
Will the crushed Oreo cookies get soggy inside the cream?
The cookie pieces will soften slightly over time, turning into a delicious, cake-like texture that melts in your mouth alongside the cream. However, keeping them in medium-sized chunks during prep ensures they still retain a pleasant bite instead of turning into mush.
How long can a cake with this Oreo filling sit at room temperature?
Because this recipe contains dairy elements like cream cheese and milk, the decorated cake should not sit out for more than 2 hours at room temperature. If you are serving it at an outdoor celebration or a warm room, keep it chilled until right before serving to maintain perfect stability.
Conclusion: The Ultimate Cookies and Cream Dessert
This homemade Oreo cake filling is a simple and delicious way to turn ordinary chocolate cake layers into a rich, bakery-quality masterpiece. Because it is naturally stable and packed with cookie pieces, it ensures that every single slice comes out neat, flavorful, and incredibly satisfying for your guests.
Whether you choose to finish your creation with a simple whipped cream or a rich buttercream, taking that extra step to let the assembled dessert set properly in the fridge guarantees a moist, melt-in-your-mouth texture. Grab your ingredients, follow the steps, and enjoy crafting your next stunning layered cake!
Happy baking!
Leave a Reply