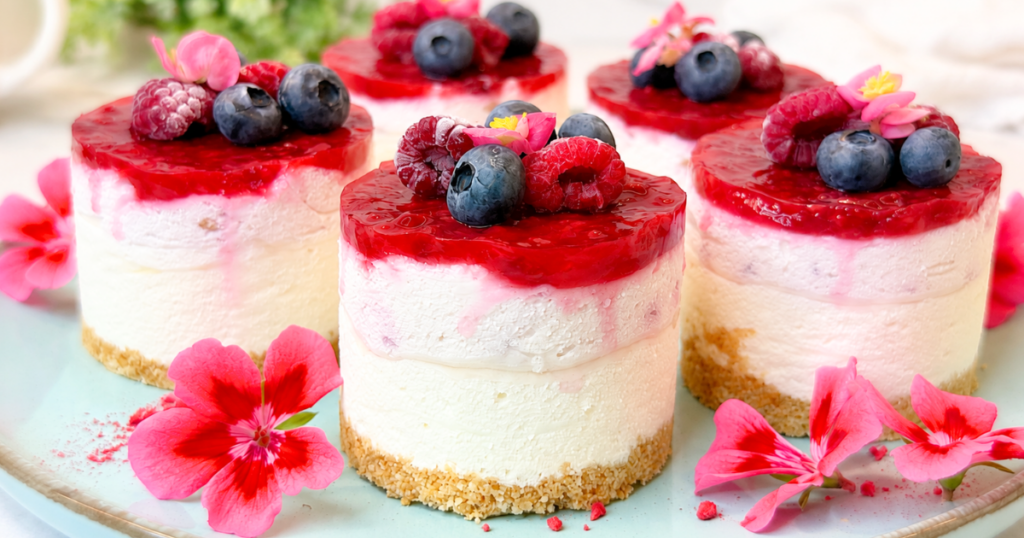
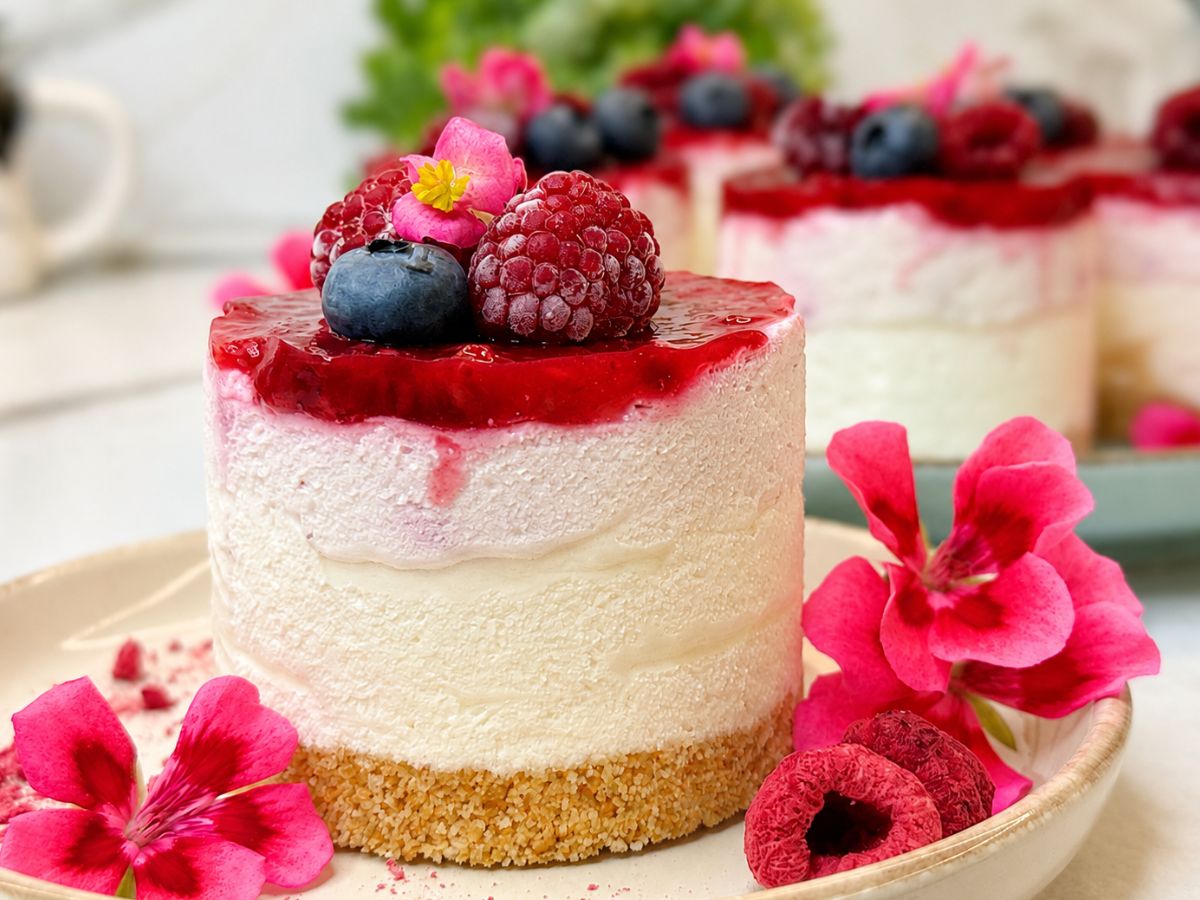
These easy no-bake mini cheesecakes are the perfect bite-sized dessert for warm days, celebrations, or whenever you want something sweet without turning on the oven. Each no-bake mini cheesecake features a buttery graham cracker crust, a smooth and creamy vanilla filling, and a bright raspberry topping.
Beautifully portioned and easy to serve, these little cheesecakes look elegant but are surprisingly simple to prepare. The combination of rich cheesecake filling and slightly tangy berries creates a refreshing, perfectly balanced dessert that everyone will love.
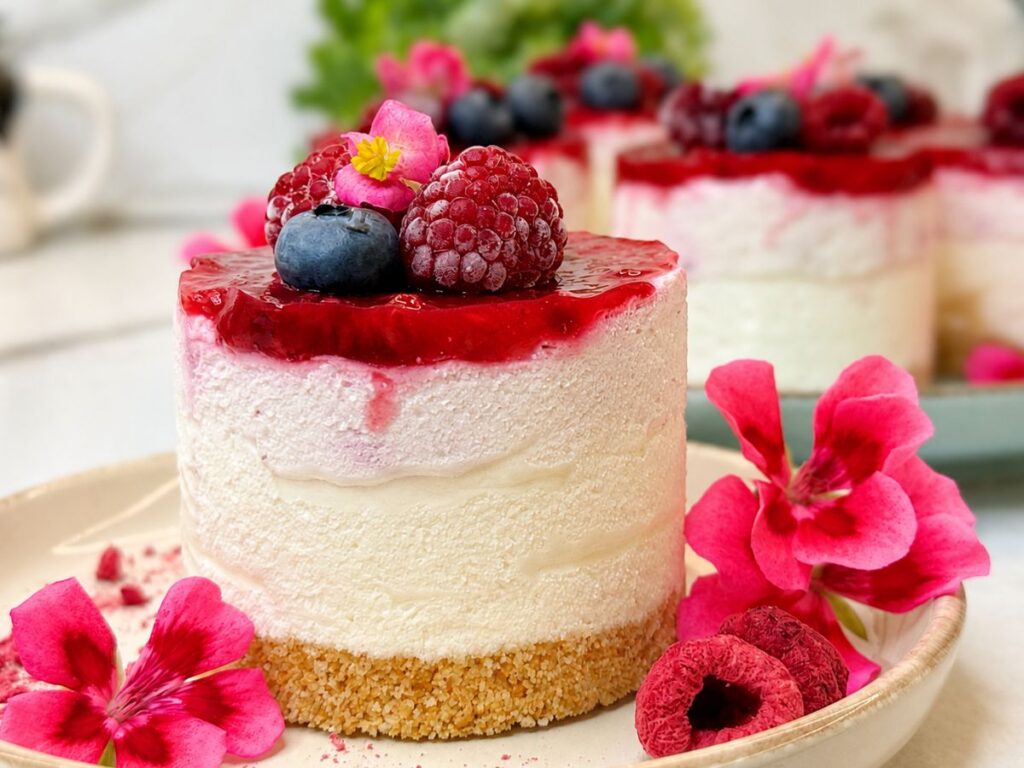
If you love creamy berry desserts, you may also enjoy my Blueberry Swirl Cheesecake, which features a buttery graham cracker crust and homemade blueberry sauce. Unlike a traditional baked cheesecake, these no-bake mini cheesecakes set in the refrigerator, making them a convenient make-ahead dessert for summer parties, birthdays, and family gatherings.
The colorful raspberry topping adds a fresh, slightly tangy flavor that perfectly balances the rich and creamy filling. Raspberries also naturally provide fiber, vitamin C, vitamin K, and antioxidants; you can learn more about their nutritional benefits from the Harvard T.H. Chan School of Public Health.
Quick Recipe Info
- Prep Time: 25 minutes
- Chill Time: 4 hours
- Total Time: 4 hours 25 minutes
- Yield: 6 no-bake mini cheesecakes
- Serving Size: 1 no-bake mini cheesecake
- Difficulty: Easy
- Cooking Method: No-bake
- Best Served: Chilled
- Make Ahead: Prepare up to 1 day in advance
- Storage: Refrigerate for up to 3 days
Why You’ll Love These No-Bake Mini Cheesecakes
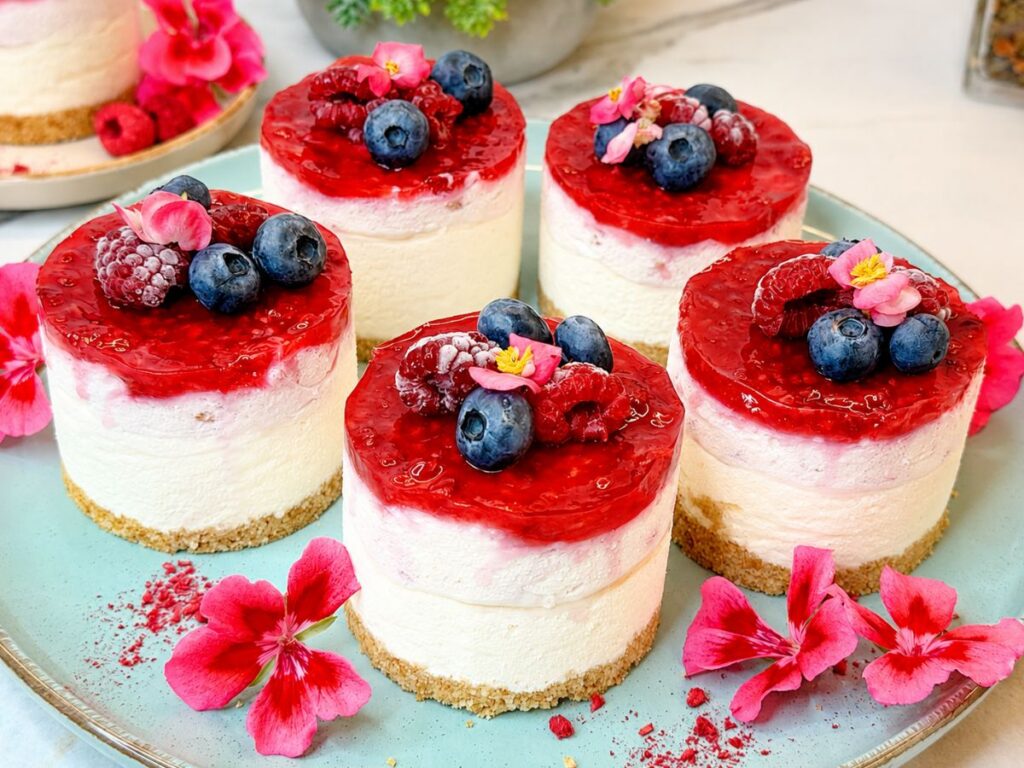
- No oven required: These no-bake mini cheesecakes are perfect for warm days when you want a delicious homemade dessert without baking.
- Rich and creamy filling: Cream cheese, heavy whipping cream, and sweetened condensed milk create an irresistibly smooth and velvety texture.
- Perfect individual portions: Each cheesecake is served separately, making them ideal for parties, birthdays, holidays, and family gatherings.
- Sweet and fruity topping: The raspberry topping adds a refreshing, slightly tangy flavor that perfectly balances the creamy filling.
- Easy to prepare ahead: Make them the day before and keep them chilled until you are ready to serve.
- Beautiful presentation: Their colorful layers and fresh berry garnish make these easy no-bake mini cheesecakes look elegant with minimal effort.
Ingredients You’ll Need
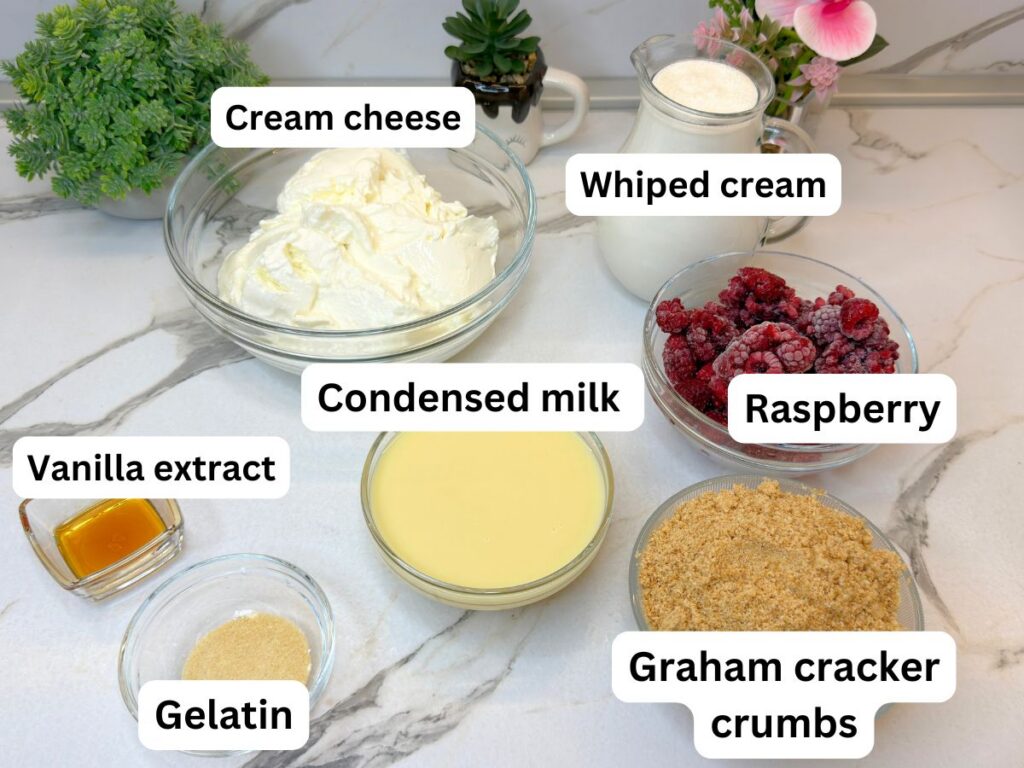
You only need a few simple ingredients to make these creamy no-bake mini cheesecakes. The complete ingredient list with exact measurements is available in the recipe card at the bottom of the post.
For the Graham Cracker Crust
- Graham cracker crumbs: Create a buttery, slightly crunchy base for each no-bake mini cheesecake.
- Unsalted butter: Melted butter holds the crumbs together and adds a rich flavor.
For the Cheesecake Filling
- Cream cheese: Use full-fat, softened cream cheese for the smoothest and creamiest filling.
- Heavy whipping cream: Whipped cold cream gives the filling a light, airy texture.
- Sweetened condensed milk: Adds sweetness and helps create a silky consistency.
- Vanilla extract: Enhances the rich and creamy no-bake mini cheesecake flavor.
- Gelatin: Helps the no-bake mini cheesecakes set firmly and hold their shape after unmolding.
For the Mixed Berry Topping
- Mixed berries: A combination of raspberries, blueberries, strawberries, or blackberries adds a fresh, fruity flavor.
- Granulated sugar: Sweetens the berries and helps release their natural juices.
- Gelatin-based cake glaze: Thickens and stabilizes the topping, giving it a beautiful glossy finish.
How to Make No-Bake Mini Cheesecakes
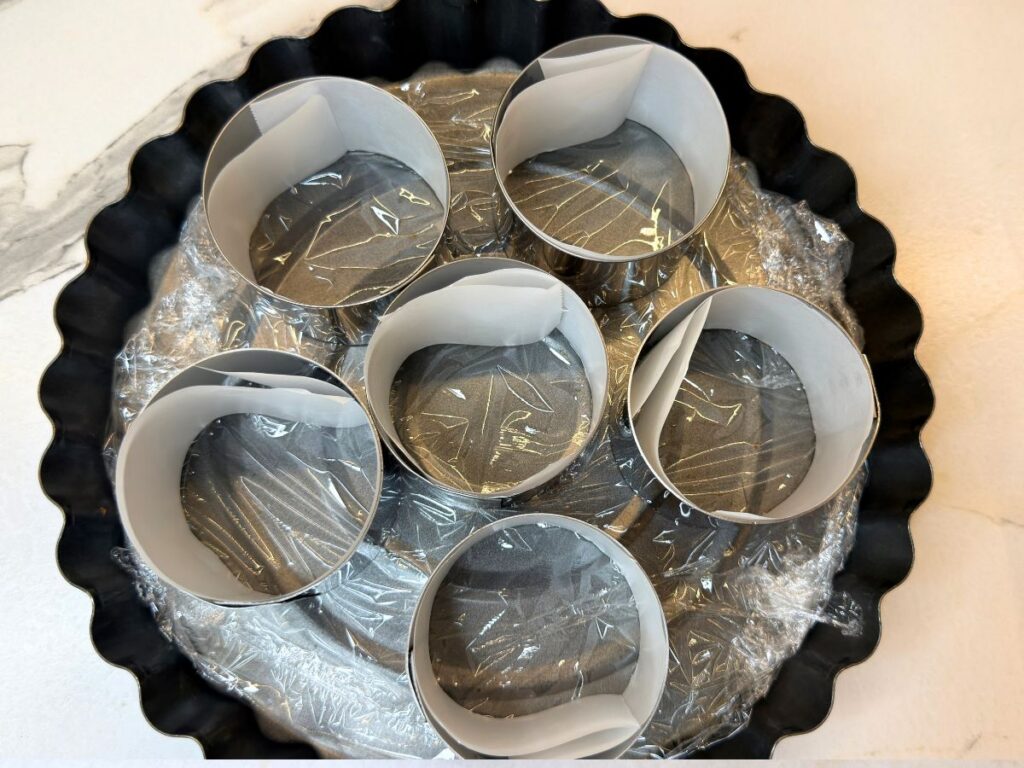
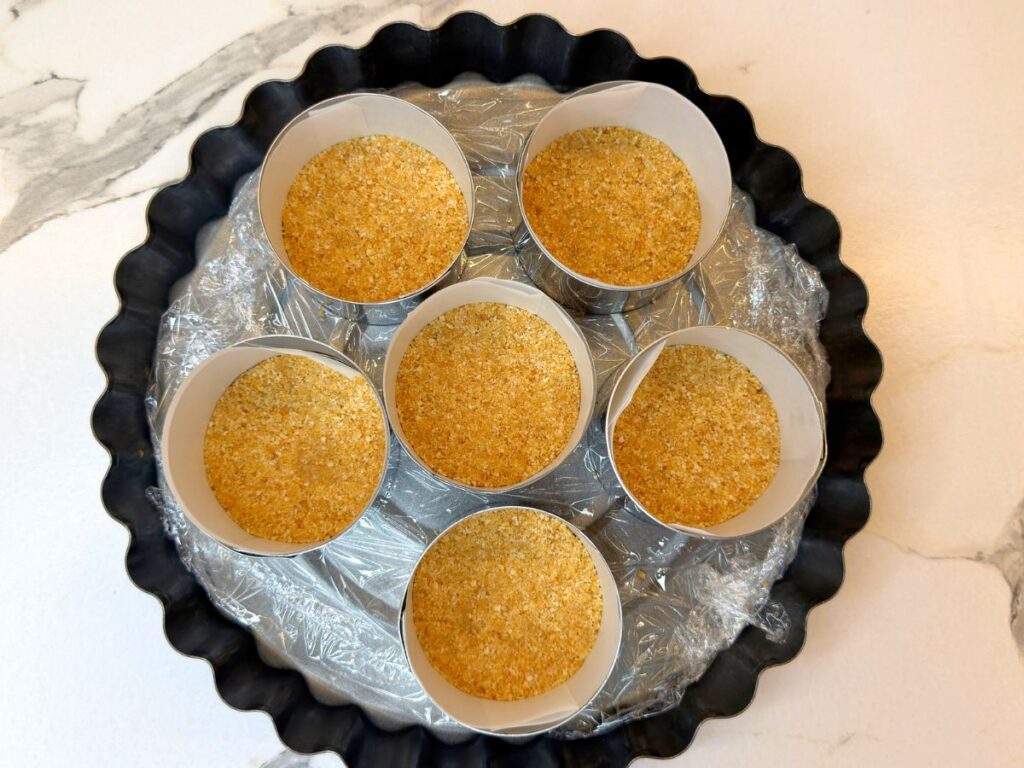
For this recipe, you will need individual mini dessert molds. If you do not have them, line a standard muffin pan with paper liners and prepare the cheesecakes in the same way. I also placed narrow strips of parchment paper inside the molds to make the chilled cheesecakes easier to remove.
1. Prepare the Gelatin
Place the gelatin in a small bowl, cover it with a little cold water, and allow it to bloom according to the package instructions. Set it aside while you prepare the remaining ingredients.
2. Make the Raspberry Topping
Add the raspberries and granulated sugar to a small saucepan. Cook over medium-low heat until the fruit releases its juices and begins to simmer.
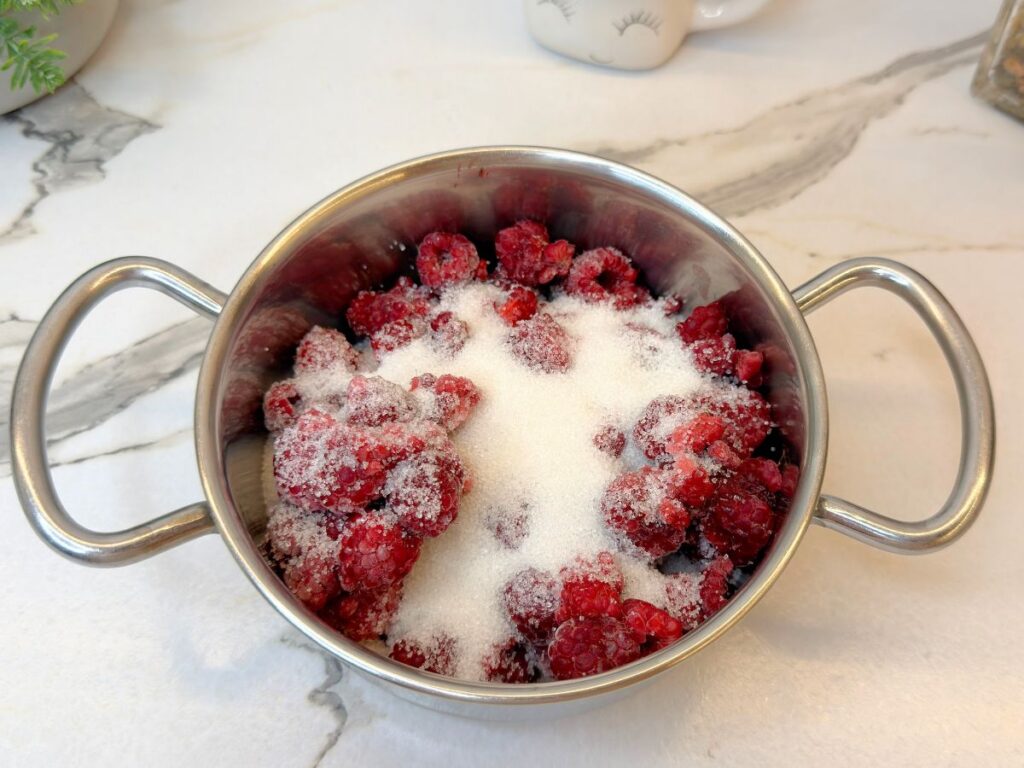
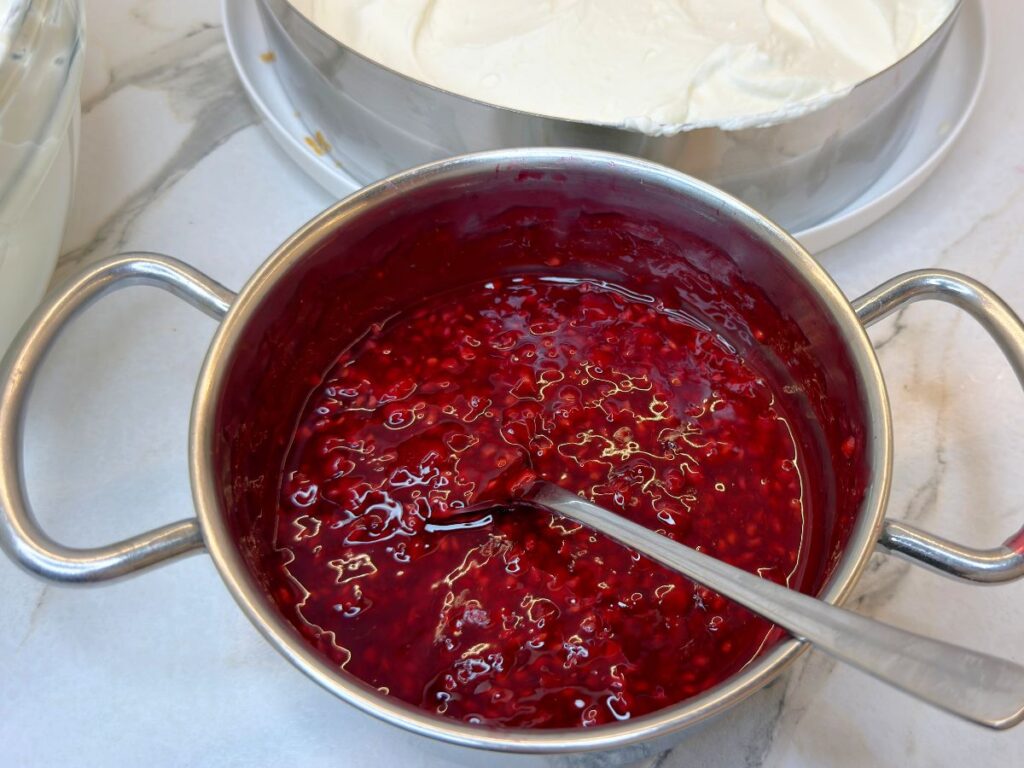
In a small bowl, whisk together 4 tablespoons of cold water and 1 tablespoon of cornstarch until completely smooth. Slowly pour the mixture into the simmering raspberries, stirring continuously. Cook over low heat until the topping thickens and becomes glossy.
Remove it from the heat and set it aside to cool completely. The raspberry should not be warm when it is added to the cheesecake filling.
3. Prepare the Graham Cracker Crust
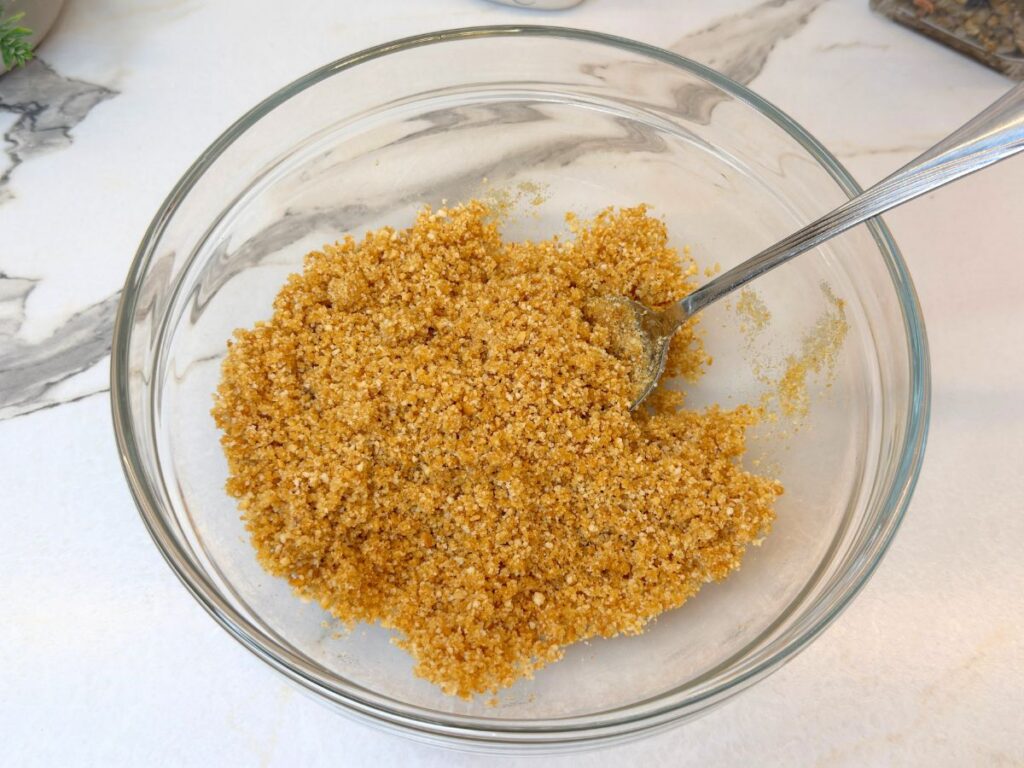
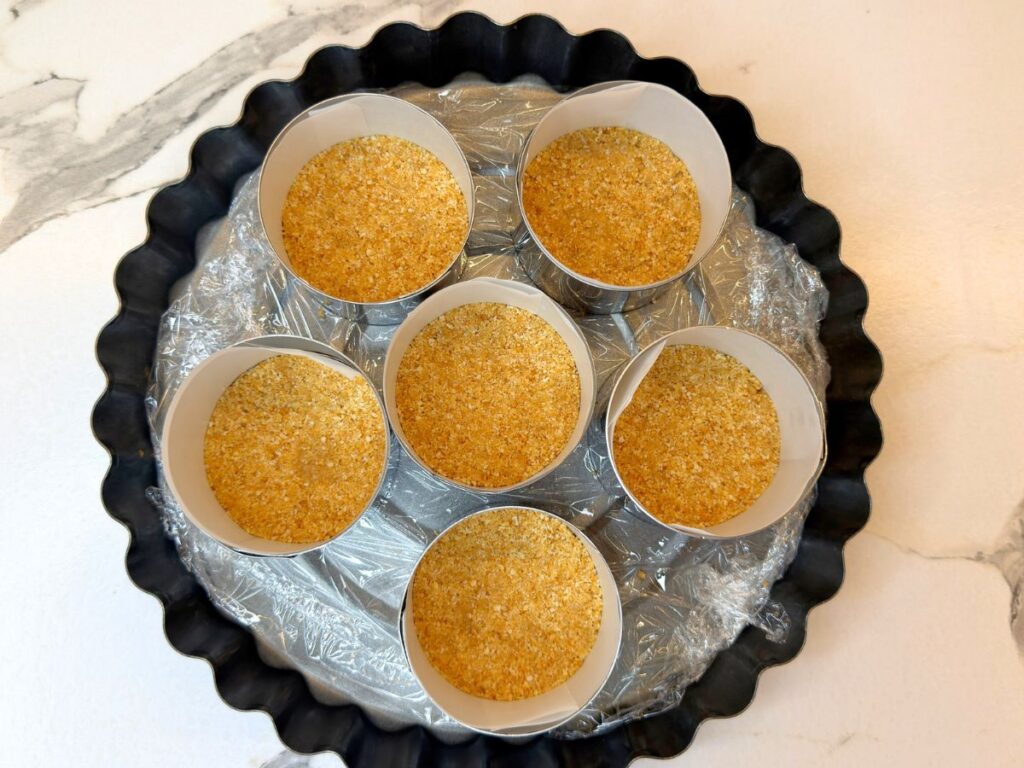
Combine the graham cracker crumbs with the melted butter and mix until all the crumbs are evenly moistened.
Divide the mixture among the prepared dessert molds. Gently press it into an even, compact layer using the back of a spoon or the bottom of a small glass. Place the molds in the refrigerator while you prepare the filling.
4. Whip the Cream
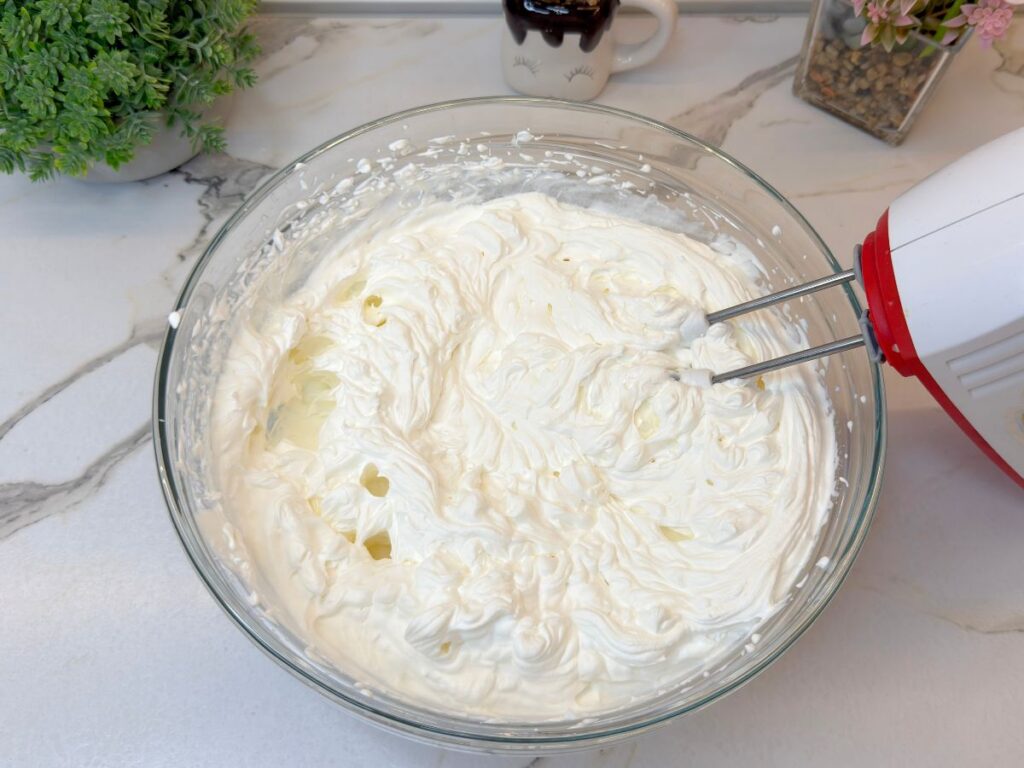
Pour the cold heavy whipping cream into a large mixing bowl. Beat it with an electric mixer until relatively firm peaks form.
Be careful not to overwhip the cream. It should be thick enough to hold its shape but still look smooth and creamy. Overwhipped cream can become stiff, grainy, and difficult to combine with the remaining ingredients.
5. Prepare the Cream Cheese Mixture
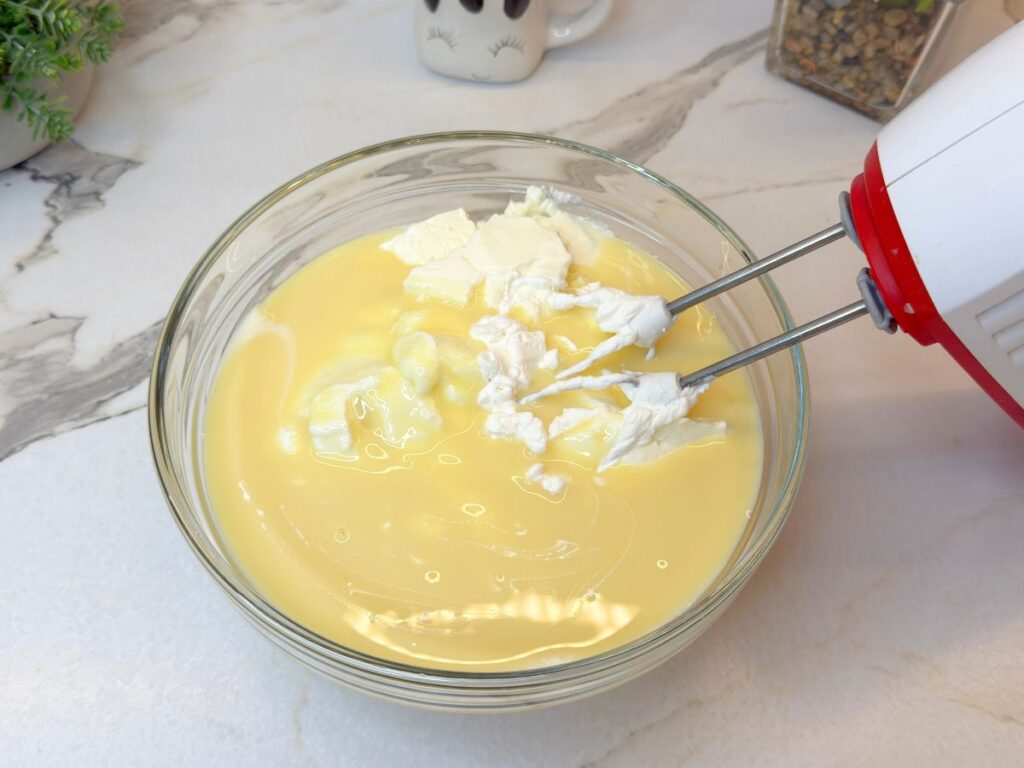
In a separate bowl, beat the softened cream cheese, sweetened condensed milk, and vanilla extract until smooth and fully combined.
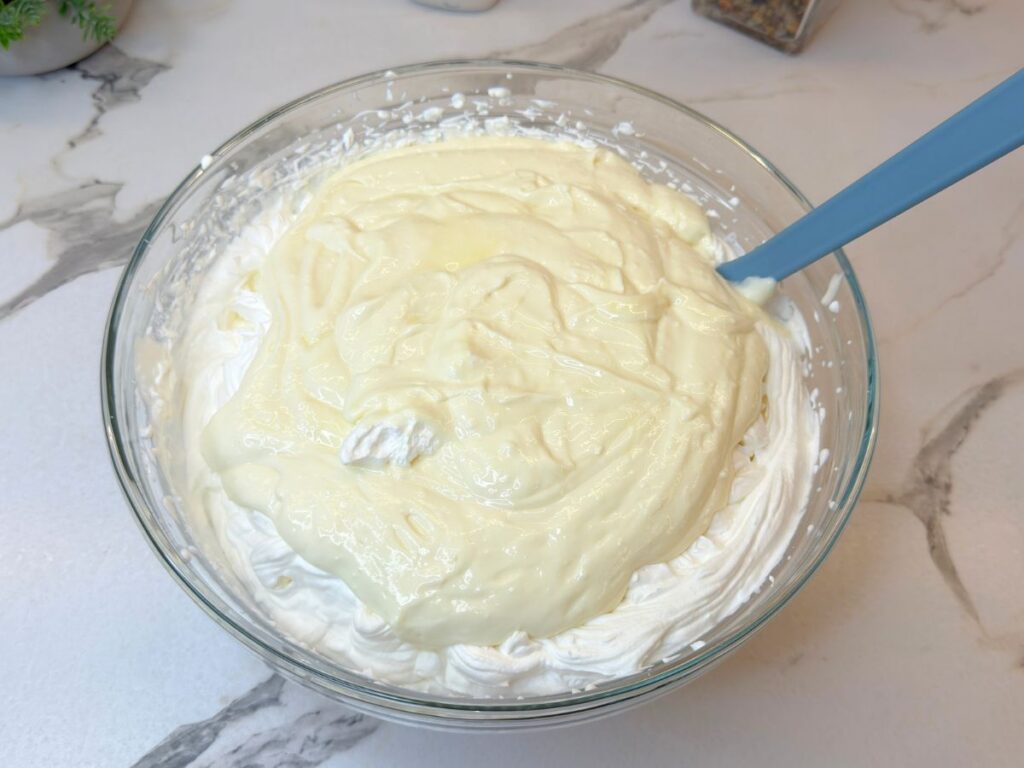
Add the cream cheese mixture to the whipped cream. Gently fold everything together with a spatula. At first, the filling may appear quite thick, but continue folding carefully until the mixture becomes evenly combined.
6. Add the Gelatin
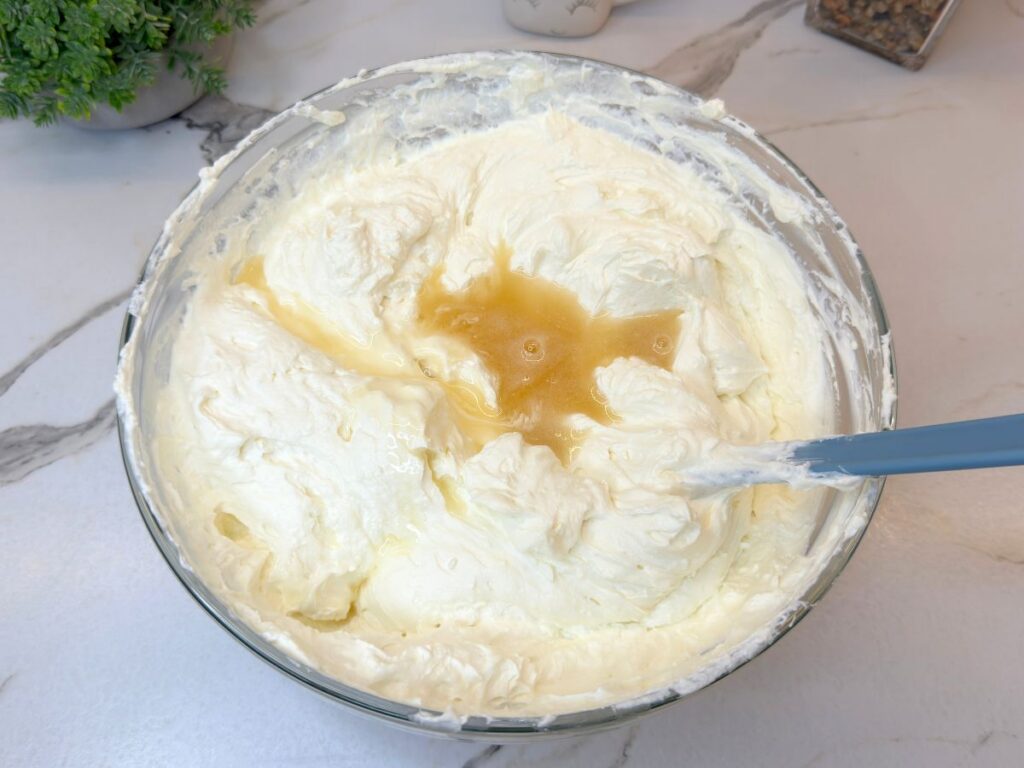
By this point, the gelatin should be fully bloomed. Microwave it for approximately 10-15 seconds, just until melted. Stir well to ensure that no undissolved pieces remain. Do not allow the gelatin to boil.
Slowly pour the melted gelatin into the cheesecake filling while gently mixing. Continue folding until it is completely incorporated and the filling looks smooth, light, and creamy.
7. Create the Two Cheesecake Flavors
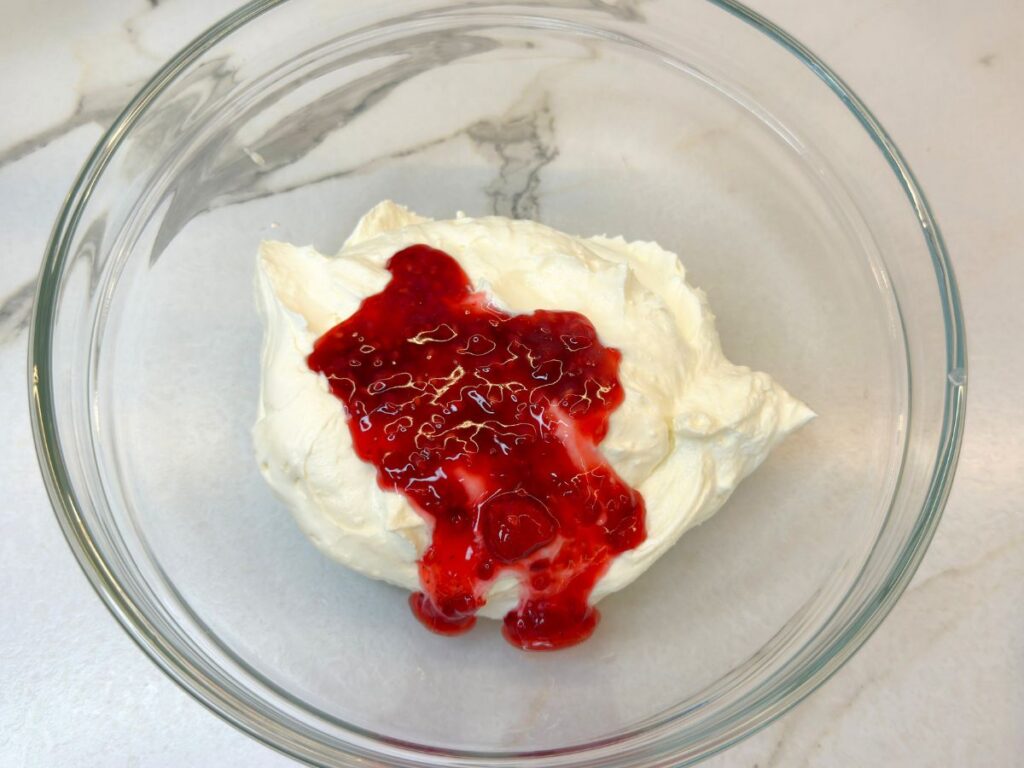
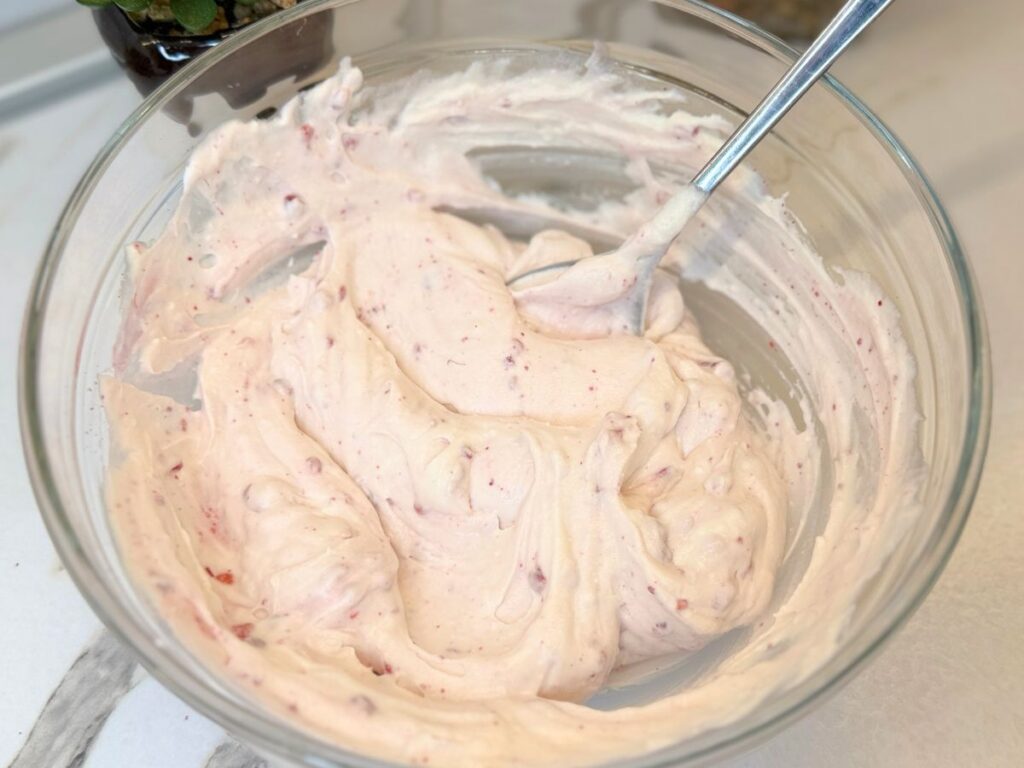
Divide the cheesecake filling evenly between two bowls. Leave one half plain. Add 1-2 tablespoons of the cooled raspberry mixture to the second half and gently fold it in until the filling has an even pink color.
Do not add too much raspberry sauce, as excess liquid could make the cheesecake filling too soft.
8. Assemble the Mini Cheesecakes
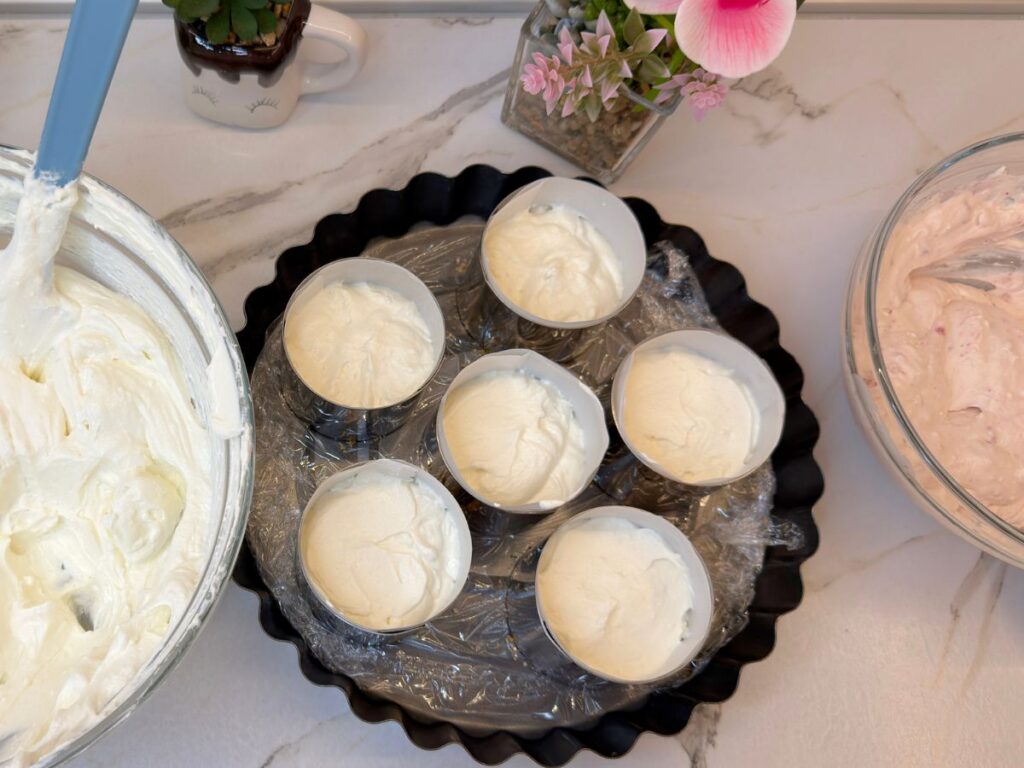
Remove the prepared molds from the refrigerator. Spoon the plain cheesecake filling over each crust, filling the molds approximately halfway.
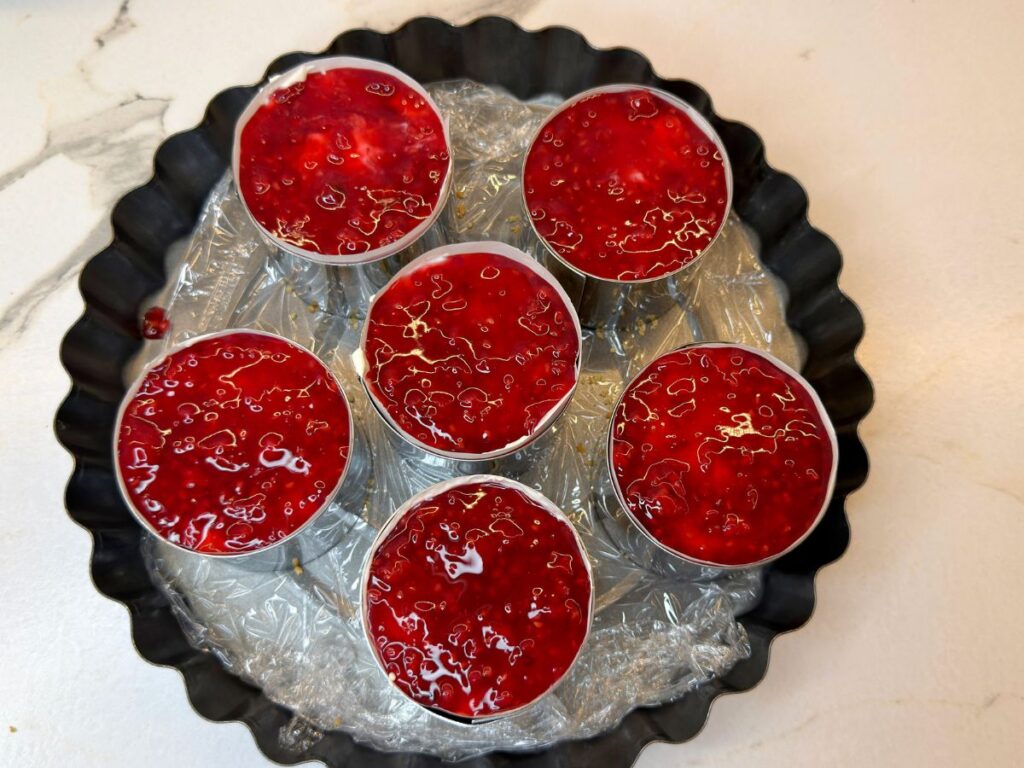
Add the berry-flavored cheesecake filling over the plain layer, then gently smooth the surface. Spoon a thin layer of the remaining raspberry topping over each cheesecake and spread it evenly.
9. Chill Until Firm
Place the assembled no-bake mini cheesecakes in the refrigerator for at least 4 hours, or until completely set. For the best texture and easiest removal from the molds, refrigerate them overnight.
Once firm, carefully remove the cheesecakes from their molds using the parchment strips. If you prepared them in muffin liners, gently peel the paper away from the sides.
10. Decorate and Serve
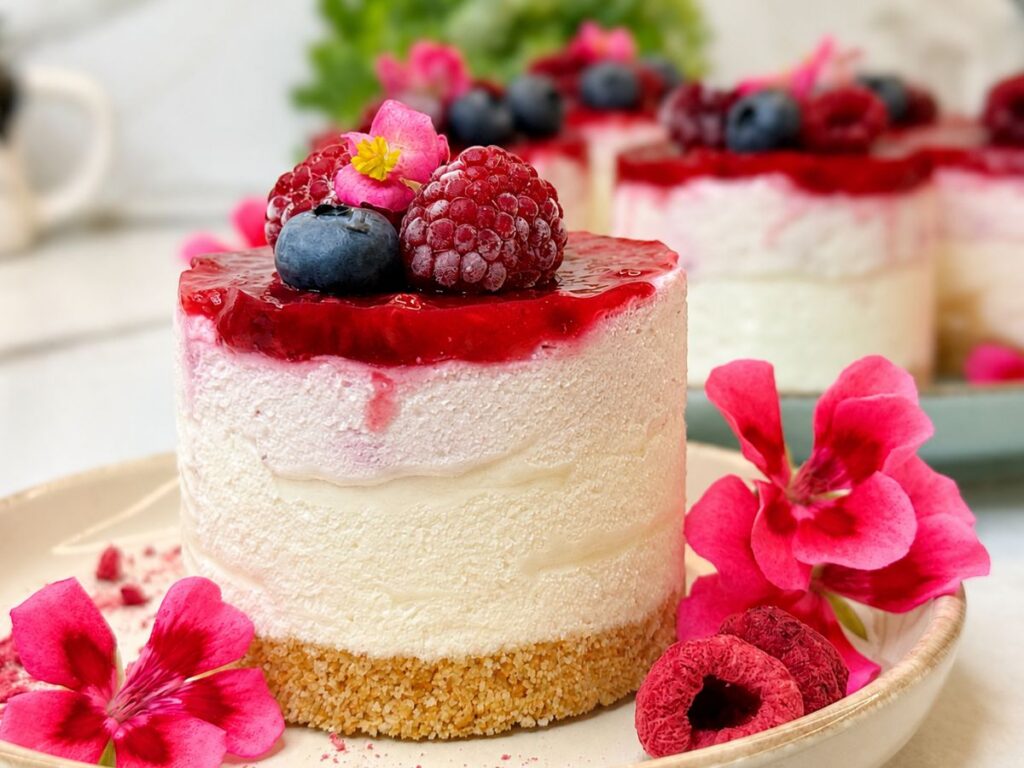
Decorate the chilled cheesecakes with fresh berries or any garnish you prefer. I used raspberries and blueberries to complement the mixed berry topping and give each dessert a bright, summery appearance.
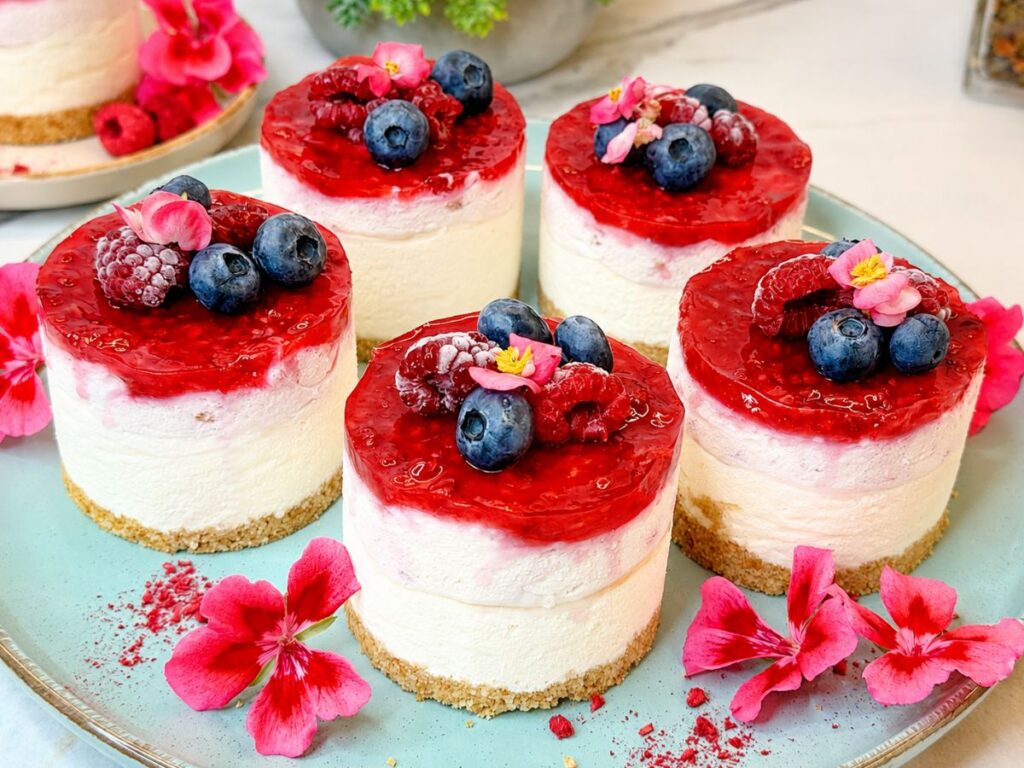
Serve these no-bake mini cheesecakes well chilled and enjoy the irresistible combination of a buttery graham cracker crust, velvety cheesecake filling, and sweet seasonal berries. They are a beautiful and refreshing summer dessert-no oven required!
How to Store and Freeze
Storing in the Refrigerator
Store the no-bake mini cheesecakes in an airtight container in the refrigerator for up to 3 days. Keep them chilled until serving, as the cream cheese filling will soften if left at room temperature for too long. For the freshest appearance, add the fresh berry garnish shortly before serving.
Freezing
These mini cheesecakes can be frozen without the fresh berry garnish. Place the fully set cheesecakes on a baking sheet and freeze until firm, then transfer them to an airtight freezer-safe container. Separate the layers with parchment paper and freeze for up to 1 month.
Thaw the cheesecakes overnight in the refrigerator. Do not thaw them at room temperature, as this may affect their texture and cause the berry topping to release excess moisture. Decorate with fresh raspberries and blueberries just before serving.
Frequently Asked Questions (FAQ)
Can I make no-bake mini cheesecakes without special molds?
Yes. If you do not have mini dessert molds, line a standard muffin pan with paper liners and assemble the cheesecakes directly inside them. Once fully chilled, carefully peel away the liners before serving.
How long do these mini cheesecakes need to chill?
They need to chill for at least 4 hours. However, refrigerating them overnight gives the filling the best texture and makes the cheesecakes easier to remove from the molds.
Why didn’t my cheesecake filling set properly?
The gelatin may not have been fully dissolved, the filling may have been mixed with warm berry sauce, or the cheesecakes may not have chilled long enough. Measure the gelatin carefully, melt it without boiling, and allow the berry mixture to cool completely before using it.
Can I use frozen raspberries?
Yes. You can use fresh or frozen raspberries. Frozen raspberries do not need to be thawed first, but they may release more liquid and require a little extra cooking time for the topping to thicken.
Can I use a different fruit for the topping?
Absolutely. Strawberries, raspberries, blueberries, cherries, peaches, or mangoes are all delicious options. Adjust the amount of sugar according to the natural sweetness of the fruit.
Can I make these no-bake mini cheesecakes ahead of time?
Yes. They are an excellent make-ahead dessert. Prepare them one day before serving, refrigerate overnight, and decorate with fresh berries shortly before serving.
How do I remove the cheesecakes cleanly from the molds?
Make sure the cheesecakes are completely firm before unmolding them. Use parchment-paper strips inside the molds as handles, then gently lift each cheesecake out. If necessary, briefly warm the outside of the mold with your hands.
How long can mini cheesecakes stay at room temperature?
For food safety and the best texture, do not leave them at room temperature for longer than 2 hours. On a particularly warm day, return them to the refrigerator after approximately 1 hour.
Can I prepare this recipe as one large cheesecake?
Yes, although this quantity is best suited to a small springform pan, approximately 6 inches (15 cm) wide. The larger cheesecake may require additional chilling time to set completely.
Nutrition per Serving
Estimated for 1 mini cheesecake, based on 6 servings.
- Calories: 535 kcal
- Carbohydrates: 36 g
- Protein: 7 g
- Fat: 42 g
- Saturated Fat: 25 g
- Sugar: 27 g
- Fiber: 1 g
- Sodium: 270 mg
Nutritional values are estimates and may vary depending on the brands and ingredients used.
Conclusion
These easy no-bake mini cheesecakes combine a buttery graham cracker crust, smooth vanilla cheesecake filling, and a sweet raspberry topping in one beautiful individual dessert. They are simple to prepare, require no oven, and can be made ahead, making them perfect for summer gatherings, birthdays, holidays, or any special occasion.
Decorate them with fresh raspberries and blueberries for an elegant finish, then serve well chilled. Every bite is creamy, fruity, and wonderfully refreshing. I hope you enjoy making and sharing these irresistible mini cheesecakes with your family and friends.
Happy baking!

Easy No-Bake Mini Cheesecakes with Mixed Berry Topping
Ingredients
Equipment
Method
- Prepare the molds: Place six mini dessert molds on a flat tray. Add narrow strips of parchment paper to make the cheesecakes easier to remove. Alternatively, line a muffin pan with paper liners.
- Bloom the gelatin: Place the powdered gelatin in a small bowl and add 2 tablespoons of cold water. Let it stand for 5-10 minutes, or until fully bloomed.
- Make the raspberry topping: Add the raspberries and sugar to a small saucepan. Cook over medium-low heat until the fruit releases its juices and begins to simmer.
- Thicken the topping: Whisk the cornstarch with 4 tablespoons of cold water until smooth. Pour it into the simmering raspberries while stirring. Cook over low heat until thickened, then remove from the heat and let it cool completely.
- Prepare the crust: Combine the graham cracker crumbs and melted butter. Divide the mixture evenly among the molds and gently press it into a firm, even layer. Refrigerate while preparing the filling.
- Whip the cream: Beat the cold heavy whipping cream until firm peaks form. Be careful not to overwhip it. Set aside.
- Mix the cream cheese: In a separate bowl, beat the softened cream cheese, sweetened condensed milk, and vanilla extract until smooth.
- Combine the filling: Add the cream cheese mixture to the whipped cream and gently fold with a spatula until evenly combined.
- Melt the gelatin: Microwave the bloomed gelatin for 10-15 seconds, just until completely melted. Do not allow it to boil. Gradually add it to the cheesecake filling while gently mixing until smooth.
- Make the berry filling: Divide the cheesecake filling into two equal portions. Leave one portion plain and fold 1-2 tablespoons of the cooled berry topping into the other portion.
- Assemble the cheesecakes: Spoon the plain filling over the prepared crusts, filling each mold halfway. Add the raspberry cheesecake filling and smooth the tops.
- Add the topping: Spoon a thin, even layer of the remaining raspberry topping over each mini cheesecake.
- Chill: Refrigerate for at least 4 hours or, preferably, overnight, until completely firm.
- Decorate and serve: Carefully remove the cheesecakes from the molds. Decorate with fresh raspberries, blueberries, or other berries and serve chilled.
Notes
- Use full-fat cream cheese at room temperature for the smoothest filling.
- Do not overwhip the heavy cream; it should be firm but still smooth and creamy.
- Allow the berry topping to cool completely before adding it to the cheesecake filling.
- Do not boil the gelatin. Heat it only until completely melted.
- Chill the mini cheesecakes for at least 4 hours, but overnight chilling provides the best texture.
- Store them covered in the refrigerator for up to 3 days.
- Nutritional information is an estimate and may vary depending on the ingredients used.