
📖 Table of Content:
If you’ve ever had a fresh pretzel at a bakery or street food stand, you know that nothing beats that chewy texture and golden crust. The good news? You can make the same thing at home – and this homemade pretzel recipe is easier than you think. With just a handful of simple ingredients and one classic technique, you’ll have warm, soft pretzels straight from your own oven.
Pretzels have been around for centuries, originally baked by monks in Europe as a simple bread snack. Today, they’re loved all over the world – from German beer halls to American ballparks – and for good reason.
What makes a great homemade pretzel? It all comes down to two things: a good dough and a baking soda bath. That quick dip in boiling water before baking is the secret behind the pretzel’s signature crust and color. This homemade pretzel recipe is perfect for beginners and experienced bakers alike – whether you’re making them for a snack, a party, or just a cozy weekend baking session.

One of the best things about making pretzels from scratch is how versatile the dough really is. Once you get comfortable with this homemade pretzel recipe, you’ll find yourself reaching for it again and again. If you love baking bread at home, you might also want to try these Easy Homemade Baguettes – another simple recipe with a beautiful crust. Or if you’re in the mood for something a little different, these Pretzel Buns use the same pretzel technique and are perfect for burgers or sandwiches.
The ingredients for this recipe are simple and easy to find – flour, yeast, water, salt, and baking soda for the bath. No special equipment needed, just a pot, a baking sheet, and a little patience while the dough rises. According to King Arthur Baking, the baking soda bath is what gives pretzels their chewy texture and deep color – and we couldn’t agree more.
MY LATEST VIDEOS
Quick Recipe Info
- Prep Time: 10 minutes
- Rise Time: 1 hour
- Cook Time: 30 minutes
- Total Time: 1 hour 40 minutes
- Servings: 8 pretzels
WHAT YOU’LL NEED FOR THIS RECIPE
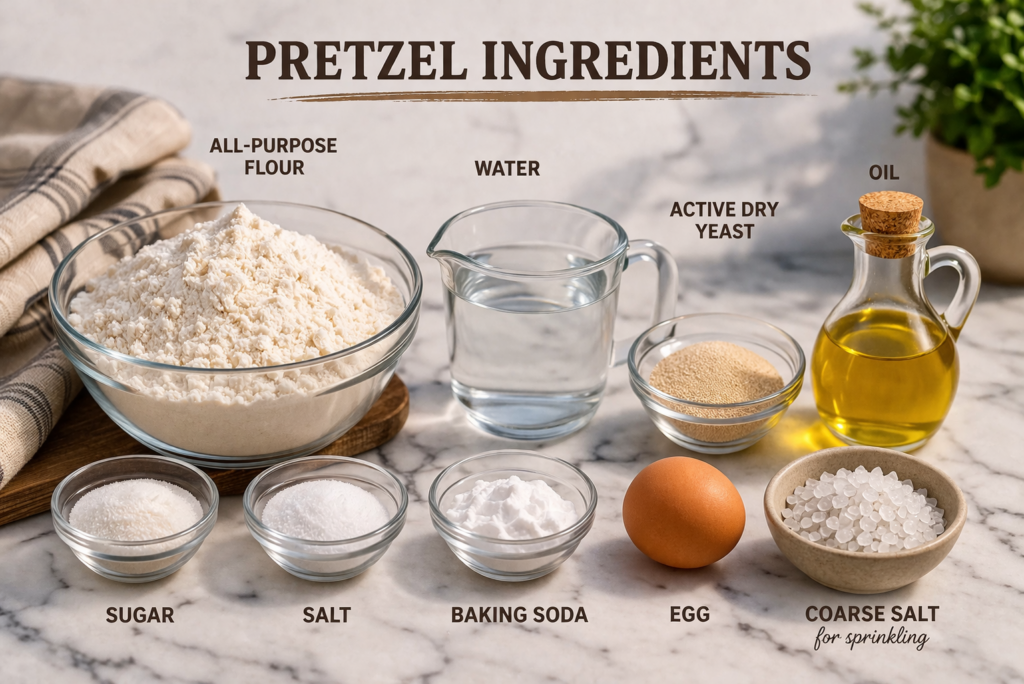
The ingredients for this homemade pretzel recipe are simple pantry staples, but a few of them really make a difference in the final result.
Yeast is the heart of the dough – make sure it’s fresh and active before you start. The easiest way to check is to proof it in warm water first and wait for it to get foamy. If nothing happens after a few minutes, your yeast is old and your pretzels won’t rise the way they should.
Flour gives the dough its structure, and a good knead is what develops that satisfying chew. Don’t rush this step – 10 minutes of kneading makes a noticeable difference in the texture of your finished pretzels.
Baking soda is the other star of the show. That quick boil in a baking soda bath before baking is what separates a real pretzel from just shaped bread. It gives these pretzels their chewy bite, deep golden color, and that distinctive pretzel flavor that’s hard to describe but impossible to forget.
Oil keeps the dough soft and easy to work with, while the egg wash brushed on just before baking helps the pretzels get that beautiful shiny, golden brown crust in the oven.
Finally, coarse salt on top is a small detail that makes a big difference – it adds that satisfying crunch and that signature pretzel look with every bite. Don’t swap it for fine salt, coarse is the way to go here.
Why You Will Love This Recipe
This homemade pretzel recipe is one of those recipes you’ll come back to over and over again. The process is simple, the ingredients are affordable, and the results are genuinely impressive every single time. Here is why this recipe deserves a spot in your regular baking rotation.
First, it is surprisingly easy. You don’t need any special equipment or advanced baking skills – just a bowl, a pot, and an oven. If you can make basic bread dough, you can absolutely make these pretzels.
Second, the texture is everything. That baking soda bath gives you a chewy, soft interior with a golden crust that you just can’t get from store-bought pretzels. Once you try a fresh homemade pretzel straight from the oven, there is no going back.
Third, they are incredibly versatile. Enjoy them as a snack with mustard or a cheese dip, serve them at a party, or pack them in a lunchbox. They work for pretty much any occasion and everyone loves them.
And finally, this recipe makes eight pretzels in under two hours, which means you can have a fresh batch ready without spending your whole day in the kitchen. That is the kind of baking win we are always looking for.
Ingredients
1 1/2 cups warm water (360 ml)
1 tablespoon salt (15 g)
1 tablespoon sugar (12-15 g)
1 tablespoon dry yeast (10 g)
4 1/2 cups all-purpose flour (540 g)
3 tablespoons oil (45 ml)
1/4 cup baking soda for the boiling water bath (90 g)
1 egg for egg wash
Coarse salt or seeds for topping
How to Make Homemade Pretzel Recipe
1. Prepare the Dough
Start by adding the warm water to a large bowl, then sprinkle in the sugar and dry yeast. Give it a good stir until everything is dissolved and the water looks slightly cloudy.
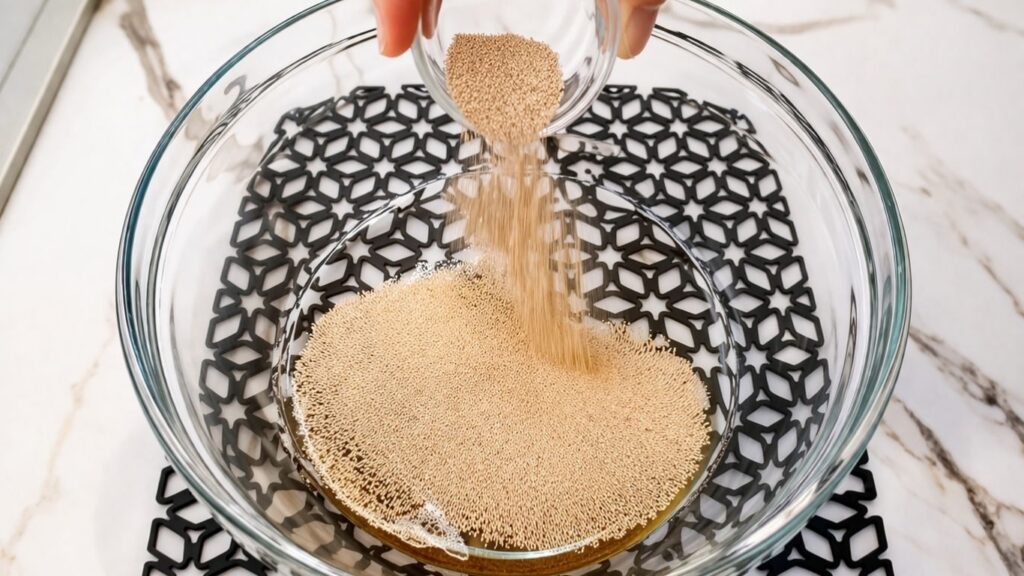
Now comes the waiting part – set the bowl aside for about 10 minutes and let the yeast do its thing. This step is called proofing, and it’s important. After a few minutes you should start to see the mixture getting foamy and bubbly on the surface.
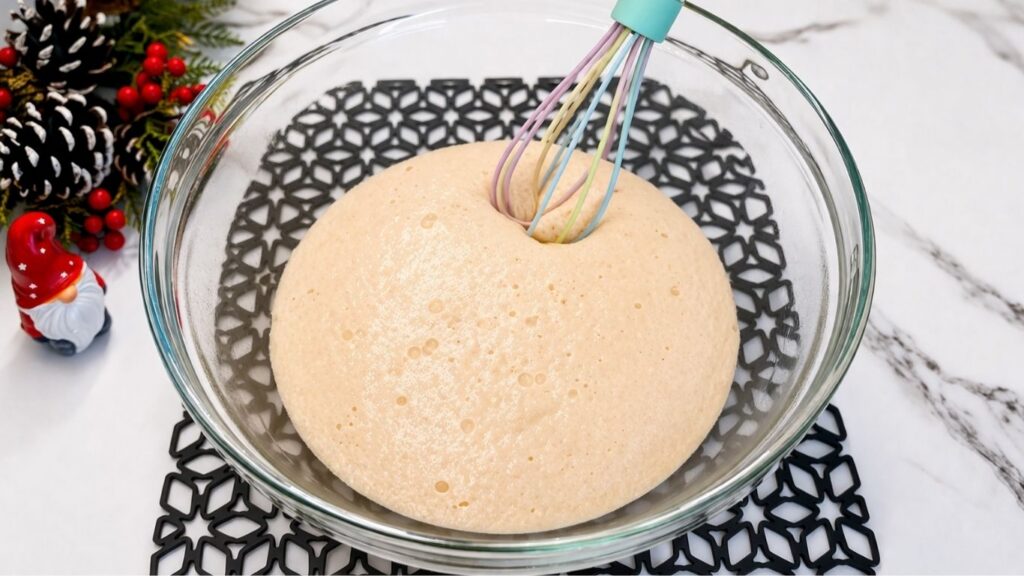
That foam is a sign that your yeast is alive, active, and ready to make your pretzels rise beautifully. If nothing happens after 10 minutes, your yeast may be old or the water was too hot – and it’s better to start fresh than to continue with a dough that won’t rise.
2. Mixing and kneading the dough
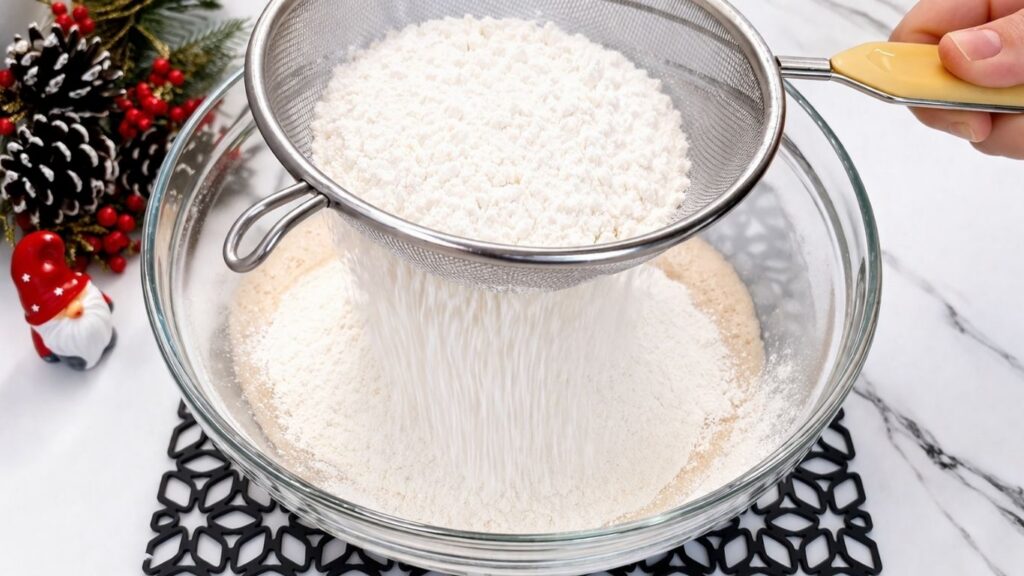
Once your yeast is foamy and ready, it’s time to bring the dough together. Sift the flour directly into the bowl with the yeast mixture, making sure there are no lumps. Sifting might seem like a small step, but it makes the dough lighter and easier to work with from the start.
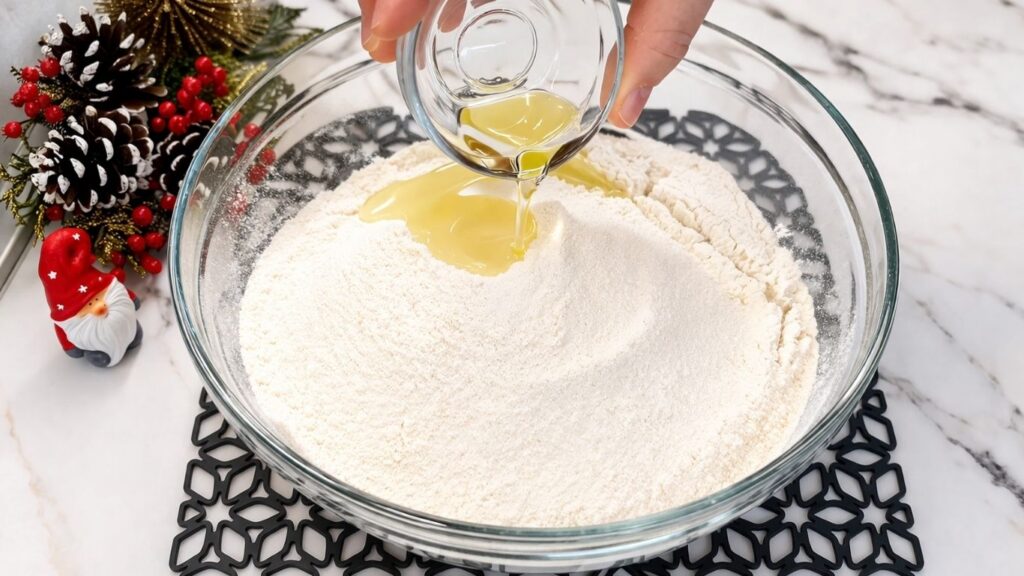
Next, add the salt and pour in the oil. These two ingredients play an important role in this homemade pretzel recipe – the salt adds flavor straight into the dough, while the oil keeps everything soft and pliable as you work with it.
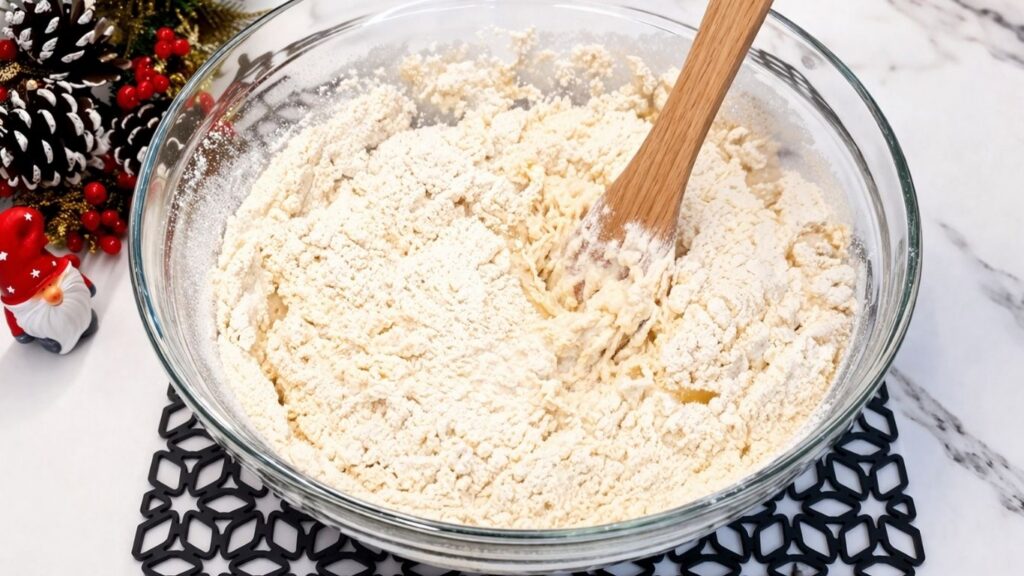
Start mixing everything together with a wooden spoon until the dough begins to come together. It will look a little rough and shaggy at first, and that’s completely normal.
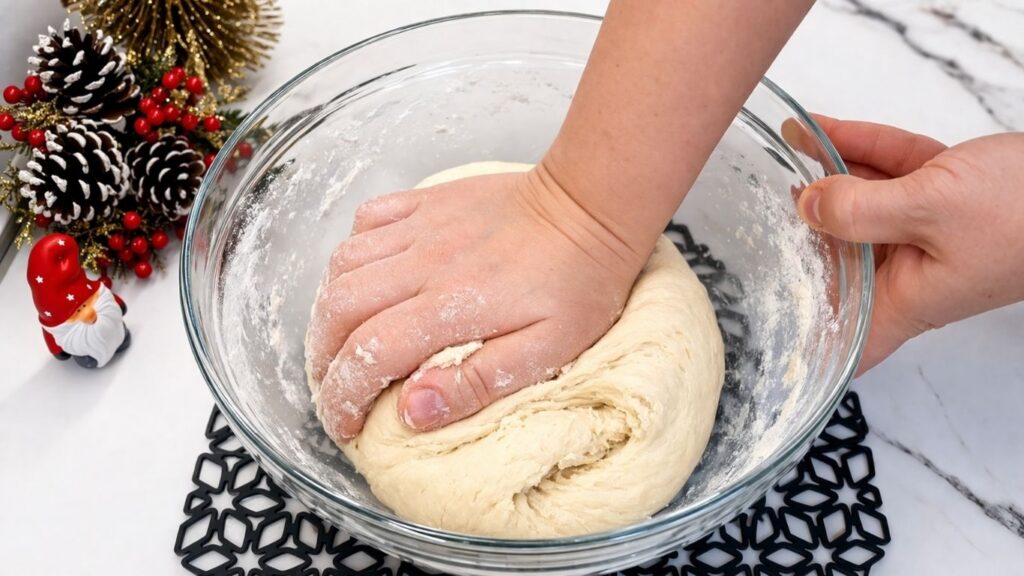
Once it gets too thick for the spoon, it’s time to get your hands in there. Switch to hand mixing and start bringing the dough into a ball right in the bowl.
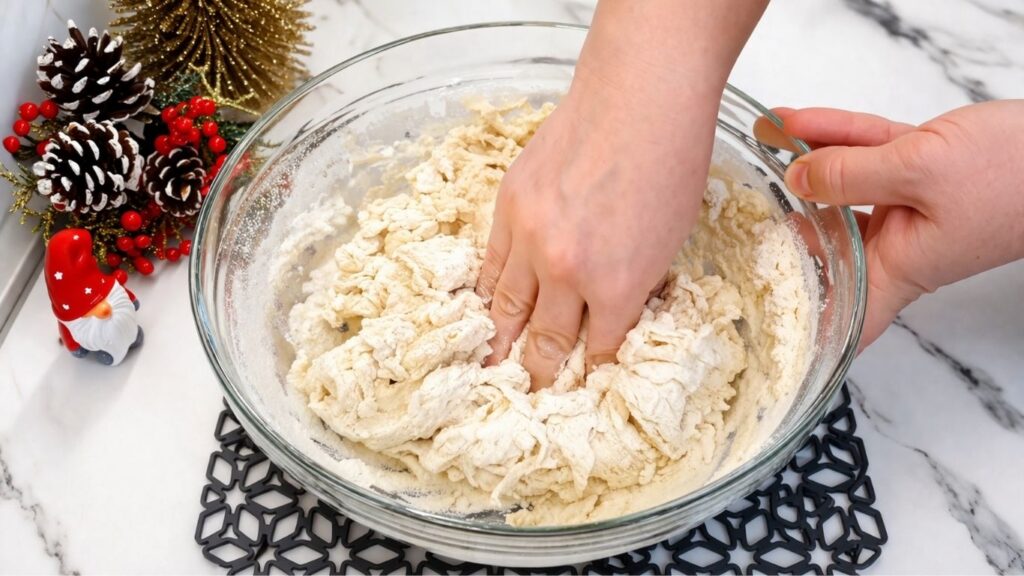
As the dough starts to come together, you’ll notice it becoming smoother and more elastic with every fold and push.
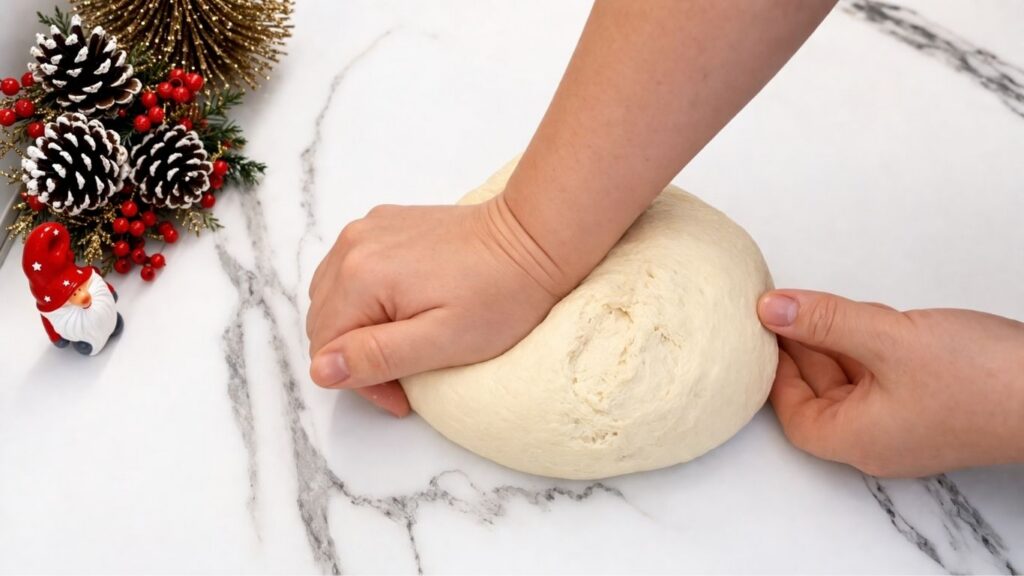
Transfer the dough onto a lightly floured work surface and knead it for about 10 minutes. This is one of the most important steps in any homemade pretzel recipe – proper kneading develops the gluten, which is what gives your pretzels that satisfying chewy texture. Push the dough away from you with the heel of your hand, fold it back, turn it, and repeat. After 10 minutes the dough should feel smooth, soft, and slightly springy to the touch.
Once the dough is ready, lightly grease a clean bowl with a little oil and place the dough inside. Turn it once so all sides are coated, then cover the bowl tightly with plastic wrap.
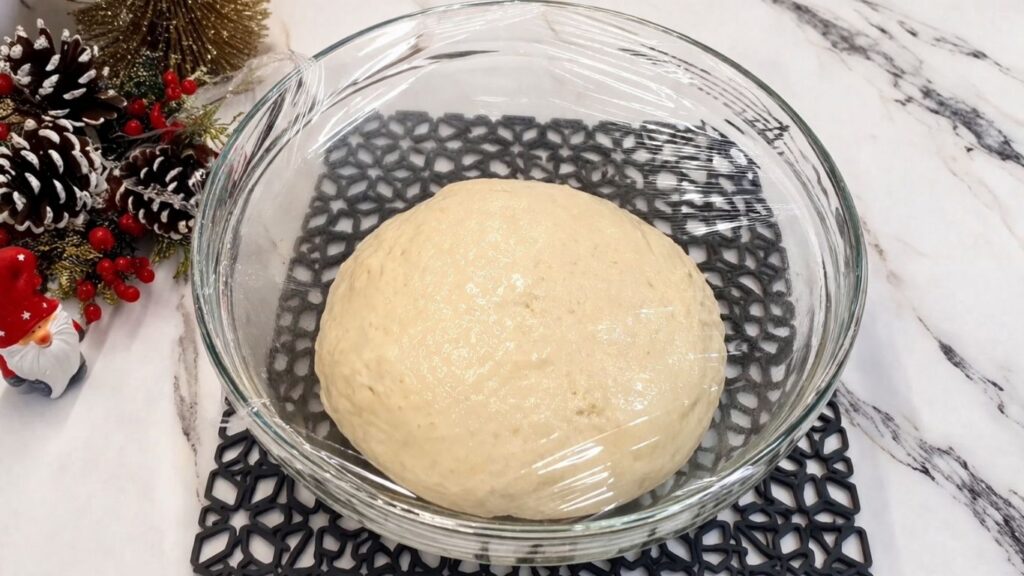
Set the bowl aside in a warm spot and let the dough rest for 1 hour. During this time the yeast will work its magic and the dough will double in size. This resting step is essential for a good homemade pretzel recipe – don’t rush it, because a well-risen dough means softer, chewier pretzels in the end.
3. Shaping the Pretzel
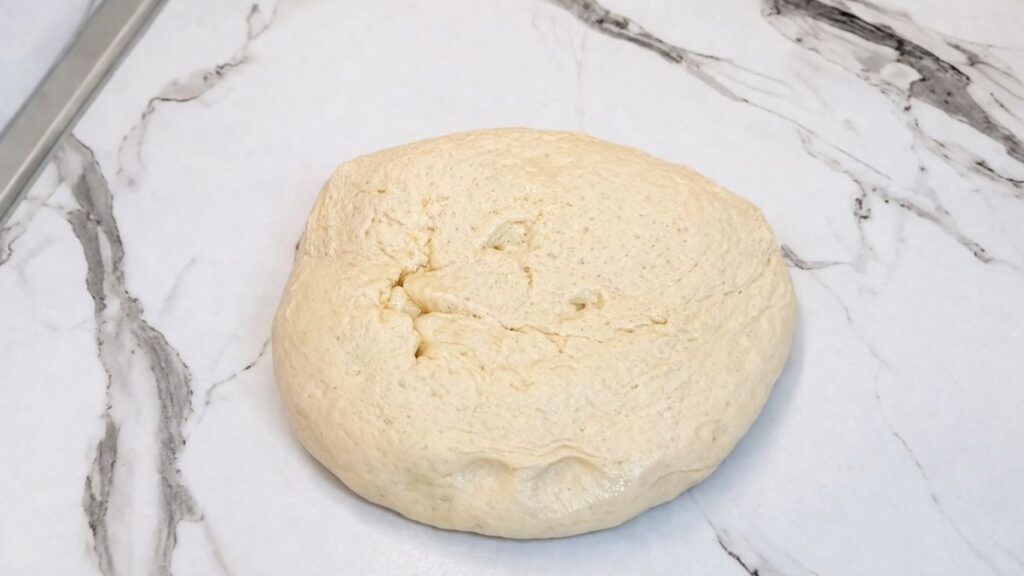
After an hour of resting, your dough should have doubled in size and feel soft and airy. This is exactly what you want to see before moving on to the next step of this homemade pretzel recipe.
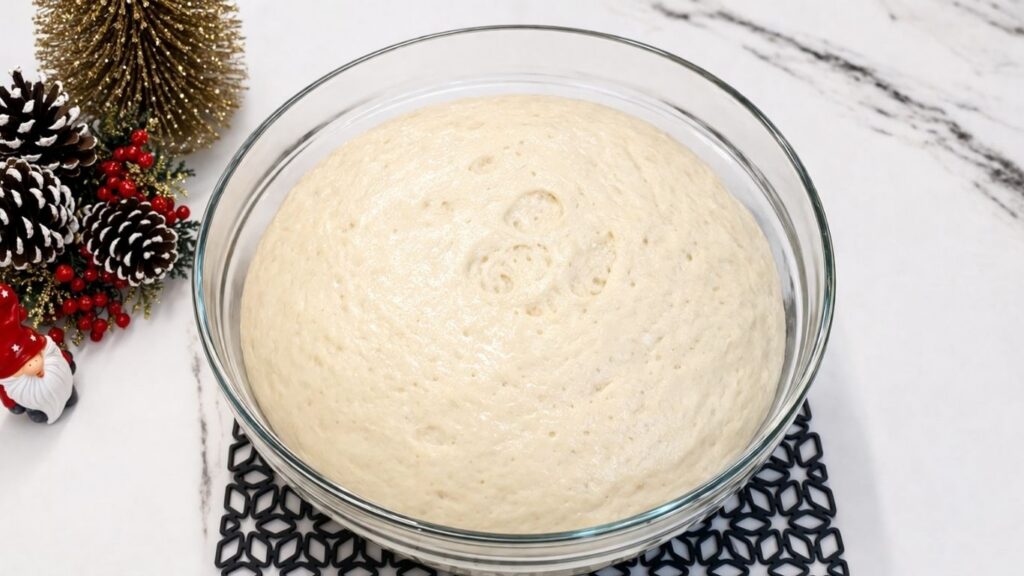
Transfer the dough onto a clean work surface and gently press it down to release the air.
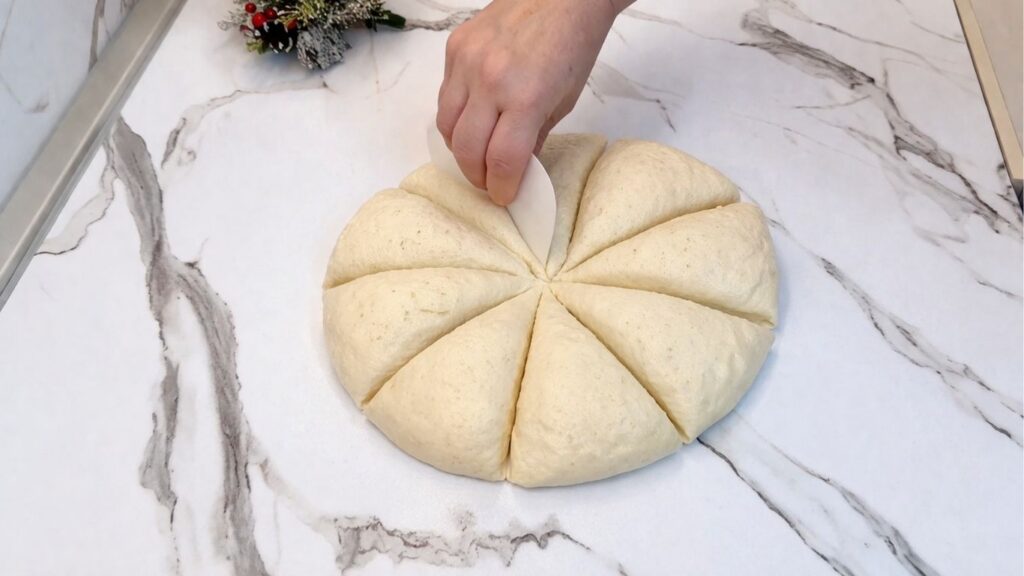
Divide the dough into 8 equal pieces. Try to keep them as even as possible so all your pretzels bake at the same rate and come out uniform in size.
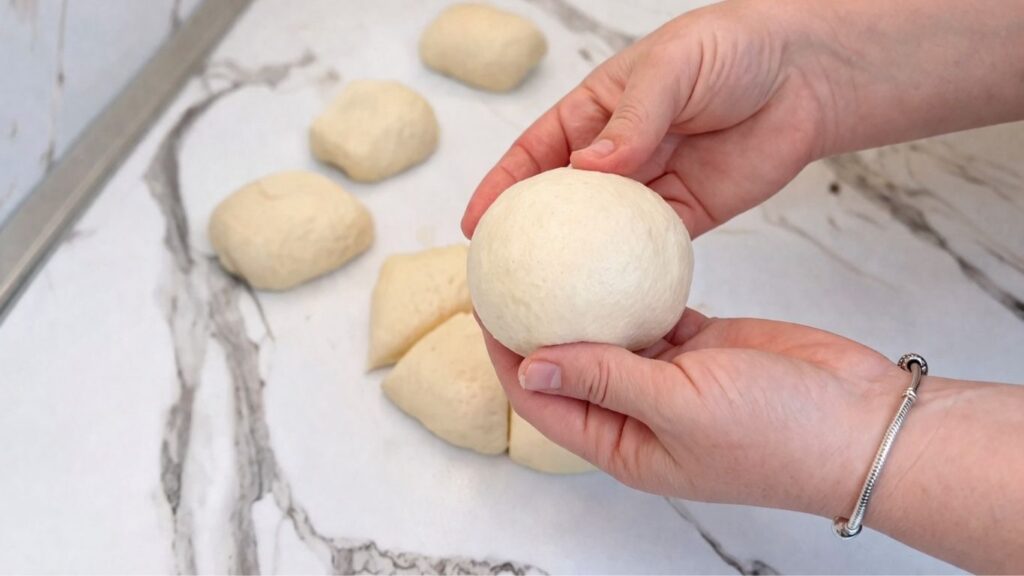
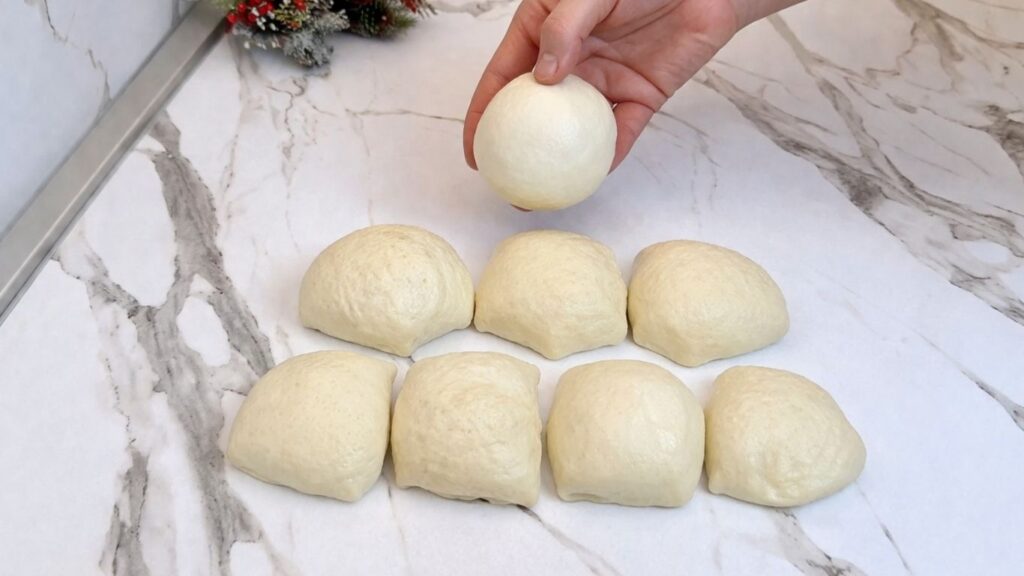
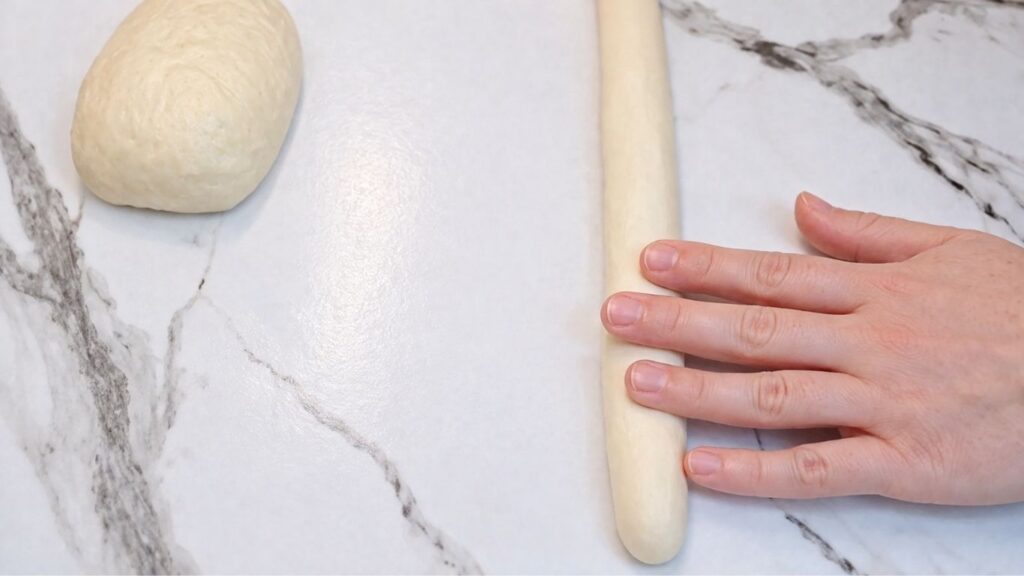
Take each piece and roll it into a smooth, tight ball. This step helps create an even surface and makes it much easier to shape the pretzels later on.
Now comes the fun part – shaping! Take one ball at a time and start rolling it out with your hands, working from the center outward, until you get a long rope about 50-60 cm in length. The key is to be gentle and patient, letting the dough stretch naturally without tearing.
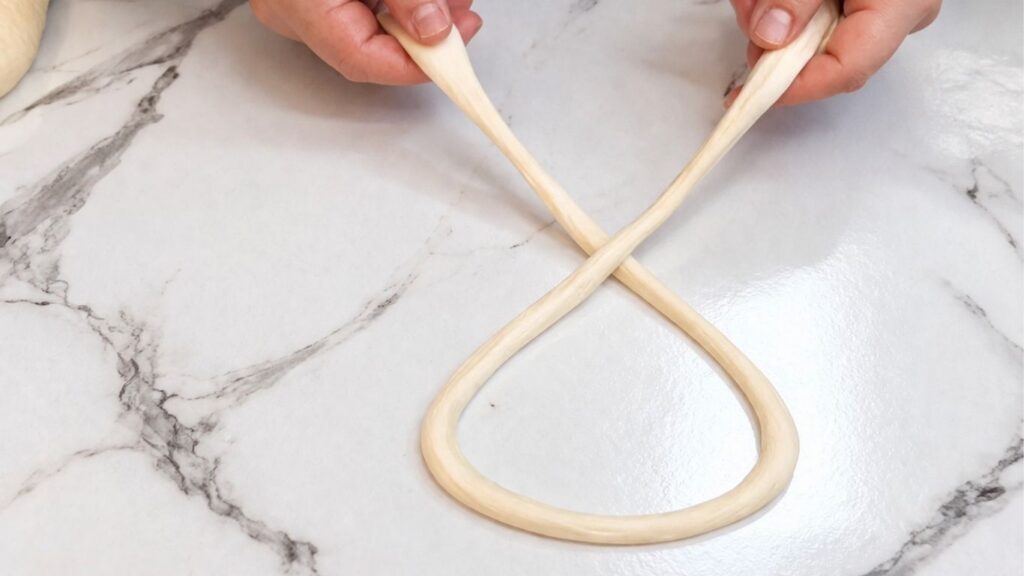
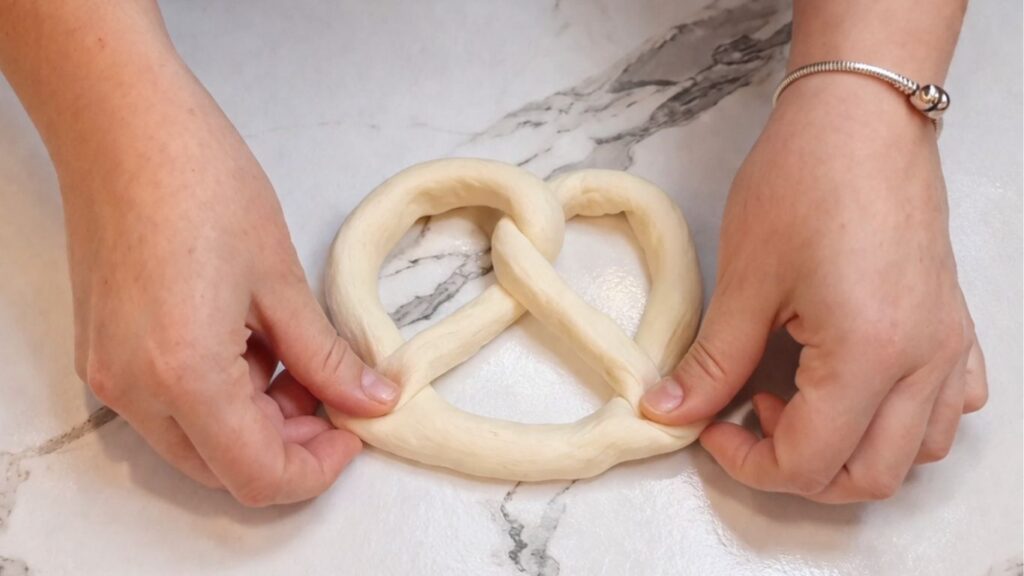
Once you have your rope, bring both ends up and cross them over each other, then fold them down and press them onto the bottom of the loop to create that classic pretzel shape. It might take a try or two to get it right, but you’ll get the hang of it quickly. Repeat the process with the remaining balls until all 8 homemade pretzels are shaped and ready to go.
4. Boiling the Pretzels in Baking Soda Water
This is the step that truly transforms your dough into a real homemade pretzel. Don’t skip it – the baking soda bath is what gives these pretzels their signature chewy texture, deep golden color, and that distinctive pretzel flavor that you just can’t get any other way.
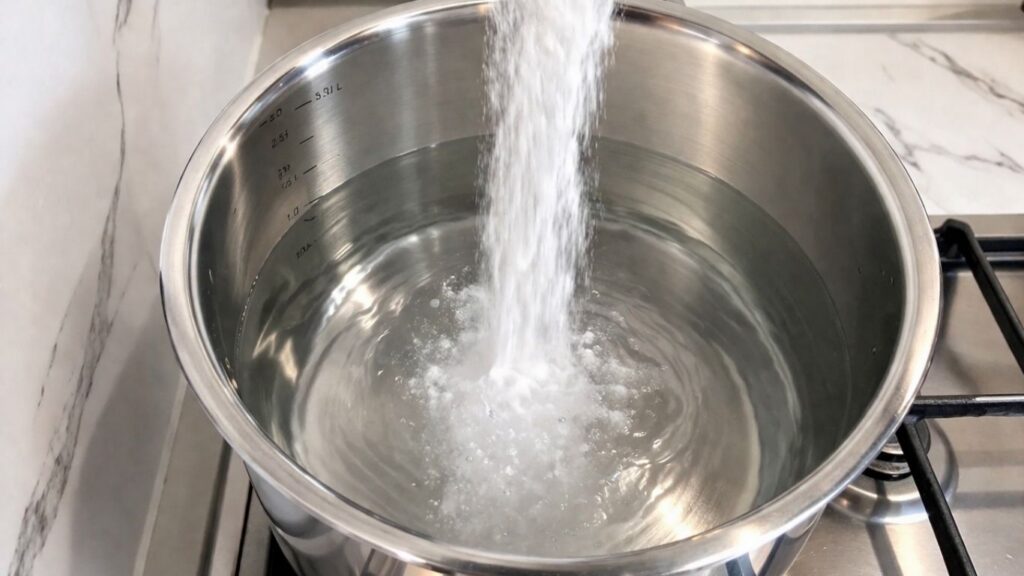
Fill a large pot with 2 liters of water and add the baking soda. Give it a quick stir and bring the water to a full boil over medium-high heat.
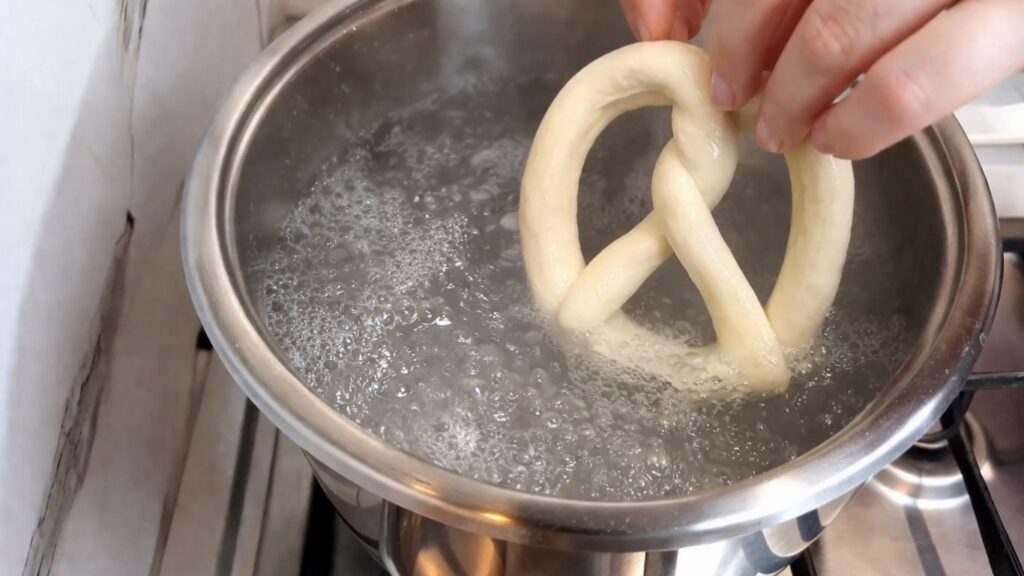
Once the water is boiling, carefully lower one pretzel at a time into the pot. Let it boil for about 2 minutes, flipping it halfway through so both sides get an even bath. You’ll notice the pretzel puffing up slightly in the water – that’s a great sign and exactly what you want to see.
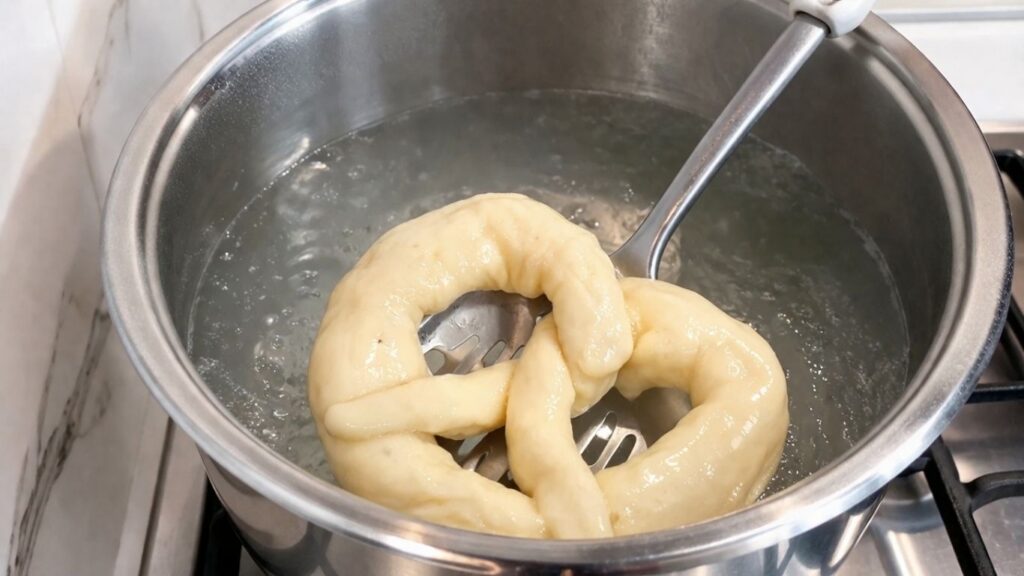
Use a slotted spoon to carefully lift the pretzel out of the water, letting any excess water drip off before transferring it to a baking sheet lined with parchment paper. Repeat the process with all 8 pretzels. Working through this homemade pretzel one pretzel at a time ensures every single one gets properly boiled and comes out perfectly golden in the oven.
5. Before Baking
Once all your pretzels have been through the baking soda bath, arrange them on a baking sheet lined with parchment paper, leaving a little space between each one so they have room to expand in the oven. At this point your homemade pretzels are already looking great and you’re just a few steps away from the finished result.

In a small bowl, beat one egg and brush it generously over each pretzel. The egg wash is what gives this homemade pretzel recipe that beautiful shiny, golden brown finish that makes them look just as good as they taste. Don’t skip this step – it makes a real visual difference.
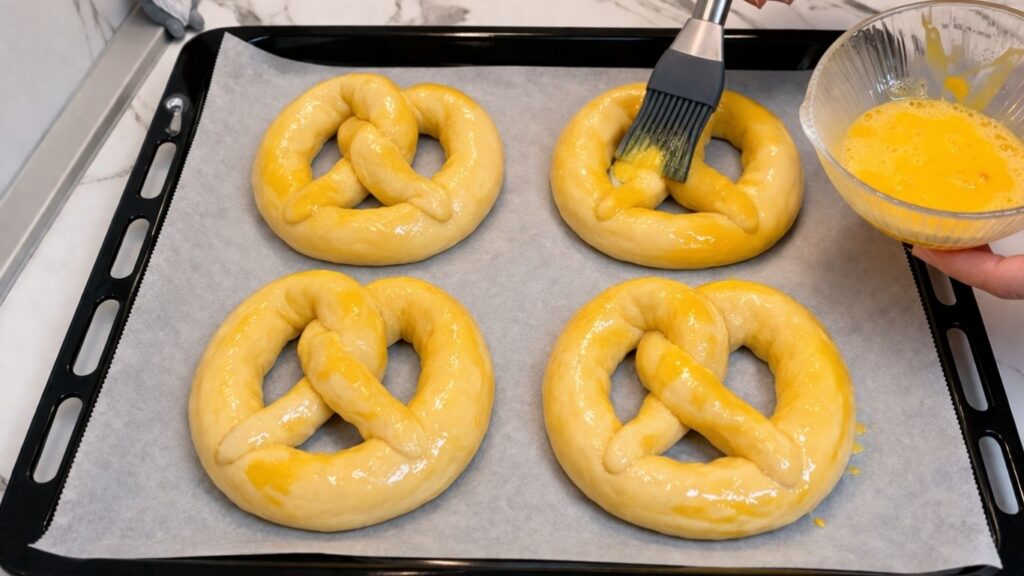
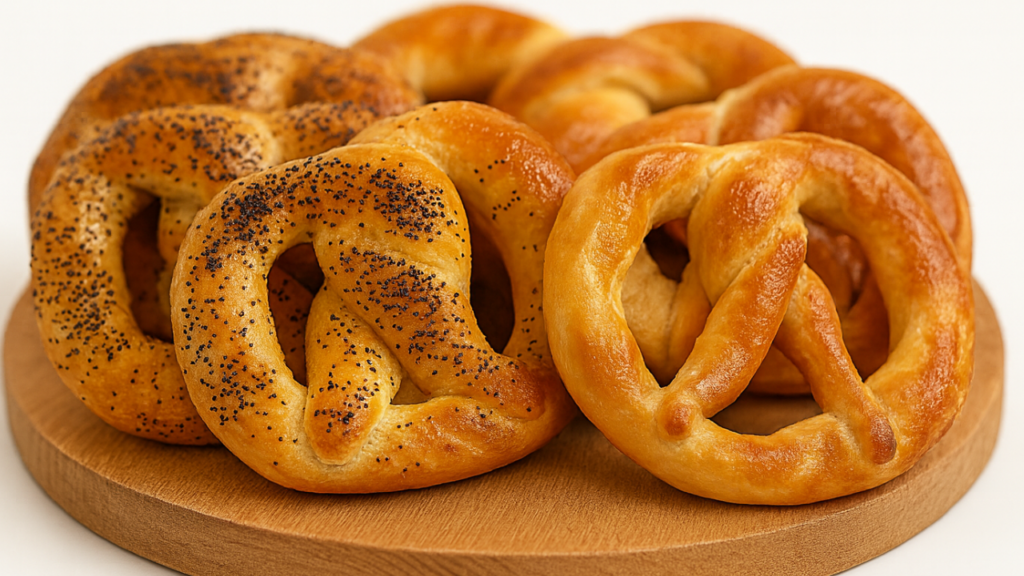
Finally, sprinkle each pretzel with coarse salt or seeds of your choice. Whether you go classic with just coarse salt, or mix it up with sesame or poppy seeds, this last touch adds both flavor and that signature look that makes a homemade pretzel recipe truly complete.
6. Baking the Pretzels
Now it’s time to bake! Place your baking sheet in a preheated oven at 450°F (230°C) and bake your homemade pretzels for about 30 minutes, or until they are deep golden brown and smell absolutely incredible. Every oven is a little different, so keep an eye on them towards the end and take them out as soon as they reach that perfect color.
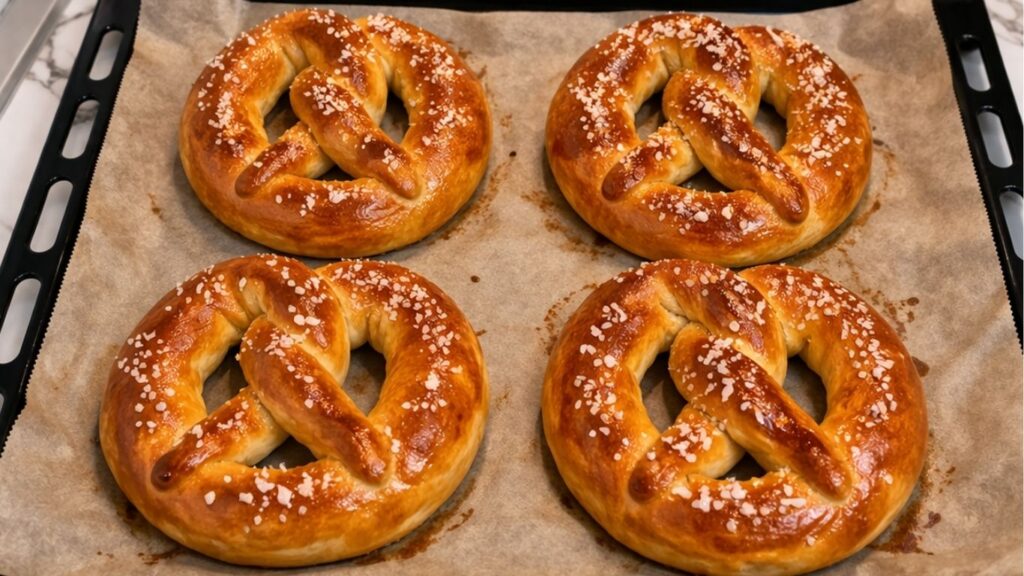
And that’s it – your homemade pretzel recipe is complete! Take a moment to appreciate what just came out of your oven. These warm, soft, golden homemade pretzels are the real deal, made entirely from scratch in your own kitchen. Serve them straight from the oven and enjoy every single bite of that chewy, salty homemade pretzel goodness. We hope you love this homemade pretzel recipe as much as we do!

6. Storage and Freezing
Once your homemade pretzels have cooled completely, store them in an airtight container at room temperature. They will stay fresh for up to 3 days. Make sure they are fully cooled before sealing the container – storing them while still warm can create moisture inside and make them soggy.
If you want to keep your homemade pretzel recipe results fresh for longer, freezing is the best option. Before freezing, skip the coarse salt topping – add it later when you reheat them. Wrap each pretzel individually in plastic wrap, place them in a freezer-safe bag, and freeze for up to 3 months.
When you’re ready to enjoy them, there’s no need to thaw. Simply brush the frozen pretzels with a little water, sprinkle with coarse salt, and bake at 350°F (177°C) for about 20 minutes or until warmed through. They will taste almost as good as freshly baked.
You can also freeze the dough itself. After the dough has risen, wrap it tightly in plastic wrap and store it in a freezer-safe bag for up to 3 months. When you’re ready to bake, thaw the dough overnight in the refrigerator, then continue with the shaping and baking steps as usual.
Frequently Asked Questions
Can I make the dough ahead of time?
Yes! After the dough has gone through its first rise, you can cover it and refrigerate it overnight. The next day, take it out, let it come to room temperature for about 30 minutes, then continue with shaping and baking as usual. This is actually a great way to save time if you’re planning to serve your homemade pretzels the next day.
Can I use active dry yeast instead of instant yeast?
Absolutely. You can substitute one for the other in equal amounts. Just keep in mind that active dry yeast takes a little longer to activate – expect the dough to rise about 15 to 20 minutes slower than with instant yeast.
Why are my pretzels not golden brown?
The most common reason is the baking soda bath. Make sure your water is at a full boil before adding the pretzels, and don’t skip the 2-minute boil. If they still come out pale, give them a few extra minutes in the oven. The egg wash also plays a big role in getting that deep golden color.
Can I make pretzel bites or pretzel sticks with this dough?
Yes! This homemade pretzel recipe dough works perfectly for both. When you get to the shaping step, simply roll the dough into ropes and cut them into smaller pieces instead of forming the classic pretzel shape. Follow the same baking soda bath and baking steps and you’ll have delicious pretzel bites or sticks in no time.
What type of salt should I use on top?
Coarse salt is always the best choice for this homemade pretzel recipe. It doesn’t melt during baking the way fine table salt does, which means you get that satisfying crunch and classic pretzel look. Kosher salt or sea salt flakes work great as well. Avoid fine table salt – it will dissolve and make the pretzels too salty.
Can I use whole wheat flour instead of all-purpose flour?
You can, but keep in mind that whole wheat flour will produce a denser, heavier pretzel. If you’d like to try it, a 50/50 mix of whole wheat and all-purpose flour is a better option than a full substitution, and you may need to knead the dough a little longer than usual.
Watch the Full Homemade Pretzel Video
Nutrition Per Pretzel
- Calories: 285 kcal
- Carbohydrates: 52 g
- Protein: 8 g
- Fat: 5 g
- Saturated Fat: 1 g
- Sodium: 890 mg
- Fiber: 2 g
- Sugar: 2 g
Please note that the nutritional values above are approximate and calculated based on the ingredients listed in this recipe. Actual values may vary depending on the specific brands and products you use.
Conclusion
We hope this homemade pretzel recipe becomes one of your favorite things to bake at home. From the simple dough to that essential baking soda bath, every step of this recipe is designed to give you soft, chewy, golden pretzels that taste like they came straight from a bakery. Once you try them fresh out of the oven, you’ll never want to go back to store-bought again.
If you enjoyed this homemade pretzel recipe, we’d love to hear from you! Leave a comment below and let us know how they turned out. And if you’re looking for more fun baking projects, make sure to check out our Pretzel Buns and Easy Homemade Baguettes – two more recipes we think you’re going to love.
Happy baking!
Leave a Reply