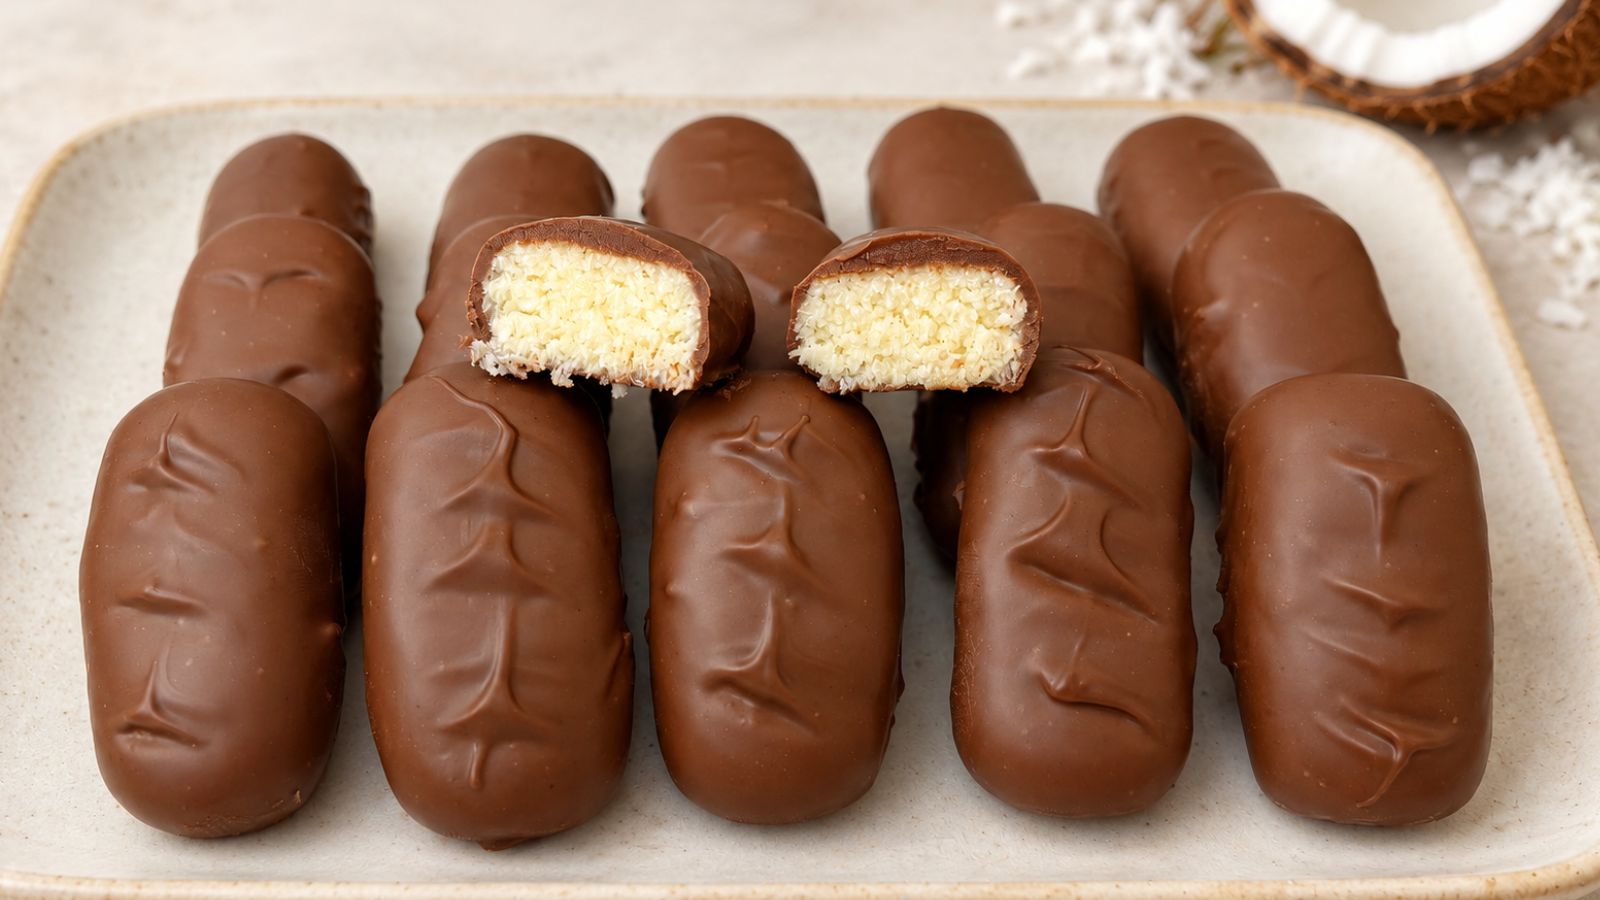
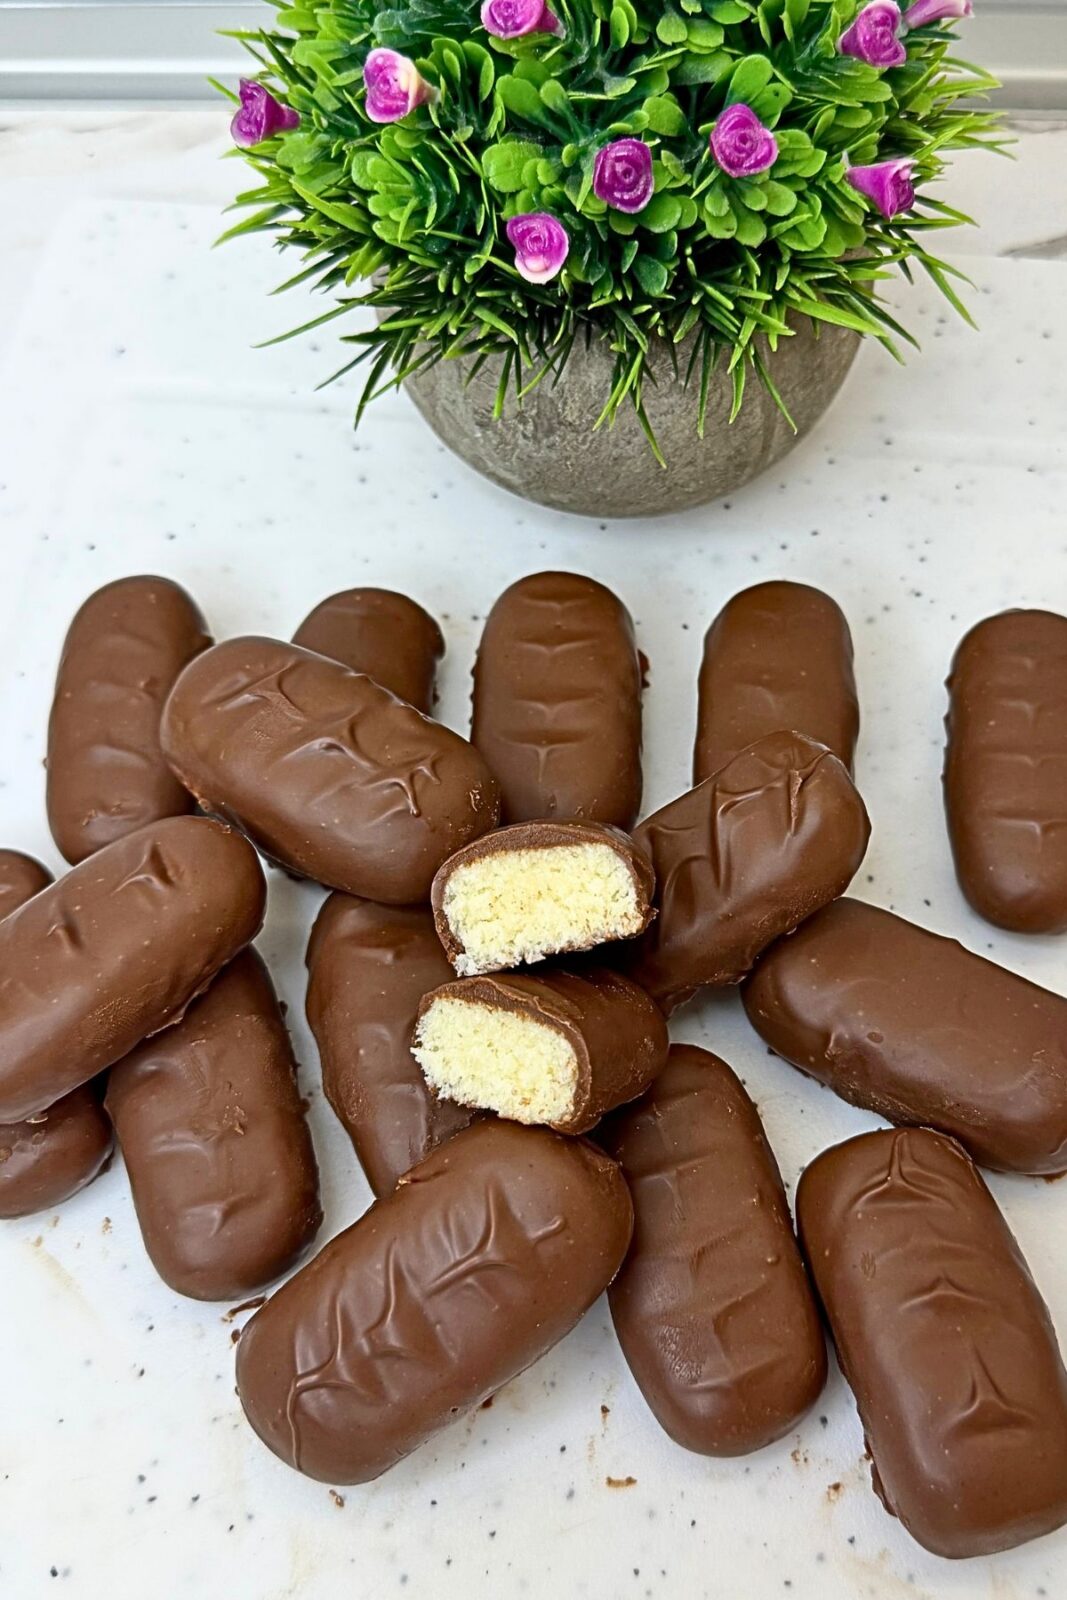
If you love the combination of coconut and chocolate, these homemade bounty bars are a treat worth making. Each little bar has a sweet, chewy coconut center wrapped in smooth milk chocolate, with those familiar ripples across the top. They’re perfect for a dessert platter, a homemade gift, or a little something sweet alongside your afternoon coffee.
This recipe uses just five ingredients and requires no baking. Sweetened condensed milk brings the coconut mixture together, while powdered sugar and milk powder add sweetness and a creamy flavor. After a short chill, the filling is ready to shape into small bars and dip in melted chocolate.
These homemade bounty bars can also be made gluten-free by choosing ingredients labeled gluten-free and preparing them with clean utensils on a clean work surface. It’s a simple way to make a batch of chocolate coconut treats to share.
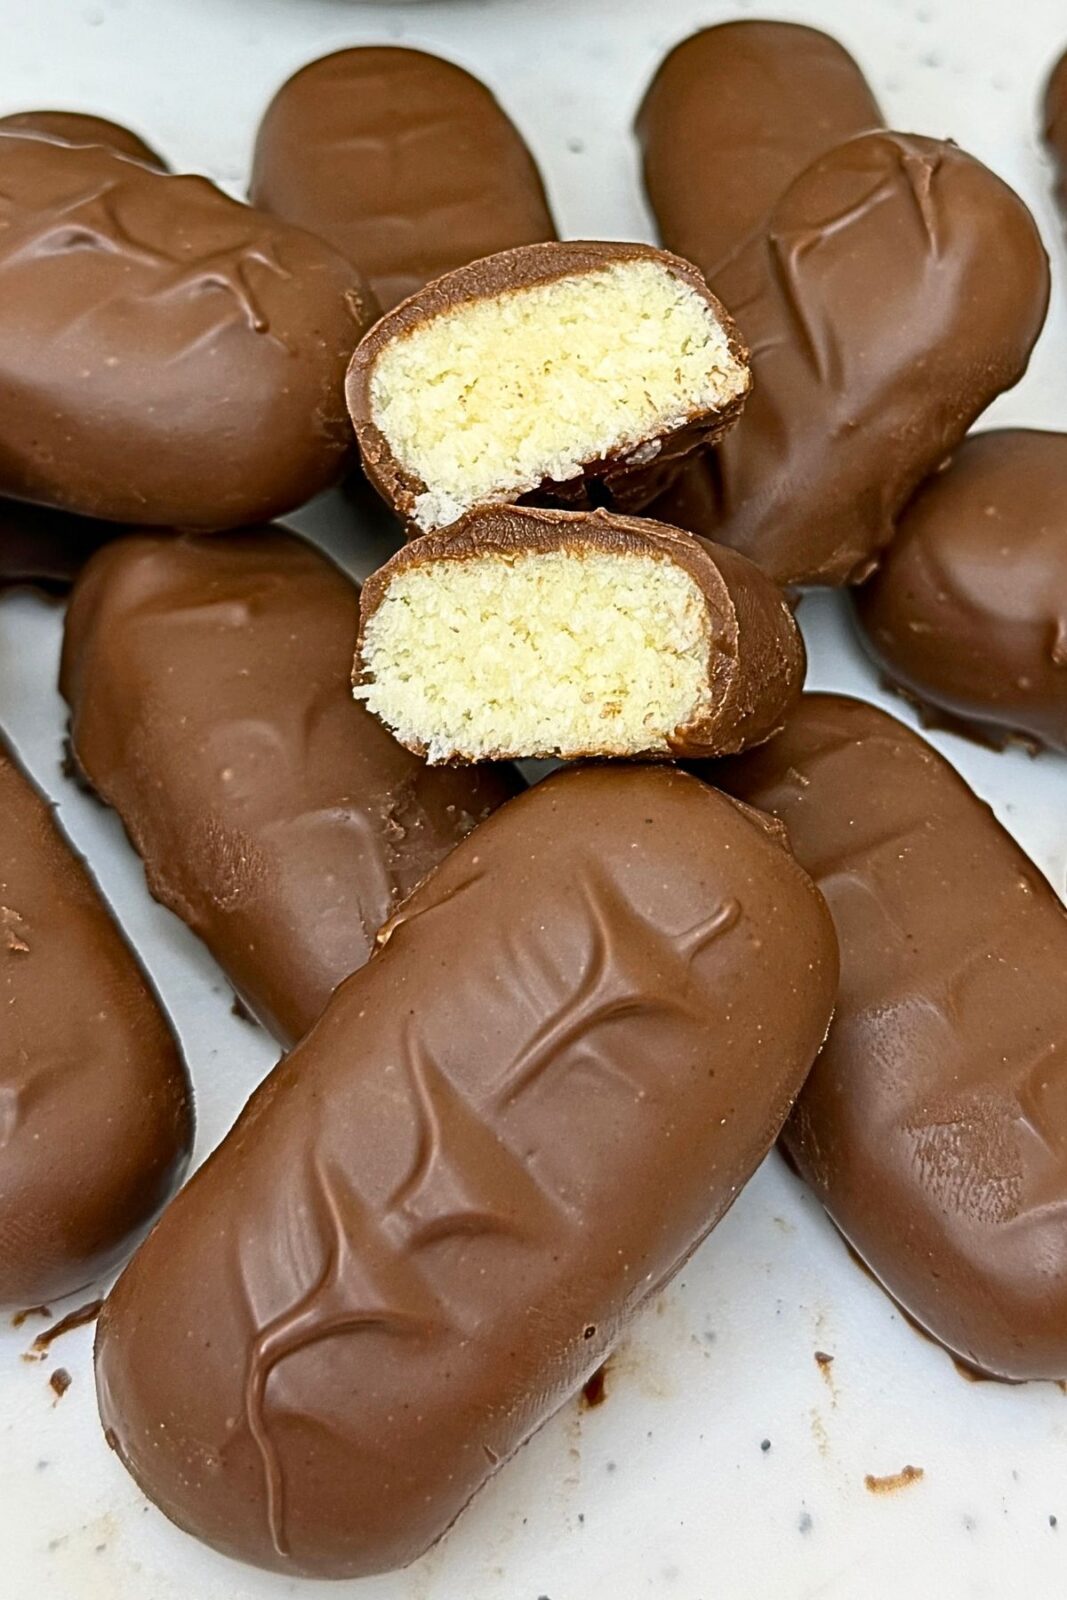
The secret to neatly shaped homemade bounty bars is giving the coconut mixture time to chill, then pressing each portion firmly on all sides. This helps the filling hold together when dipped in melted chocolate. A few gentle marks across the coating before it sets give each bar that familiar Bounty-inspired finish.
If you enjoy making chocolate treats at home, you might also love my Chocolate Chip Cookies, another delicious recipe to add to your baking list. These chocolate coconut bars are a lovely choice when you want a homemade treat without turning on the oven.
For gluten-free homemade bounty bars, choose ingredients labeled gluten-free, especially the milk chocolate, and check the packaging each time you shop. Beyond Celiac’s guide to gluten-free candy explains why ingredients and manufacturing practices matter when choosing chocolate products.
Quick Recipe Info
- Prep Time: About 45 minutes
- Chilling Time: 30 minutes
- Chocolate Setting Time: About 30 minutes
- Total Time: About 1 hour 45 minutes
- Yield: Approximately 48–52 mini bars, using 20–22 g of coconut filling per bar
- Difficulty: Easy
- Method: No-bake
- Course: Dessert / Candy
- Diet: Gluten-free when made with gluten-free ingredients
These homemade bounty bars use just five ingredients. Chocolate setting time may vary depending on your room temperature and the chocolate used.
Why You’ll Love These Homemade Bounty Bars
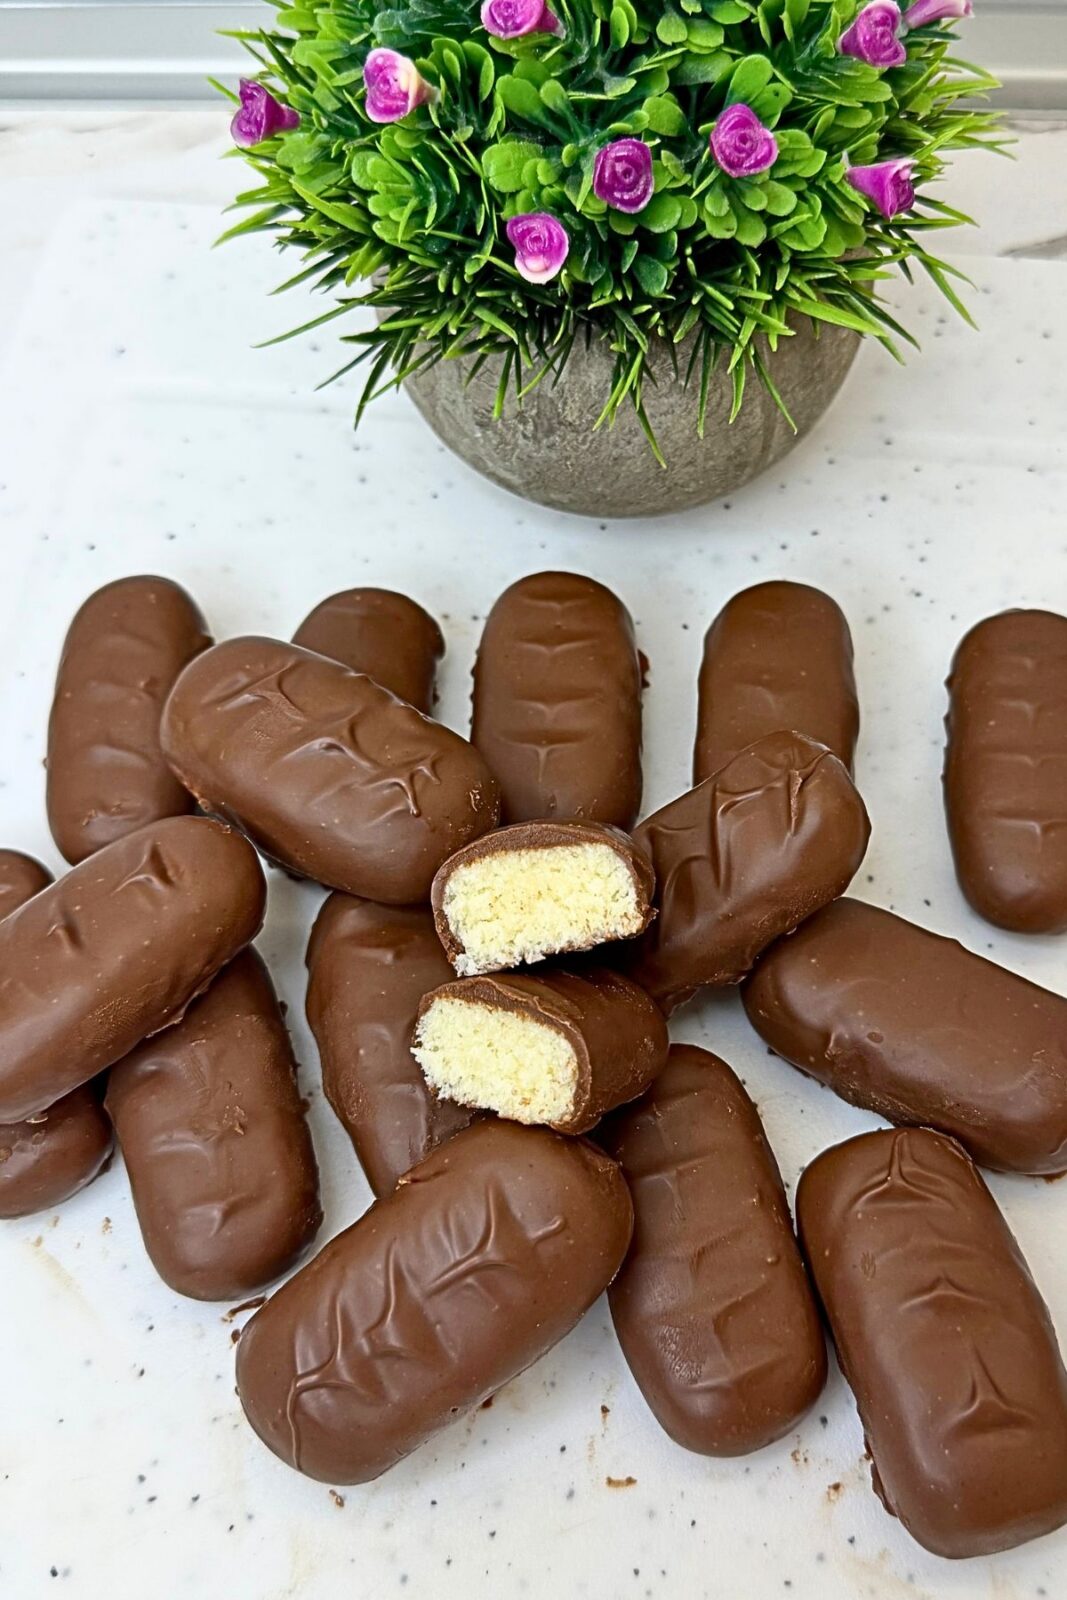
- Sweet coconut and chocolate in every bite: A chewy coconut filling pairs perfectly with the smooth milk chocolate coating.
- Just five ingredients: These homemade bounty bars use a short ingredient list, with no special candy molds required.
- No baking needed: Simply mix, chill, shape, and dip-your oven gets a rest!
- Easy to make gluten-free: Choose gluten-free ingredients to prepare a batch that suits your needs.
- Perfect for sharing: Their small size makes them a lovely addition to dessert platters, party tables, and homemade gift boxes.
- A pretty homemade finish: A few gentle strokes with a knife create the familiar ripples on top of each chocolate bar.
Ingredients You’ll Need
You only need five ingredients to make these homemade bounty bars. Find the exact measurements in the recipe card below.
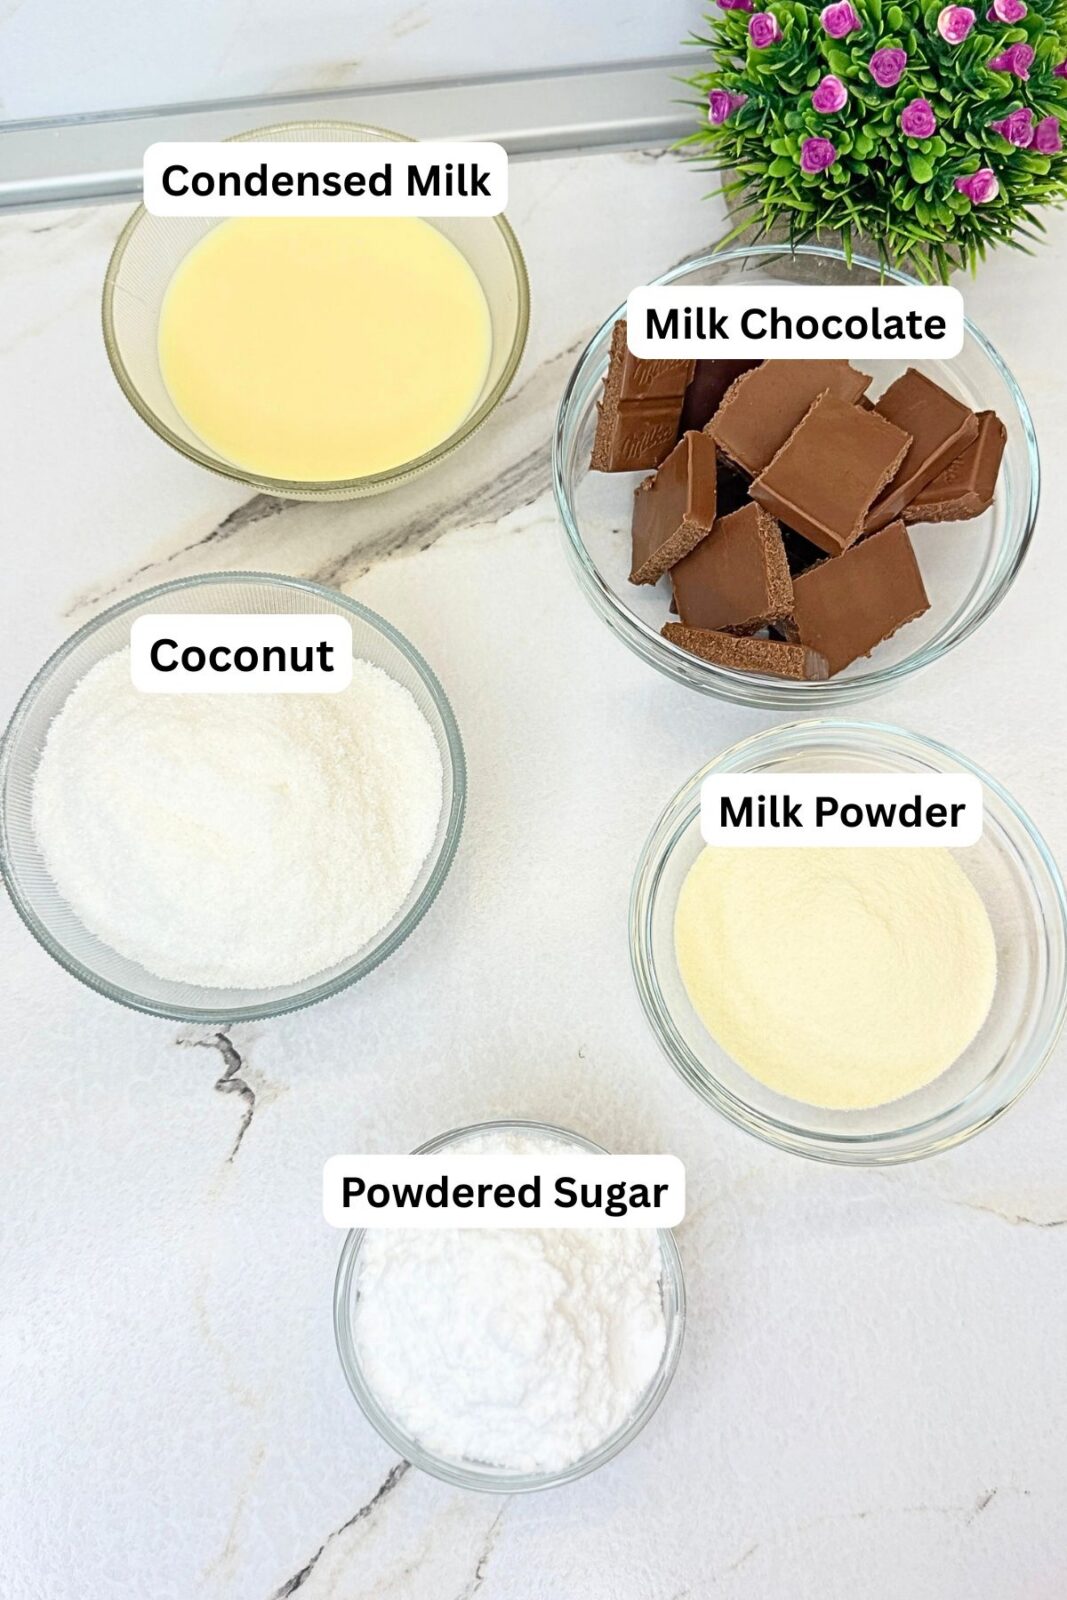
- Unsweetened desiccated coconut: Use finely shredded dried coconut for the filling. Avoid coconut flour, which is much more absorbent and will change the texture.
- Sweetened condensed milk: Binds the coconut mixture together and adds sweetness. Use thick, sweetened condensed milk rather than evaporated milk.
- Powdered sugar: Blends into the filling without the gritty texture of granulated sugar. Sift it if it has lumps.
- Milk powder: Adds a creamy dairy flavor and helps give the coconut filling body. Use plain milk powder, not malted milk powder.
- Milk chocolate: Creates the coating around each bar. Choose a chocolate you enjoy eating that melts smoothly.
Gluten-Free Tip: To make gluten-free homemade bounty bars, choose ingredients labeled gluten-free and check each package for gluten-containing ingredients or allergen warnings.
How to Make Homemade Bounty Bars
These homemade bounty bars come together by mixing the coconut filling, chilling it, and dipping the shaped bars in melted chocolate.
1. Combine the Dry Ingredients
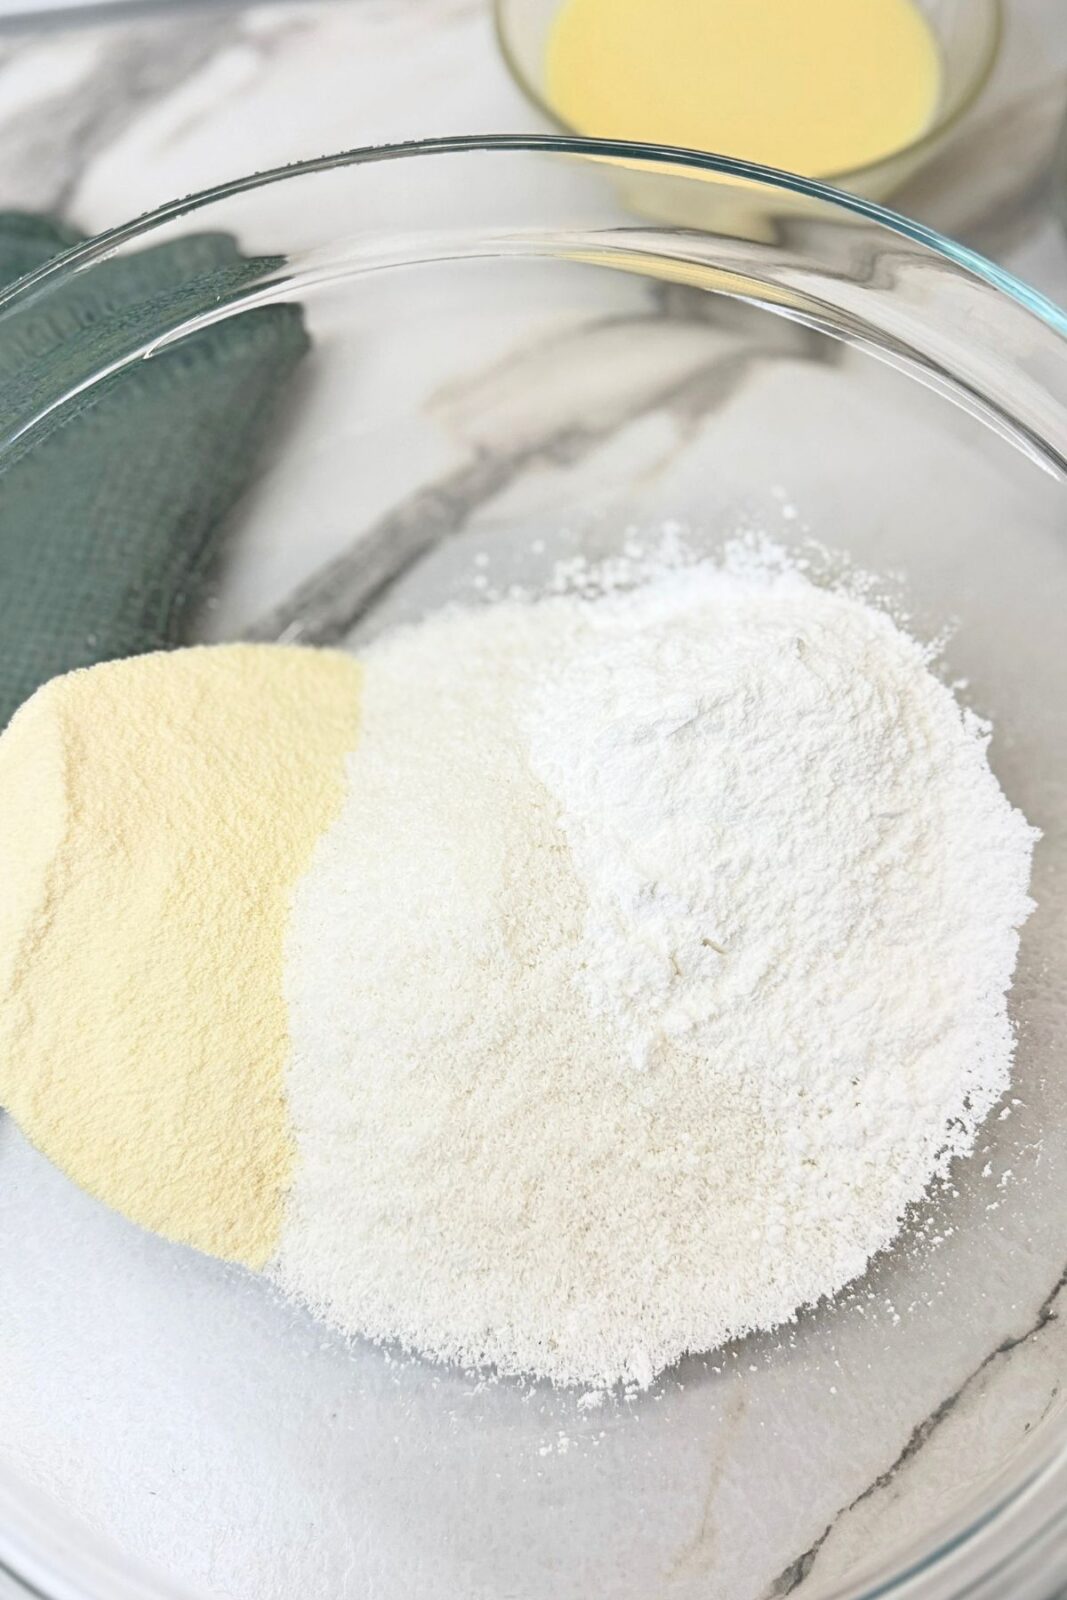
Place the powdered sugar, desiccated coconut, and milk powder in a large mixing bowl. Stir thoroughly until evenly combined, breaking up any lumps so the filling has a consistent texture.
2. Add the Condensed Milk
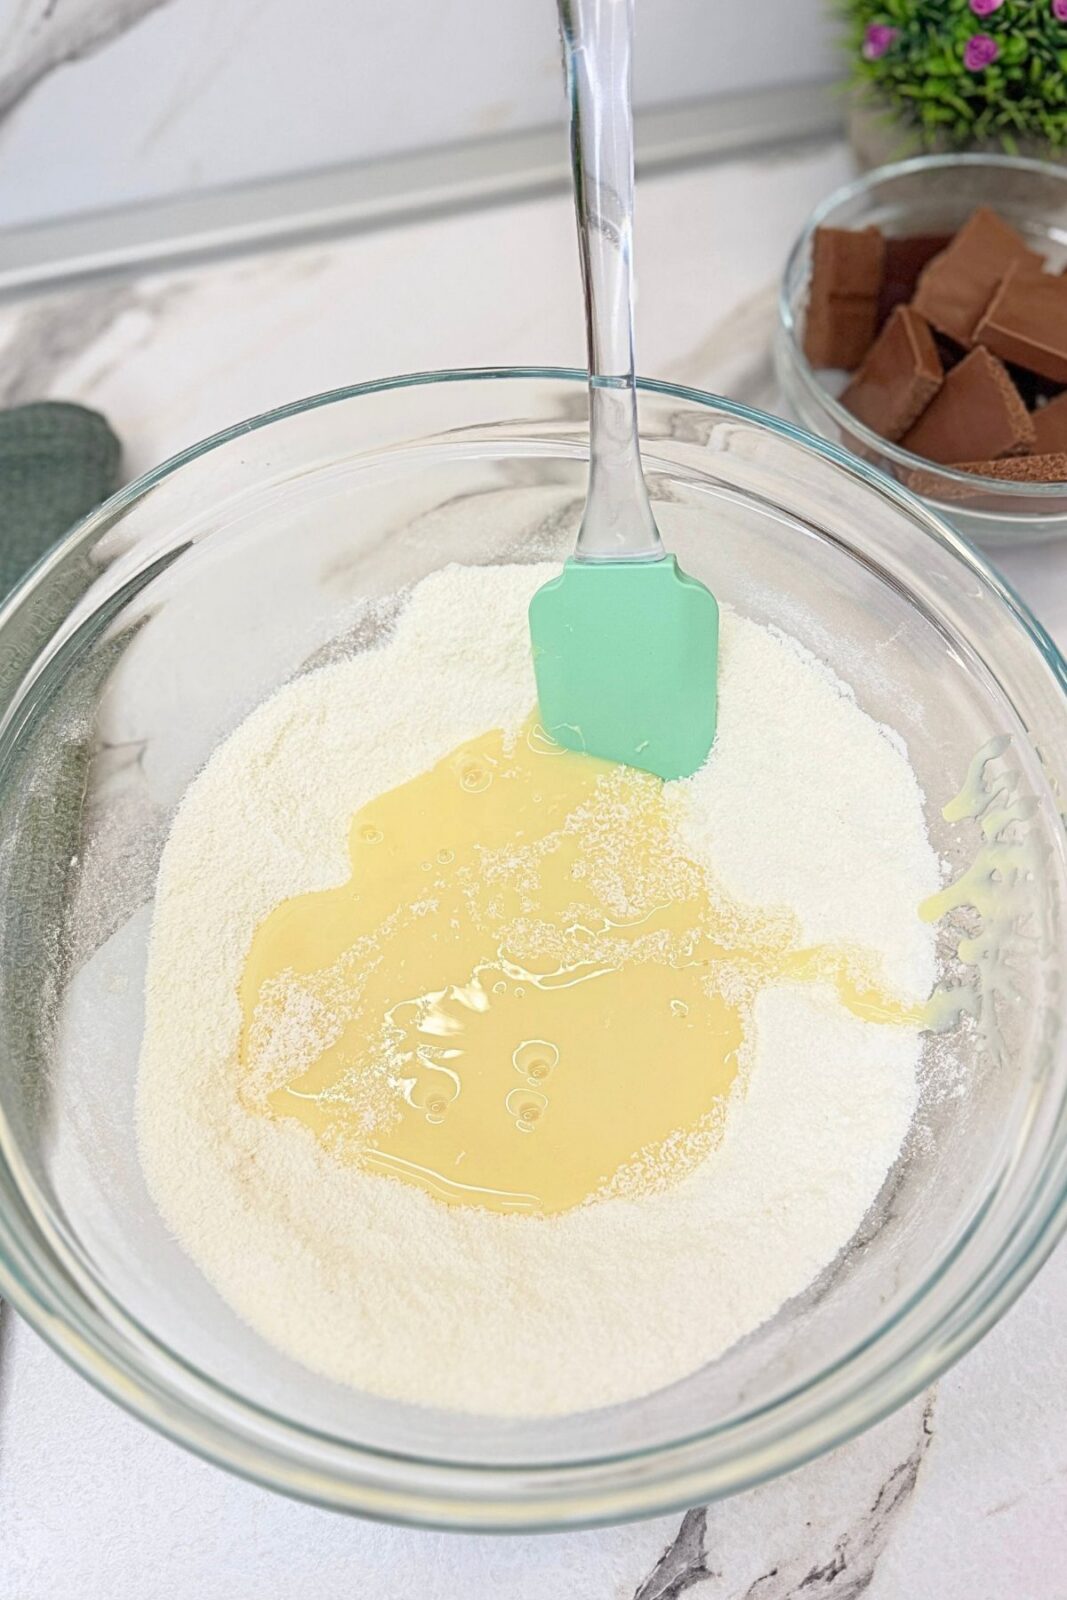
Pour in the sweetened condensed milk and mix with a sturdy spatula. Once the mixture becomes thick, use clean hands to work it together as you would a dough.
Keep mixing and pressing until the dry ingredients are fully incorporated and the coconut mixture holds together evenly.
3. Chill the Coconut Filling
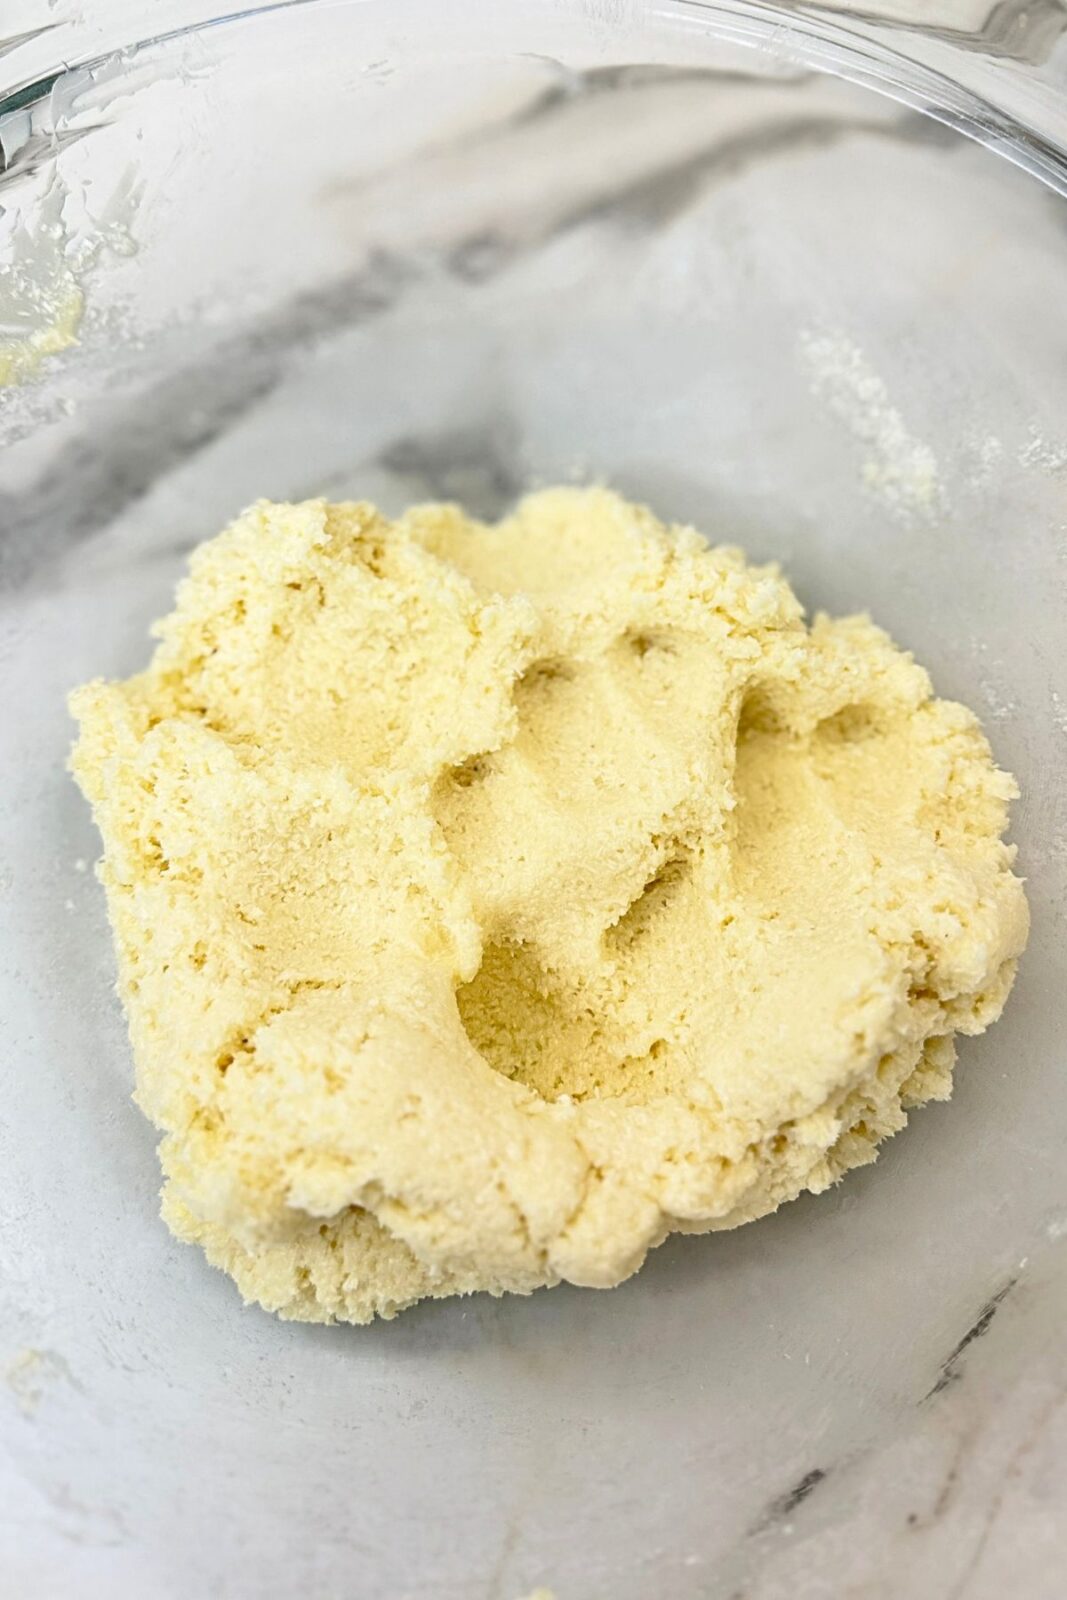
Cover the bowl and refrigerate for 30 minutes. This helps the filling become firmer and easier to shape.
4. Shape the Bars
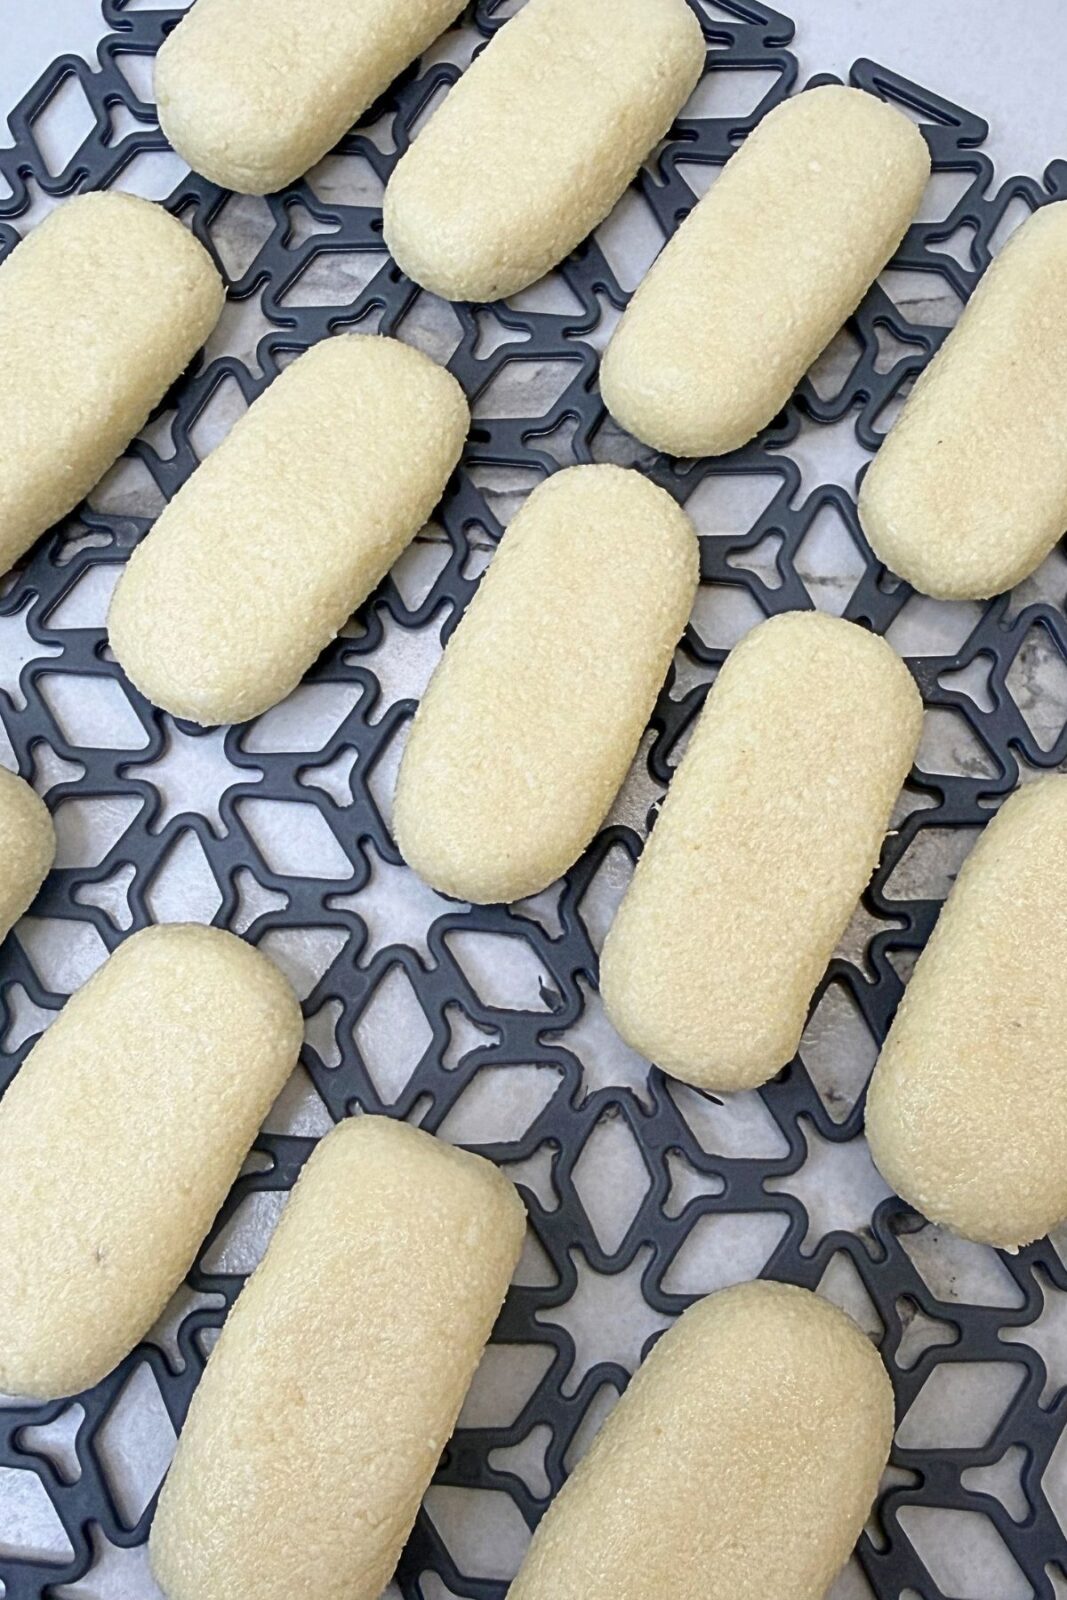
Weigh out 20–22 g of coconut filling for each bar. Press each portion together firmly, then shape it into a small rectangle with rounded ends.
Compress the filling on all sides, including the ends, so the bars stay together when dipped in chocolate. Arrange them on a parchment-lined tray as you work. If the filling softens too much during shaping, return it briefly to the refrigerator.
5. Melt the Milk Chocolate
Place the chopped milk chocolate in a dry, heatproof bowl set over a saucepan of gently simmering water. Keep the bottom of the bowl above the water and stir until the chocolate is melted and smooth.
Remove the bowl from the heat. Keep water and steam out of the chocolate, as moisture can cause it to seize.
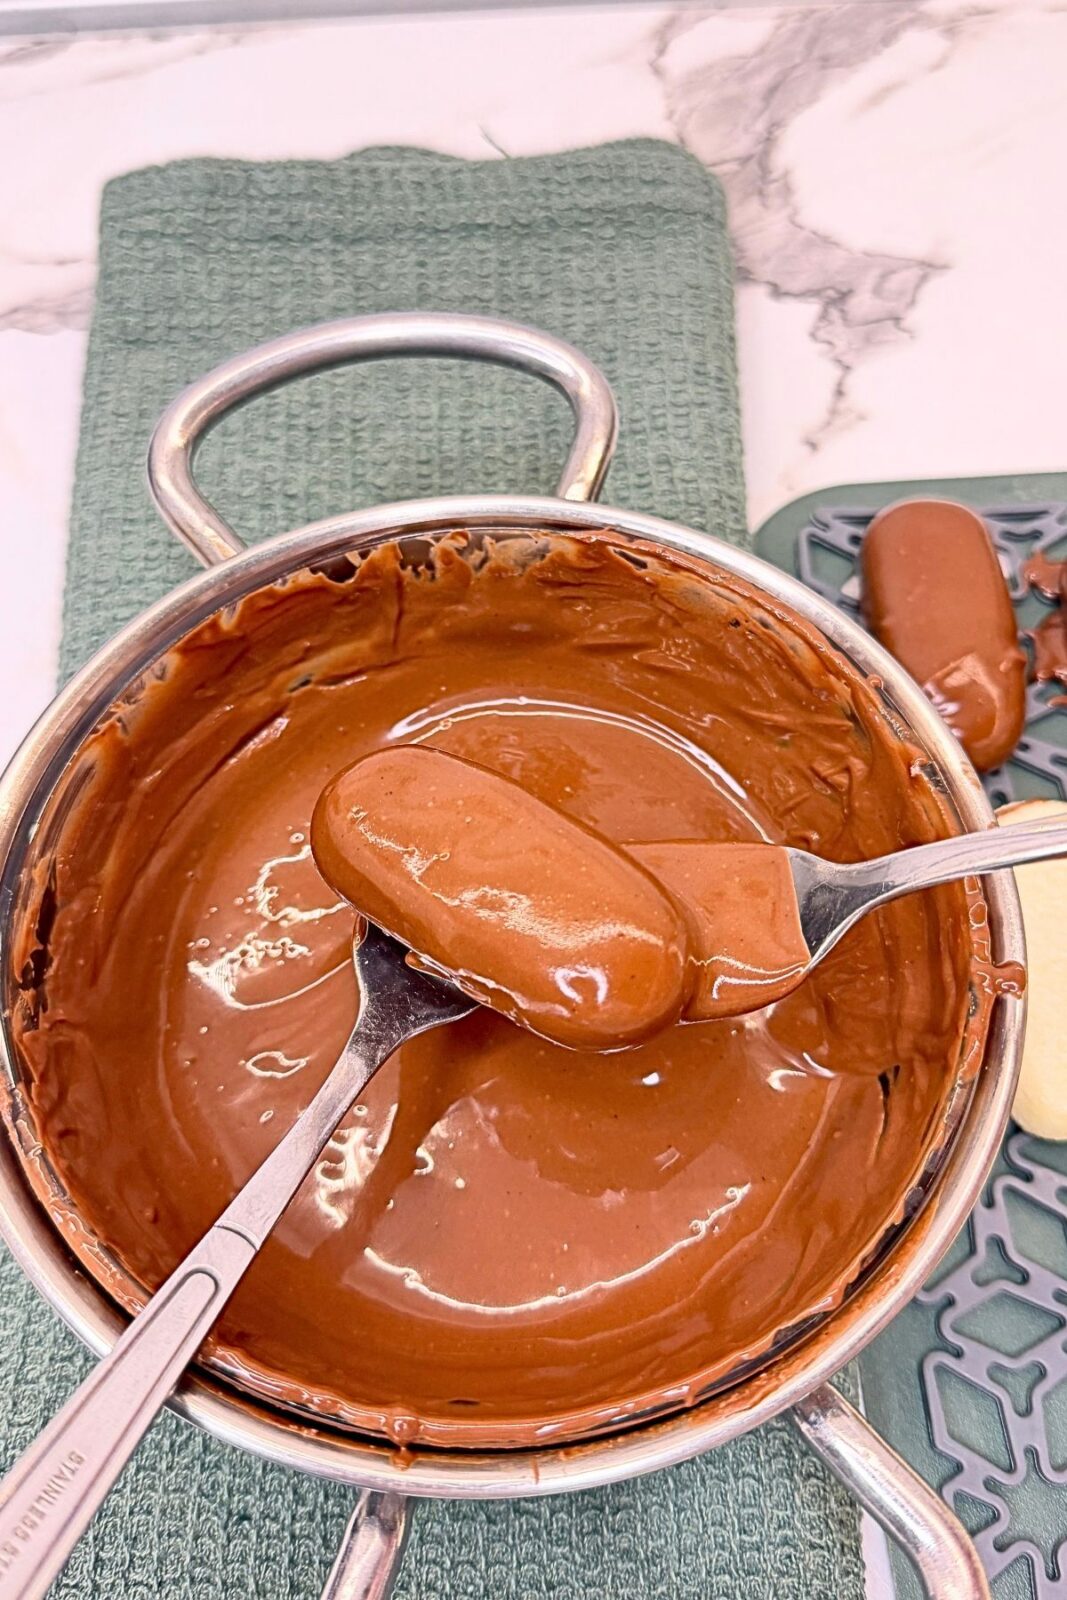
6. Dip the Coconut Bars
Lower each coconut bar into the melted chocolate and turn gently to coat all sides. Lift it out with a dipping fork or a regular fork, allowing excess chocolate to drip back into the bowl.
Carefully place the coated homemade bounty bars on a wire rack set over parchment paper to catch the drips.
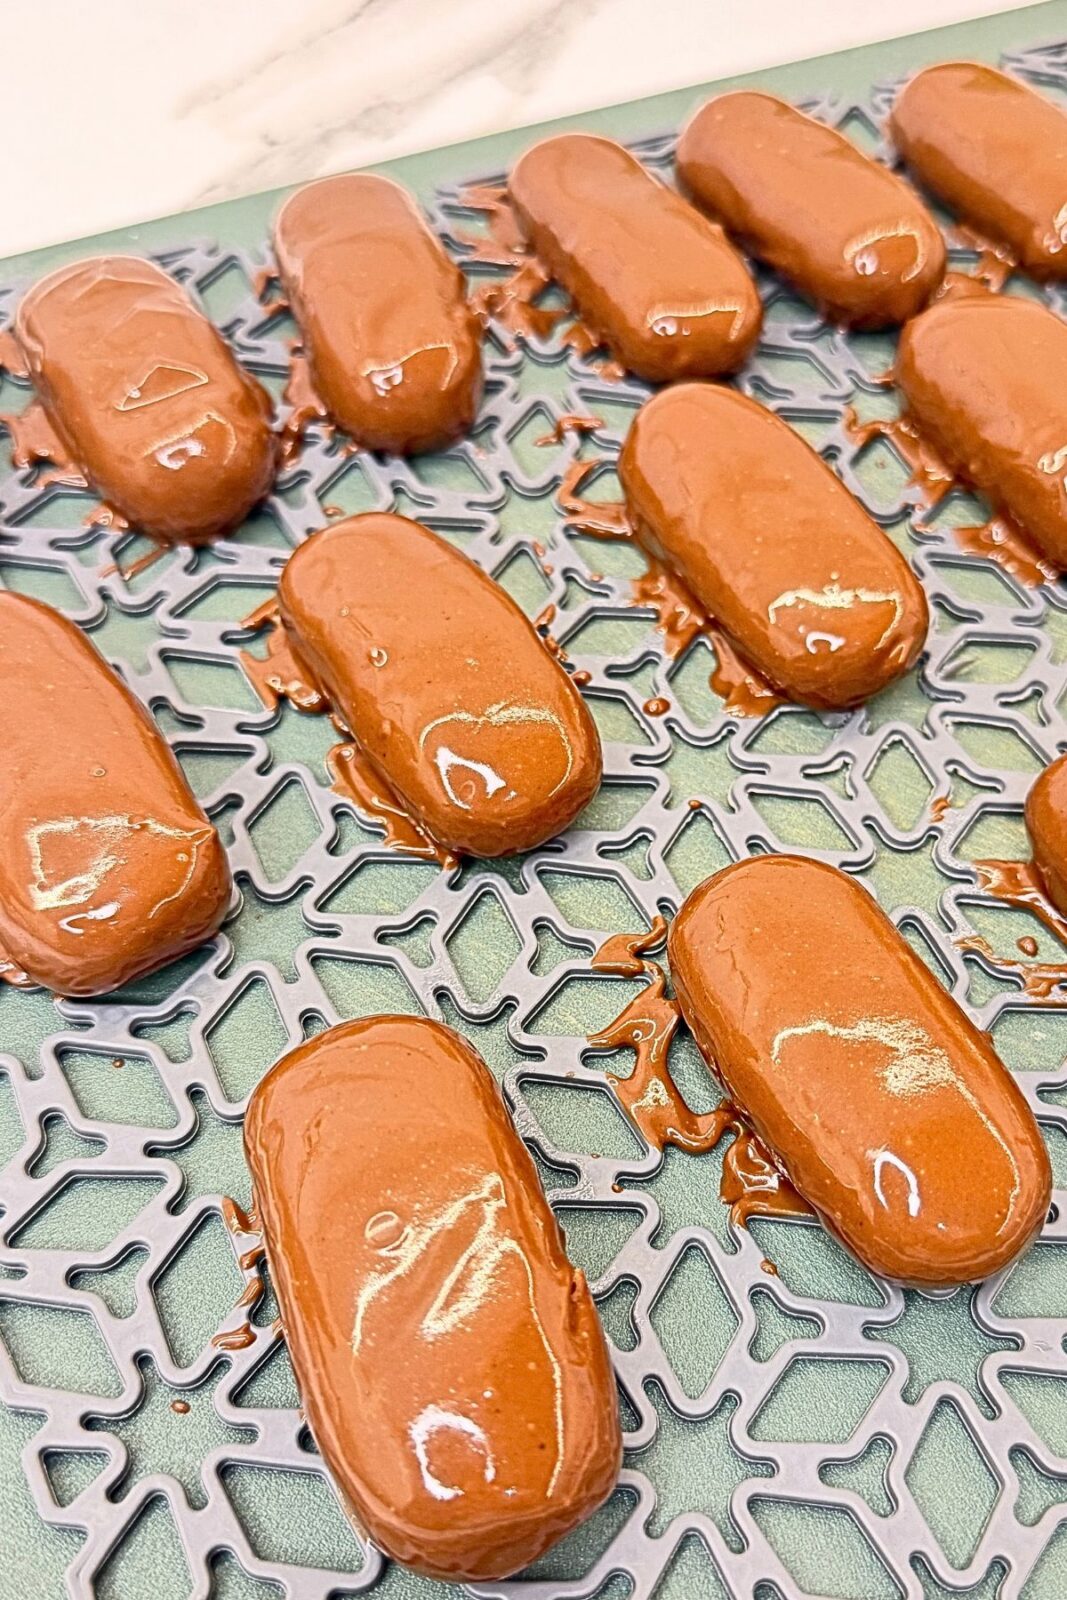
7. Add the Ripples and Let Set
When the coating begins to thicken but is still soft, gently mark the top with the tip of a small knife to create the familiar rippled pattern. Use a light touch to avoid exposing the coconut filling.
Let the chocolate set completely before carefully lifting the bars from the rack. If your kitchen is warm, refrigerate them briefly to help the coating firm up.
How to Store and Freeze
Keep your homemade bounty bars covered and chilled to preserve their coconut filling and prevent the chocolate coating from softening.
Storing in the Refrigerator
Once the chocolate has completely set, place the bars in an airtight container. Separate stacked layers with parchment paper to keep them from sticking together.
For this homemade version, I recommend refrigerating and enjoying them within 4–5 days.
Serving Tip: Take out only the bars you plan to serve and let them sit for about 10 minutes before enjoying. This allows the filling and chocolate to soften slightly.
Freezing Homemade Bounty Bars
For longer storage, freeze the fully set bars in a freezer-safe container or bag for up to 1 month. Separate layers with parchment paper and label the container with the date.
Thawing and Serving
Transfer the bars to the refrigerator and leave them until thawed. Keep the container closed while they thaw to help limit condensation on the chocolate coating.
Once thawed, let them stand briefly at room temperature before serving. Keep them away from direct sunlight or warm surfaces, which can soften the milk chocolate.
Frequently Asked Questions (FAQ)
Are homemade bounty bars gluten-free?
They are gluten-free when made with ingredients labeled gluten-free. Check every package, especially the milk chocolate, powdered sugar, and milk powder. Use clean utensils and a clean work surface to prevent contact with gluten.
Can I use coconut flour instead of desiccated coconut?
No. Coconut flour is much finer and more absorbent, so it would change the filling significantly. Use unsweetened, finely shredded desiccated coconut for the texture shown in this recipe.
Can I replace sweetened condensed milk with evaporated milk?
No. Evaporated milk is thinner and unsweetened, so it will not bind the filling in the same way. These homemade bounty bars need thick, sweetened condensed milk.
Why is my coconut filling falling apart?
First, make sure the condensed milk is thoroughly worked into all the dry ingredients. After chilling, compress each portion firmly on every side before shaping. Loose edges or cracks can cause the bars to break during dipping.
Why do my bars lose their shape when dipped?
The filling may have become too warm, or the chocolate may be too hot. Return the shaped bars to the refrigerator until firm, and let the melted chocolate cool slightly while keeping it fluid enough for dipping.
Can I use dark chocolate instead of milk chocolate?
Yes! Dark chocolate gives these homemade bounty bars a less sweet coating that contrasts nicely with the coconut filling. Choose a gluten-free chocolate if you are making the gluten-free version.
Can I leave out the milk powder?
This recipe was made with milk powder, which adds creamy flavor and body to the filling. Leaving it out changes the balance of wet and dry ingredients, so I recommend keeping it for the result shown here.
Do I need to use all 600 g of chocolate?
Melt the full amount to give yourself enough depth for dipping and coating the bars comfortably. Some chocolate may remain afterward, depending on the thickness of your coating. Let any leftover chocolate set on parchment paper and save it for another baking project.
When should I make the ripples on top?
Make the marks while the coating is beginning to thicken but is still soft. Use the tip of a small knife with a gentle touch. Once the chocolate has hardened, marking it can crack the coating.
Nutrition Per Serving
Approximate nutrition per homemade bounty bar, based on 50 bars and 300 g of milk chocolate used for coating:
- Calories: 132 kcal
- Carbohydrates: 13.6 g
- Protein: 2.2 g
- Fat: 8.2 g
- Saturated Fat: 6.5 g
- Sugar: 11.7 g
- Fiber: 1.5 g
- Sodium: 25 mg
Nutrition values are estimates and may vary depending on the ingredient brands, type of milk powder, bar size, and amount of chocolate coating.
Conclusion
These homemade bounty bars bring together a sweet, chewy coconut filling and a smooth milk chocolate coating in an easy no-bake treat. With just five ingredients, a little chilling time, and careful shaping, you can make a batch for sharing, gifting, or enjoying with your afternoon coffee. Choose gluten-free ingredients to make the gluten-free version.
Planning a dessert table? For more homemade treats to add to your menu, try my Apple Pie Bars or Jam Filled Crescent Cookies.
If you make these homemade bounty bars, leave a comment and a recipe rating below. I’d love to hear how they turned out!
Happy baking!
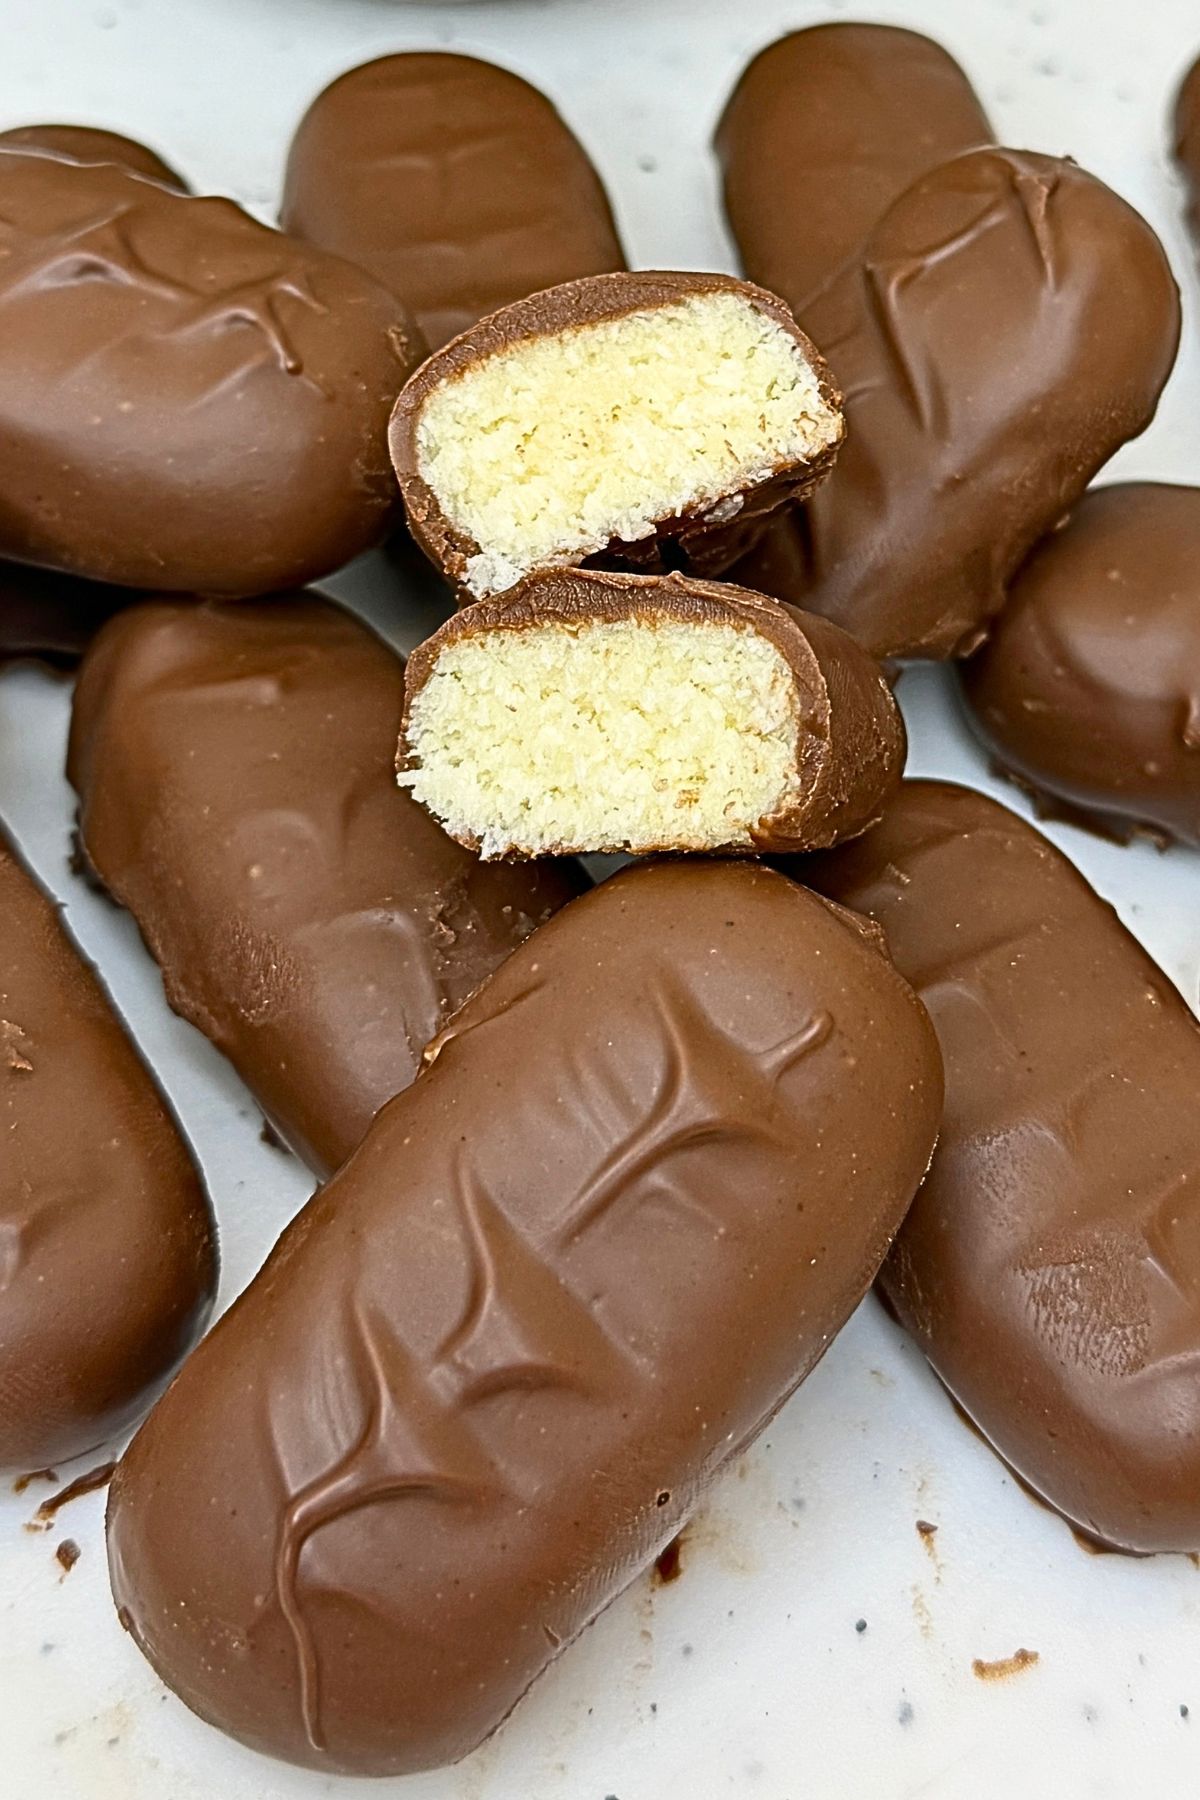

Homemade Bounty Bars – Easy Gluten-Free Coconut Treats
Ingredients
Equipment
Method
- Mix the dry ingredients.
- Combine the powdered sugar, desiccated coconut, and milk powder in a large bowl. Stir thoroughly, breaking up any lumps.
- Add the condensed milk.
- Pour in the sweetened condensed milk. Mix with a sturdy spatula, then use clean hands to work the mixture together like dough until evenly combined.
- Chill the filling.
- Cover and refrigerate for 30 minutes, until firmer and easier to shape.
- Shape the bars.
- Weigh out 20–22 g of filling per bar. Press each portion firmly together and shape into a small rectangle with rounded ends. Compress all sides so the filling does not crumble. Place on a parchment-lined tray.
- Melt the chocolate.
- Place the chopped chocolate in a dry, heatproof bowl over gently simmering water, without letting the bowl touch the water. Stir until smooth, then remove from the heat. Keep water and steam out of the chocolate.
- Coat the bars.
- Dip each coconut bar into the melted chocolate using a fork. Coat all sides, lift out, and let excess chocolate drip back into the bowl. Place on a wire rack set over parchment paper.
- Make the ripples.
- As the coating begins to thicken but is still soft, gently mark the top with the tip of a small knife. Avoid pressing through to the filling.
- Let set.
- Allow the chocolate to harden completely before carefully removing the bars from the rack. Refrigerate briefly if needed to help the coating set.
Notes
- Coconut: Use unsweetened desiccated coconut, not coconut flour.
- Measurements: US ounce measurements are by weight. A kitchen scale is recommended, especially for coconut and milk powder.
- Chocolate quantity: Melt 600 g for comfortable dipping. Approximately 300 g was used for the coating; leftover chocolate is not included in the nutrition estimate.
- Shaping: If the filling becomes soft while you work, refrigerate the shaped bars briefly before dipping.
- Gluten-free preparation: Check ingredient labels and use clean utensils and a clean work surface to prevent contact with gluten.
- Storage: Refrigerate in an airtight container for 4–5 days, separating layers with parchment paper.
- Freezing: Freeze in a sealed container for up to 1 month. Thaw in the refrigerator.
- Yield: Approximately 48–52 mini bars, depending on portion size.