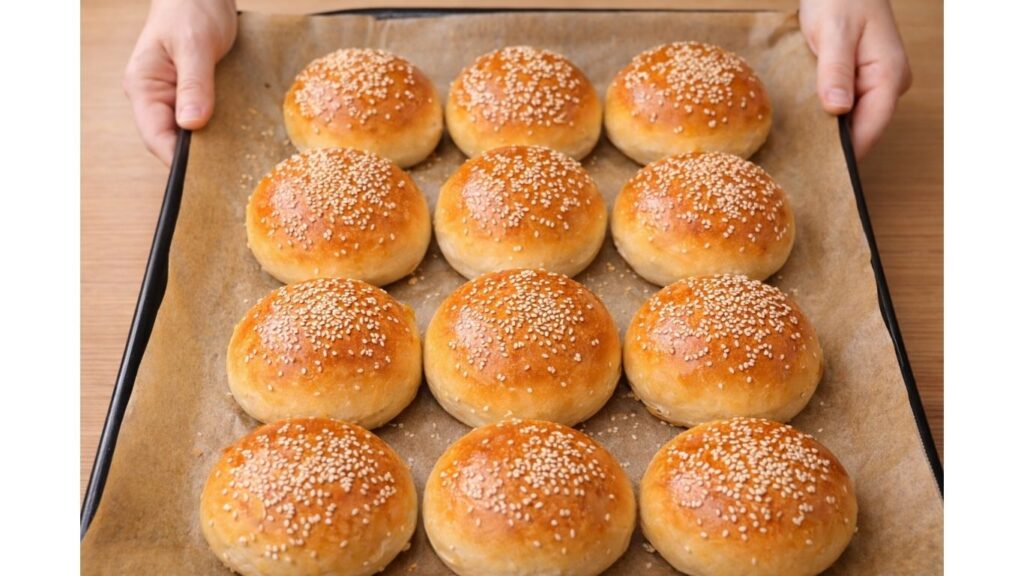
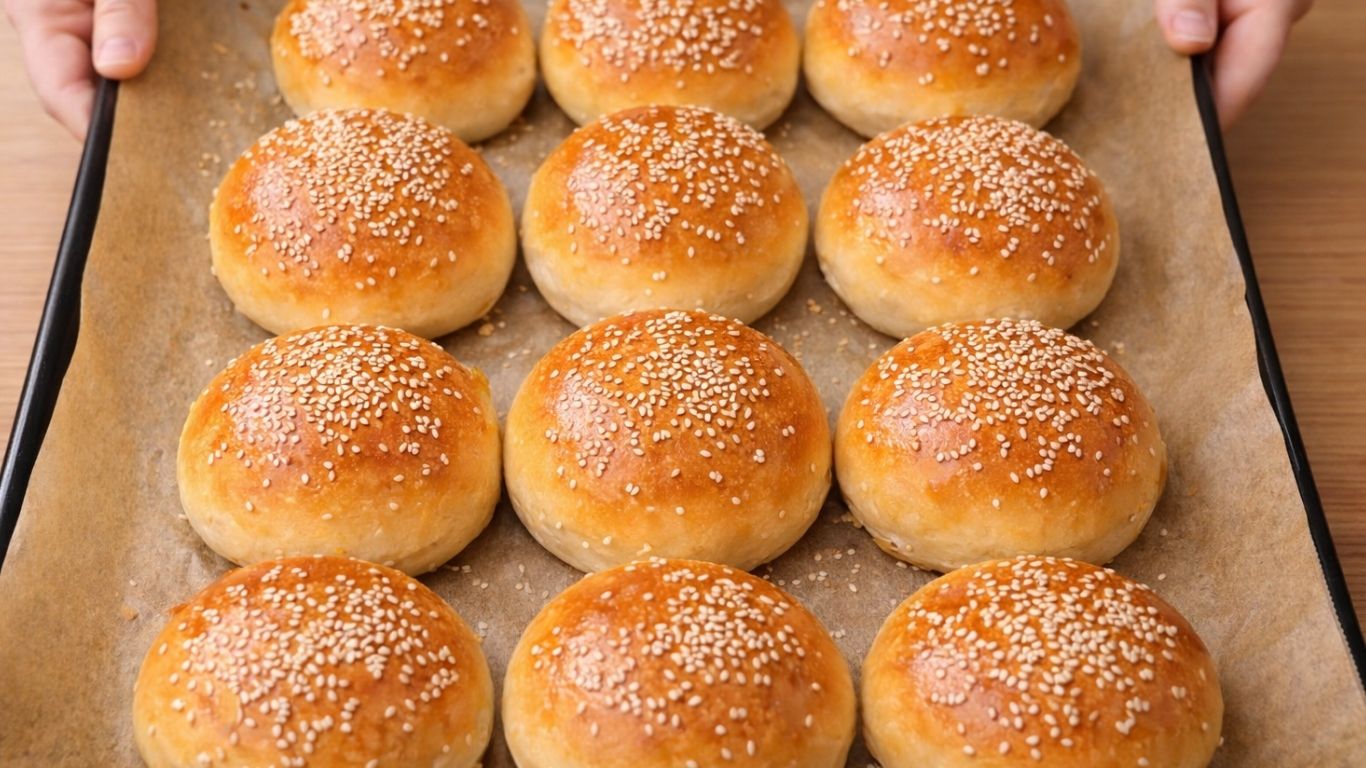
These soft and fluffy burger buns are light, airy, and absolutely perfect for any homemade burger buns. Made with simple everyday ingredients, these burger buns bake up beautifully golden on the outside while staying incredibly soft, rich, and tender on the inside. Whether you’re making classic burgers, sandwiches, or serving them alongside a cozy family meal, these homemade burger buns will take your baking to the next level and fill your kitchen with the most irresistible bakery-style aroma.
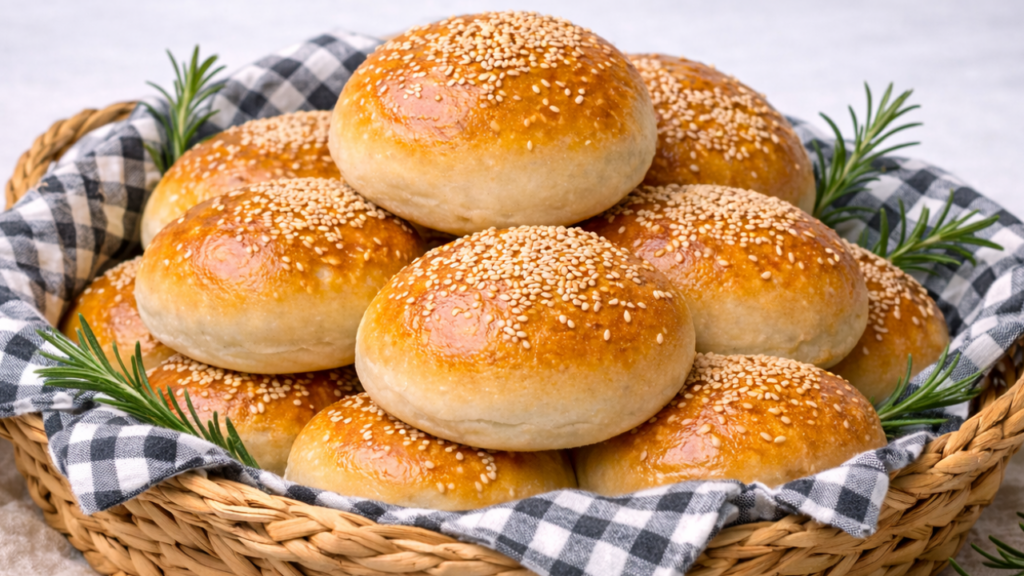
These soft and fluffy burger buns are perfect for your next BBQ, family gathering, or cozy weekend brunch. They are delicious served with your favorite burgers, enjoyed warm with jam, or used for a quick and easy breakfast sandwich. Thanks to their light and airy texture, these homemade buns are perfect for both sweet and savory fillings – from classic burgers to fresh veggies, cheese, and simple breakfast combinations.
MY LATEST VIDEOS
QUICK INFO
Prep time: 15 minutes
Rise time: 1 hour 30 minutes
Bake time: 18-20 minutes
Total time: about 2 hours
Servings: 8-10 buns
Ingredients You’ll Need
These homemade burger buns are made with simple pantry ingredients that create a soft, fluffy texture and a beautifully golden crust.
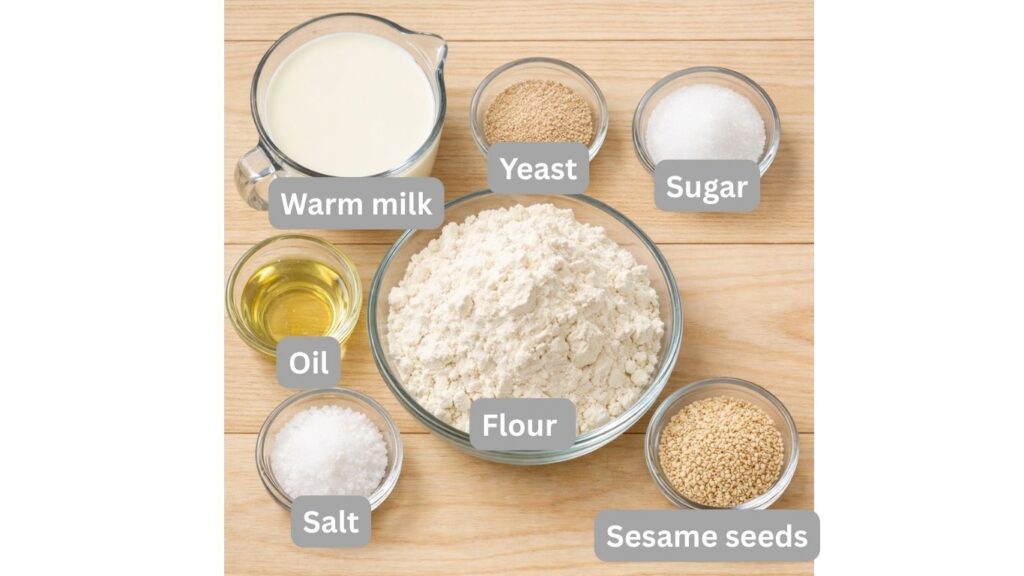
Warm milk: Adds moisture and gives the burger buns a soft, tender crumb. The milk should be warm, but not hot.
Active dry yeast: Helps the dough rise and creates light, airy buns.
Sugar: Feeds the yeast and adds a subtle sweetness.
All-purpose flour: Provides structure while keeping the buns soft. Add only as much as needed to create a slightly tacky dough.
Oil: Keeps the dough tender and prevents the burger buns from drying out.
Salt: Balances the flavor and strengthens the dough.
Water and oil: Brushed over the buns before and after baking to create a soft, lightly shiny crust.
Sesame seeds: An optional topping that gives the buns their classic bakery-style appearance.
HOW TO MAKE BURGER BUNS
1. Activate the yeast
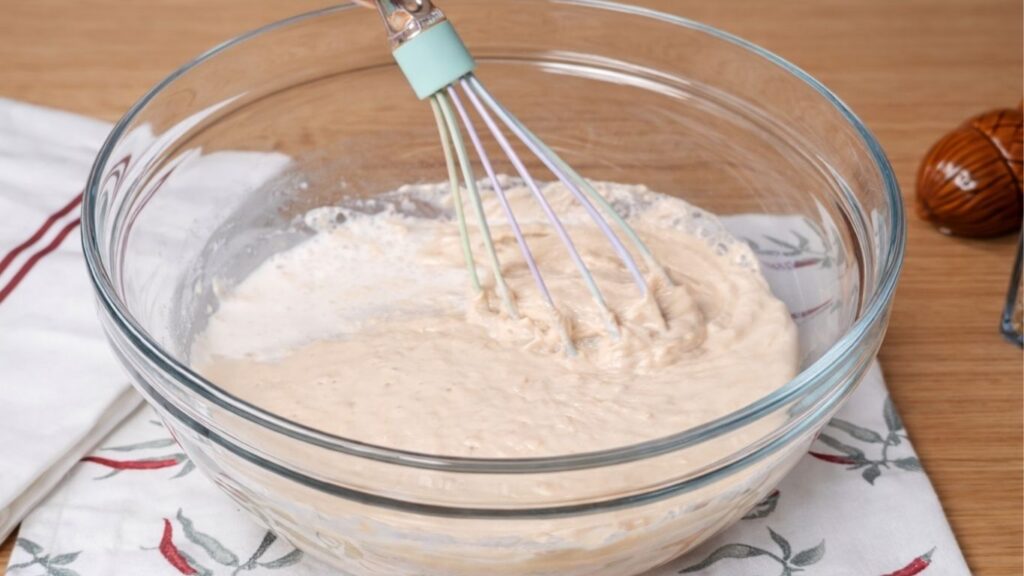
In a large bowl, combine the warm milk, sugar, yeast, and 2 tablespoons of flour when making burger buns. Stir everything together until the mixture is smooth and well combined, without any lumps.
Let it rest for 5 to 10 minutes, or until the surface becomes foamy and bubbly. This step activates the yeast and creates the perfect base for soft and fluffy burger buns.
If the mixture doesn’t become foamy, the yeast may not be active, so it’s best to start again with fresh yeast.
2. Prepare the dough
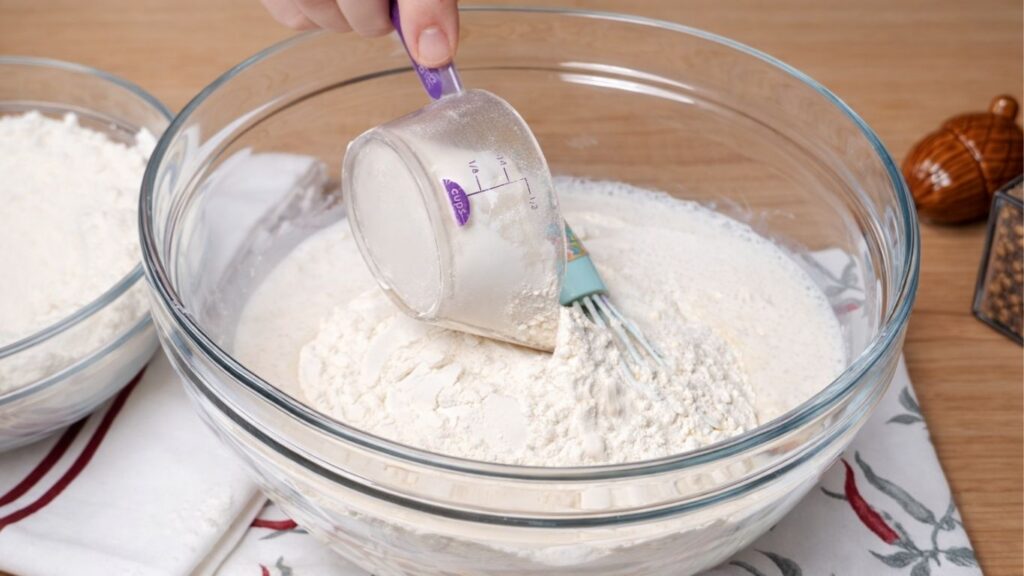
Add the oil, the remaining flour, and the salt to the activated yeast mixture when making burger buns. Begin mixing with a spoon or spatula until the dough starts to come together.
As the dough forms, switch to using your hands and gently bring everything together into a soft dough. If needed, add a little more flour, one tablespoon at a time, until the dough is soft and slightly tacky to the touch, but not sticky.
Transfer the dough onto a lightly floured surface and knead it for about 8 to 10 minutes, until it becomes smooth, elastic, and soft. Proper kneading helps develop the gluten, which gives your burger buns their light, airy texture
3. Knead the dough
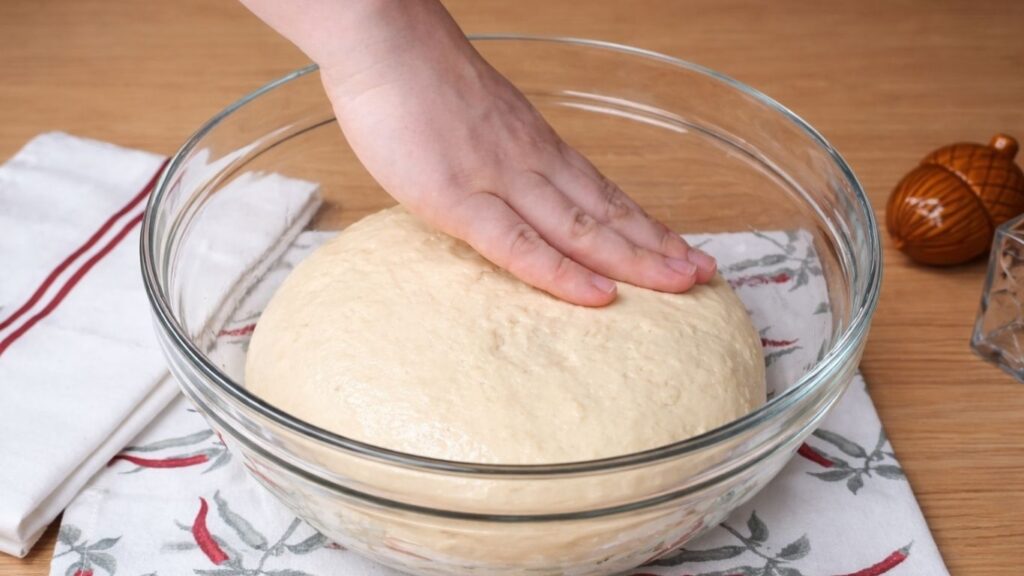
Knead the dough for about 8 to 10 minutes, either by hand or using a stand mixer, until it becomes smooth, soft, and elastic when making burger buns. As you knead, the dough will gradually become less sticky and easier to handle.
The final dough should feel soft and slightly tacky to the touch, but it should not stick to your hands or the work surface. When gently pressed, it should slowly spring back, which is a sign that the gluten has developed properly and the dough is ready to rise.
Proper kneading is the key to achieving soft, airy, and beautifully fluffy burger buns.
4. First rise
Place the dough back into a lightly oiled bowl and turn it once so the surface is coated to prevent it from drying out when making burger buns. Cover the bowl with plastic wrap or a clean kitchen towel.
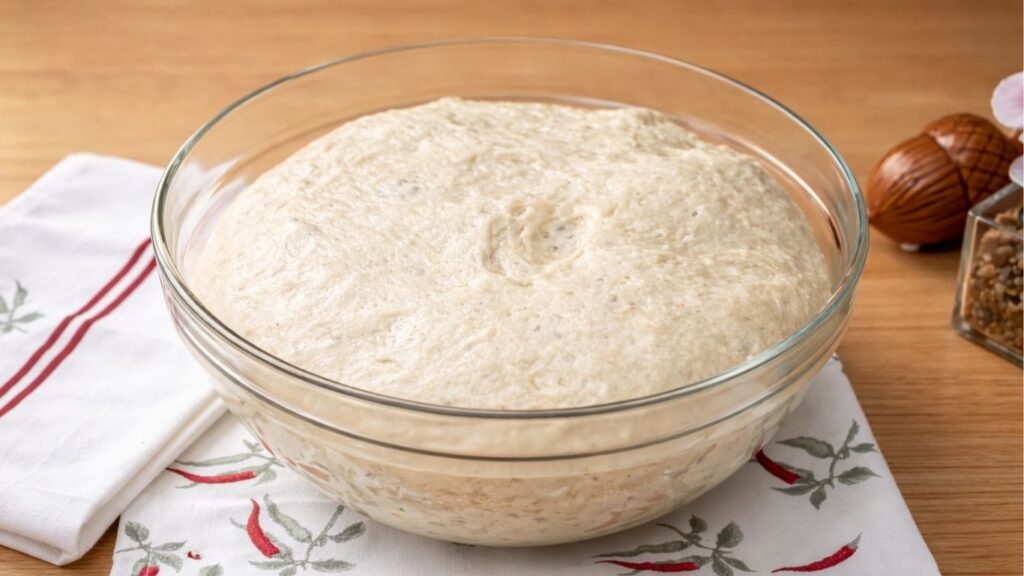
Let the dough rise in a warm, draft free place for about 1 hour, or until it has doubled in size. The exact time can vary depending on the warmth of your kitchen, so focus on the dough, it should look puffy, airy, and noticeably larger.
Once doubled, gently press the dough with your fingertip, it should leave a slight indent that slowly springs back. This means it’s perfectly risen and ready for shaping your burger buns.
5. Shape the buns
Transfer the risen dough from the bowl onto a clean work surface when making burger buns. Gently press it down to release the air, then divide the dough into 12 equal pieces for your burger buns.
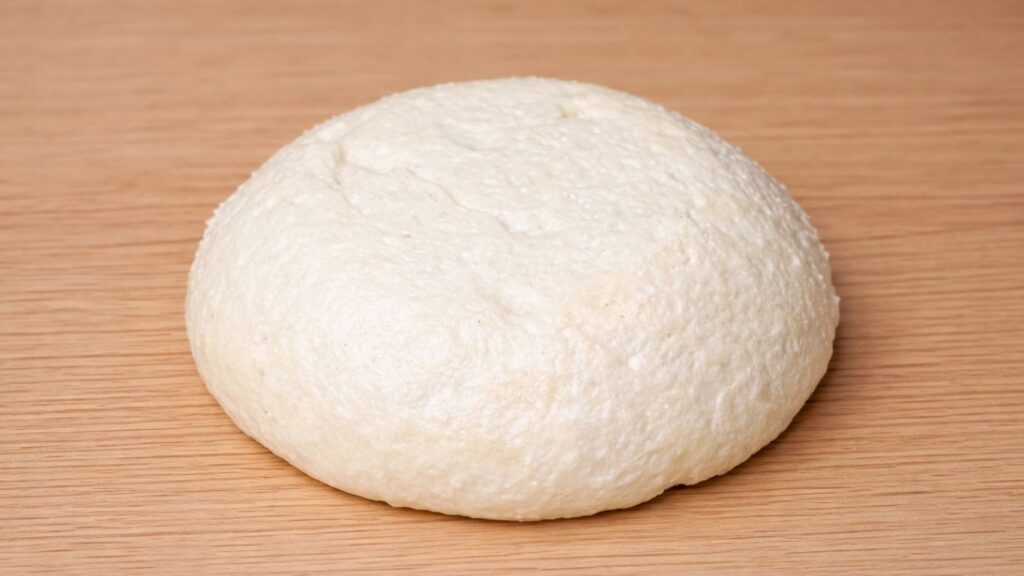
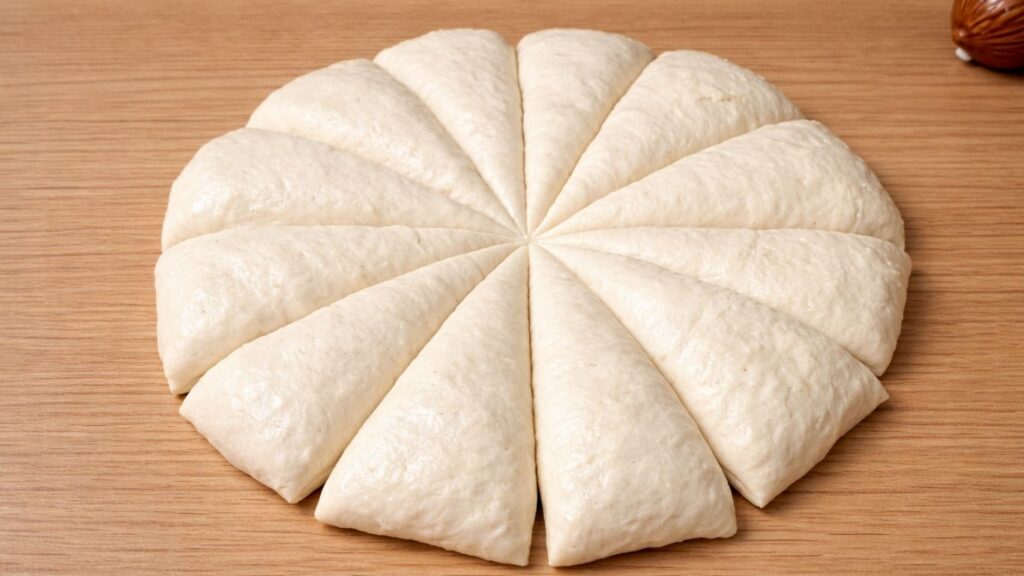
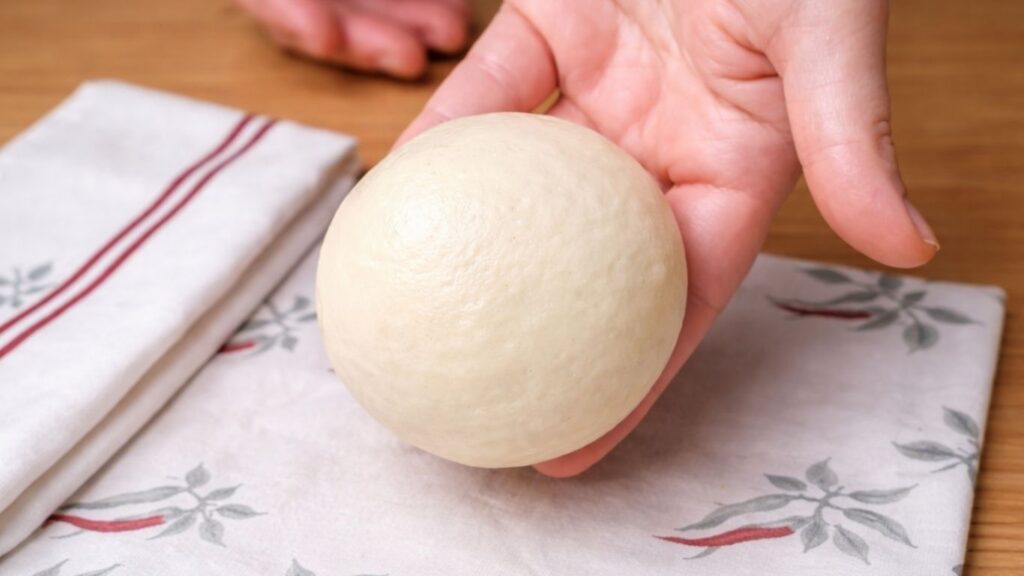
Take each piece and shape it into a smooth, round ball for your burger buns by tucking the edges underneath and rolling it gently on the surface until the top becomes nice and tight and smooth.
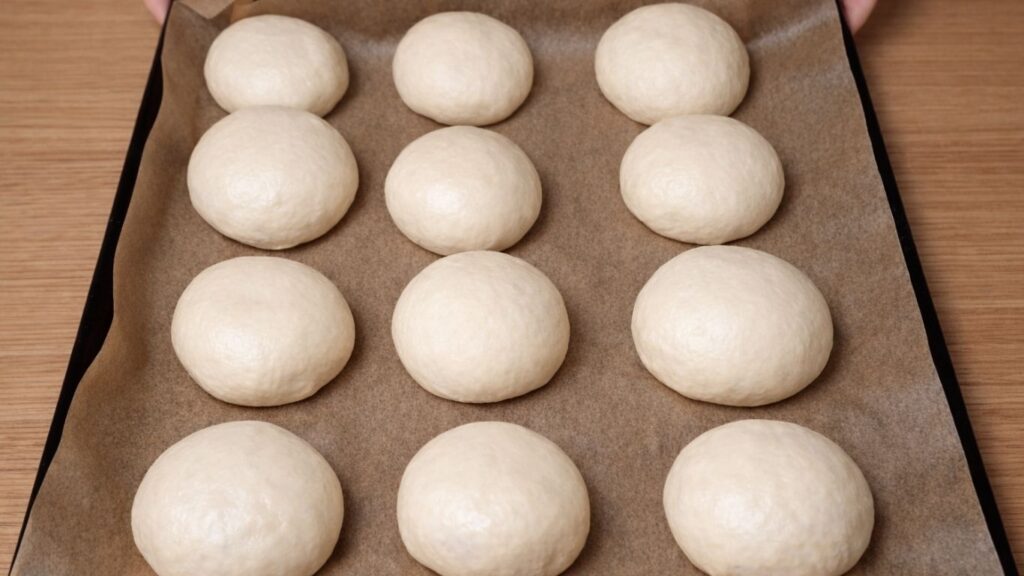
Place the shaped dough balls for your burger buns onto a baking tray lined with parchment paper, leaving a little space between each one so they have room to rise and expand during baking.
6. Second rise
Lightly cover the shaped burger buns with a clean kitchen towel or loosely with plastic wrap so they don’t dry out.
Let the burger buns rise in a warm, draft free place for about 30 minutes, or until they become slightly puffy and increase in size. They should look soft, airy, and gently rounded on top.
This second rise is important for achieving light and fluffy burger buns, so don’t skip this step.
7. Brush & top
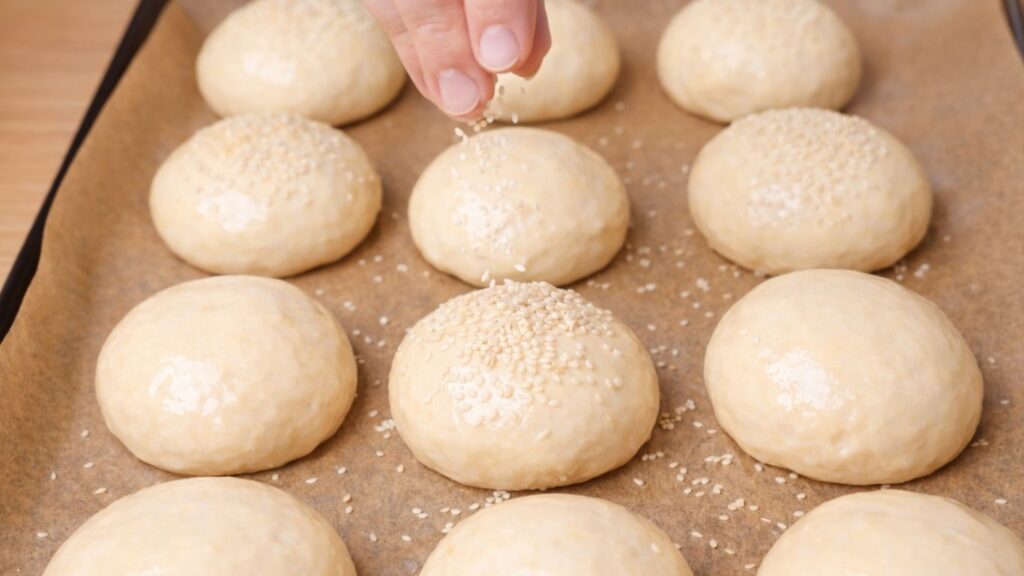
In a small bowl, mix together the water and oil until well combined. Using a soft pastry brush, gently brush the tops of the risen burger buns with this mixture, taking care not to press them down so they keep their airy shape.
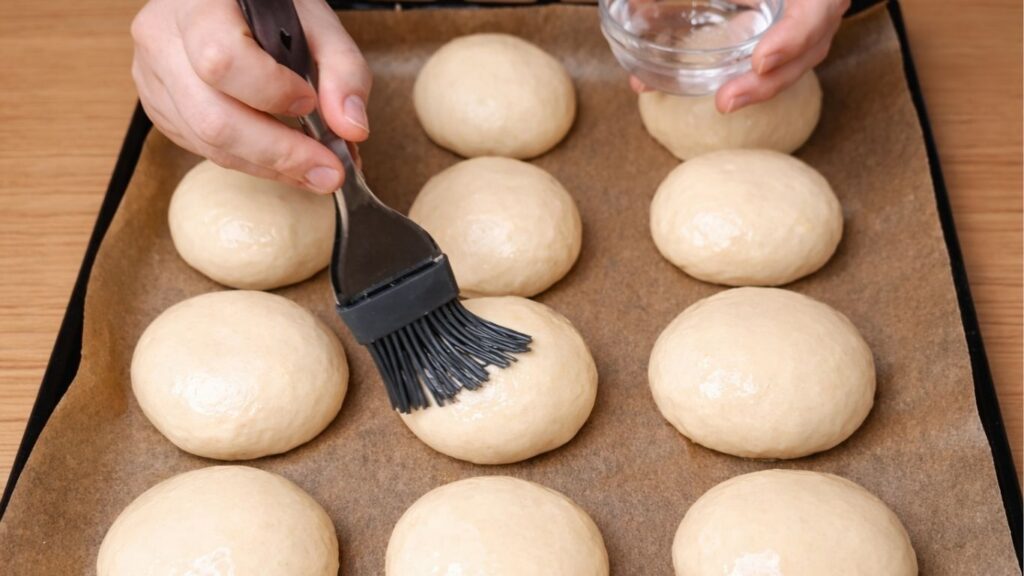
This light coating helps the burger buns develop a beautiful golden color and a soft, slightly shiny finish during baking.
If you like, sprinkle sesame seeds evenly over the top of each burger bun for extra flavor, a light crunch, and that classic bakery-style look.
8. Bake
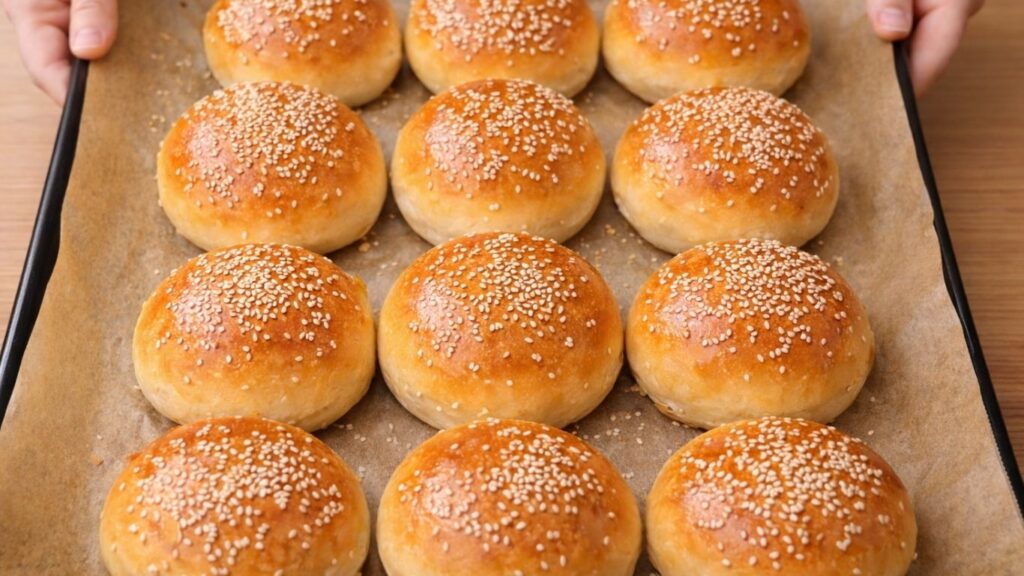
Preheat your oven to 180°C (350°F). Once the burger buns have risen, place the tray in the preheated oven and bake for 18 to 20 minutes, or until the tops are beautifully golden brown.
The buns should look lightly browned on top and feel set when gently touched. For the best soft and fluffy texture, be careful not to overbake them, once they turn golden, they are ready.
Remove the burger buns from the oven and let them cool slightly on a wire rack before slicing. They will be soft, airy, and perfect for burgers or sandwiches.
9. Brush again after baking
As soon as the buns come out of the oven, gently brush them once more with the water and oil mixture. This final step helps lock in moisture while the burger buns are still hot, which keeps the crust soft and tender instead of dry or firm.
The light coating also gives the buns a beautiful, natural shine and enhances their golden color, making them look just like bakery style burger buns.

10. Cool & enjoy
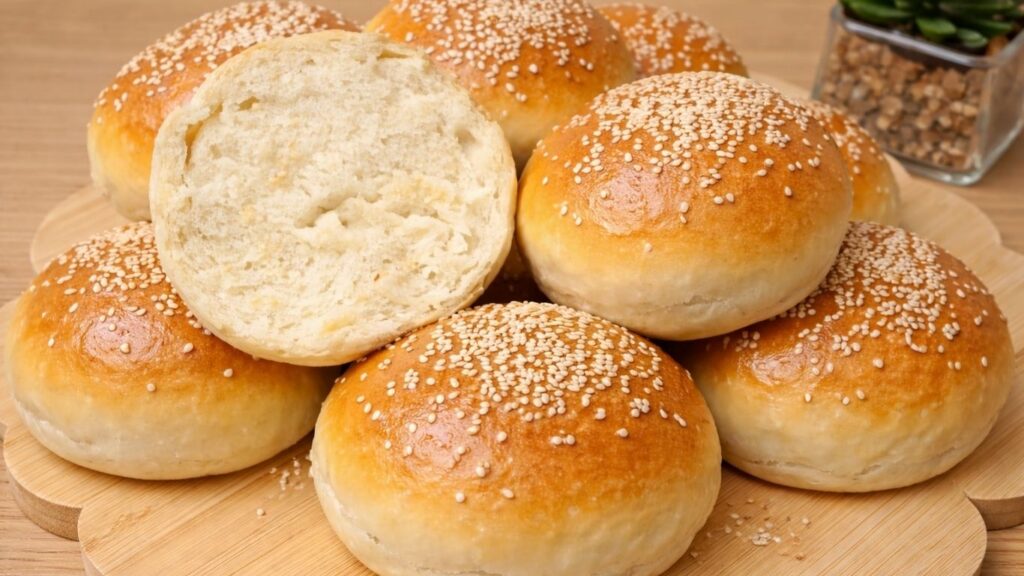
Let the burger buns cool slightly on a wire rack before serving. While the burger buns are still warm, you’ll notice how soft and fluffy they feel, with a light, tender crumb and a delicate golden crust.
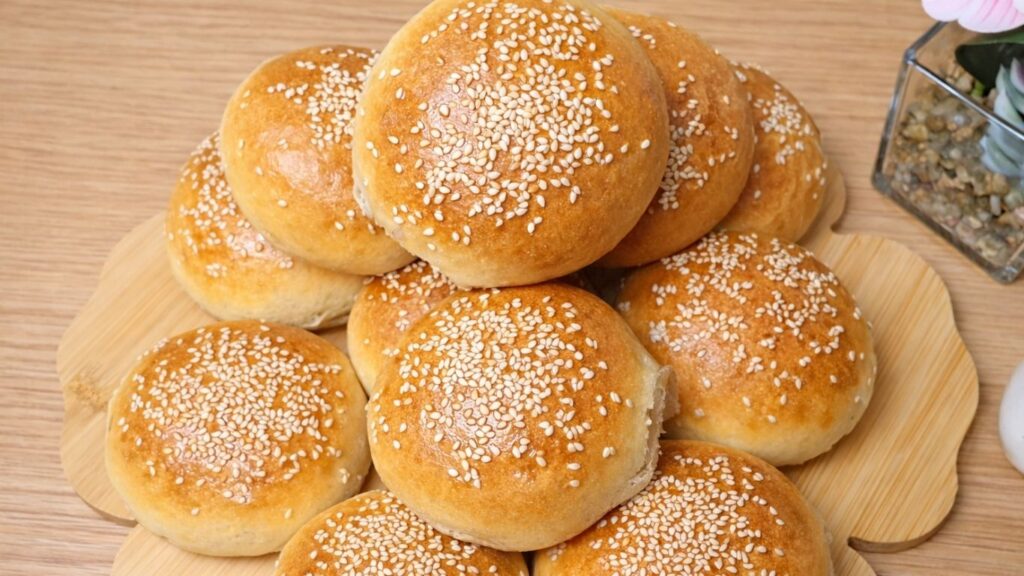
Slice the burger buns open and enjoy their airy, pillowy texture, perfect for your favorite burgers, sandwiches, or even served warm with your favorite sweet or savory fillings.
These homemade burger buns are soft, fresh, and incredibly delicious, once you try them, you’ll never want store bought buns again.
11. Storage & Serving Tips
These soft and fluffy burger buns can be stored in a sealed bag or airtight container at room temperature for up to 3 days, where they will stay beautifully soft and tender.
If you would like to keep them fresh for longer, you can store them in the refrigerator for up to 7 days in a sealed bag. Before serving, simply warm them slightly in the oven or microwave for a few seconds, this will bring back their softness, light texture, and that fresh homemade feel.
You can also freeze them for longer storage and thaw them gently when needed.
Frequently Asked Questions
What makes these burger buns soft without eggs or butter?
These buns stay soft thanks to the right dough hydration, proper kneading and enough rising time, which creates a light and fluffy texture even without eggs or butter.
How do I store homemade burger buns?
Store them in an airtight container at room temperature for up to 2-3 days. Warm slightly before serving for the best texture.
Can I freeze these burger buns?
Yes, these buns freeze very well. Let them cool completely, store in a freezer-safe bag and reheat before serving.
Can I make the dough ahead of time?
Yes, you can prepare the dough in advance and let it rise slowly in the refrigerator overnight. The next day, shape and bake as usual.
Why are my burger buns not soft and fluffy?
This can happen if too much flour is added or the dough didn’t rise long enough. Keep the dough soft and allow it to double in size before baking.
Watch the full Burger Buns video
If you’d like to see the full step-by-step process, watch the video below.
It will guide you through every stage – from mixing the dough to shaping and baking the buns.
These soft and fluffy brioche burger buns are truly worth it, and once you make them, you’ll want to bake them again and again.
NUTRITION
(per bun – approximate)
Calories: 280 kcal
Carbohydrates: 45 g
Protein: 8 g
Fat: 8-9 g
Sugar: 4-5 g
Values are approximate and may vary depending on the exact ingredients used and portion size.
Conclusion
These homemade burger buns are soft, fluffy, and much more flavorful than store-bought buns. Their light texture and tender golden crust make them perfect for burgers, sandwiches, or sliders. With simple ingredients and a little rising time, you can create beautiful bakery-style burger buns right in your own kitchen. Enjoy them fresh, freeze a batch for later, and fill them with your favorite toppings.
Happy baking!

Soft Homemade Burger Buns
Ingredients
Equipment
Method
- Activate the yeast: Add the warm milk, sugar, active dry yeast, and 2 tablespoons of flour to a large mixing bowl. Stir until smooth, then let the mixture rest for 5–10 minutes, or until foamy and bubbly.
- Prepare the dough: Add the oil, flour, and salt to the activated yeast mixture. Mix with a spoon or spatula until a shaggy dough begins to form.
- Knead the dough: Transfer the dough to a lightly floured surface and knead for 8-10 minutes. Alternatively, knead it in a stand mixer fitted with a dough hook. The finished dough should be smooth, elastic, soft, and slightly tacky without sticking heavily to your hands. Add extra flour one tablespoon at a time only if necessary.
- Let the dough rise: Place the dough in a lightly oiled bowl and turn it once to coat the surface. Cover with plastic wrap or a clean kitchen towel. Let it rise in a warm, draft-free place for about 1 hour, or until doubled in size.
- Shape the burger buns: Gently press the risen dough to release excess air. Divide it into 10 equal pieces. Shape each piece into a smooth ball by tucking the edges underneath and gently rolling it against the work surface.
- Arrange the buns: Place the shaped buns on a baking sheet lined with parchment paper, leaving enough space between them to expand.
- Complete the second rise: Cover the buns loosely with a clean kitchen towel or plastic wrap. Let them rise for approximately 30 minutes, or until puffy and noticeably larger.
- Brush and add the topping: Preheat the oven to 350°F (180°C). Mix the water and oil in a small bowl. Gently brush the tops of the risen buns with the mixture and sprinkle with sesame seeds, if desired. Reserve the remaining brushing mixture.
- Bake: Bake the burger buns for 18-20 minutes, or until the tops are evenly golden brown. Avoid overbaking them, as this can make the crust dry.
- Brush after baking: As soon as the buns come out of the oven, gently brush them with the remaining water-and-oil mixture. This helps keep the crust soft and gives the buns a light shine.
- Cool: Transfer the burger buns to a wire rack and let them cool before slicing and serving.
Notes
- The milk should feel comfortably warm, approximately 105-110°F (40-43°C). Hot milk can damage the yeast.
- Flour absorption can vary, so add only enough flour to produce a soft and slightly tacky dough.
- For evenly sized buns, weigh the complete dough and divide the weight by 10.
- Keep the buns covered during both rises to prevent the surface from drying out.
- Store cooled burger buns in an airtight container at room temperature for up to 3 days.
- Freeze the buns in a freezer-safe bag for up to 2 months. Thaw them at room temperature and warm briefly before serving.